Swatch: Finger Paints’s Psychedelic Hue

Welcome back, reader! Even though I’m swatching a lot of new stuff from The Indie Shop Atlanta, I still have some swatches in the slush pile waiting to be published, and this is one of them. This is Finger Paints’s Psychedelic Hue; I’m wearing one coat over Sally Hansen’s Grey Area (gray), Deborah Lippmann’s She Bop (pink), and Zoya’s Chantal (nude), as well as a coat of Seche Vite top coat.

Psychedelic Hue is a clear-based flakie topper with green-to-blue shifting flakies. Application was good; the flakies distribute very easily over the nail when brushing it on. The product consistency is on the thin side, but the flakies suspend very well. Drying times were good, and the polish dries smooth to the touch. I used top coat for extra shine.

I adore flakie top coats. This one’s pretty basic as far as flakie toppers go; of course, this one’s been around a while and they’ve come a good way since then. I wanted to show this one over a few different colors, and unfortunately, the bright natural sunshine kind of washed it out over the lighter colors. With the lighter shades, the individual flakies aren’t as defined, but the shine and iridescence are still visible. Over the darker color, it looks fantastic; everything is nicely defined and exciting. The following photos were taken in the shade, attempting to show off the color better over the lighter colors.

I believe Psychedelic Hue was discontinued by Finger Paints; other Finger Paints polishes are available at Sally Beauty Supply.

I bought these polishes myself.

Manicure Monday: Silver Splatter

Happy Monday! Over the weekend, I attended The Indie Shop Atlanta, and today, I’m not using any of the polishes I bought. I had a great time at the event, and I posted my haul photos on Instagram; I hope to get a more detailed post about the event up this week. For today’s look, I used Butter London’s Bumster, Essie’s Jiggle Hi, Jiggle Low, and Julep’s Braiden. I also used liquid latex for the first time today, more about that later.

Before I started today’s look, I really didn’t know where I was going with it until I started, I just knew I’d be using some silver over a nude base. Bumster is a great neutral; I’m a huge fan of these neutrals that lean a lit yellow or green, they’re just the slightest bit ugly. I wish I used these shades more.

I don’t know why I thought silver for this, other than I thought the shine and shimmer would look amazing with the neutral creme. I’m also not sure why I went for a splatter mani, but I kind of like where it went. I didn’t originally plan to use Braiden, but Jiggle Hi, Jiggle Low didn’t add enough contrast.

Here’s where the liquid latex comes in. Over the weekend, I bought my first bottle of the stuff from Ribbits Stickits. I put it around each cuticle and extended it down to my knuckle, because I’ve done this before and I know the mess it makes. I wasn’t a fan of the smell. I did a second coat, because I’d heard in passing that this makes it easier to peel off. It ended up sticking my fingers together and peeling off prematurely. Also most of the mess ended up getting on the parts of me that weren’t covered, like my palms and wrists. This was a messier-than-usual splatter, and got polish on everything on my desk, from my computer monitor, my phone, my clothes, you name it. Despite everything, liquid latex is the game-changer everyone told me it was going to be.

Butter London, Essie, and Julep polishes are sold in stores. Ribbits Stickits liquid latex is sold in their online shop.

I bought these polishes myself.

Throwback Swatch: Bluebird Lacquer’s It’s Fall Over Me

Right, so during the month of November, I was insanely busy with starting a new job, starting a volunteer job leading writing groups for National Novel Writing Month, actually writing a novel for National Novel Writing Month, and cooking a Thanksgiving dinner for nine people. Now that novels are finished and Thanksgiving is over, I’ve finally got the time to share the swatches I’ve been collecting.

This first one is It’s Fall Over Me from Bluebird Lacquer; I’m wearing two coats over e.l.f.’s Smoking Hot (red), Butter London’s Tea and Toast (tan), Sally Hansen’s Black Out (black), China Glaze’s White on White (white), and Blue-Eyed Girl Lacquer‘s Lighthouse on the Lake (blue), topped with Seche Vite and Essie’s Matte About You matte top coat.

It’s Fall Over Me is a clear-based glitter topper with iridescent shifting glitters of various sizes. The shift is definitely reminiscent of the flakies in Essie’s famous Shine of the Times. Application was easy; the product consistency is wonderful in that it’s not thick enough to be goopy and difficult to use, but it’s not thin enough that it drips off the brush. The glitter delivers very easily, but I definitely wanted more than I got on my first coat, so I used two. In the future, I might try sponging it on to get that heavy glitter coverage without the thickness of multiple coats of lacquer. I used two coats of top coat as well, just to smooth down any glitter texture that was left.

I bought this at the Indie Shop Atlanta, and it had my heart as soon as I saw the bottle. I am such a sucker for these opalescent kinds of glitters, because there’s always something going on with it; it’s the easiest way to give a look dimension and style without getting knee-deep in nail art. It also looks interesting over any color, even white, which is obviously not the ideal undies for this polish, has a unique effect on it.

When I was talking to maker Lou at her booth, she told me I had to try it with a matte finish, so I did, and here are the photos of that. I definitely prefer the glossy finish, but I have to admit that the glitter looks pretty cool mattefied. I feel like the matte finish makes the shift a little less dramatic, but it still does happen, and still looks pretty cool.

Unlike everything else I’ve shown you from my Indie Shop Atlanta haul, this is a polish you can actually still buy! As of this writing, It’s Fall Over Me is for sale on the Bluebird Lacquer website.

I bought these polishes myself.

Manicure Monday: Cognac Sparkle

Happy Monday, reader! It’s been too long since my last post. I knew November would be a busy month for me; all in this month, I’ve gotten a job, written a novel (almost done!) and cooked a huge Thanksgiving dinner. I knew something was going to have to give to get everything done, and unfortunately, it ended up being the blog. I’ve got lots of swatches to catch up on — I’ve been painting, just not posting — so I’ll have lots of content coming up. Some of it’s from when my nails were still long and pretty (rip).

Today’s look was done with Butter London’s Tea and Toast, OPI’s Muppets World Tour, and Orly’s French Tip Guides.

I have this thing about Tea and Toast, like it’s the ugliest color in the bottle, but I absolutely love it on my nails. It’s really stylish, but I always have this apprehension before I put it on, like I’m about to do something terrible, but it always comes out lovely.

I picked Muppets World Tour for this look because I wanted something that would still have a lot of shine without covering the base too much. As it turns out, this polish had more glitter in it than I expected, and it’s hard to see the half-moon and naked nail underneath. On the whole, though, I like the look. It sort of looks like a gradient instead of a half-moon, and glitter is the best. No arguments here.

Unfortunately, I think both these shades are discontinued. Butter London and OPI are both easy to find in stores.

I bought these polishes myself.

Manicure Monday: Glitter Shapes on Nude

Welcome back! I had swatches to show you this weekend, and I had this fantasy that I could write and promote two blog posts while also cleaning my house for my birthday party, attending my birthday party, and then cleaning up after my birthday party. I will be getting you the swatches this weekend, at least. If you missed my birthday manicure on Instagram, you should check it out. I’m pretty happy with how it turned out, even if it’s a little more Christmas than I wanted it to be. Anyway, Monday’s here again, and here’s a new mani! This is Julep’s Alexandra, mattified, with a shiny dollop of Lynnderella‘s Golden Lining.

I don’t often like the look of matte nails. I like them on other people, of course, but I always feel like I’m sucking the life out of the polish when I mattify it. Alexandra, though, looks amazing mattified. The pale almond is great on its own, but it’s even more stylish with the matte finish.

Trying to capture the matte/shiny here, just got glare

I didn’t like Golden Lining mattified, so I used an extra bit of top coat over the — I don’t know what to call this shape. Ruffles? Dollops? Scoops? — to make the glitter sparkle. It’s still not as shiny as I hoped it would be, like the contrast between the matte creme and the shiny glitter isn’t as dramatic as I imagined it would be, but I still rather like it. Golden Lining is a beautiful polish and it pairs wonderfully with Alexandra. I’m probably going to use it again this weekend.

I can’t find Alexandra on the Julep site, so it might be discontinued. Golden Lining may also be discontinued, I don’t see it on the Lynnderella site. I also used Essie’s mattifying top coat and Seche Vite.

I bought all of these products myself.

Swatch Sunday: Bliss Polish’s VIP in Atlanta

Swatch Sunday!! This is a polish I’m very excited about. It’s my first-ever Bliss Polish, and it’s the first of the VIP exclusive polishes I got when I attended The Indie Shop Atlanta in March. TIS was so long ago; it was shortly after that when my lens died, and I only got to review one of my scores before going on hiatus. I had this fantasy that I was going to swatch everything I bought and get a lot of hits for VIP swatches, but alas. This is VIP in Atlanta; I’m wearing three coats with one coat of Seche Vite.

Full disclosure: I thought this polish was called Up in Atlanta for months. I mean, Atlanta is up from Florida, after all.

VIP in Atlanta is a cool pinkish-taupe holo. Application was good; the consistency is silky and easy to work with, but I think I’d like it if it was just a tad thicker. I had no problems with it at all. Coverage builds very gently with complete opacity in two coats. The polish dries to a glossy holo finish.

I am so excited about this polish and I feel so guilty writing about it today because I wish it wasn’t an LE so everyone could have it. I love nude polishes when my nails are this length, because it makes them look even longer and more elegant. The holo is bonus.

VIP in Atlanta was a VIP-exclusive shade for The Indie Shop Atlanta. Other Bliss Polishes can be found on their website.

I bought the VIP ticket that netted me this polish.

Manicure Monday: Feather Weather

Happy Monday, reader! It’s the official first day of spring, and it’s time for spring manicures. Probably nobody was thinking brown for spring, but it’s what I’m rocking. For a change of pace, I got some feathers out, and there’s something about birds and spring, right? For this look, I used Model City Polish‘s Dark Roast, feathers from a Ciaté nail art kit, and Digital Nails‘s Spectraflair holo top coat for an extra holo finish. All photos were taken in direct sunlight outdoors.

Dark Roast is a great holo. It’s a rich brown, but the holo is pretty strong, and there are these tiny gold shimmers in it. It dries shiny. I felt kinda bad putting the feathers over it, like it was too pretty to cover up. The feathers were kind of a pain, and as you can see, it looks a little messy, but I’m rolling with it. I used the holo top coat over the feathers just to pull it all together, and I think it came out all right.

I heard a sad rumor that Model City Polish closed down, and though I haven’t seen anything official, I do see that their etsy shop is on hiatus. That really bums me out. Model City was one of the first-ever indies I bought from, they gave me my first press samples, and everything they made was quality. It’s sad to see them go. I feel like a bad fan because I’ve just heard about it.

I don’t know where to get Ciaté’s nail art kits anymore. Digital Nails’s Spectraflair top coat is sold in their etsy shop.

I bought these products myself.

Swatch Sunday: China Glaze’s Cashmere Creme

Happy new year, reader! My first post of 2017 is a swatch, and the polish is a vintage China Glaze. I’m not sure how vintage it is, but I do know that the label on the bottom is one I’ve ever seen before. I’m wearing three coats of Cashmere Creme with one coat of Seche Vite. Today’s post is very late due to NYE shenanigans.

Cashmere Creme is a cool frosty beige polish. Application was good; the polish was very easy to work with, the product consistency is spot on, and I had no issues. The polish dries quickly and with a smooth satin finish.

I found this polish in a thrift store, and I’ve been really curious about it ever since. It was about half-full when I got it, so it’s had quite the life before it came to live with me. I don’t know how old it is or anything else about it, and any identifying information that might have been on the bottle has long been rubbed away. It’s a mystery! I like this polish for that reason, but I also like it because it’s interesting. I don’t go for colors like this often, colors that are soft, neutral, SFW, because I tend to think they’re boring. The shimmer in this one is just so pretty; it gives the polish an allover coolness that makes it seem more silvery than it is. It’s gorgeous. I regret that it wasn’t sunny on the day I took these photos, I would have liked very much to see what it looked like in the sun.

I don’t know where to tell you to get Cashmere Creme. I know, I’m sorry! I bet you can find it on the internet. Other China Glaze polishes are sold in stores nationwide.

I bought this polish myself.

Project Pan, Winter 2016: Neutrals and Brights

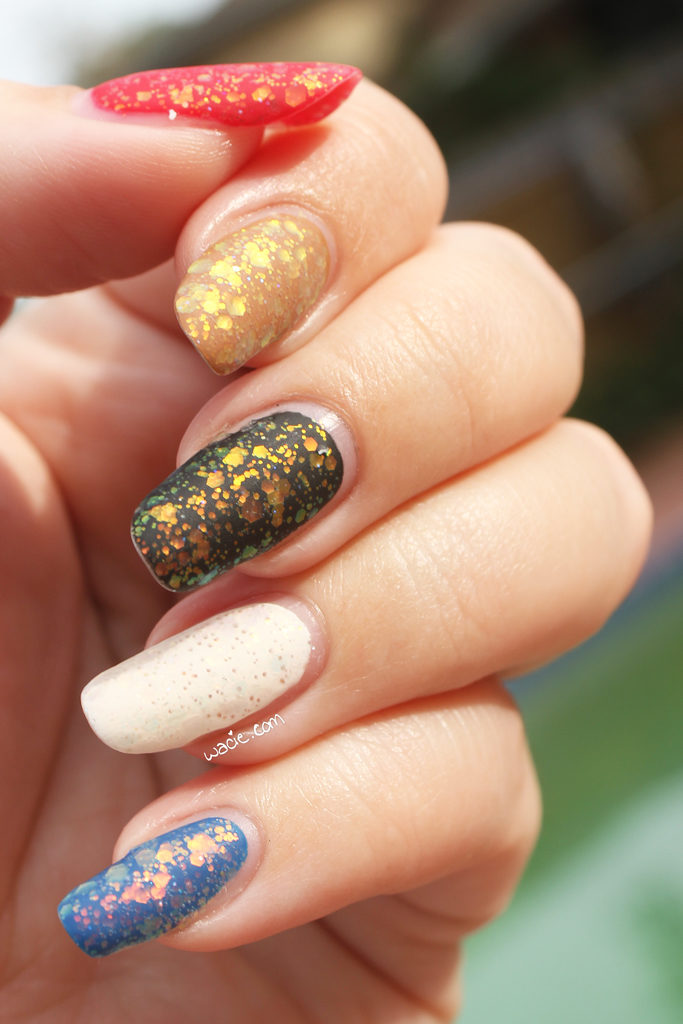
Hello hello! It’s time to share with you the makeup products I plan to use during the Winter 2016 season! Last season, I played around with some extreme smoky eyes and bold lip colors; this season, I wanted to experiment with colorful eyes and neutral lips. I’m excited to try some new things! If you’re familiar with fall’s Project Pan, you know that this isn’t a true PP challenge; this is a way for me to spend some quality time with makeup products I’ve bought and have never really used. It’s like a makeup date. For the next twelve weeks, I’ll be using these products on my face exclusively until the beginning of the next challenge, when I get my summer makeup out in March.

I suppose I’ll start with things that carry over from the last challenge. I won’t mention too much about essential things like foundation and primer, but there is a bit of overlap.
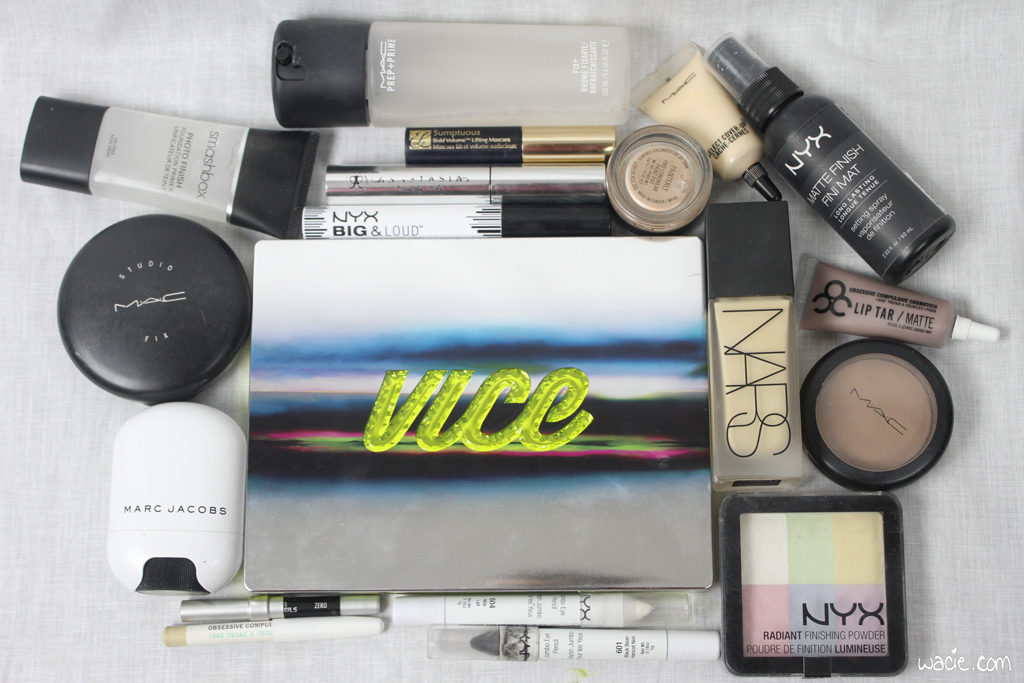
Face
Smashbox Photo Finish Primer

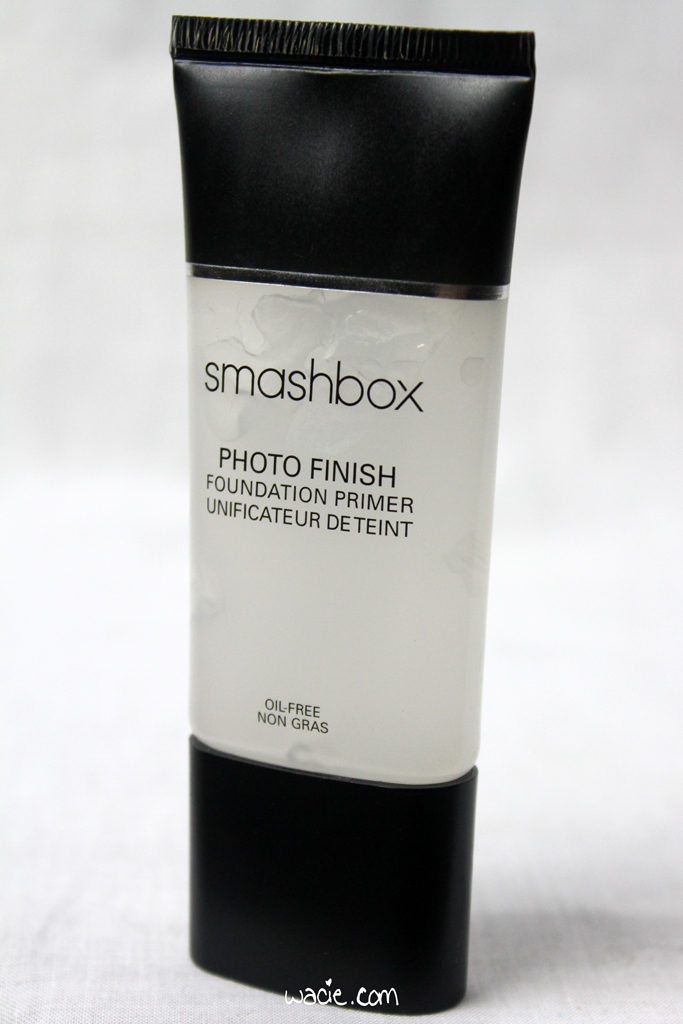
Honestly, I don’t think I’ve written a makeup post lately without talking about this primer. Yes, it’s a big player in this look.

NARS All Day Luminous Foundation in Siberia

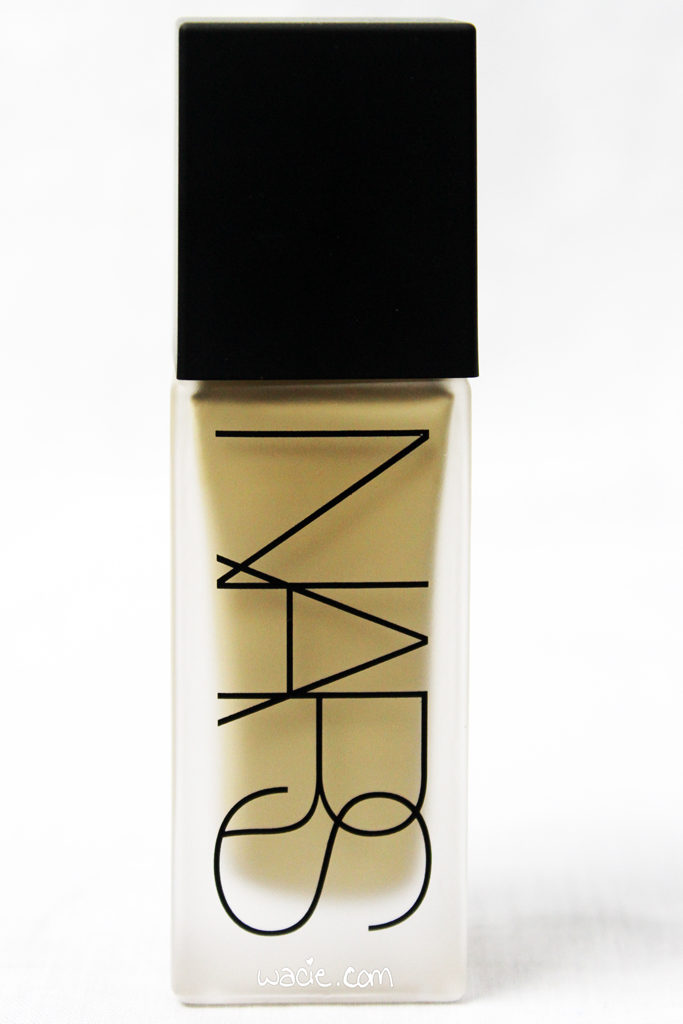
When I ran out of MAC Studio Fix Fluid, I was torn over what to replace it with. Part of me wanted just to get another bottle, because it actually was a good fit for me. I’m a person who likes to try new things, though, so I decided to go for a different foundation. There’s a part of me what wishes I’d just stayed with the MAC, though. I like the NARS foundation enough, but the thin consistency is annoying sometimes, and it’s not as neutral as I thought it would be. I’ll keep using it, but I probably will return to Studio Fix Fluid once it’s gone.

MAC Select Cover-Up Concealer in NW15

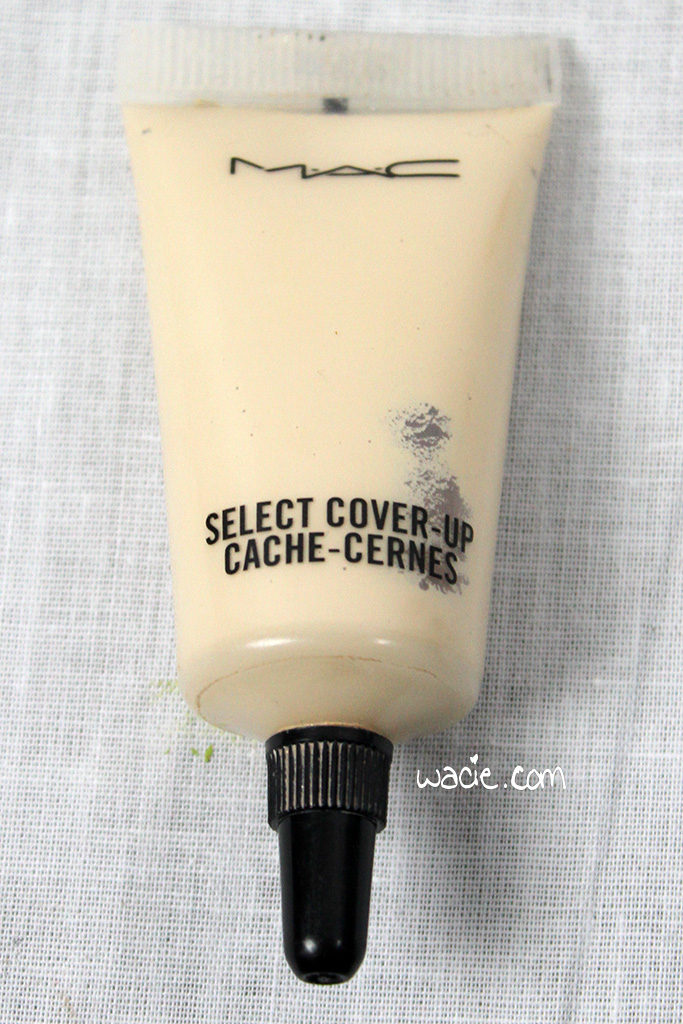
Yep, this again! I probably shouldn’t bother to include it since I used it like all of twice last cycle, but I already had the photo, so here it is.

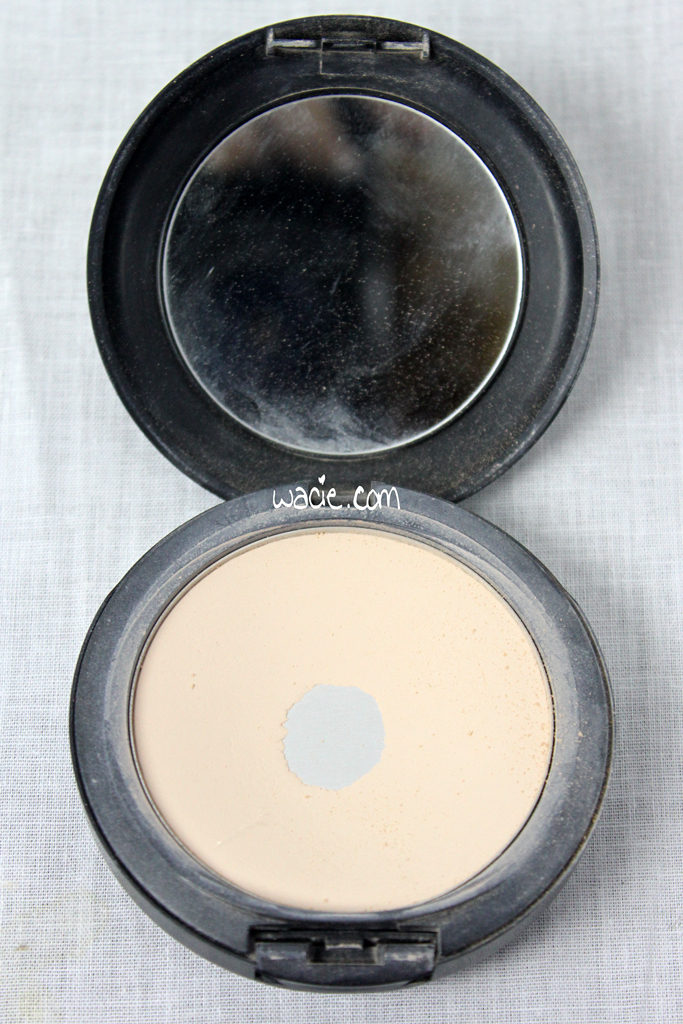
NYX Radiant Finishing Powder in Brighten (pictured above)

I have a love/hate relationship with this powder. I love how complete it is; not only does it set makeup beautifully, it also brightens, color-corrects, and illuminizes, like it’s many products in one. However, it doesn’t keep oil in check, and the luminizing feature ends up making me look even more shiny than I am. It’s perfect for cool weather, but a no-go in the summer. I’m trying to use it up.

MAC Studio Fix Powder Plus Foundation in NW10

This powder is the best! The full coverage basically renders my concealer obsolete. Using it over liquid foundation is probably overkill, but it’s really the best complement to medium-coverage foundation. In the fall and winter, I want all the coverage I can get, and this helps me get there.

Marc Jacobs Glowstick in Spotlight

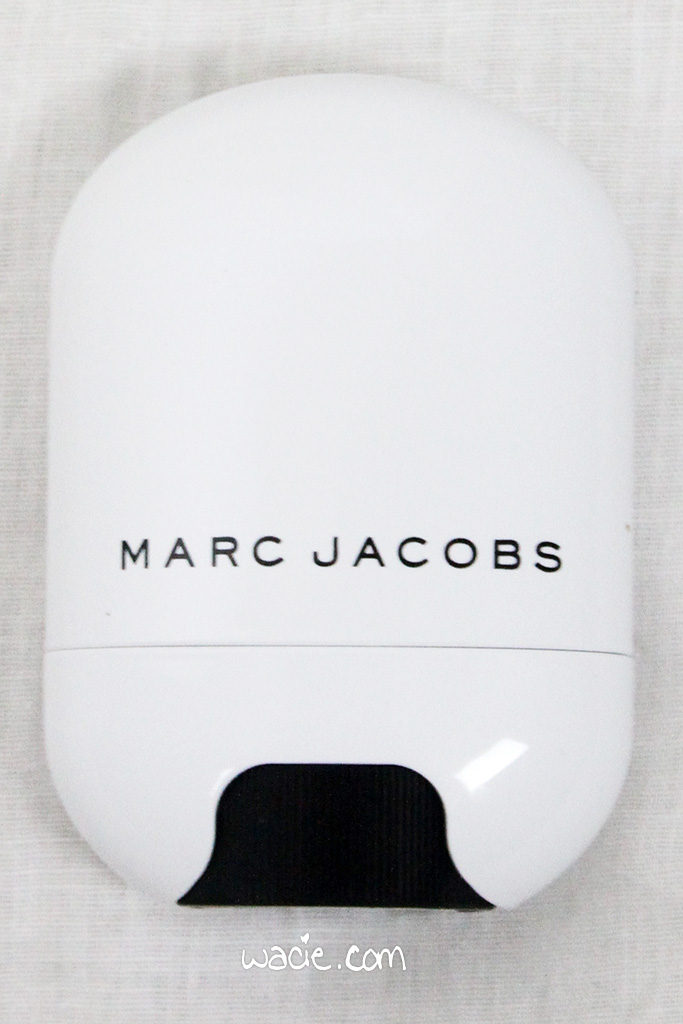
Remember this? Since I’m using neutral colors for my lip and cheeks, I wanted a neutral highlighter, and this was the best one. When I reviewed this, I reported that it was super creamy and blendable, but that was over the summer. Now that tepmeratures are lower, the stick isn’t quite so creamy, and it’s not as easy to use and apply. It’s a little disappointing.

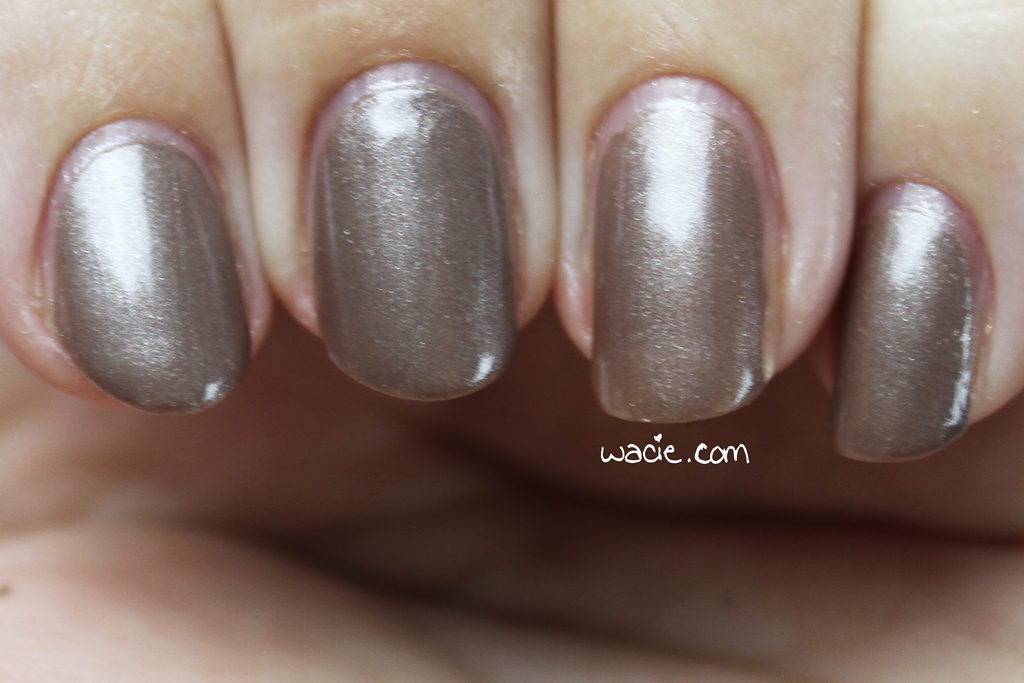
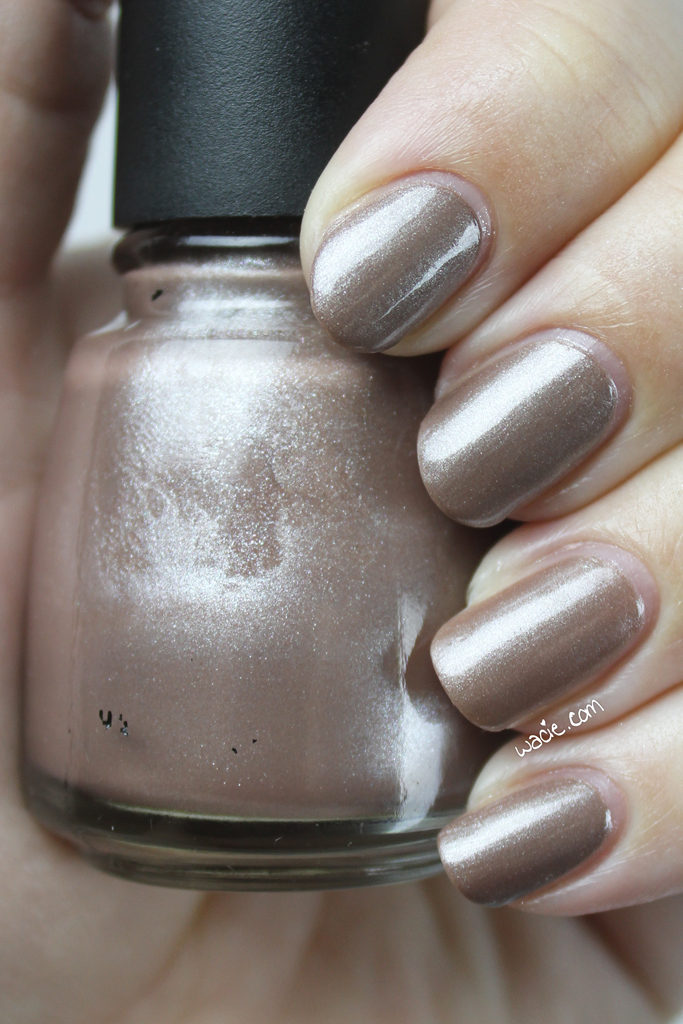
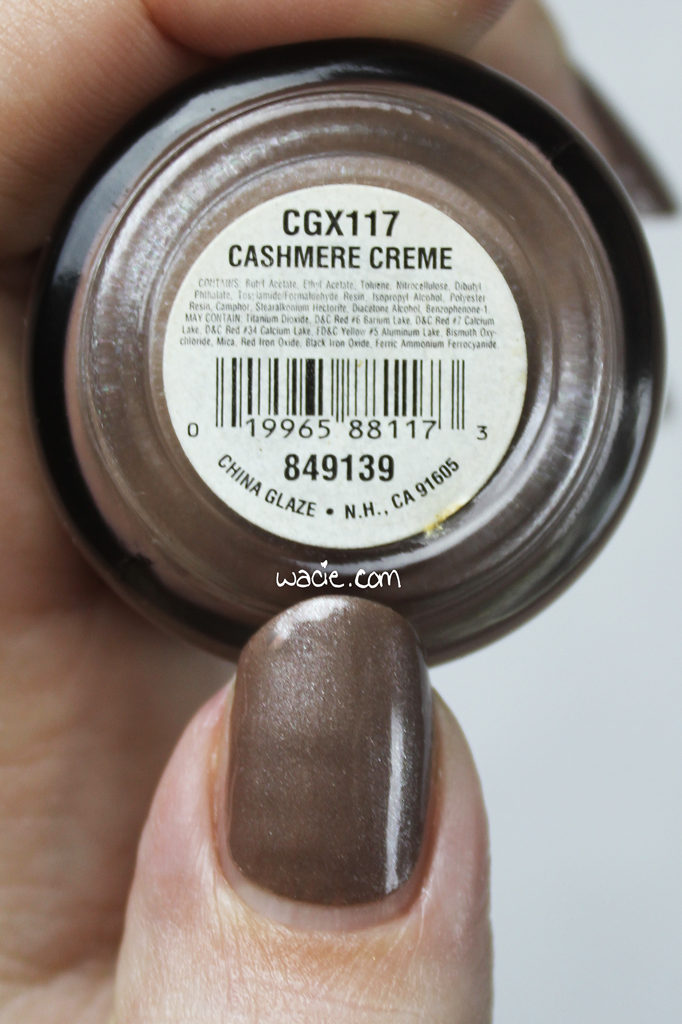
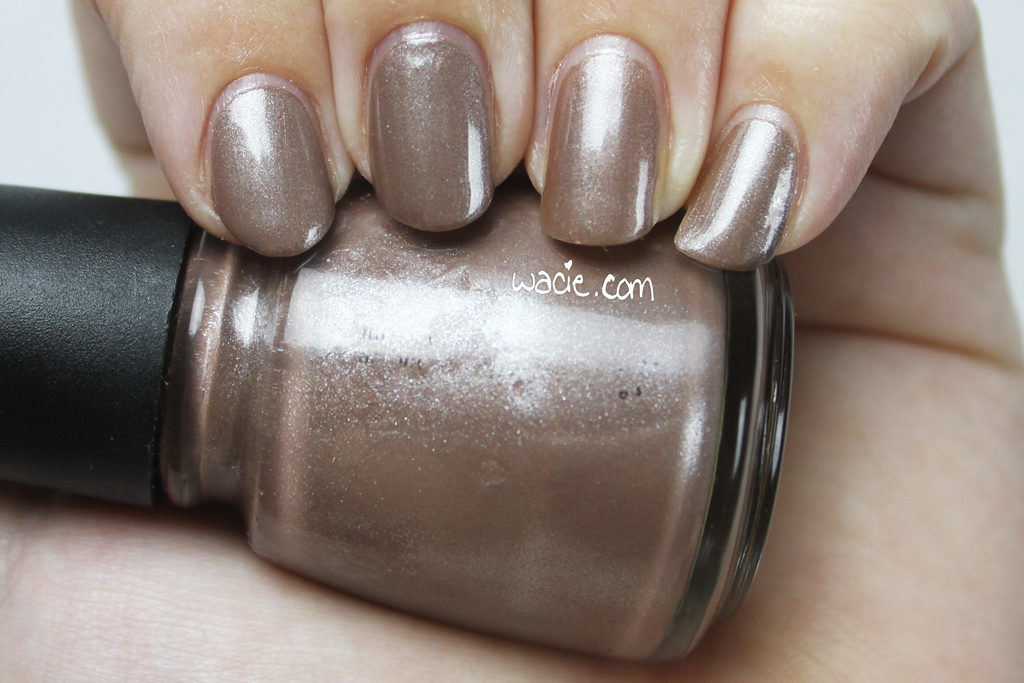
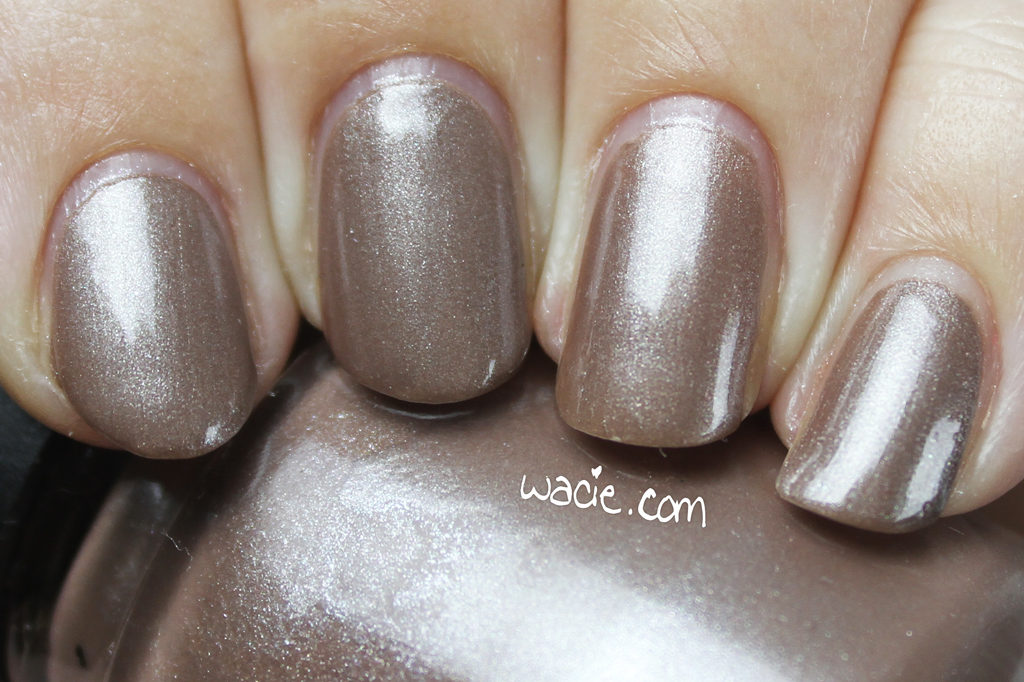
MAC Powder Blush in Taupe

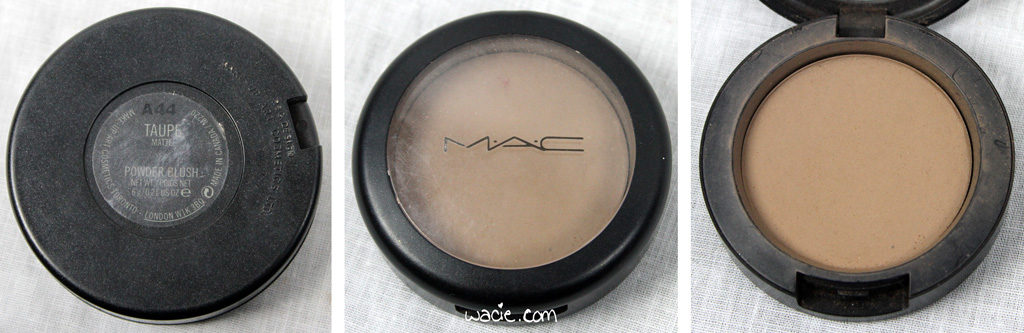
During fall’s challenge, I only used this for contouring my nose, chin, and forehead. I’m also using it as a blush this time around because I wanted a neutral base look. In this capacity, it hovers somewhere between blush and contour, and I really like it.

Anastasia Beverly Hills Clear Brow Gel

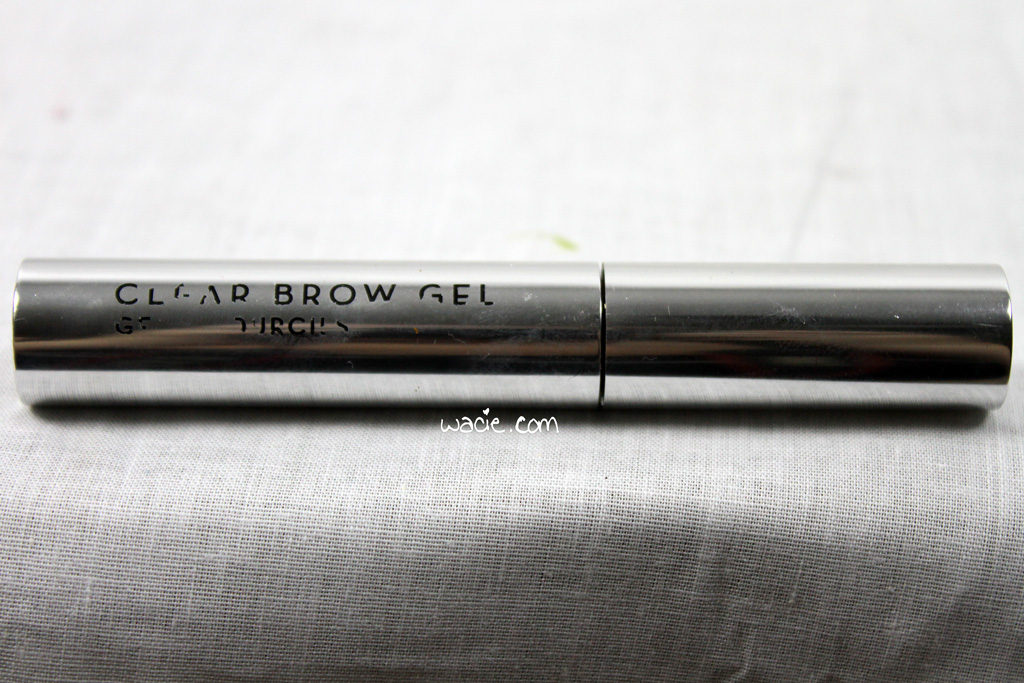
Yes, this again. It’s still not dried out, so I’m gonna keep using it.

Anastasia Beverly Hills Beauty Express for Brows and Eyes in Brunette
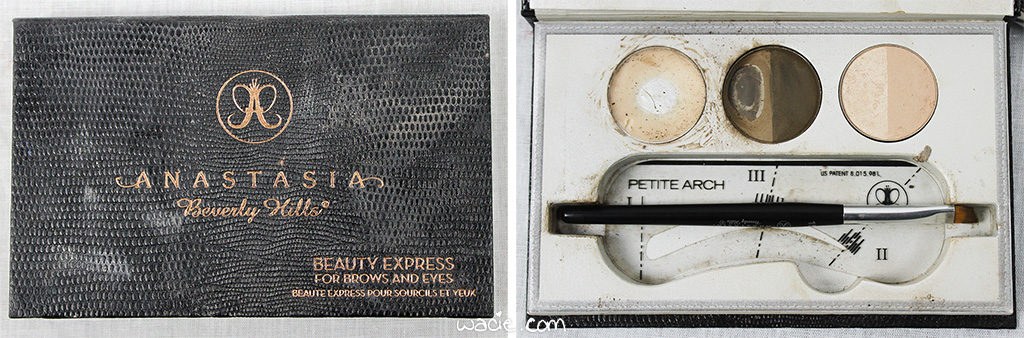
Yep, this too.

NYX Long Lasting Makeup Setting Spray in Matte Finish

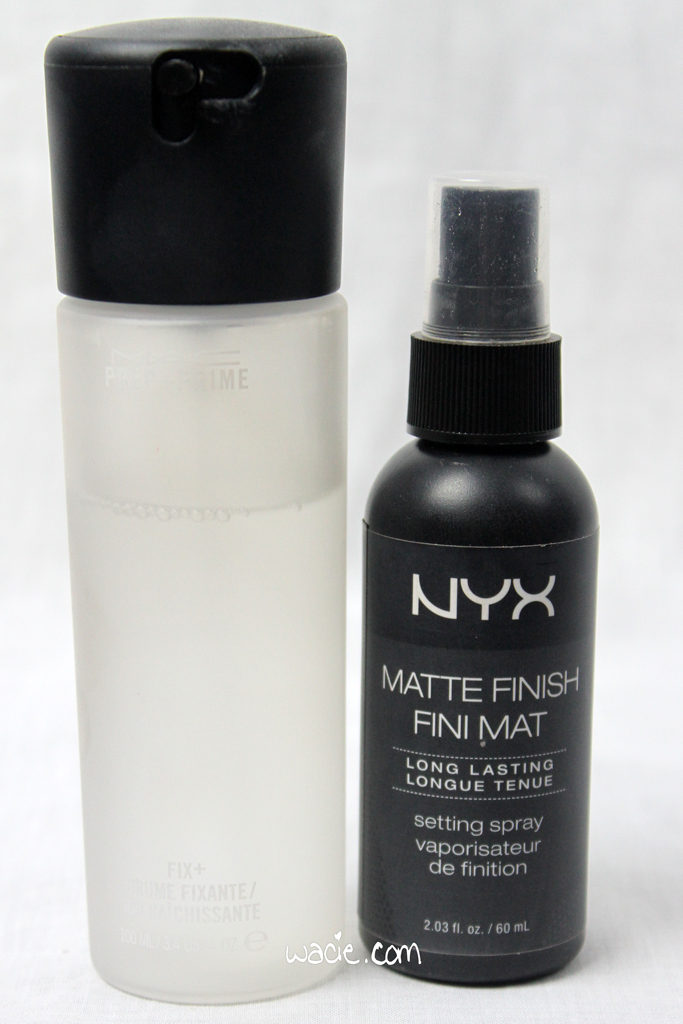
This stuff goes a long way to keep me from looking powdery and unnatural. It doesn’t keep me mattified, but it makes my makeup look dewy and fresh. The bottle is almost empty; I’m definitely going to repurchase.

MAC Fix+ Finishing Spray (pictured above)

Having two facial sprays is probably overkill, but I feel like there’s a place for them both. The NYX spray sets my foundation, but I still use a setting powder, just for safety. The Fix+ spray keeps that last dusting of powder from looking too powdery. Probably unnecessary, but I like it.

Eyes
MAC Pro Longwear Paint Pot in Painterly

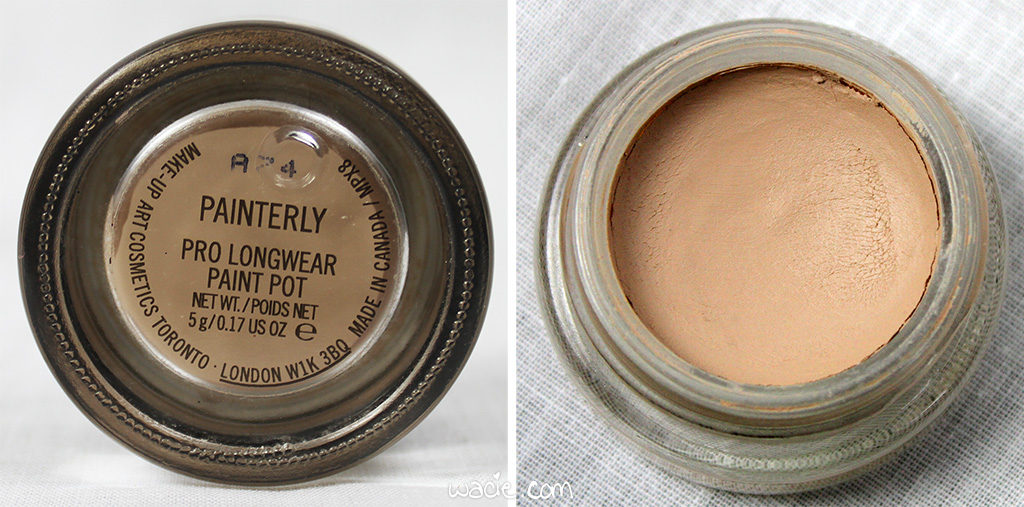
Painterly is also making a return in this cycle. I’d rather be using an actual primer, since my lids are kind of oily and creamy products like this have never worked for me in the past, but I’m making it work.

NYX Jumbo Eye Pencil in Black Bean and Milk

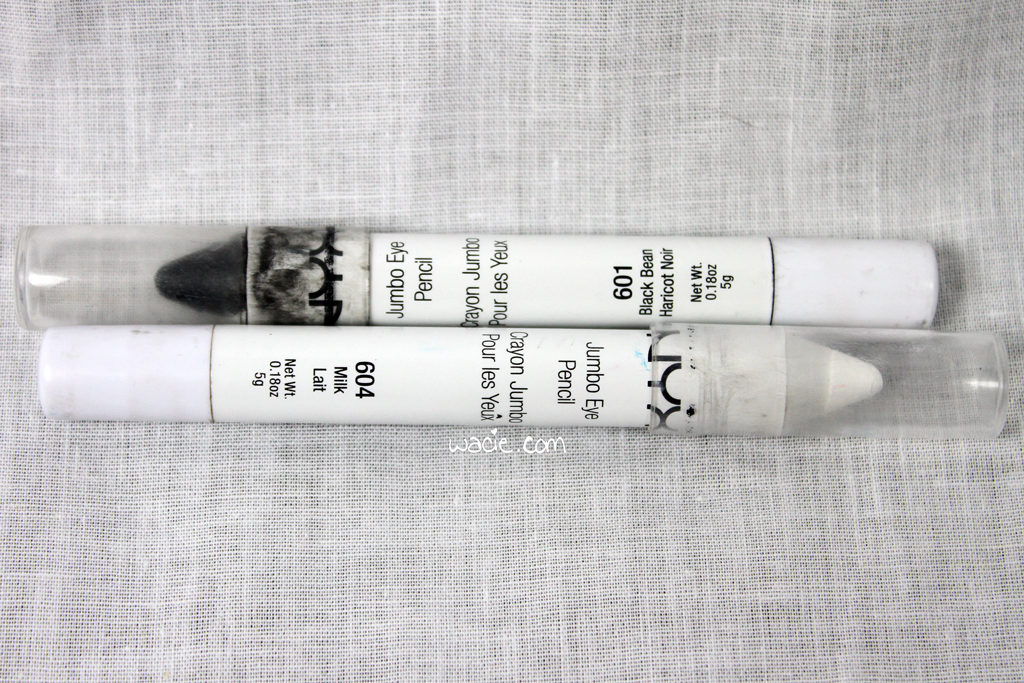
Black Bean was a godsend last cycle for my ultrasmoky eye, so I’ll be using it for the same purpose this time around. I’ll also be using the Milk pencil for extra-white whites and extra-bright brights. These pencils make eyeshadow look the way it’s supposed to look.

Urban Decay Vice 3 Eyeshadow Palette

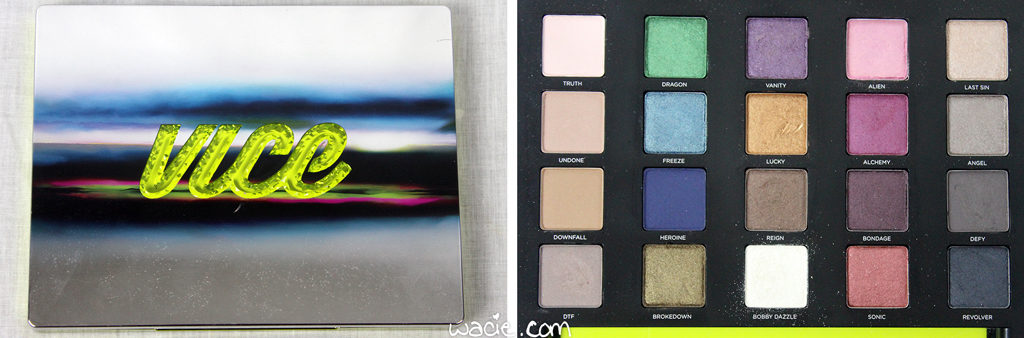
I’ve had this palette for a while, and I’ve never used it until now. I chose a colorful palette to go with this look that’s otherwise very neutral; I wanted eyes that really stand out. I’ll talk more about this, keep reading!

Urban Decay 24/7 Glide-On Eyed Pencil in Zero

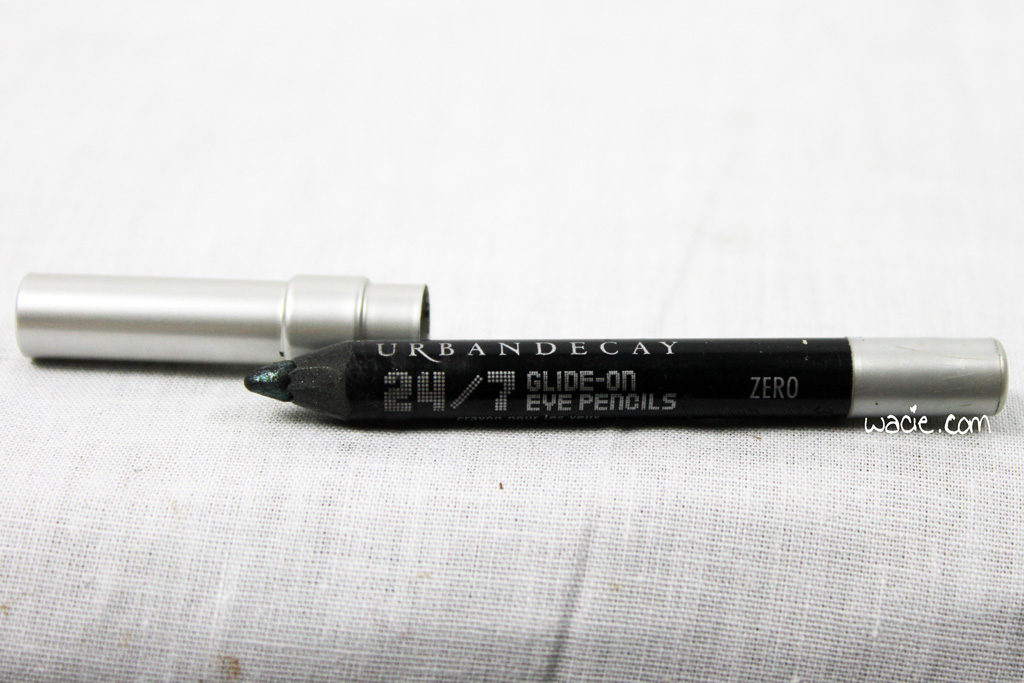
For my eyeliner needs.

NYX Big and Loud Lash Primer (pictured below)

I talked at length last time about my love for lash primers, and I’m still very happy with this one.

Estée Lauder Sumptuous Bold Volume Lifting Mascara

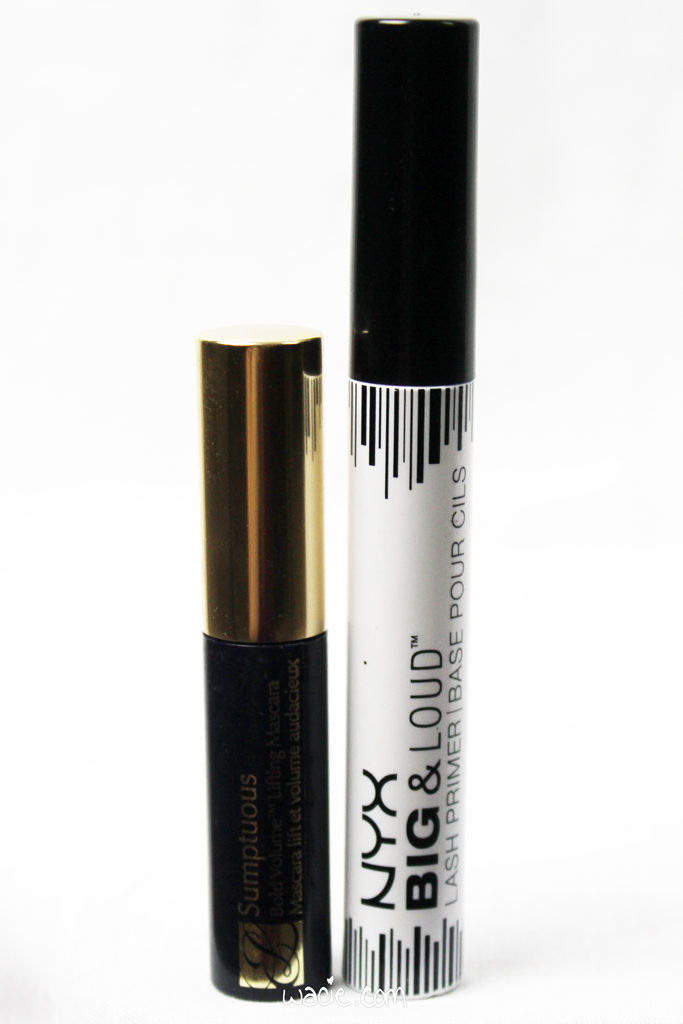
This is a sample I’ve had in the drawer for a while, and I’m finally using it! I don’t really care for it, to tell the truth; the formula is fine, but the brush is huge and I don’t like huge mascara wands. I find them difficult to work with.

Lips
MAC Prep + Prime Lip Primer

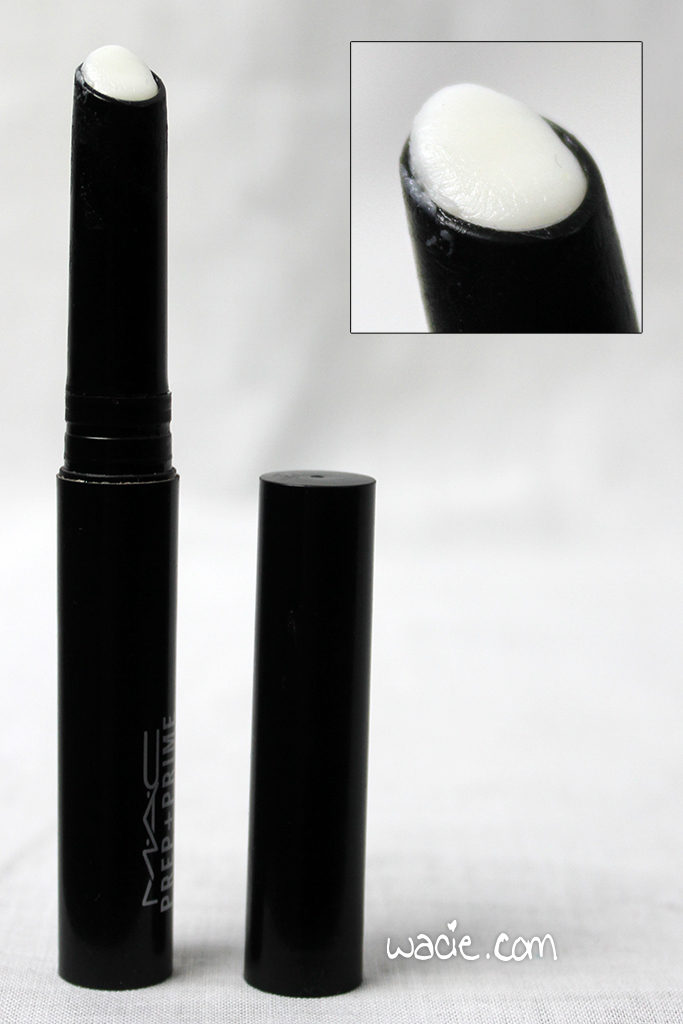
This is my favorite lip primer! It’s practically gone; in this photo, it’s twisted all the way up, and I’ve been using a lip brush to apply it. I can’t wait to buy another one!

Obsessive-Compulsive Cosmetics Cosmetic Colour Pencil in Anti-Feathered (not pictured)

My favorite clear lip liner! Sometimes I overdraw with this, or underdraw, because it’s invisible. Lately, I’ve found that the MAC lip primer is enough to keep my lip color on, so I’ll probably phase this out once it’s gone.

Obsessive-Compulsive Cosmetics Lip Tar in Sebastian

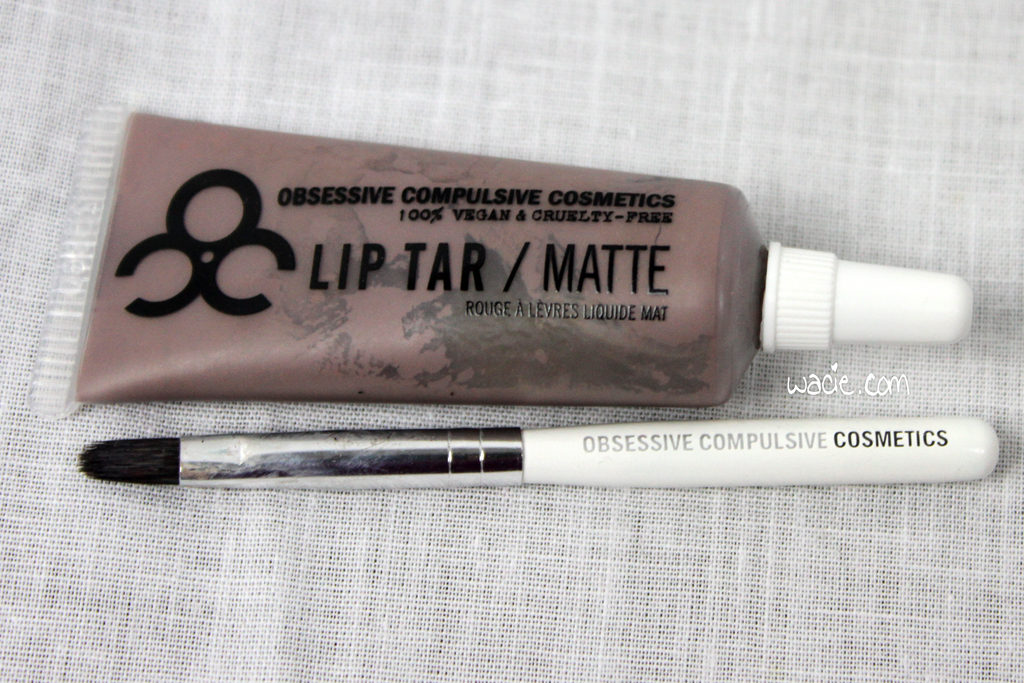
I forgot to shake it up.

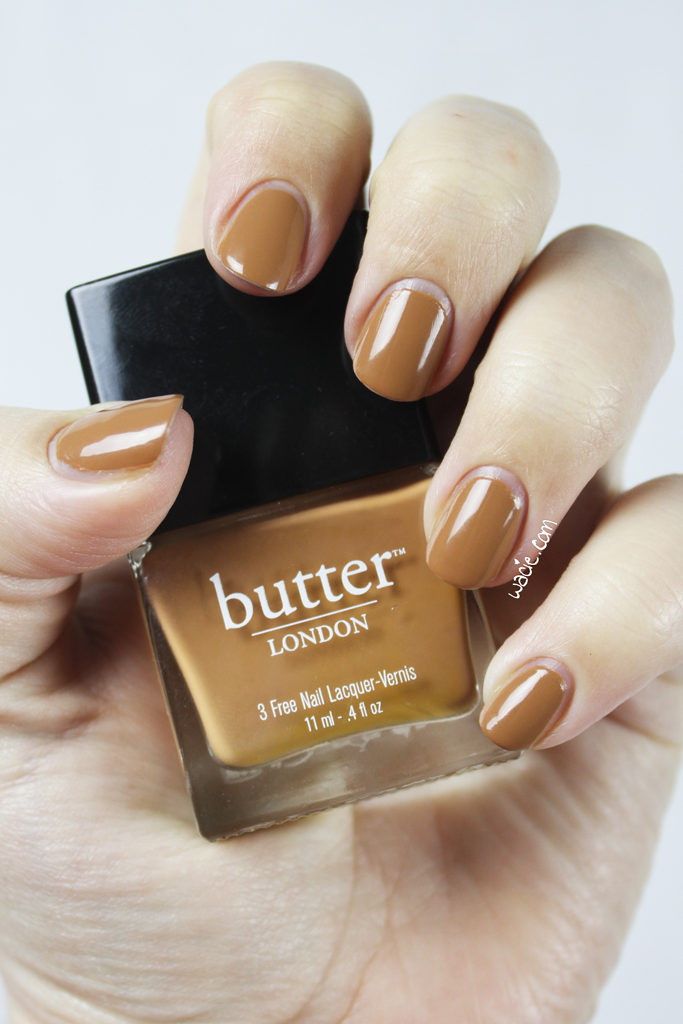
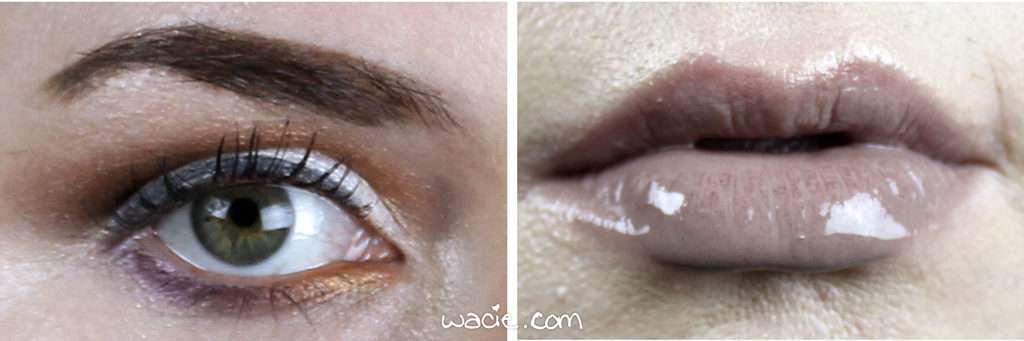
When I started building this look, I started by choosing a lip color at random, and this is what I got, and it’s the part of this look I’m the most excited about. It’s a color I’ve never really worn before, a color I’ve never really seen on people. At first, I wasn’t too sure about it and nearly put it back. I put it on, though, and I loved the way it looks on me. Sure, it’s not a conventional color, but it’s strangely wearable while also quite unique. I am really enjoying it.

The Process

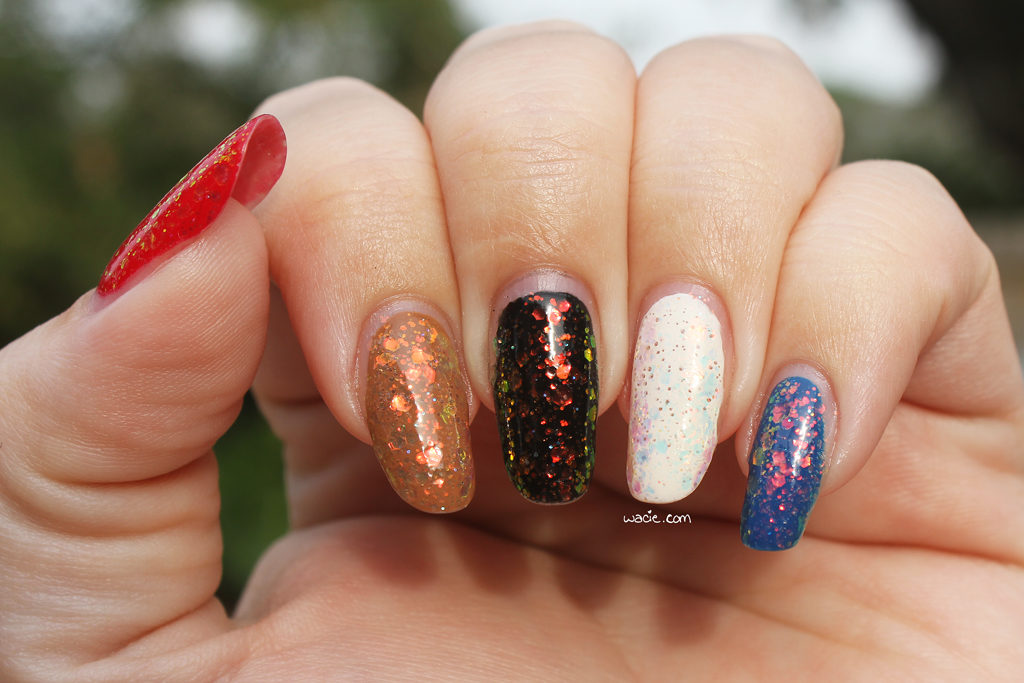
While looking at densely populated palettes like Vice 3, I’ve often wondered what would happen if I wore the colors as they’re placed. Sure, it’s not organized to be worn a certain way, but I’ve always wanted to try wearing shadows one line at a time to see what the colors would look like, and just to experiment with different combinations. That’s the idea behind the eye looks I’ll be doing with this palette. In my first week, I’ll be using Vanity, Lucky, Reign, and Bobby Dazzle together.

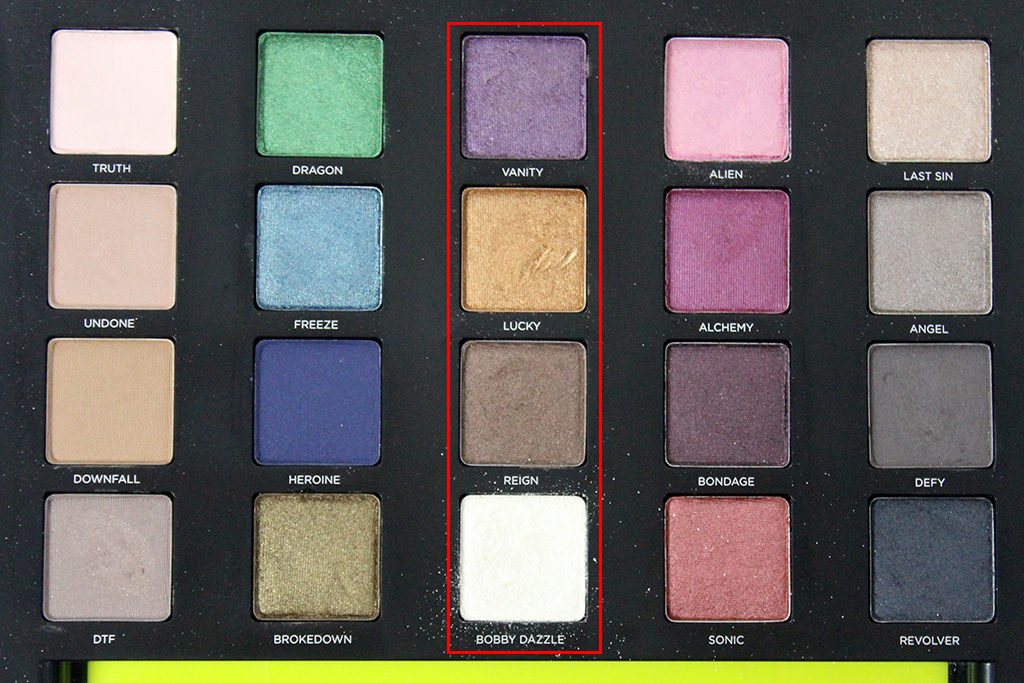
I used the Milk pencil on my lower lid with Painterly on the upper lid and brow bone. I then applied Bobby Dazzle all over my lid. Can you see the difference? It’s a stark white on my lid, but a gentle shimmer on my browbone. I worked Lucky and Reign into my crease, and used Lucky and Vanity on my lower lashline. Starting with this column of shadows made this one easy; I’m definitely looking to some of the others being a challenge.

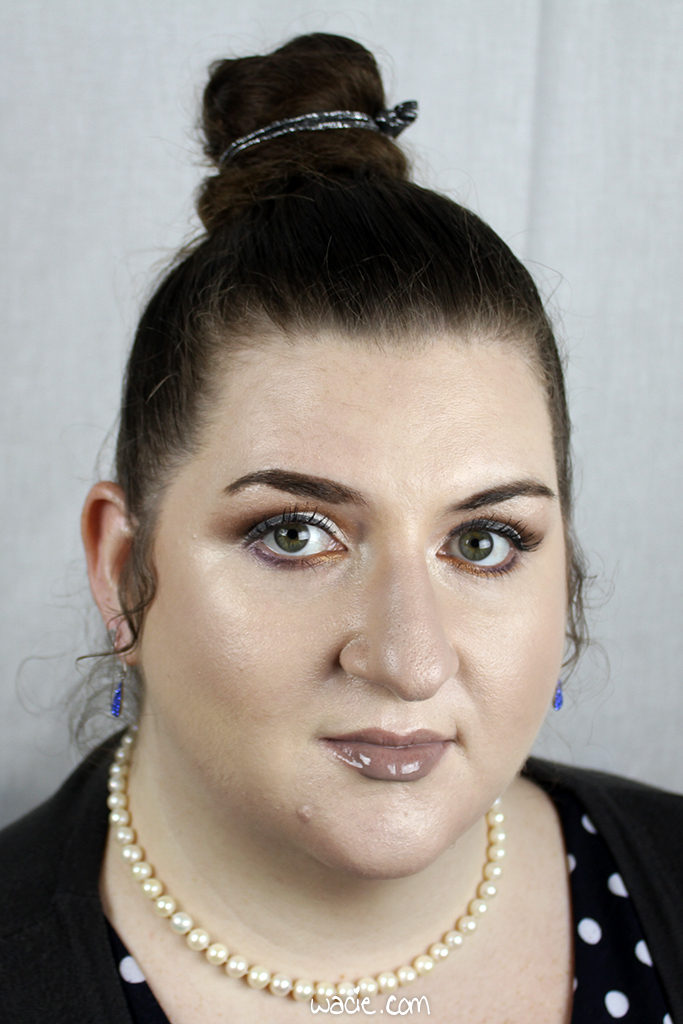
Here’s the whole look! Everything on my face is mentioned in this post. I plan to do a different eye look each week to match my Manicure Monday look, and I’ll post the eyeshadow of the day on Instagram, so follow me there to stay up to date. I won’t do any update posts until the very end. I hope you’ll follow along with me!

The Marc Jacobs Glowstick was sent for review, which is linked here. This post is not related to that review, and my opinion is not swayed by free stuff.
Everything else I purchased myself.

Swatch Sunday: Butter London’s Tea & Toast

Sunday, Sunday, Sunday!! Here’s a swatch! This is Butter London’s Tea & Toast; I’m wearing three coats with one coat of Seche Vite top coat.

Tea & Toast is a toffee brown creme. Application was very nice; the product consistency was pretty typical for a creme, and is such that I had an almost-opaque first coat, though I tend to do pretty thick coats. Drying times were good, and the polish dries with a glossy finish. I used top coat for extra shine and protection.

I love this shade! I think it’s a pretty unique color in my collection; despite having so many bottles of polish, I don’t own a whole lot of cremes, and especially not many warm caramel ones. It’s elegant and stylish, and I love the look. I thought it was going to be boring!

I think Tea & Toast is discontinued, unfortunately; other Butter London polishes are sold at Ulta and Nordstrom; I got mine at Nordstrom Rack!

I bought this polish myself.