HPB Presents: Silly Halloween Cats

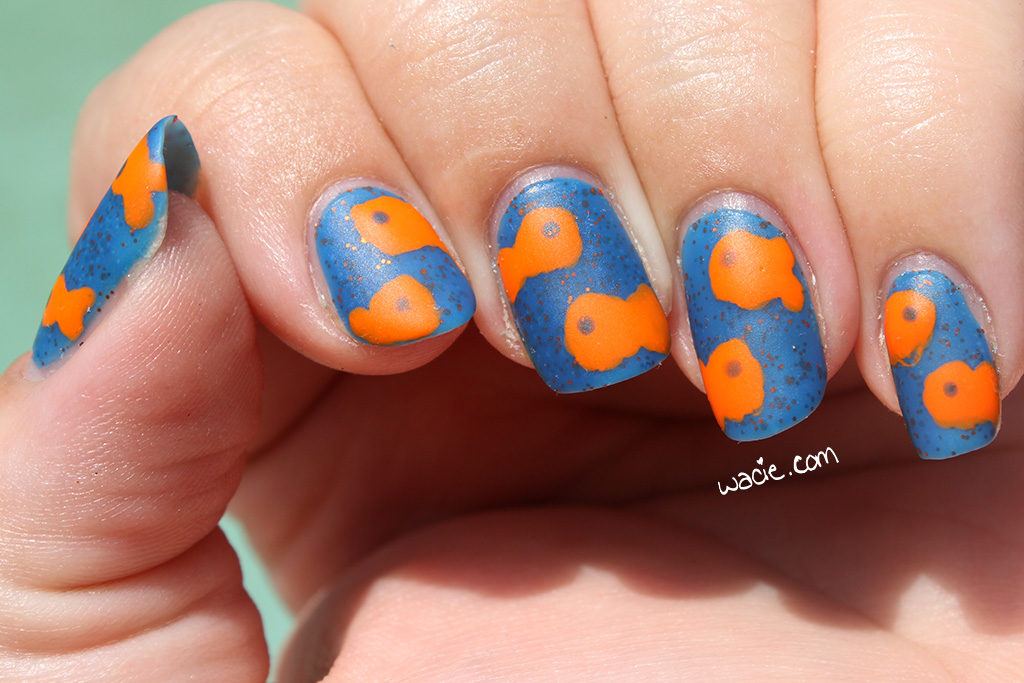
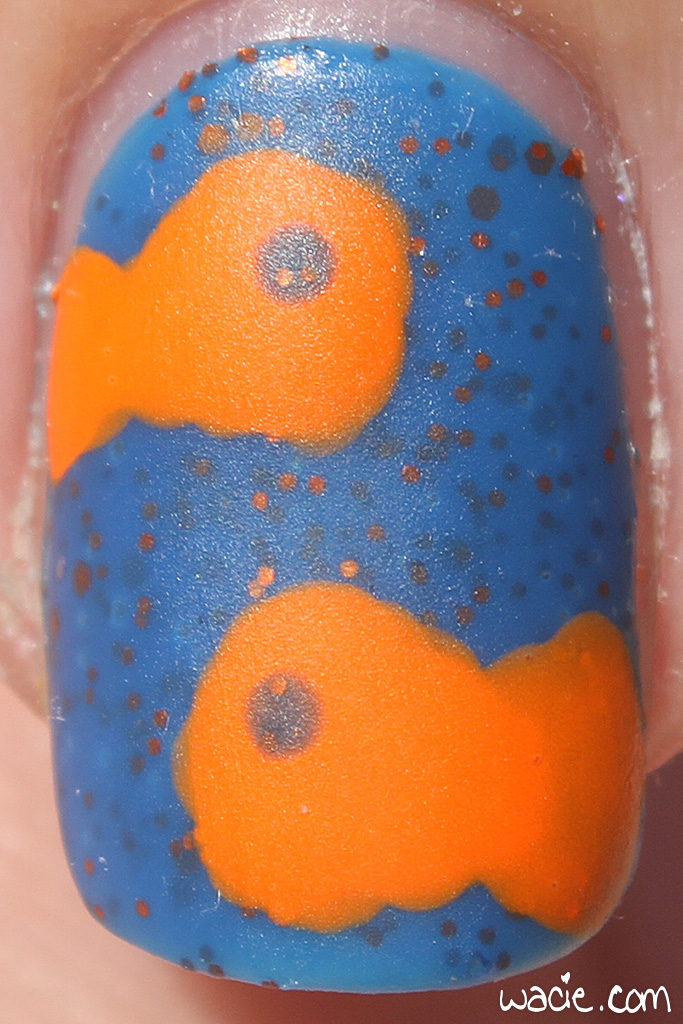
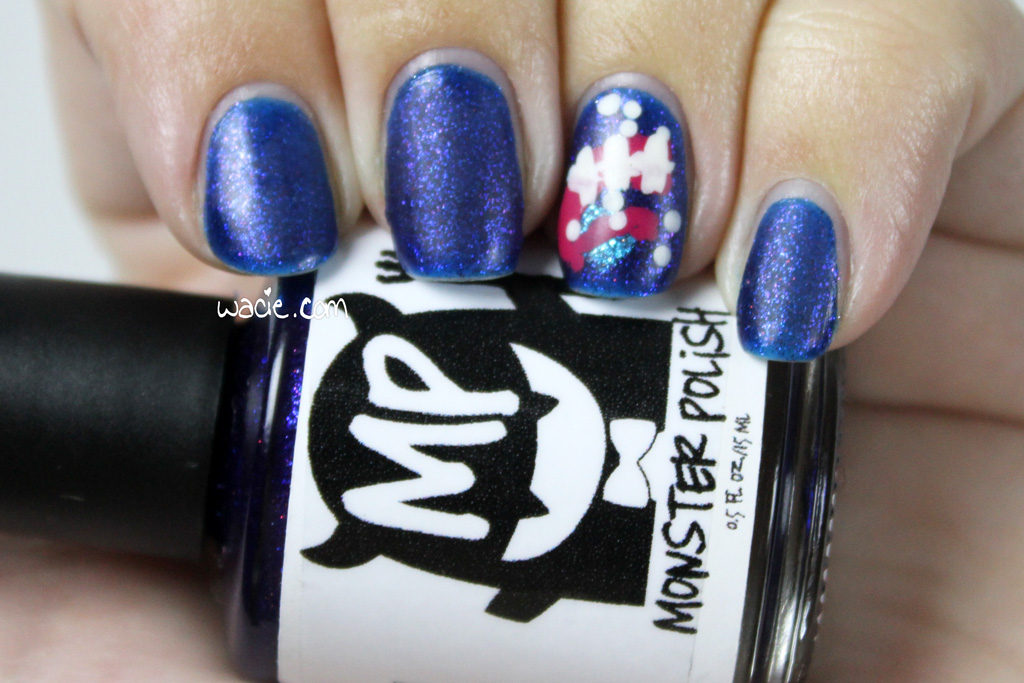
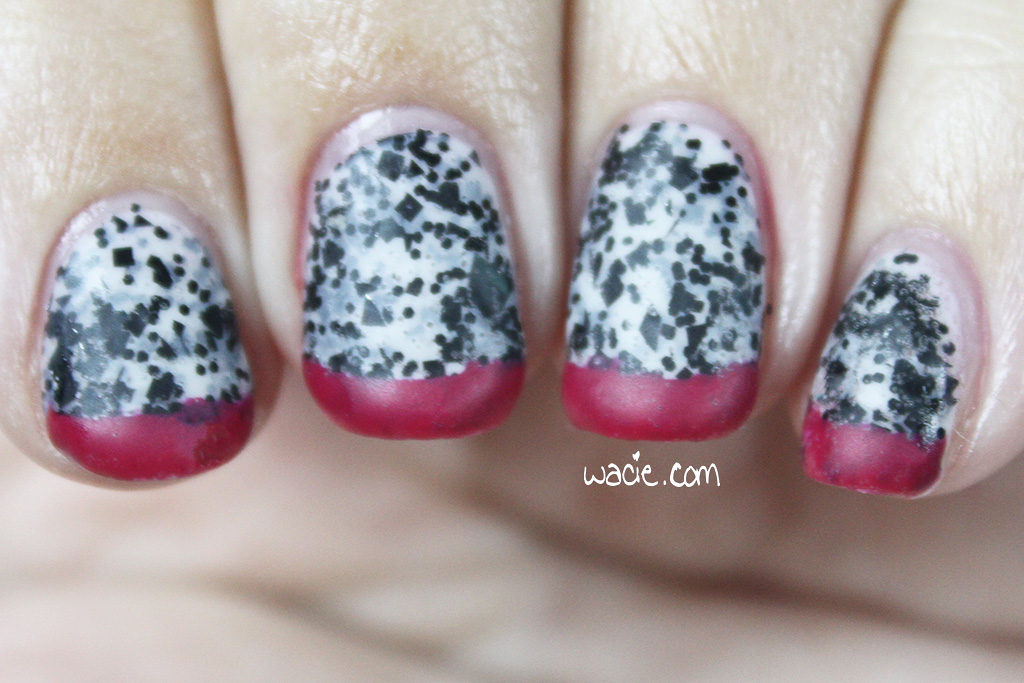
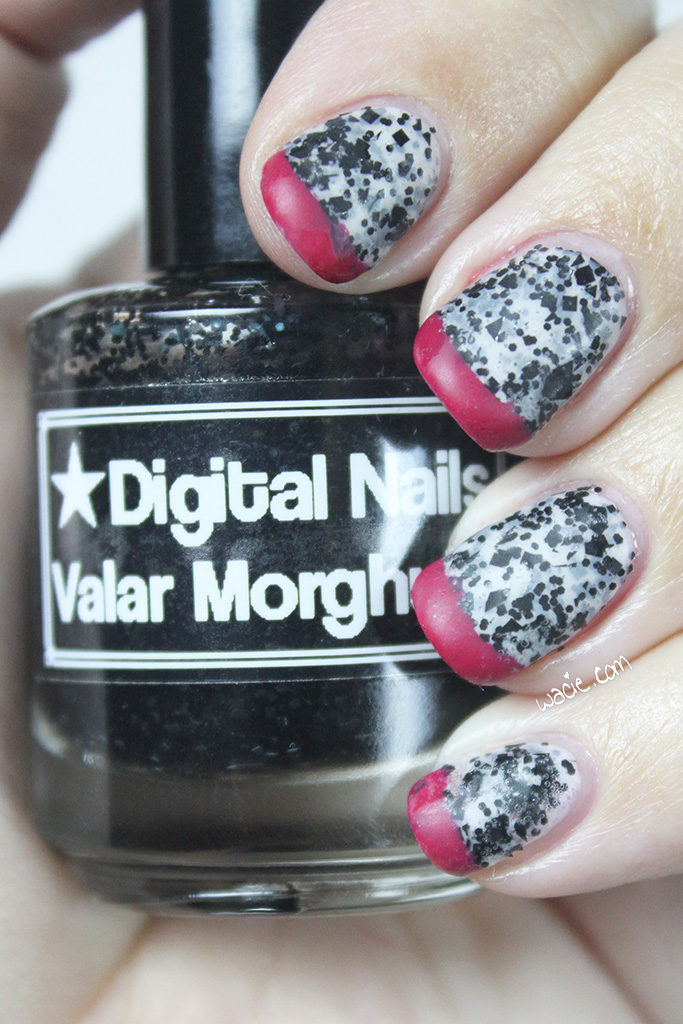
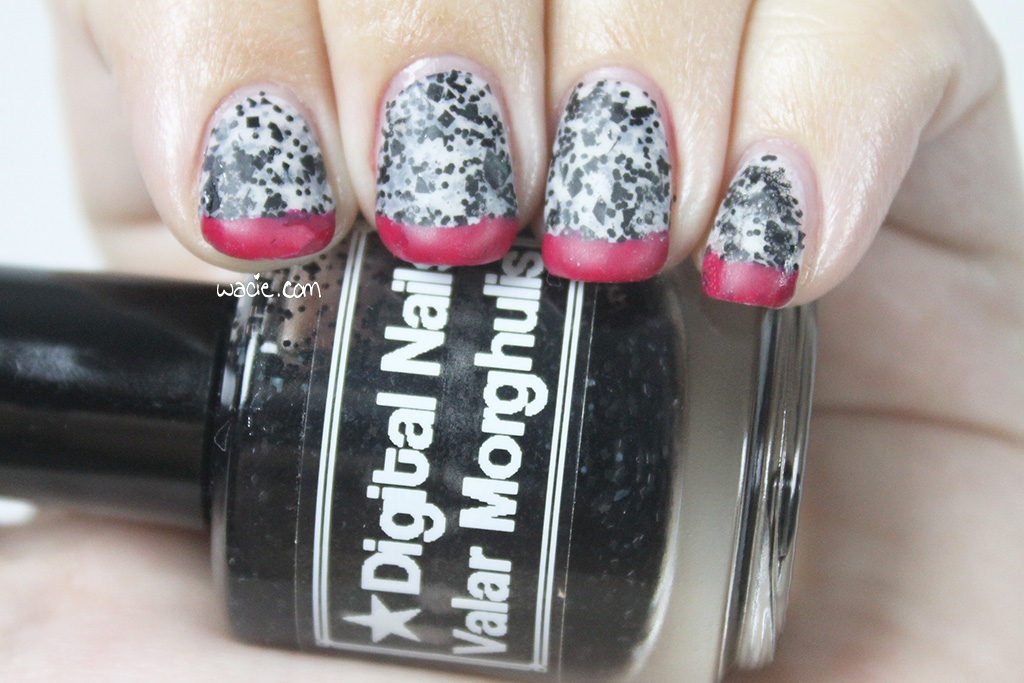
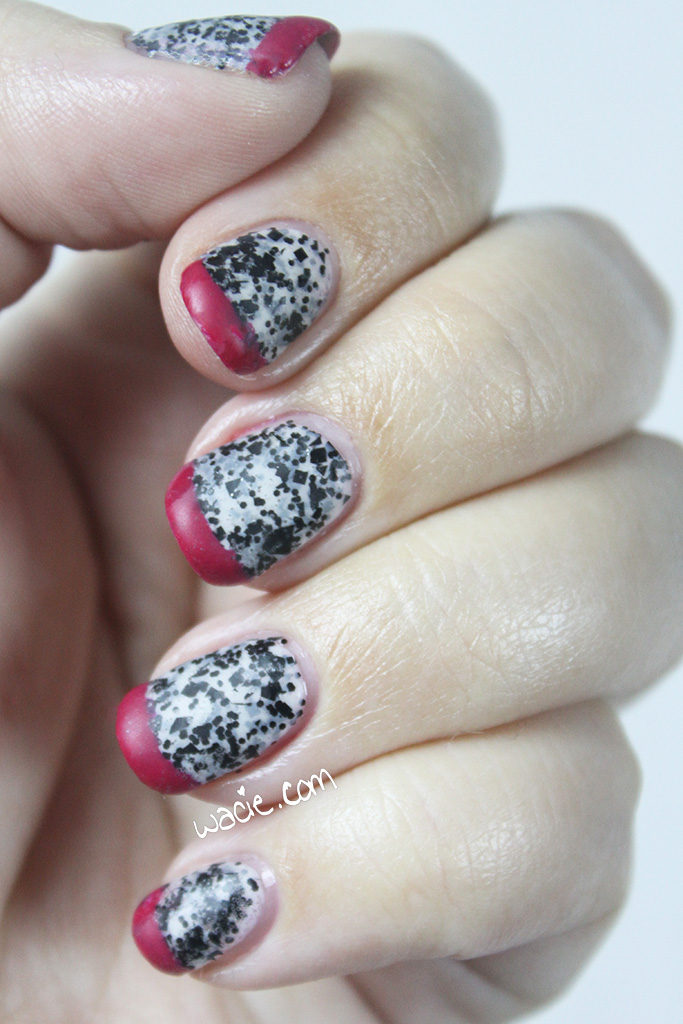
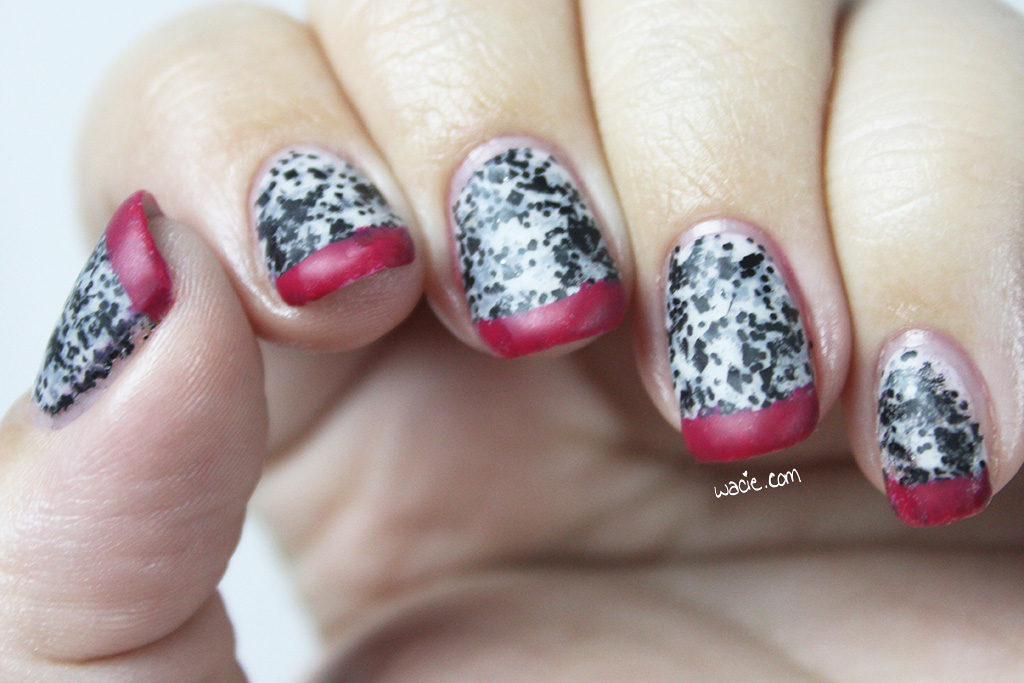
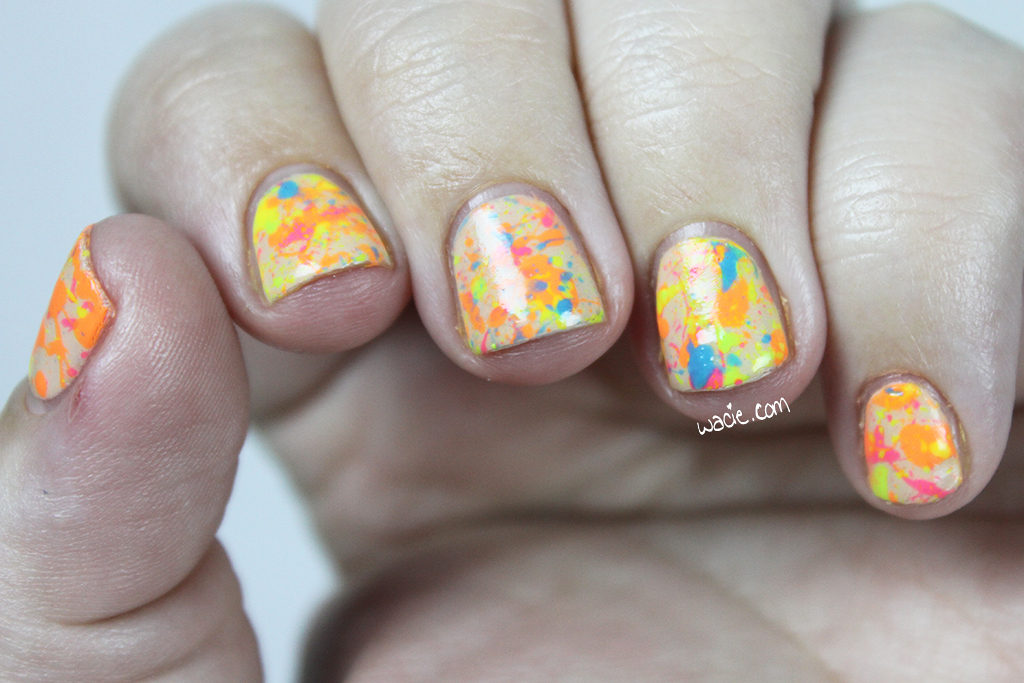
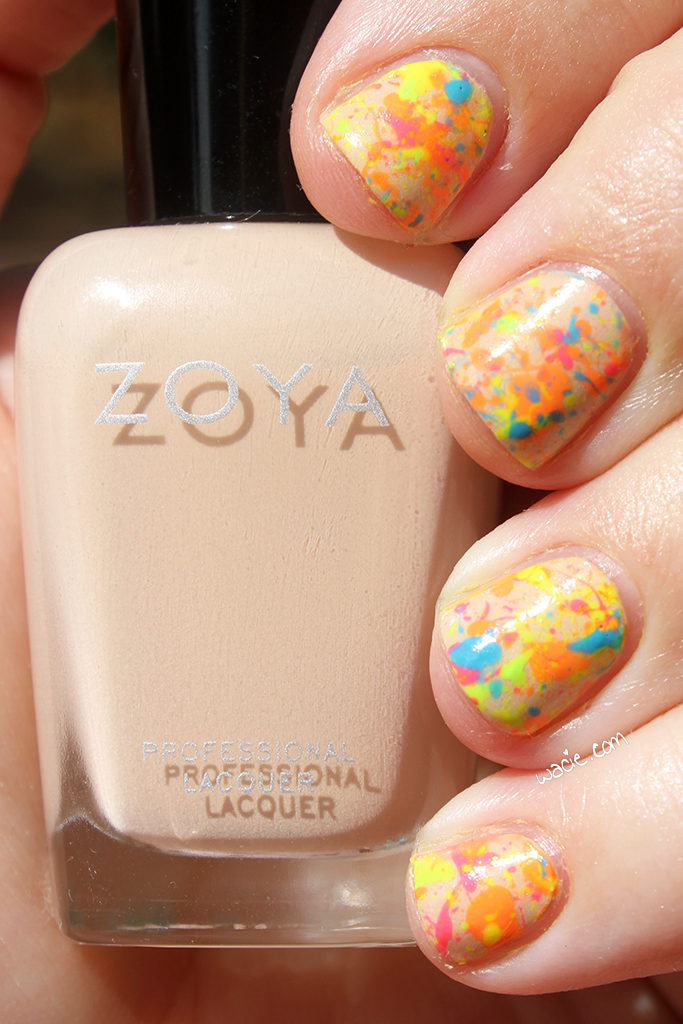
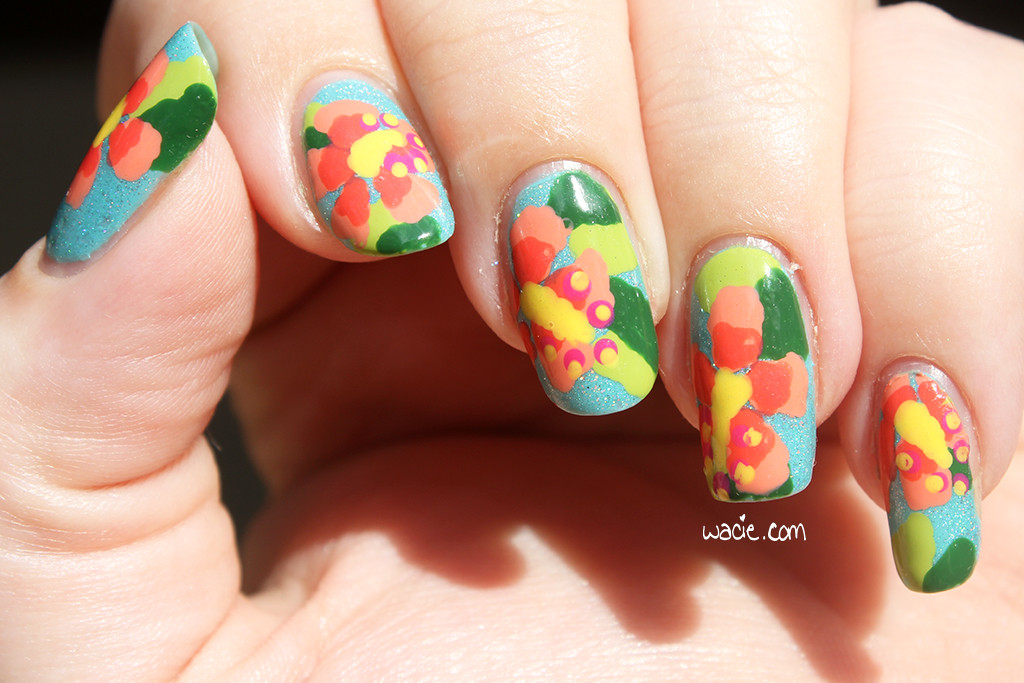
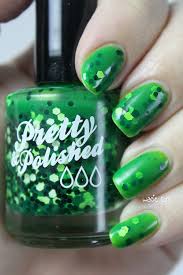
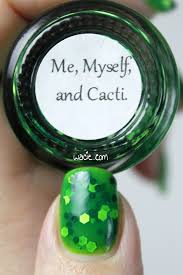
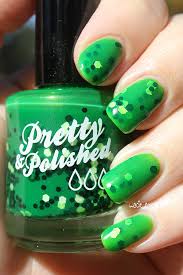
It’s that time again: It’s the Hobby Polish Bloggers linkup for the month of October! Every month, the HPB Facebook group gets together to do a themed mani. Of course, October’s theme is Halloween! I’d been seeing the cat tips around, so I decided to try it out myself. I used Zoya’s Chantal, the no-name glow in the dark polish from Rite-Aid, Sally Hansen’s Black Out, and Enchanted Polish‘s Ectoplasm.

img_61122

img_61202

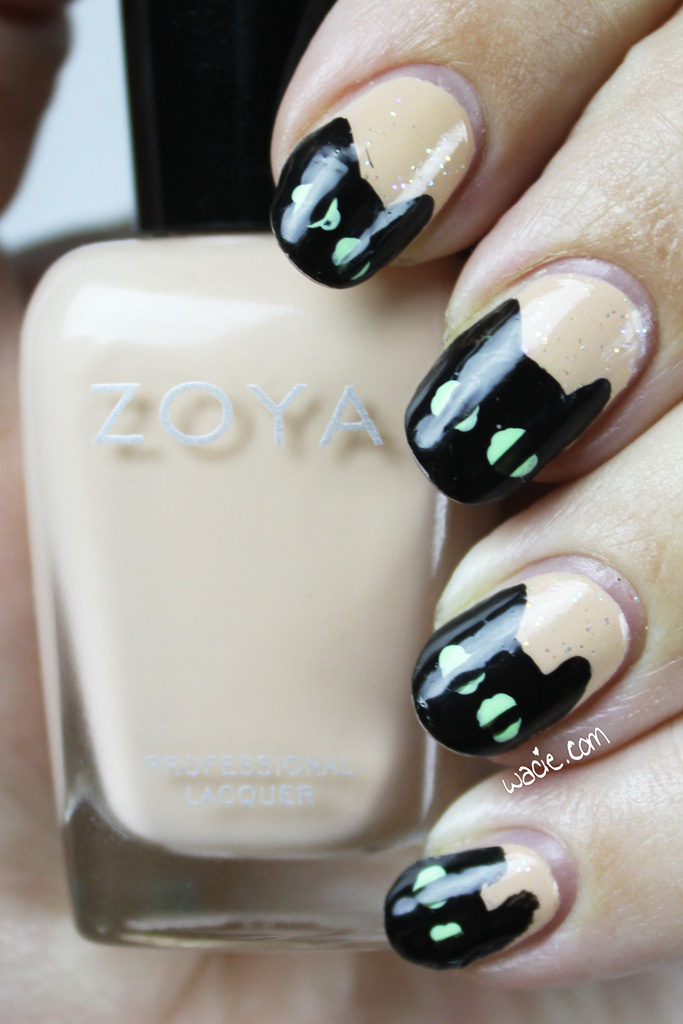
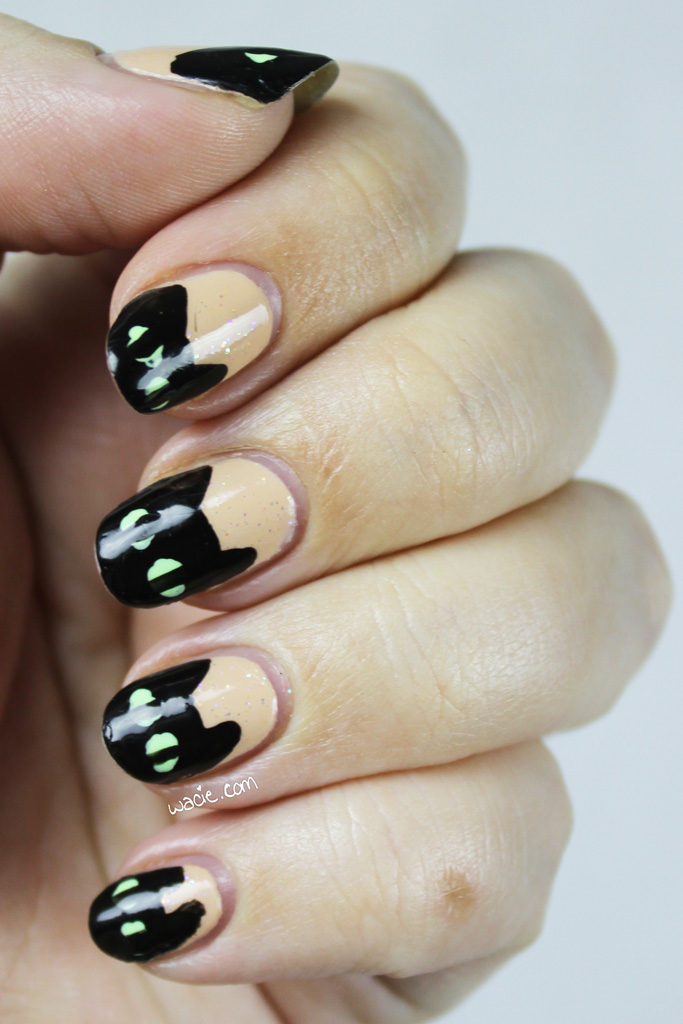
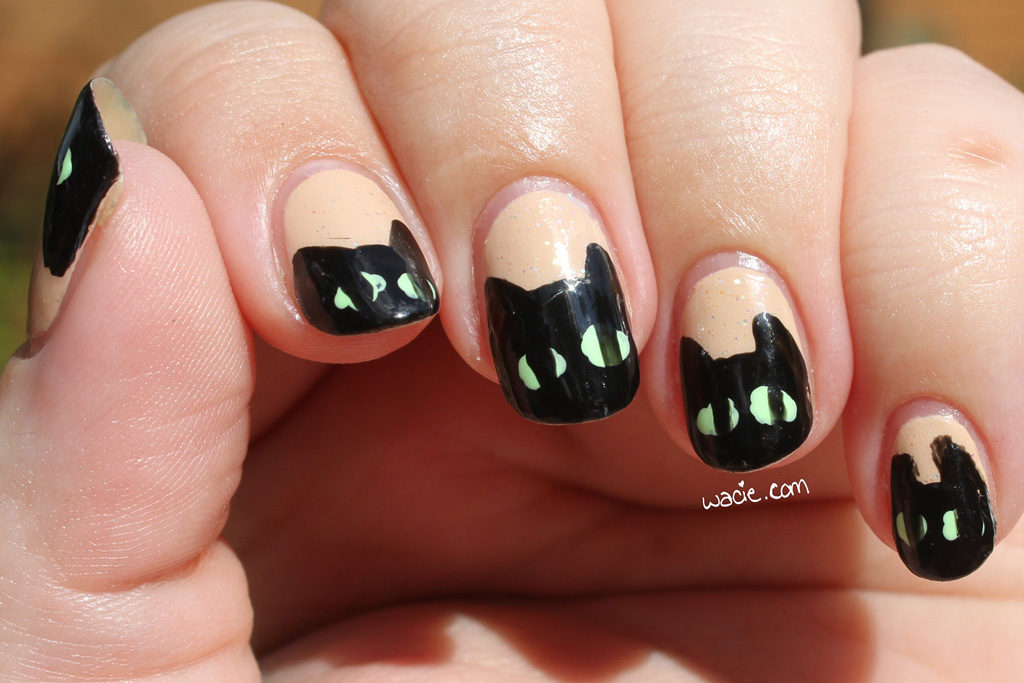
I don’t really like doing holiday nails, so I wasn’t that excited about the theme. I went with the black cat tips because it’s more cutesy than Halloweeny, and also resembles one of my own cats. It fits the theme while also dodging it, and I’m happy about that.

img_61252

img_61292

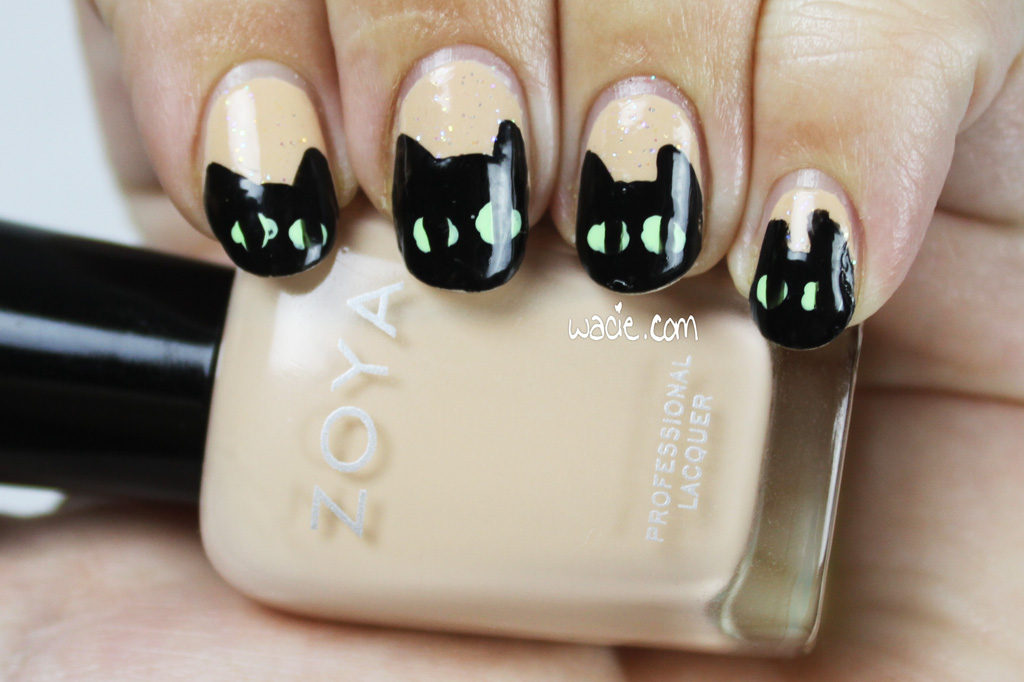
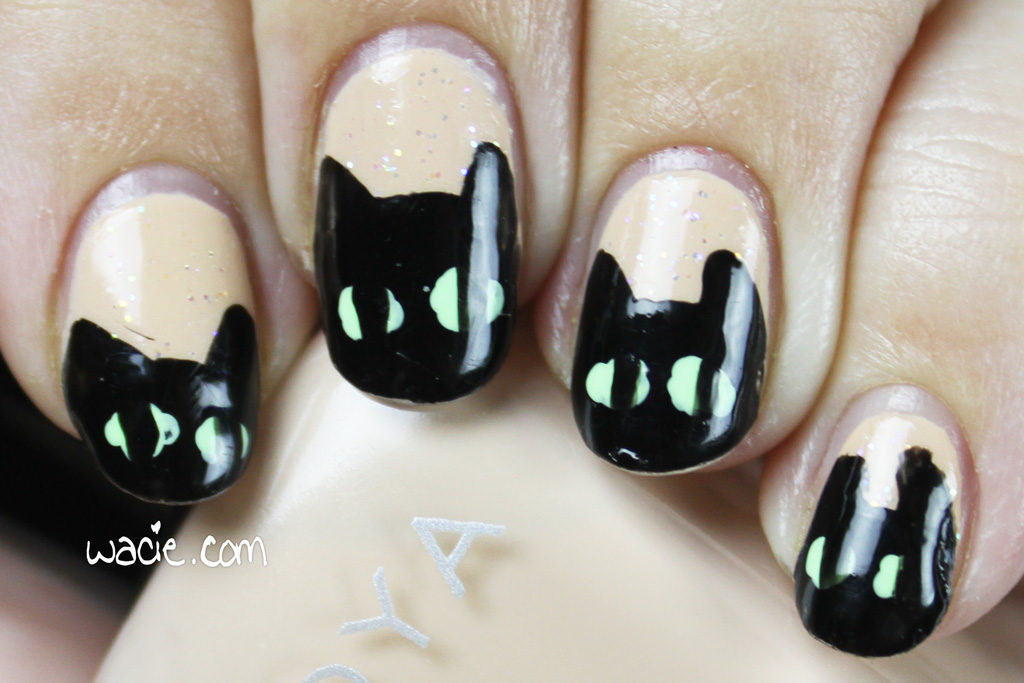
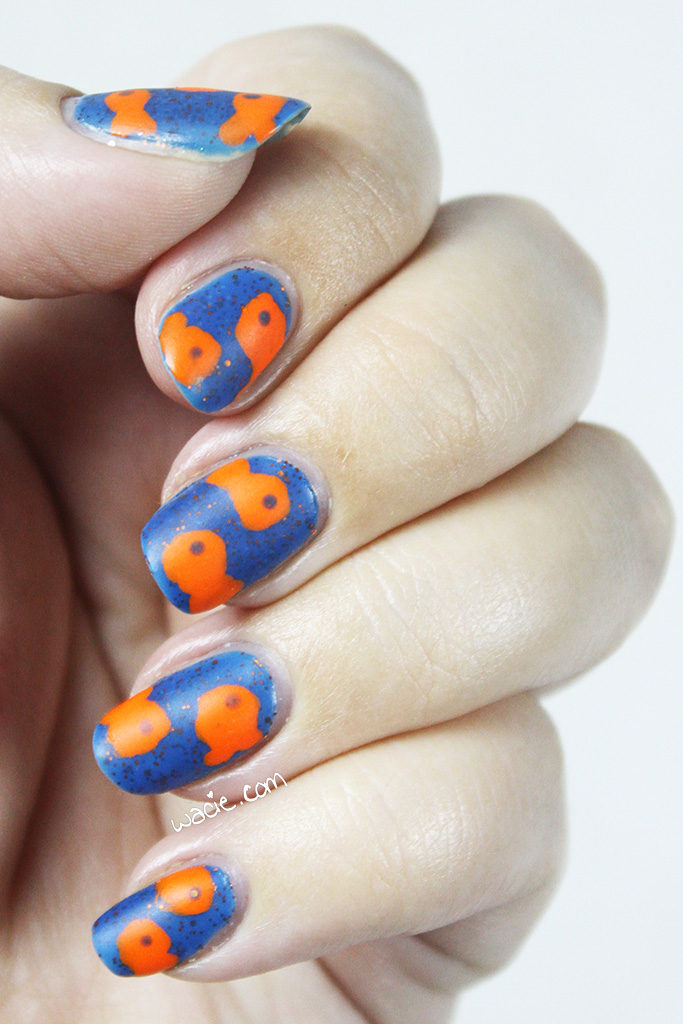
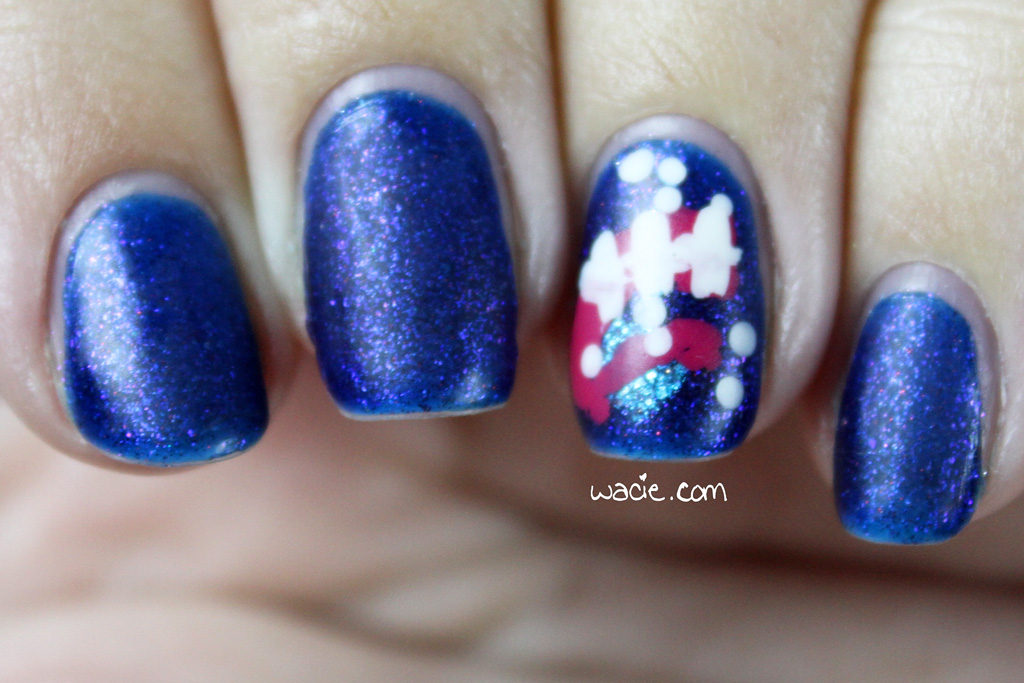
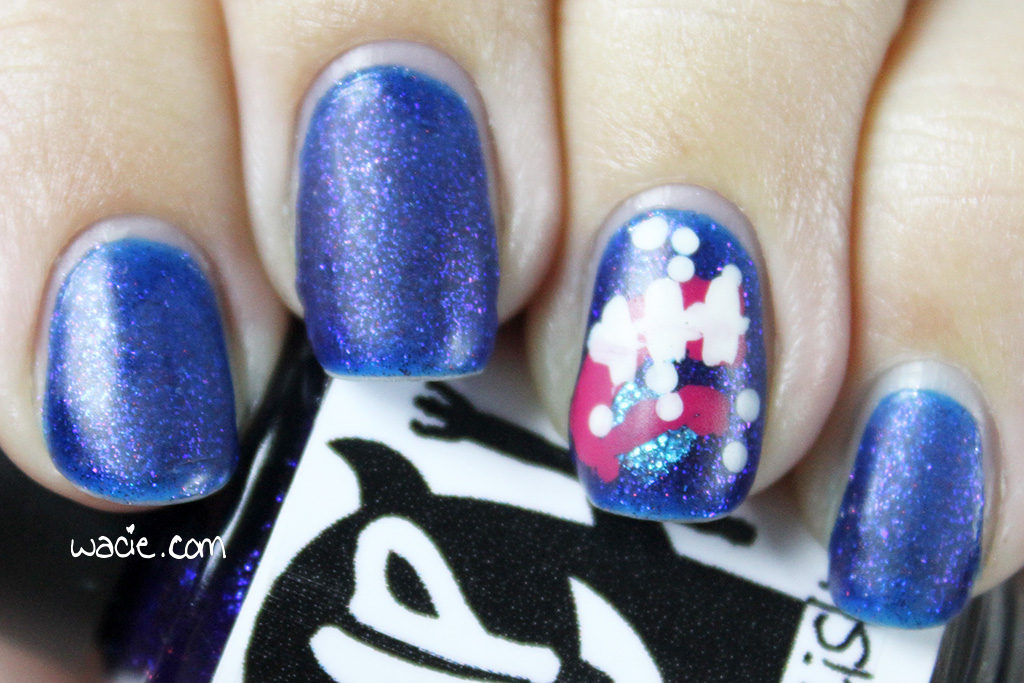
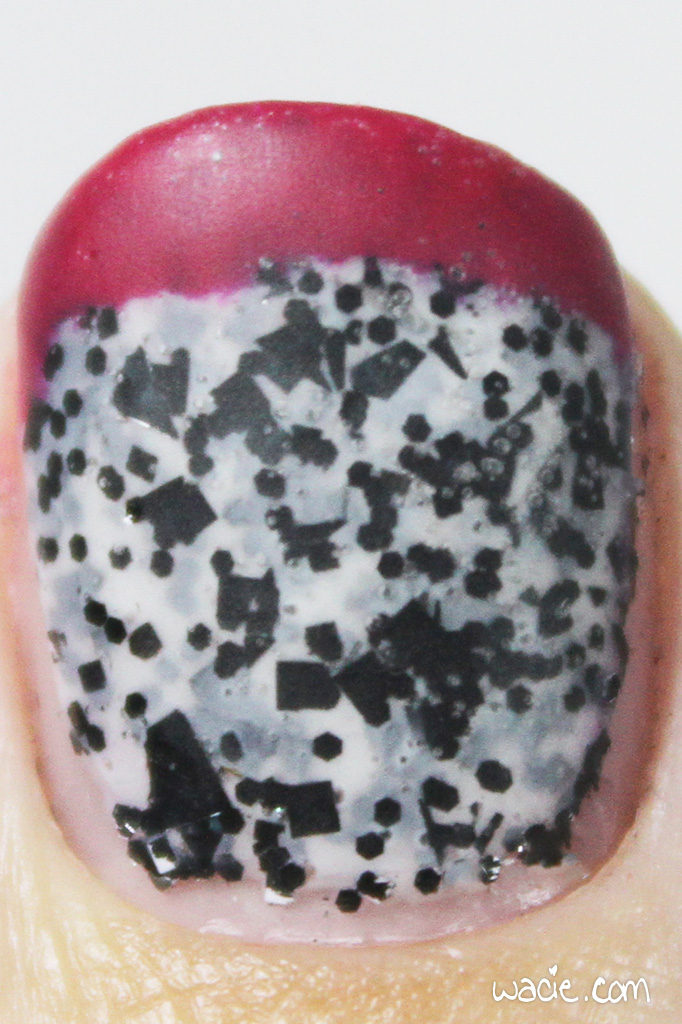
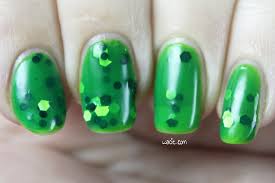
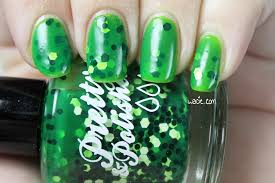
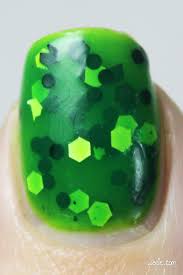
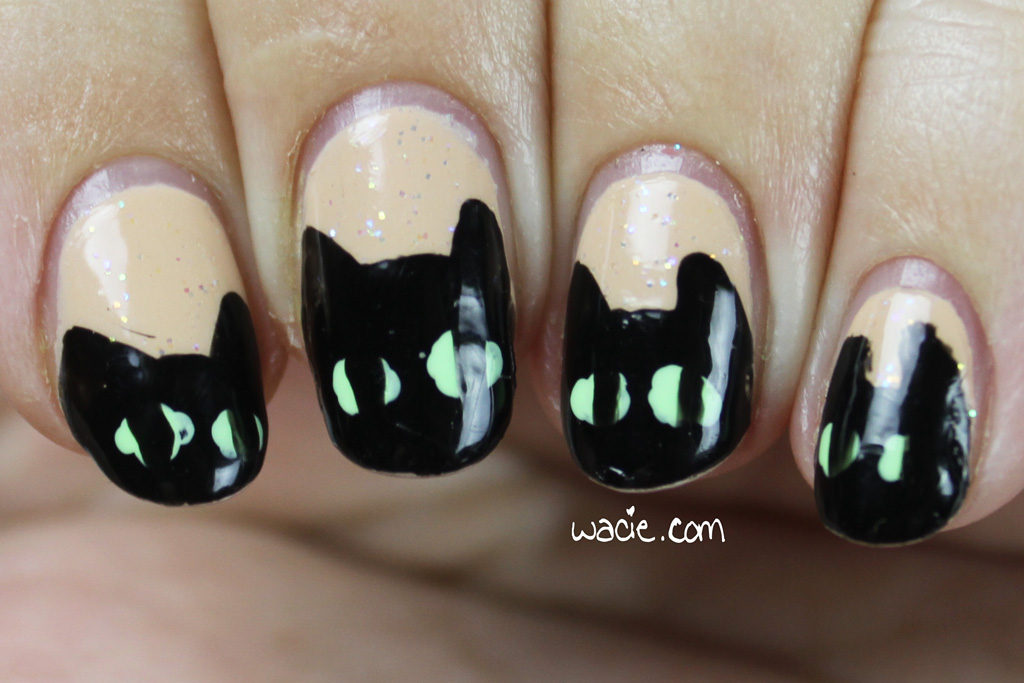
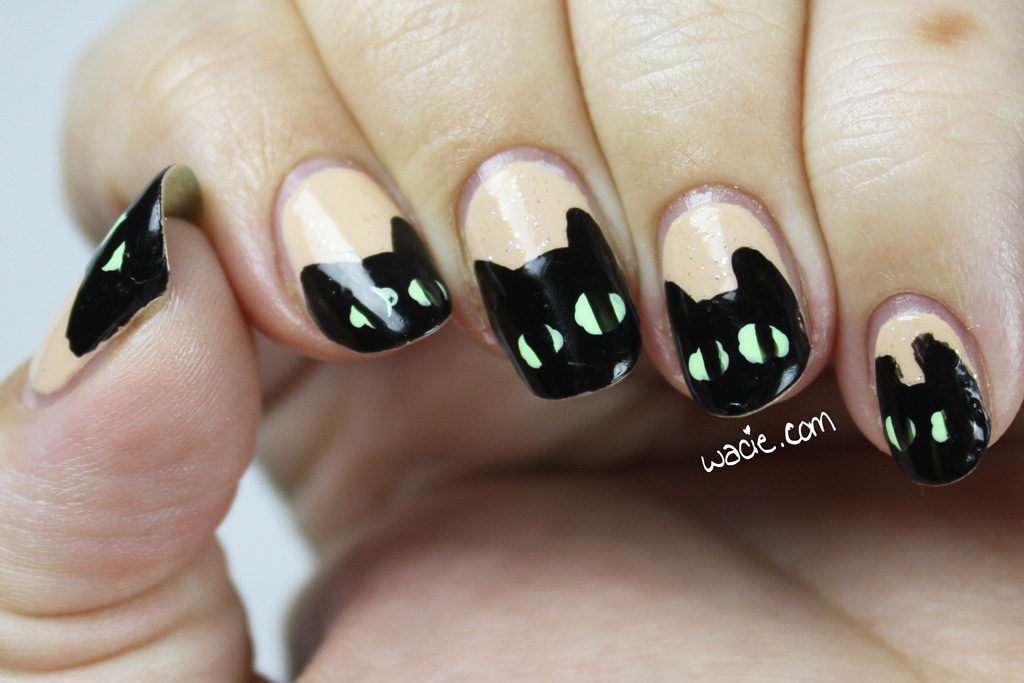
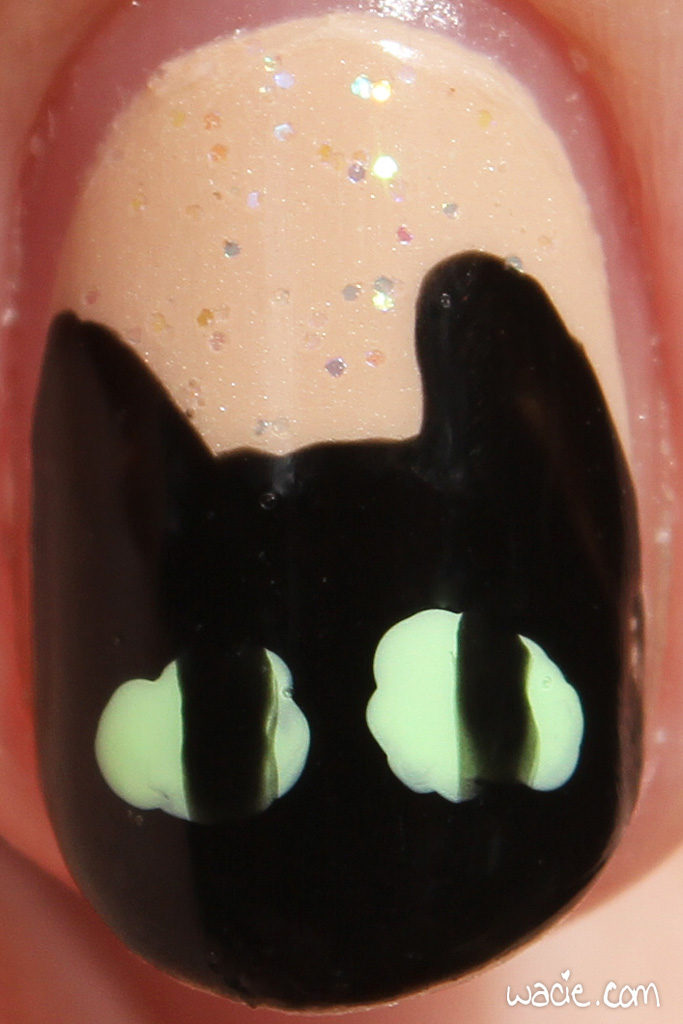
I started with three coats of Chantal; of course, I wanted fewer but could never get it even until the third. I also used two of the glow in the dark, since the glitter is so sparse. I’m pretty happy with the art job I did with the cats; I did the head shape with the polish brush itself, did the ears and pupils with a thin art brush, and used the dotting tool to apply the iris. That part is a little wonky, but I’m happy everything else looks the way it should.

img_61322

img_61372

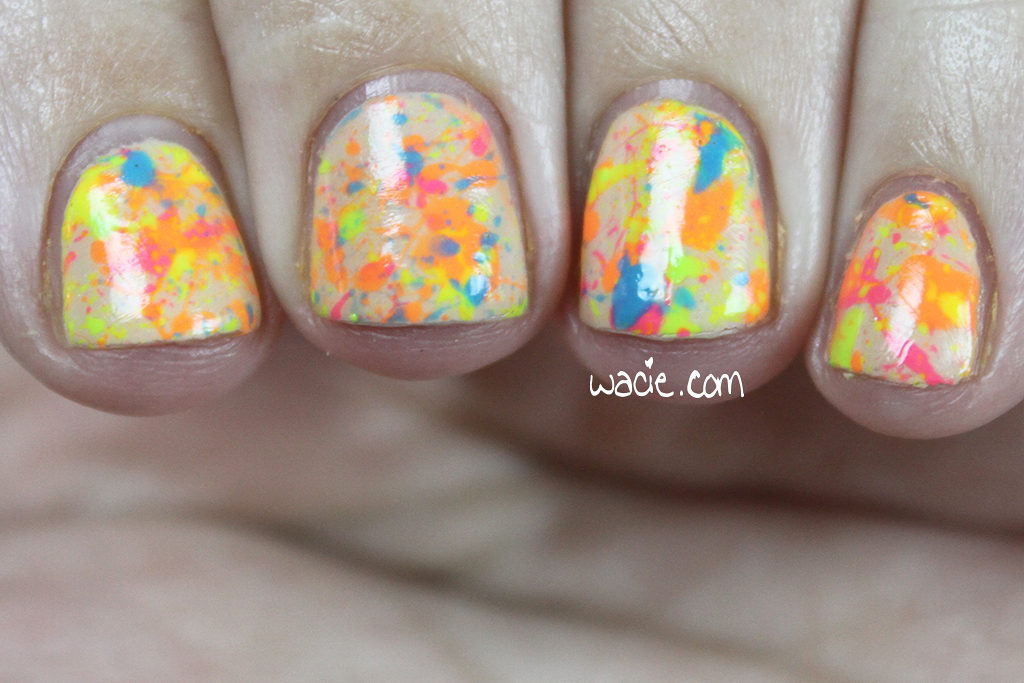
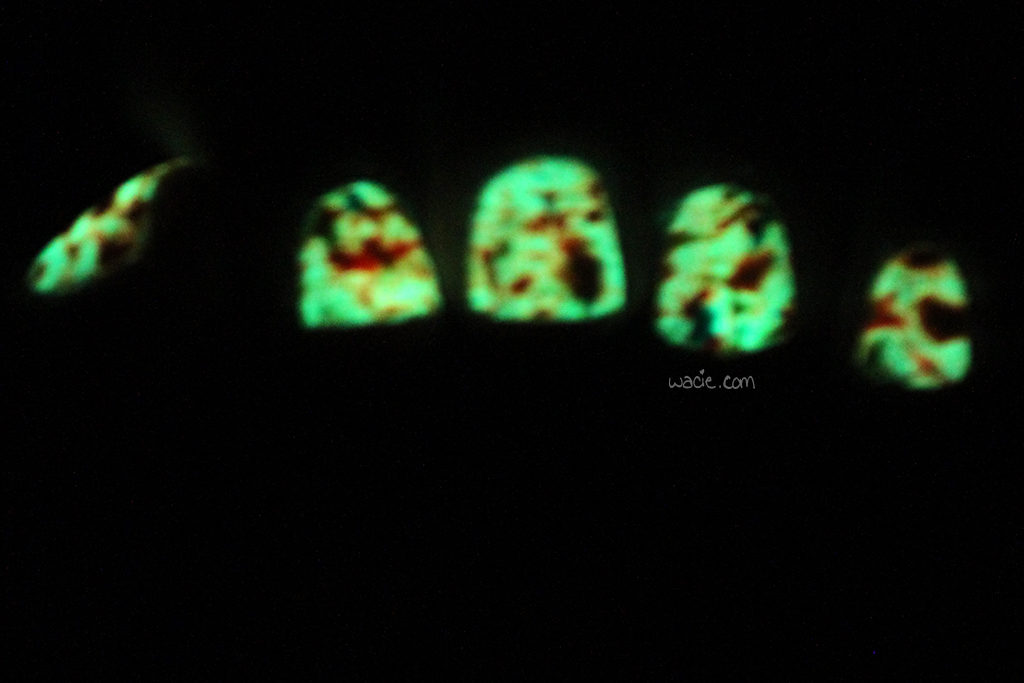
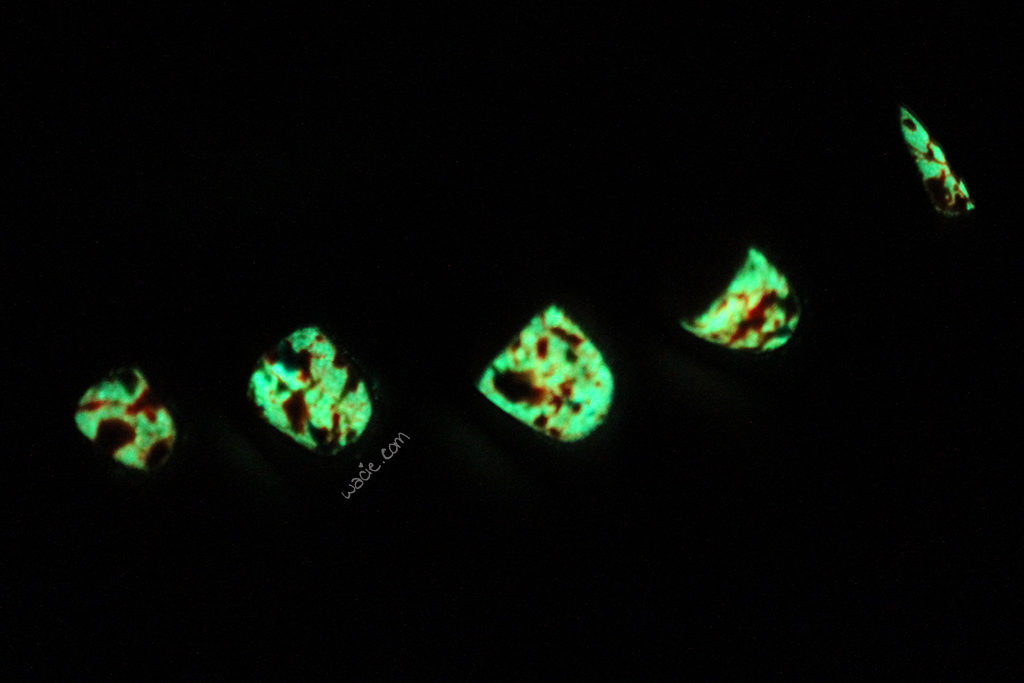
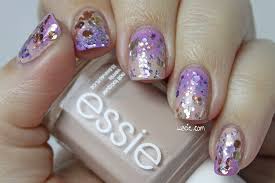
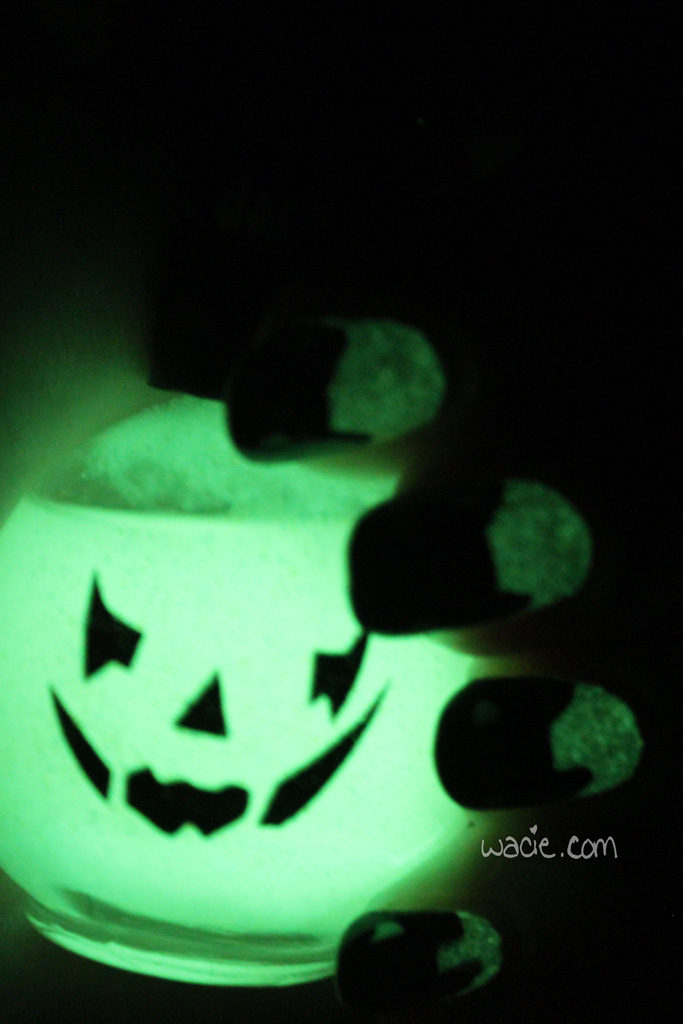
Remember I said I used glow in the dark polish? This part didn’t turn out quite the way I wanted, though it looks really cool in the photo. In real life it just looked weird. This photo was taken in complete darkness.

img_61442

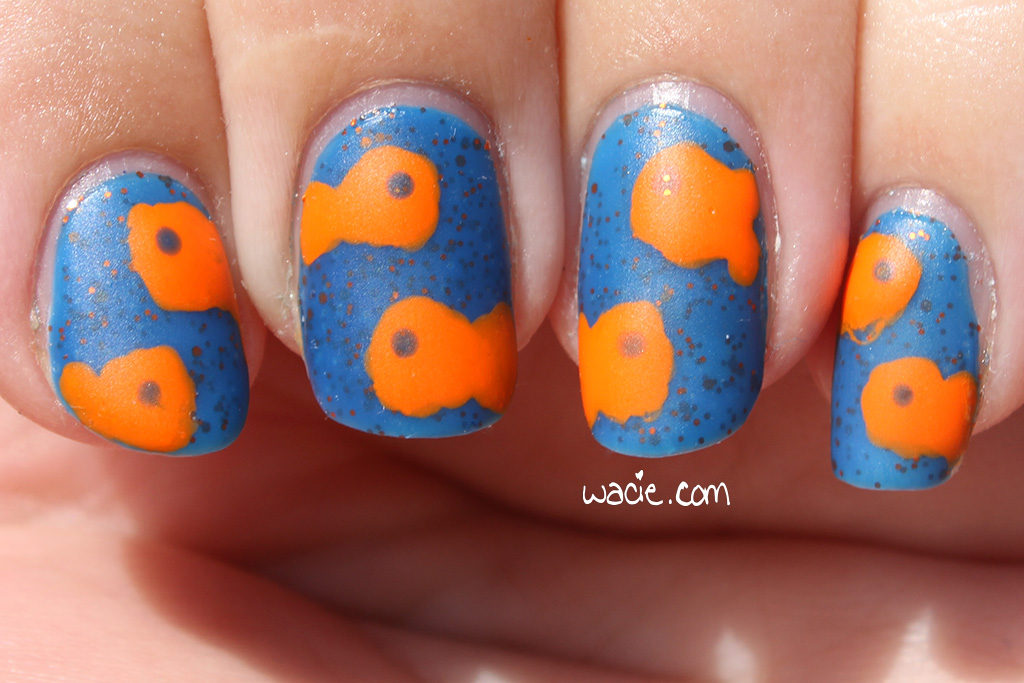
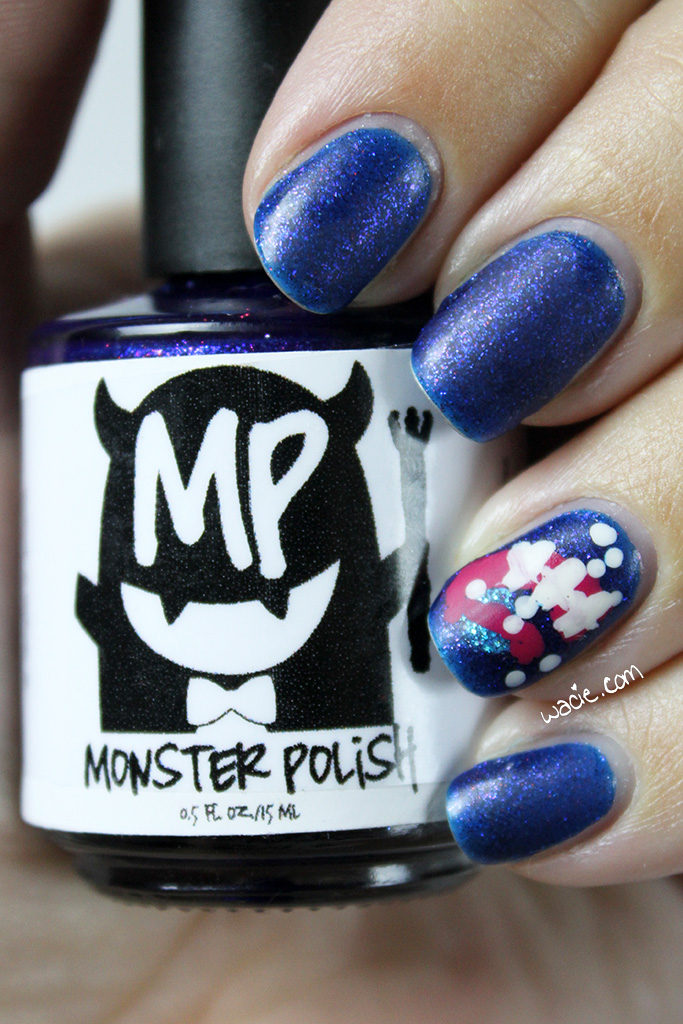
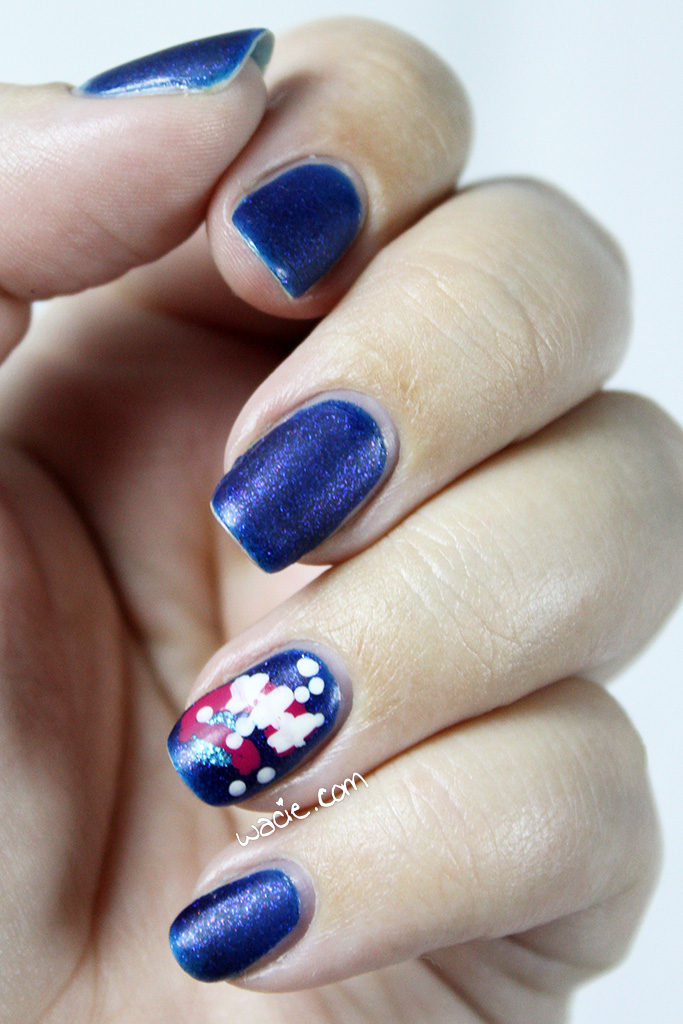
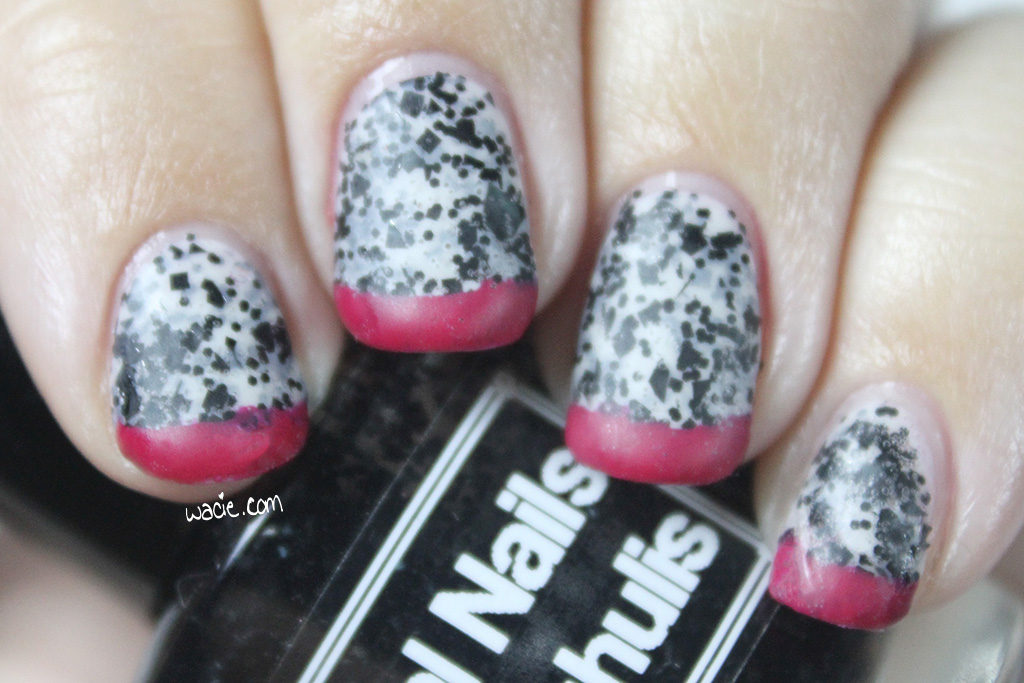
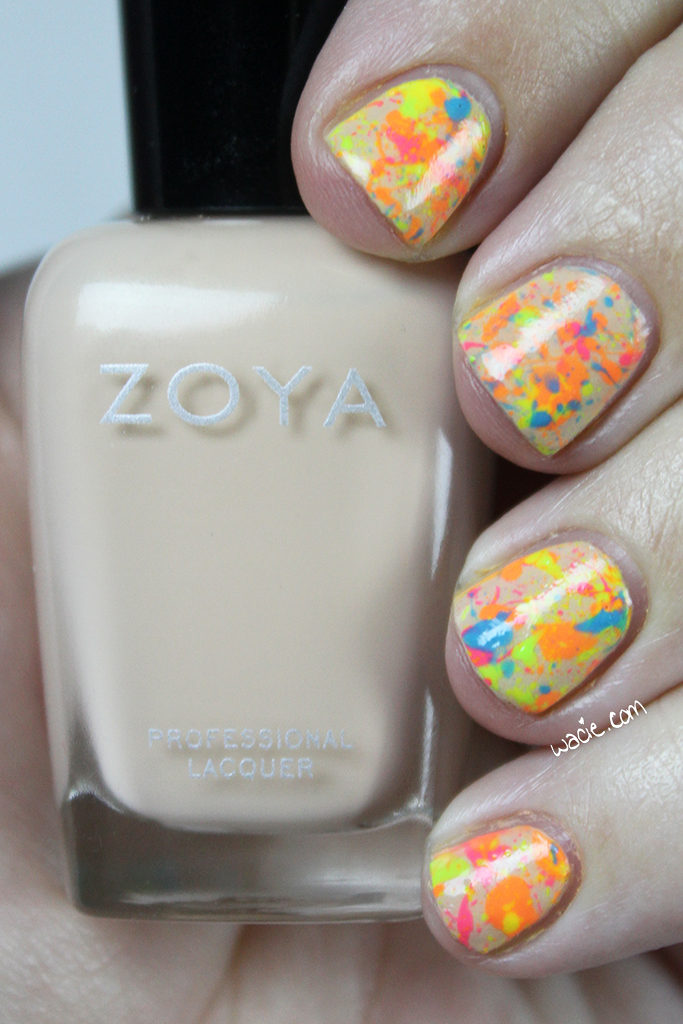
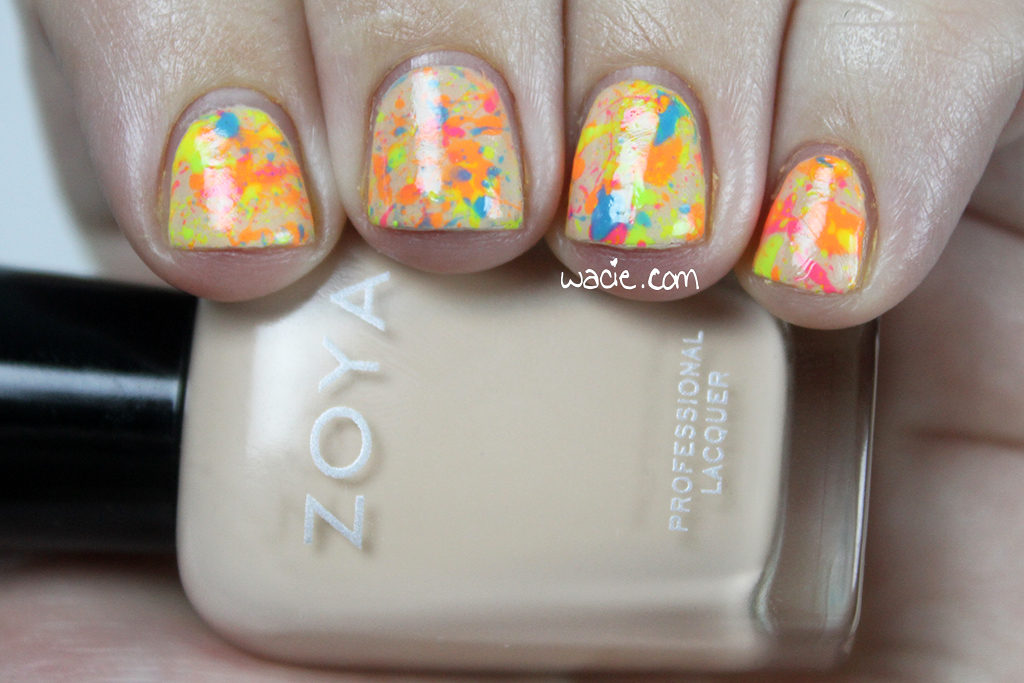
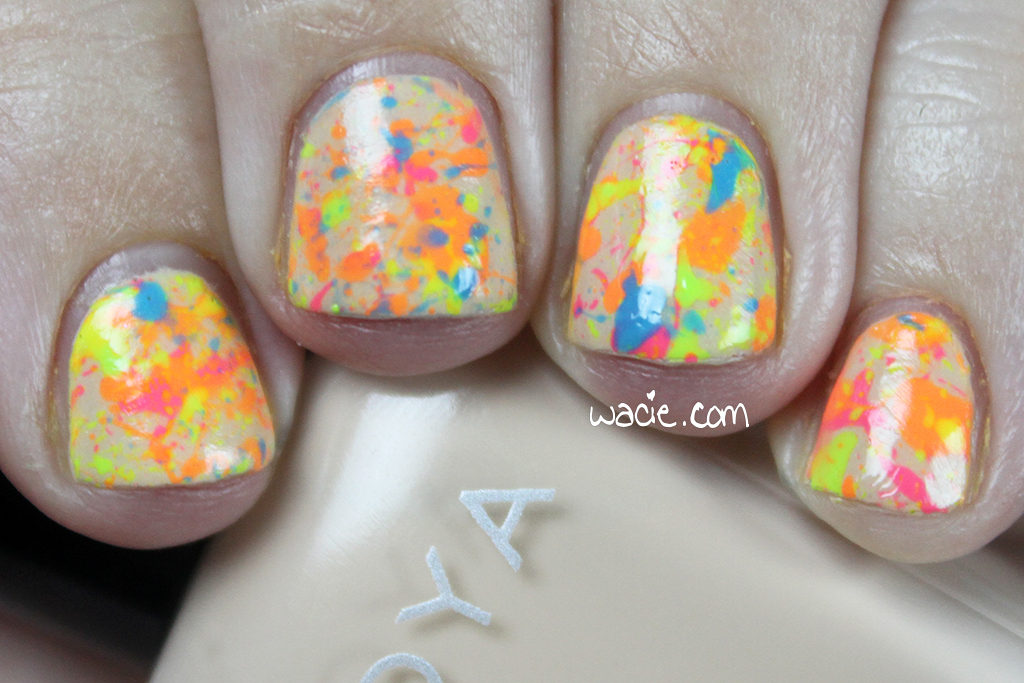
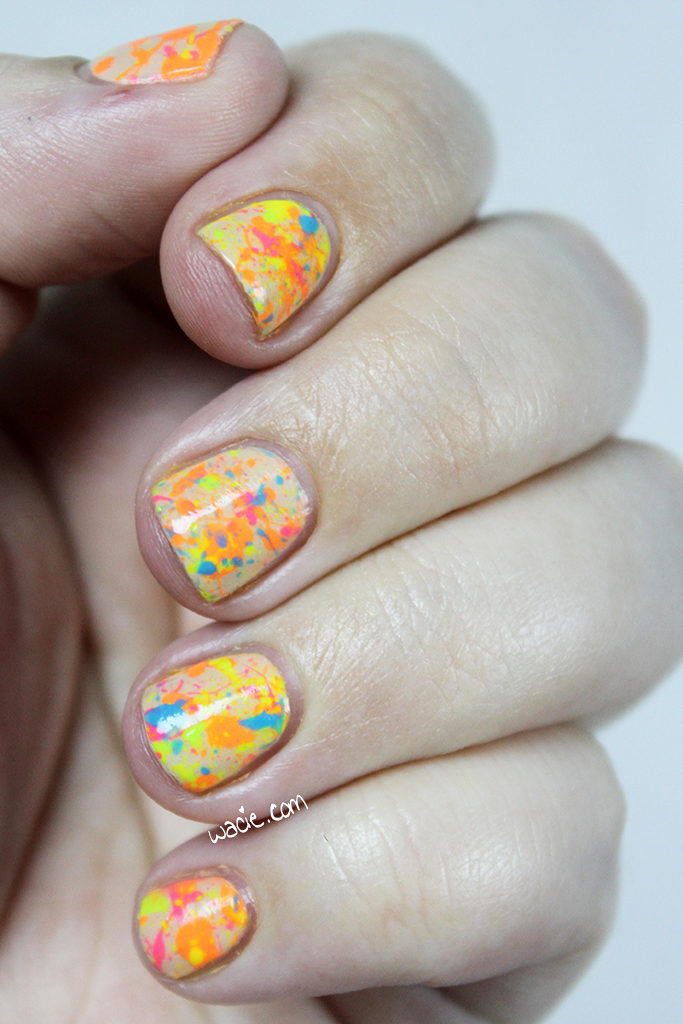
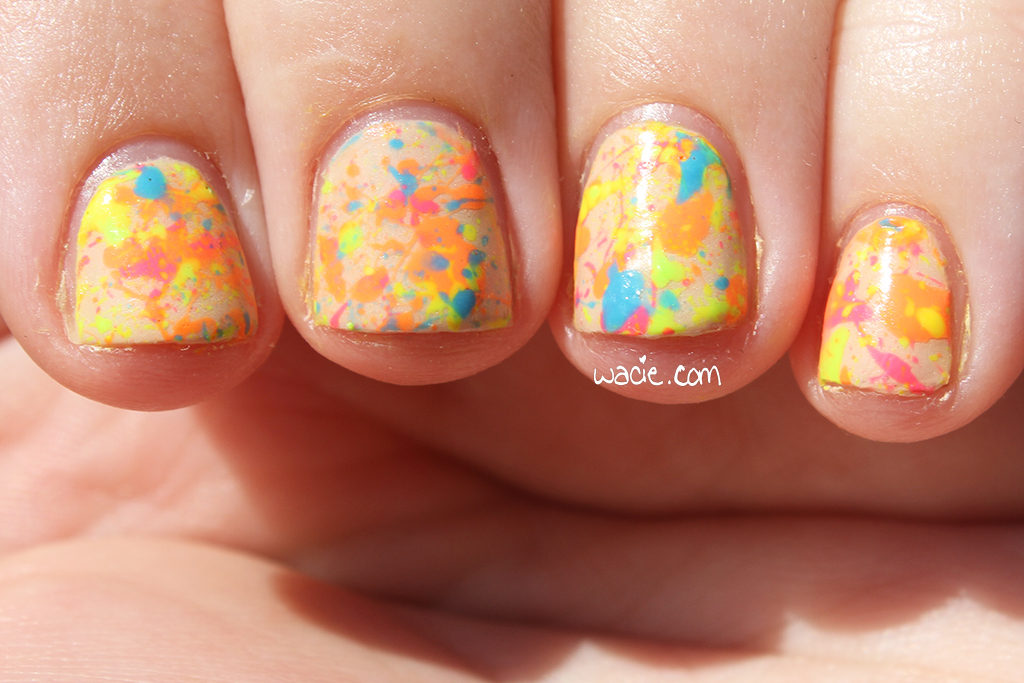
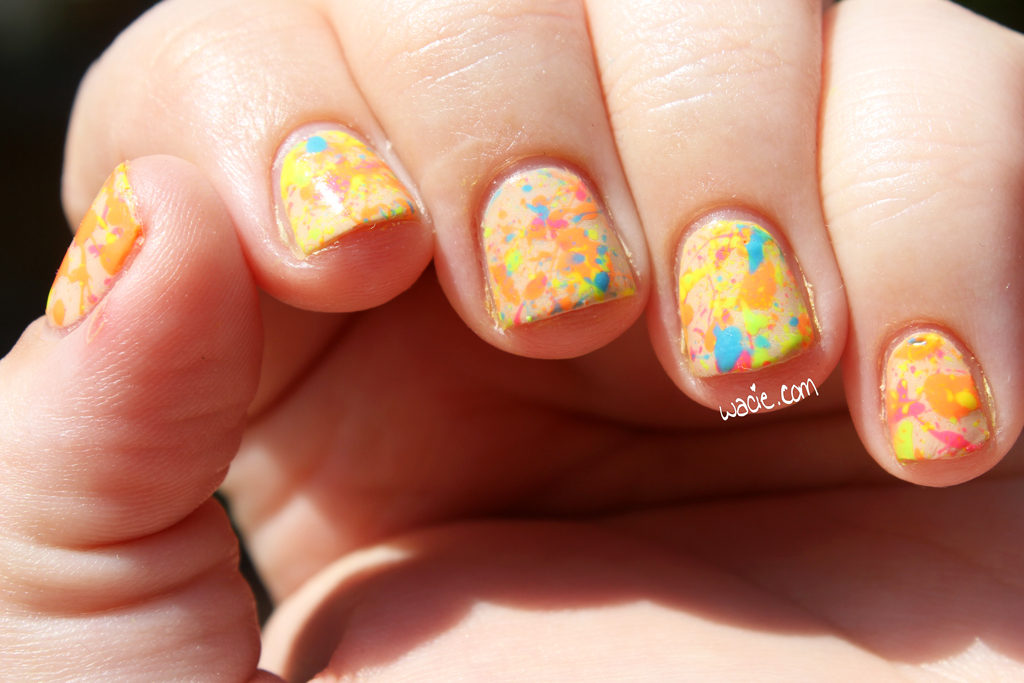
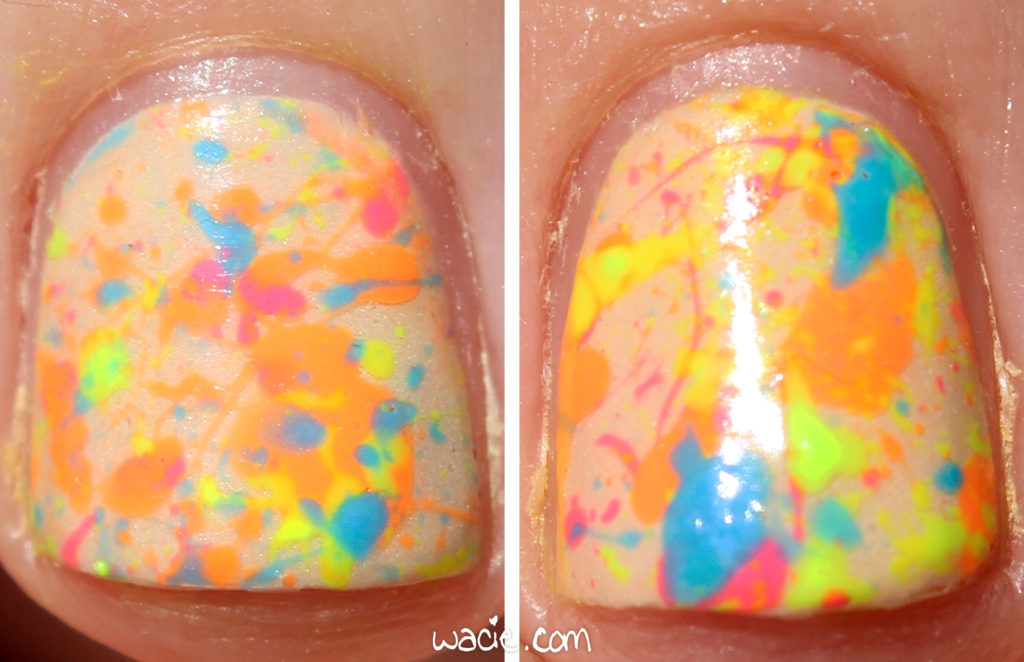
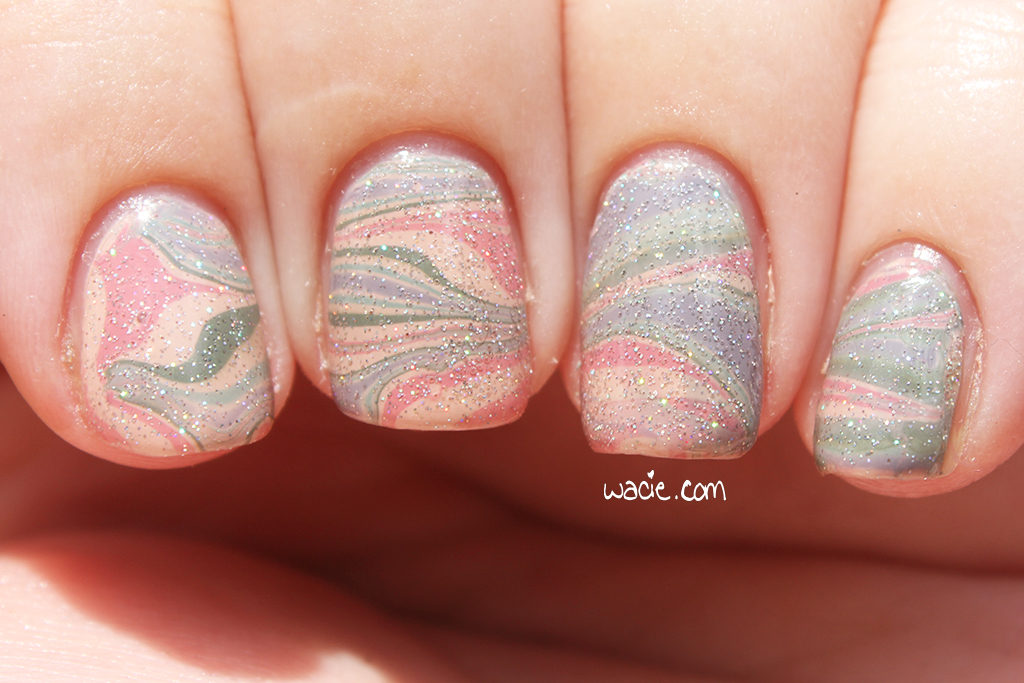
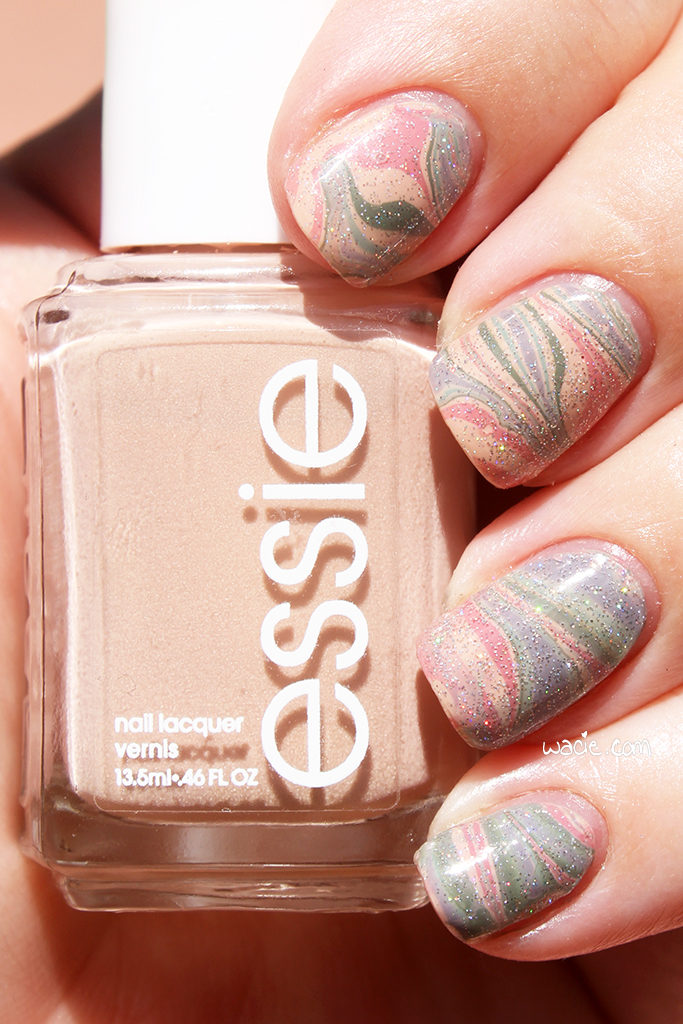
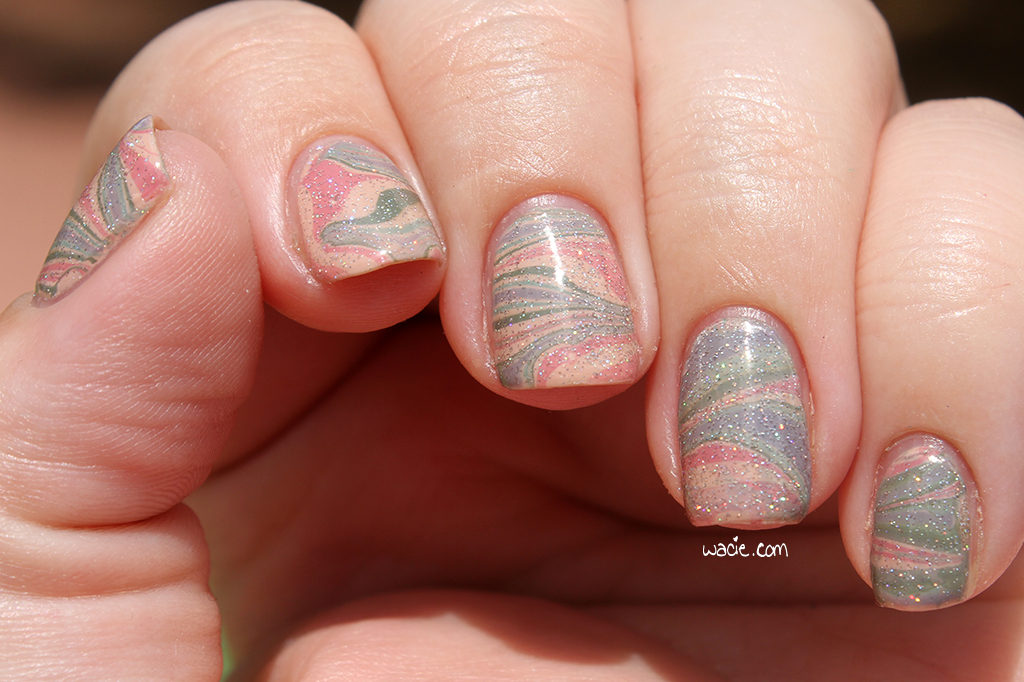
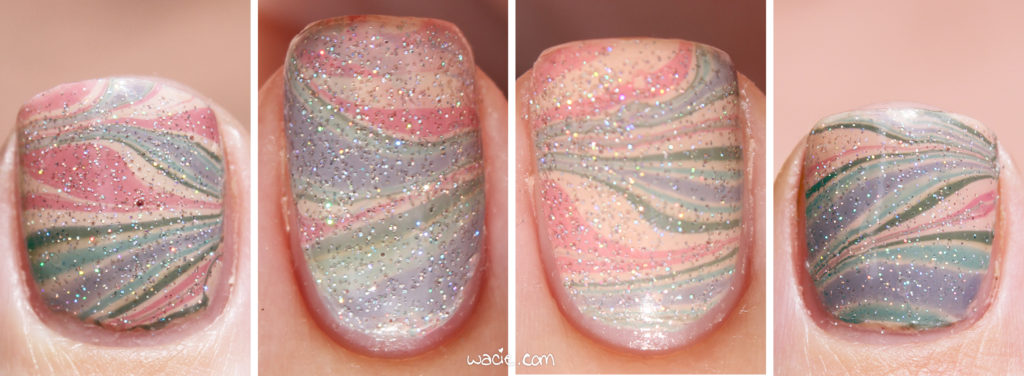
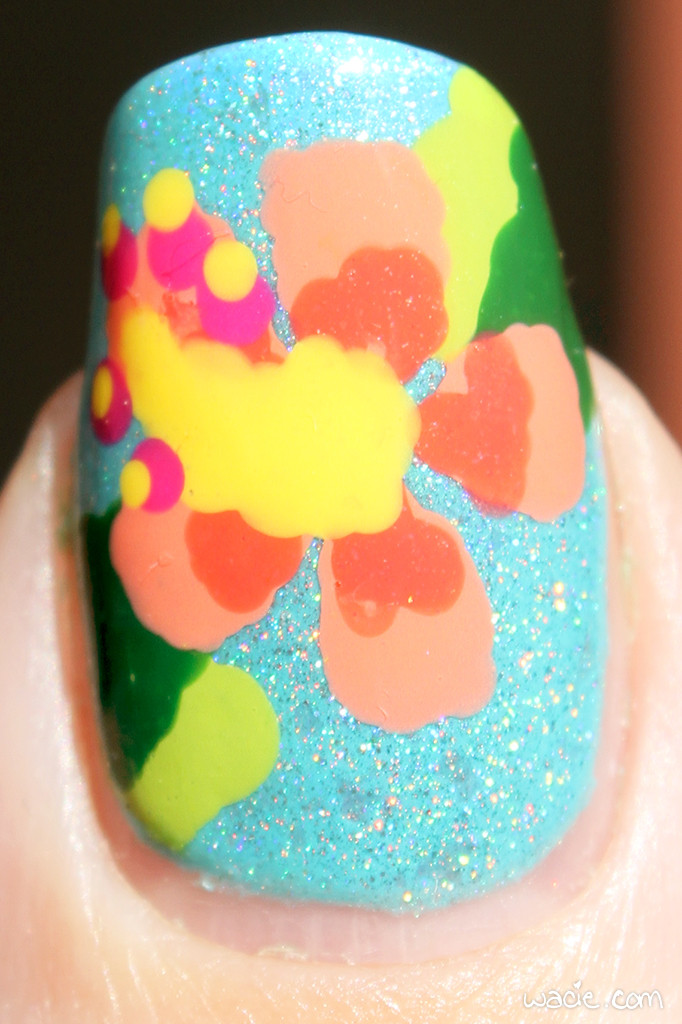
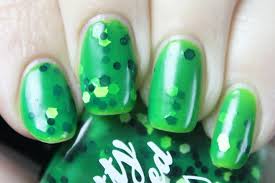
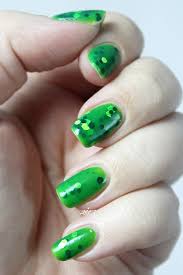
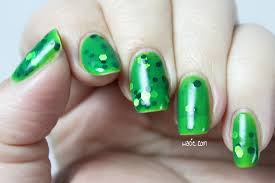
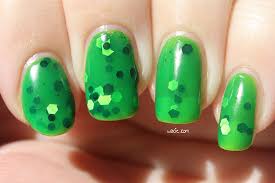
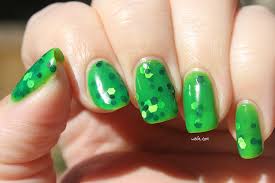
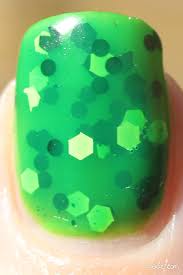
I got some sun shots, too! There’s not much to see here but the glitter. There’s not much, but this is a gentle reminder that it’s there. These photos were taken in direct sunlight.

img_60942

img_61022

img_61082

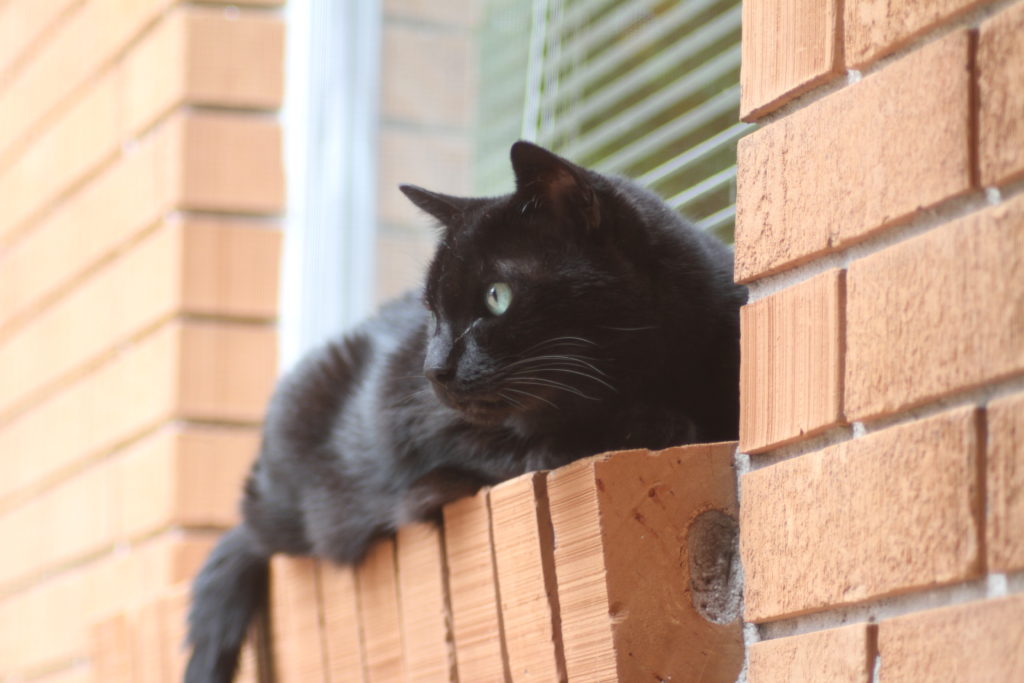
And there you have it! I mentioned earlier that this mani looks like one of my cats, so I’ll leave you with a photo of that dear kitty. This is Quaker. She actually crossed the rainbow bridge last August at the ripe old age of 20. Sorry to bring this post down with a sad pet story, but this mani made me miss her.

img_2478

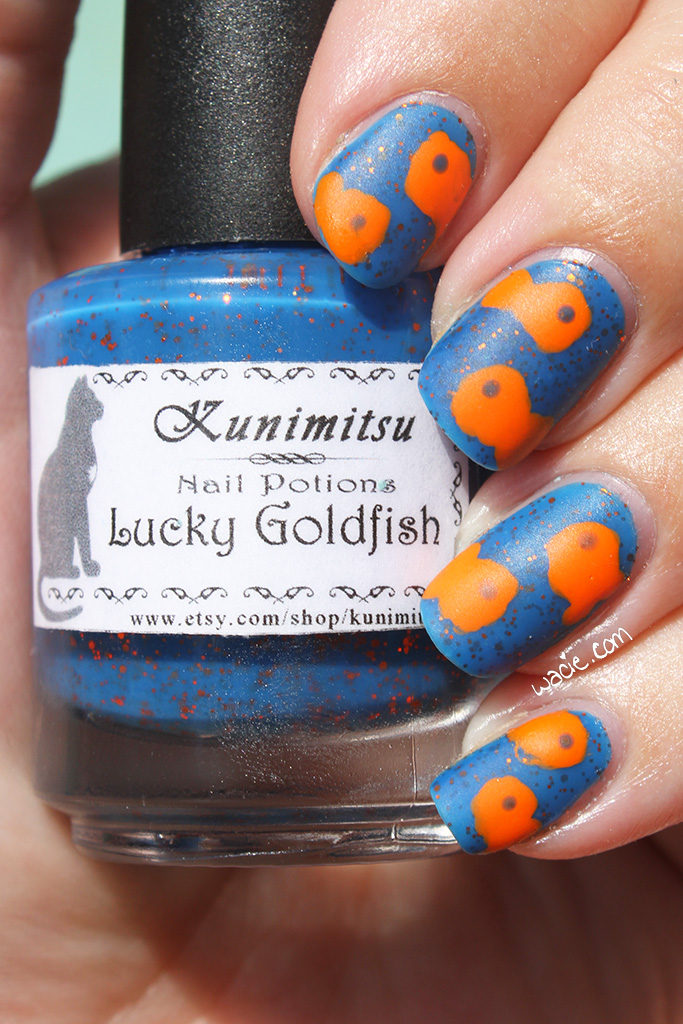
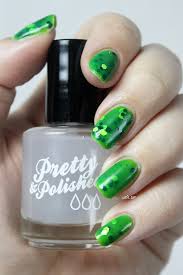
Chantal and other Zoya polishes are sold at Ulta. Check Rite-Aids and other drugstores for the fun pumpkin GITD polish. Enchanted Polishes are sold in their online shop. Sally Hansen is sold in stores nationwide.

I bought these polishes myself.
 Loading InLinkz ...

HPB Presents Glitter Forever

Hello, reader! Welcome to the Hobby Polish Bloggers Link-Up for September! Each month, this Facebook group chooses a theme, and participants can do whatever mani they want, so long as it fits the theme. This month’s theme is glitter toppers! For this look, I used American Apparel’s Galaxy and Nicole by OPI’s Confetti Fun over LA Colors’s Whipped, as well as Seche Vite and a bow from Daily Charme.

img_52552

img_52592

I usually try to use one untried polish in every HPB mani, and the untried in this one is Confetti Fun. It’s the finer of the two glitter mixes; I paired it with Galaxy to fill the empty spaces. Galaxy is nothing but the really chunky glitters, and wearing them both together gives them both what they need for a complete look.

img_52662

img_52692

It’s kind of a cop-out to use nude as a base for glitter, but I like it. It’s coverage without color; it’s the best way to let all the colors show without being obvious. Black and white get too dramatic; nude is just right. I regret not using an untried nude, because I do have so many. It does the job.

img_52732

img_52812

I love metallic glitter in the sun! It’s absolutely blinding. All of the colors are brighter and better. I don’t know why I didn’t just take all the photos in the sun. Look at the flare on the macro!

img_52222

img_52442

img_52262

hpbpgfmm

Galaxy and other American Apparel polishes have been discontinued. Confetti Fun and Whipped may be discontinued by Nicole by OPI and LA Colors, respectively; other NOPI and LA Colors polishes are sold in stores nationwide. My infinity bow is from Daily Charme.

I bought these products myself.


 Loading InLinkz ...

HPB Presents: Goldfish

Hello reader! It’s time for another Hobby Polish Bloggers link-up! Every month, members of this Facebook group choose a theme for a mani; each member’s mani can be as simple or elaborate as they want it, as long as it’s relevant to the theme. The theme for August is goldfish, and for my look, I used Kunimitsu‘s Lucky Goldfish and China Glaze’s Japanese Koi. See what I did there? I also used Seche Vite and Essie’s Matte About You matte top coat.

IMG_36432

IMG_36502

My look was inspired in part by a look from Hey, Darling Polish!; it was just the right amount of cutesy without a lot of effort. A quick glance at my blue polishes led me to Lucky Goldfish, and it was a coincidence Japanese Koi was the orange I picked out. I stopped there because I couldn’t find any more polishes with fish-related names.

IMG_36532

IMG_36622

The fish were done by stippling Japanese Koi onto the nail with a dotting tool, first into a teardrop shape for the body, and a wide triangle for the tail. Japanese Koi wasn’t quite thick/pigmented enough to competely blot out the dark blue, and coverage isn’t very even, but this is only really apparent in photos. It looked totally fine on the nail.

IMG_36672

IMG_36712

In the sun, the glitters in Lucky Goldfish perk right up. I like to imagine the glitters are the many goldfish of a large school. I also love how this looks mattefied; as much as I love a good glossy finish, there’s no glare here to obscure the art.

IMG_36232

IMG_36362

IMG_36322

IMG_36422

Lucky Goldfish and other Kunimitsu polishes are available from their etsy shop. China Glaze is sold at Sally Beauty Supply.

I bought these polishes myself.
 Loading InLinkz ...

HPB Presents: Project Orion

Welcome to the Hobby Polish Bloggers link-up for the month of July! Each month, this Facebook group chooses a mani theme; it’s up to the participant to decide how simple or elaborate their mani will be. Anything goes as long as it adheres to the theme! July’s theme is space, and I decided to take my mani in a different direction; I attempted to recreate NASA’s Project Orion insignia in mani form. For this look, I used Monster Polish‘s I was Hoping for Minimalism, but I Think I Came Out With Magician as the base, and the logo was done with Blue-Eyed Girl Lacquer‘s Terrific Twos (the planet), Sally Hansen’s Magenta Moves (the whoosh), and China Glaze’s White on White (the stars). All nails were finished with Seche Vite top coat and Essie’s Matte About You matte coat.

Orion_logo

IMG_24212

IMG_24262

It’s probably no secret that I’m a big spaceflight nerd. I follow rocket launches, planetary science updates, and ISS experiments almost as closely as I follow indie polish releases. When Orion was launched for its first experimental flight test in December 2014, you better believe I was watching it online. It was delayed a few times due to weather violations, and once because there was a boat in the launch zone. I didn’t trust myself to not sleep through it, so I just stayed up for three days. It was really the most exciting thing I’d been since Curiosity landed on Mars.

IMG_24322

IMG_24372

My interpretation of the logo is a little sloppy, but I think it’s recognizable at the very least. I think the logo is actually pretty clever; the Orion constellation is hidden inside it. My nail wasn’t quite big enough for the whole design, so it’s a little cramped. The Monster Polish I used as the base is the perfect spaceflight blue. I love that the planet depicted is now a mound of glitter. I’m happy, overall, with how it turned out.

IMG_24402

IMG_24472

Part of the reason I did this mani was to raise awareness of what’s going in modern spaceflight. It’s disappointing to me that more people either don’t know about or aren’t interested in the gains we’ve made in the past few years. There’s so much happening now: science is done on the ISS every day, SpaceX is continually innovating, and missions to Mars — likely on the Orion spacecraft — will be inevitable. This is like near-Disneyland levels of excitement to me.

This is an Orion model at Kennedy Space Center. It was a little more convincing in person.

This is an Orion model at Kennedy Space Center. It was a little more convincing in person.

I was Hoping for Minimalism, but I Think I Came Out With Magician and other Monster Polishes are available in their online shop. Terrific Twos was a BEGL limited edition and has since sold out; other Blue-Eyed Girl Lacquers are for sale in their online shop. Sally Hansen and China Glaze are available in stores nationwide.

I bought these polishes myself.
 Loading InLinkz ...

HPB Presents: Dragonfruit

Hello, reader! It’s time for June’s installment of the Hobby Polish Bloggers Link-up! Every month, this Facebook group chooses a theme, and the theme for June is fruit! When the theme was announced, dragonfruit was the first thing I thought of, so here are dragonfruit nails! For this look, I used L’Oreal’s Satin Starlet, Digital Nails‘s Valar Morghulis, and P2’s French Kiss, as well as Seche Vite and Essie’s Matte About You top coats.

IMG_15982

IMG_16022

I love the flavor of dragonfruit, and vagely knew what it looked like until I was at a luau in Hawaii and found it on the buffet. It was the first time I’d ever eaten actual dragonfruit, and it was amazing. I knew it would be an easy thing to recreate in a manicure, so I went for it.

IMG_16092

IMG_16142

I started with two coats of Satin Starlet, then added a brushed coat of Valar Morghulis, another coat of Satin Starlet, another coat of Valar Morghulis, and then added the French Kiss tip. French Kiss was more translucent than I thought it would be and you can see some of the black glitter through the tip, but it’s not the worst thing that happened to this mani. With all the coats, it took ages for the polish to be dry enough for the French tip vinyls. I actually did it once, waited an hour, and had the vinyls pull up the polish on every single nail. I got a beer and started over, waiting four hours this time. The pinky peeled off. This time I just peeled the polish off the vinyl and stuck it back on because I was not doing it a third time.

IMG_16162

IMG_16202

My favorite thing about this look is that, even though it’s clearly inspired by dragonfruit, it’s not immediately obvious if you’re not thinking about it. Without the French tip, it’s just a really creamy monochromatic look; I almost didn’t want to add the tip because I liked it the way it was. Adding the tip is adding a great pop of color. White, black, and pink is probably my favoritest color pairing ever.

IMG_16282

Satin Starlet may be discontinued; other L’Oreal polishes are sold nationwide. Valar Morghulis and other Digital Nails polishes are available in their etsy shop (they are currently on hiatus). P2 polishes are sold in Europe.

I bought two of these polishes myself, the other was a gift.
 Loading InLinkz ...

HPB Presents Neon Splatter!

Hello, reader! Today’s post is a special Hobby Polish Bloggers linkup! Every month, the bloggers from the HPB Facebook group get together and do a themed mani; the mani can be as simple or elaborate as we want, so long as it adheres to the theme. The theme for May is neons and neutrals. For this look, I used Zoya’s Chantal and American Apparel’s Moon as the nude base, and American Apparel’s Neon Pink, Neon Coral, Neon Yellow, Neon Green, and Essie’s I’m Addicted as the colors. I actually did this post two weeks ago before I went on vacation, I’m excited to finally show it to you!

IMG_89032

IMG_89092

I really love this month’s theme, and I had a lot of ideas on how to work with it. My first thought was a watermarble, but I did that for last month’s theme, so I skipped it. I also considered the dry brush technique, but ultimately chose the splatter, because I saw an excellent one on Casual Contrast that totally made me want to try it, and also because I’d never done it before. I put my base colors down, got the straws out, and commenced to splattering. I had so much fun with this mani. It reminded me of when we were bored in middle school and we’d dismantle pens to blow the ink out all over stuff. I gotta say though, the cleanup was way worse than I expected. Totally not for the faint of heart.

IMG_89152

IMG_89182

For these HPB manis, and really every challenge mani, I try to use untried polishes, but this is the first one where all the polishes have been used multiple times. When it comes to neons, the American Apparel neons are my go-tos; they’re vivid without having to use a white base, and the product consistency makes them very easy to work with. However, there’s no blue, so that’s where the Essie comes in; I had it sitting out from a previous swatch, and it was just the right blue to work with my other neon shades. I love that the theme calls for nudes, because as cool as this would be with a white base, it means you can’t use just any neons, you’ve got to use some that are worth a crap.

IMG_89232

IMG_89282

Remember I mentioned Moon used as a base? This is why: super secret glow-in-the-dark action! I put a coat over Chantal, just before adding the splatters. I wasn’t totally satisfied with just nudes and neons, I needed one more element to make this look really special. Between the glow and the neons, this mani is like the ’90s threw up on my nails. These photos were taken in compelete darkness.

IMG_89352

IMG_89392

And these photos were taken in direct sunlight! Really harsh sunlight tends to wash neons out, so they’re not as bright out here as they could be.

IMG_88622

IMG_88752

IMG_88672

hpbpnsmc

Chantal and other Zoya polishes are available from Ulta. Essie polishes are sold at Walgreens and other stores nationwide. American Apparel polishes have been discontinued.

I bought these polishes myself.
 Loading InLinkz ...

HPB Presents Dusty Watermarble

Welcome back, reader! Today’s post is a special Hobby Polish Bloggers link-up post! Every month a theme is selected by the group, and this month’s theme is dusty colors. The look itself is up to the blogger; as long as it adheres to the theme, it can be as simple or elaborate as the blogger wishes. I like to raise the difficulty a bit and use only untried polishes, but this month I couldn’t, because I have very few unused polishes that fit the theme. For this look, I used Essie’s Spin the Bottle, Sew Psyched, and Marathin, Zoya’s Bevin, Ciaté’s Pillow Fight, and China Glaze’s Fairy Dust.

IMG_80502

IMG_80542

As I mentioned, I don’t have a lot of colors in this dusty family, so I’m using a lot of polishes I’ve used in the past. I think Spin the Bottle and Sew Psyched were unused, but the others were probably only used once, so it’s not really a big deal. It took a lot of digging through the polish looking for the right colors; I have a lot of pastels and a lot of deep colors, but not too many in between. Marathin was actually the first polish that came to mind, and after a little bit of trial and error, I found a great combination, as well as the perfect way to wear them together.

IMG_80642

IMG_80722

Watermarbling is one of those things I want to do all the time, and yet, I rarely do. I’ve done a few marbled accent nails here and there, but it’s usually as an afterthought; when I’m planning a mani, I usually just pick a glitter topper that pairs well and that’s it. A lot of the time, I’m working with polishes that don’t seem conducive to marbling. I don’t want to use anything with fine glitters or shimmers because it may not spread well, I don’t want to use anything rare, discontinued, or expensive, and I don’t want to use anything with a really unique finish, like a holo. If I’m creating a look around a creme, I’m rarely thinking about other cremes. It’s a shame, because I love cremes; I think the glossy creme finish is the most underrated of them all, and yet I rarely take advantage of them. Even with all these beautiful creme shades and the marbling, I still had to top it with glitter. Fairy Dust counts as a dusty color, right?

IMG_80812

IMG_80882

The following photos were taken outdoors in direct sunlight. The colors are a bit washed out here, making the dusty colors look lighter and more pastel. Fairy Dust looks overwhelmed as well. On the plus side, I was able to get macros of all my favorite swirls. My ever-elusive right hand even makes an appearance.

IMG_80132

IMG_80172

IMG_80232

From left to right: Left thumb, left ring finger, left middle finger, right thumb

From left to right: Left thumb, left ring finger, left middle finger, right thumb

Essie, Zoya, Ciaté, and China Glaze are all sold in stores nationwide; mine are from Walgreens, Ulta, Sephora, and Sally Beauty Supply respectively.

Also, remember this is a group project, and there are links below to the other dusty manicures done by members of the group. Show them some love, too!

I bought these polishes myself.
 Loading InLinkz ...

HPB Presents: Spring Hibiscus

Hello hello, reader! Today’s a special Hobby Polish Bloggers link-up post. Every month we get together and do a themed mani, and the theme for March is spring. The mani can be as simple or elaborate as we like as long as it fits the theme; as a personal challenge, I try to use polishes I haven’t used before. For this look, I used Elevation Polish‘s The Merchant’s Son, Ellagee‘s Breena, Essie’s Tart Deco and Sunday Funday, L’Oreal’s New Money and Hyde Park, and Revlon’s Sunlit Grass and African Tea Rose, all topped with one coat of Seche Vite top coat.

Of course, flowers are the harbingers of spring, and as beautiful as they are, I didn’t want to do a floral mani for spring because I knew everyone else would be doing it. I did it anyway. Boyfriend and I are very into tropical plants, and we wanted to make our backyard space even more tropical, so we got a few new hibiscus plants. I snapped a photo of this beautiful peach hibiscus, and I knew I had to make a mani out of it. Boyfriend is also quite the connoisseur of Hawaiian shirts, and this look is inspired by those as well.

IMG_6568

I started this look out with two coats of The Merchant’s Son, three on some nails where it was still a bit translucent. The Merchant’s Son is a thermal, but you can’t really tell under all the flowers. I didn’t even bother to show the thermal effect in action because it would be impossible to see. I picked a thermal because my original idea was to use a gradient. I also used a thin coat of Breena — that’s where the flakie holo comes from — just to add a bit of sparkle. When you can see the thermal effect of The Merchant’s Son, it shows right through Breena. The addition of Breena was probably unnecessary, but I needed one more polish to make an even eight.

IMG_69552

IMG_69632

I did the leaves before I did the flowers, but I did them exactly the same way; instead of brushing the polish on, I stippled it on with a dotting tool. I don’t know what it is, but I’m much more comfortable with the dotting tool as a method. Brushing never works for me. I have small nail beds, and often the brush feels too large or unwieldy, even when my nails are quite long. For this reason, there’s not a lot of intricate detail in the foliage and flowers; I took a cruder colorblock approach to this. I stippled the leaves on — two colors for variety — and then the flower petals, and then the pistils and stamens. For reference, I used Nailstorming’s hibiscus nail art tutorial video. I actually picked my colors before I sought out the video, and I love that we both chose pretty similar colors.

IMG_69672

IMG_69702

This was my first attempt at this kind of nail art, and I’m happy with how it came out. It’s rough, sure, but I didn’t screw it up or anything, you can tell what it’s supposed to be. It’s super in your face. Boyfriend accused them of being stick-on nails and that was kind of satisfying. I got to use a whole eight unused polishes, that’s pretty nice too.

IMG_69762

IMG_69832

The truth is, spring came long ago to Florida. I know other parts of the country are still thawing out, but we’ve been enjoying it for some time now. That’s kind of the reason I didn’t want to do a spring flower mani, I was just so over spring flowers that I just wanted something summery and fun, something that really reflects Florida in March. Speaking of which, here’s some sunlight photos! The holo, or what you can see of it, looks amazing out here. I’m not sure if the Elevation or the Ellagee is my favorite of this look, but they look so beautiful together I couldn’t possibly choose.

IMG_69372

IMG_69522

IMG_69462

Here’s a product roundup, just for reference. I rarely do this, but I rarely use so many polishes for one mani.

IMG_69352

Elevation Polish has discontinued The Merchant’s Son, but you can find their other polishes in their shop. Breena also appears to be discontinued by Ellagee; other polishes are sold in their shop. Revlon, L’Oreal, and Essie are sold in stores nationwide.

I bought these polishes myself.
 Loading InLinkz ...

HPB Presents First-Ever Indie Brand!

Hello reader! Today’s post is a special post. This is the Hobby Polish Bloggers link-up for the month of February! Every month this Facebook group does a themed mani, and February’s theme is all about our first indie brands. The first indie brand I ever bought from, as well as my first-ever etsy order, was from Pretty & Polished, so I decided to try some products from them I hadn’t used yet. This is Me, Myself, and Cacti at three coats, with one coat each of Seche Vite top coat and the Pretty & Polished Wax on Wax effect top coat.

hpbfib

hpbfib2

hpbfib3

hpbfib4

Way back in June 2013, after reading about indie polishes on Reddit and talking to other nail enthusiasts about them, I took the plunge and ordered some of my own. I was drawn to Pretty & Polished for their thermals, but I loved their chunky glitters and crellies. I bought two polishes that day, one of which was a thermal, and it kind of changed my life. It took my nail polish addiction to an incredible high. I placed orders with three other makers that same day.

hpbfib5

hpbfib6

I had other P&Ps I’d bought first and hadn’t tried, but I really just wanted to use this one. I have always loved the look of this polish, because it’s not like anything else I own: the green jelly is rich but still transparent, and the glitters add just enough to break it up and make it interesting. Unfortunately, the glitter was a bit hard to get out; I only got one or two pieces on some nails, but I’m still happy with the look.

hpbfib7

hpbfib8

hpbfib11

In the sunlight, it looks about the same. The nail line is a bit more visible, but that’s about it. These photos were taken in direct sunlight outdoors.

hpbfib12

hpbfib13

hpbfib14

hpbfib15

I also decided that this would be the day I tried out the Wax on Wax effect top coat. I bought these two products together and have never used them until today. I like the way it looks over the jelly; there’s still some shine, but it’s subdued. It’s like a satin finish, but more to the glossy side than the matte side. It really does look like I dipped them in molten candle wax. I don’t actually know how often I’ll use this in the future, since I really loved the jelly shine, but it’ll be fun to try out again.

hpbfib9

hpbfib10

Me, Myself, and Cacti has been discontinued, but the Wax on Wax effect top coat and other Pretty & Polished polishes are available at their etsy shop.

I bought this polish myself.


HPB Presents Elevated Gradient!

Hello, reader! This is a special post for the Hobby Polish Bloggers group on Facebook! Every month, we do themed manis, and January’s theme is the gradient. It doesn’t matter what kind of gradient we do, as long as it’s a gradient; we can make it as complex or as simple as we want. I decided to make mine a challenge and use four previously unused polishes. For this look, I used Sittin’ Pretty and Topless and Barefoot, both from Essie, as the base; I used Kilimanjaro and Salautay, both from Elevation Polish, as the glitter topper. All nails are topped with one coat of Seche Vite top coat.

hpbpeg

hpbpeg2

It’s been a while since I’ve done a two-color gradient, so long, in fact, that I started to wonder whether or not I’d lost my touch. This is probably one of the hardest gradients I’ve ever done. I could not get light purples and nudes — not just these Essie two, I tried OPI as well — and I could just never get them to come together. Either a color would go bald from oversponging, or a color just wouldn’t turn opaque, no matter how much of it I used. It did finally come together, and it was amazing.

hpbpeg3

hpbpeg4

I had to use purple and nude, though, because I had to use Kilimajaro and Salautay. I knew that as soon as I got these polishes that I had to put them together, because they have so many similarities: they both employ the use of round glitters and the color silver. After I finished the base gradient, I made a gradient with the glitters, flipping the colors so that the purple was over the nude and vice versa. Of course, after I sponged it on, they kind of bled into each other, which is actually pretty cool. My index fingernail got a little too much glitter, but aside from that, I totally got the result I wanted and I’m so happy.

hpbpeg5

hpbpeg6

This is the most intensive nail art work I’ve done in a while, so I’m really proud of it! Also, because this is a group effort, there’s an InLinkz widget here with everyone else’s gradient manis, so be sure to have a look at them! They’re just as proud of their work as I am with mine.

Sittin’ Pretty, Topless and Barefoot, and other Essie polishes are sold in most stores; I got mine from Walgreens. Kilimanjaro and Salautay are discontinued by Elevation Polishes, other Elevations are sold in their online shop.

I bought these polishes myself.