A Look Back at 2016

Hello reader! Now that 2016 is behind us, I wanted to look back on some of my blog highlights and share my favorite nail art looks, and maybe share some of my 2017 blogging goals with you. I guess I could have waited to do this on my blog-versary in March, but it feels more appropriate to do it now.
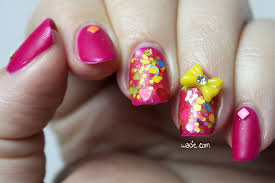
January: Elevated Gradient

February: Neon Satisfaction

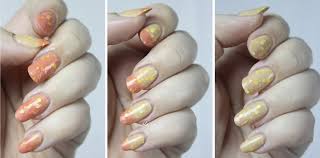
You’ll notice these photos are tiny. Why? Because in March, The Great wacie.com Server Crash of 2016 happened! My webhost had a hardware failure, and for whatever reason, several months of posts were lost and had to be pieced back together with images and text cached by Google. It was an extremely frustrating and embarrassing time for me.
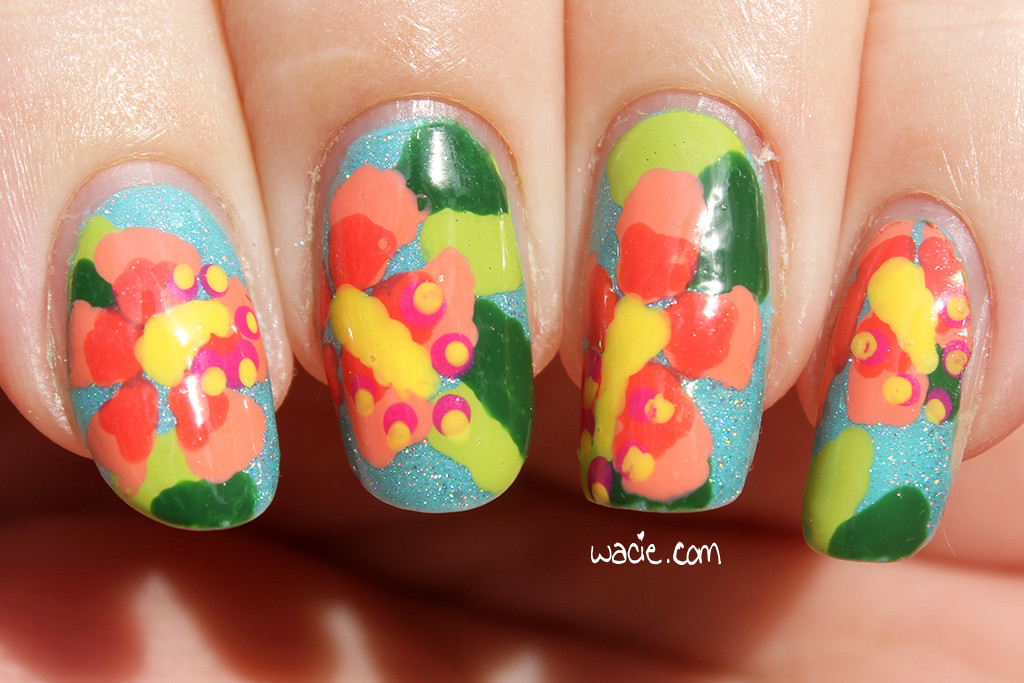
March: Spring Hibiscus

I miss these long nails.

This is probably my favorite look of the year.

Third Anniversary Do-Over

I mentioned earlier that my blog’s anniversary is in March. For last year’s anniversary, I recreated the first-ever mani I posted on my blog. I don’t know yet what I’ll do for my fourth year, but it’ll probably be awesome.
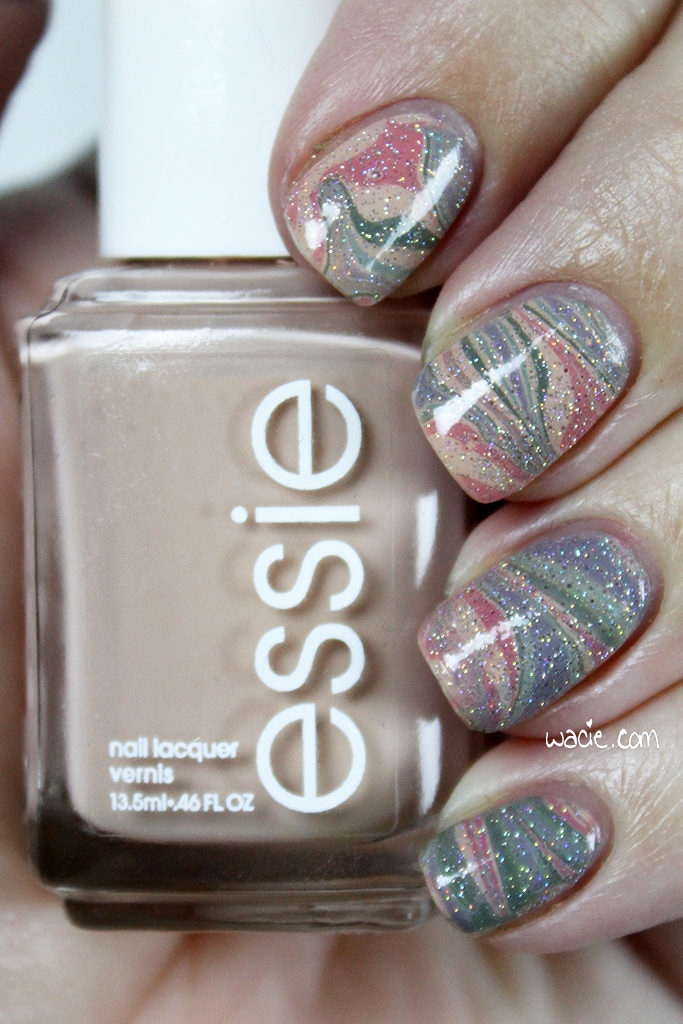
April: Dusty Watermarble

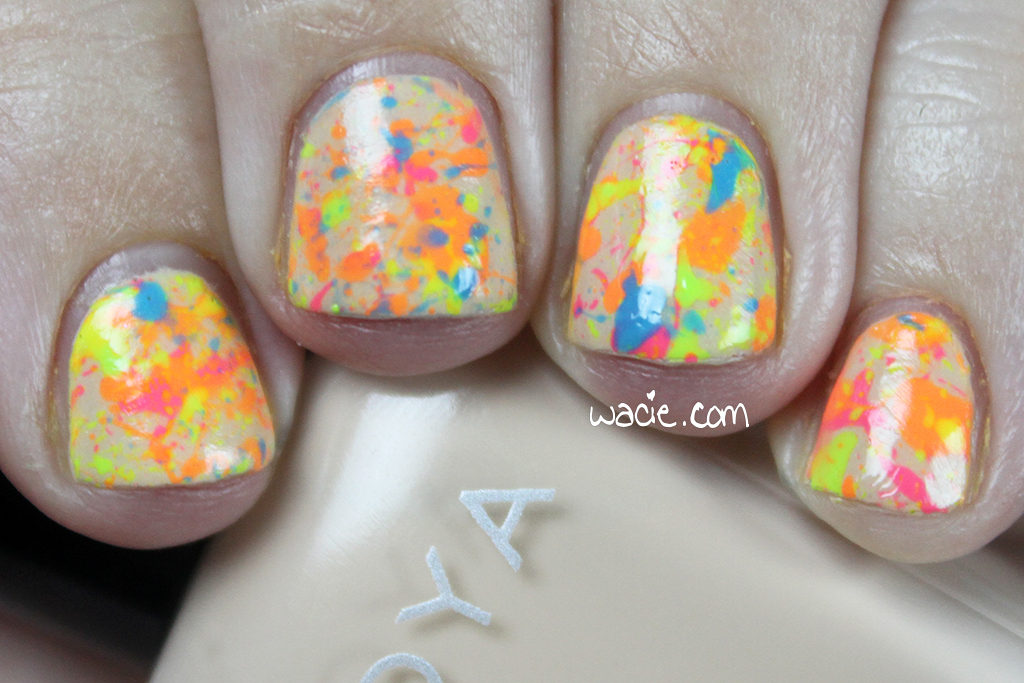
May: Neon Splatter

I went to Hawaii in May. As a result, this is my least active month on the blog for the year.
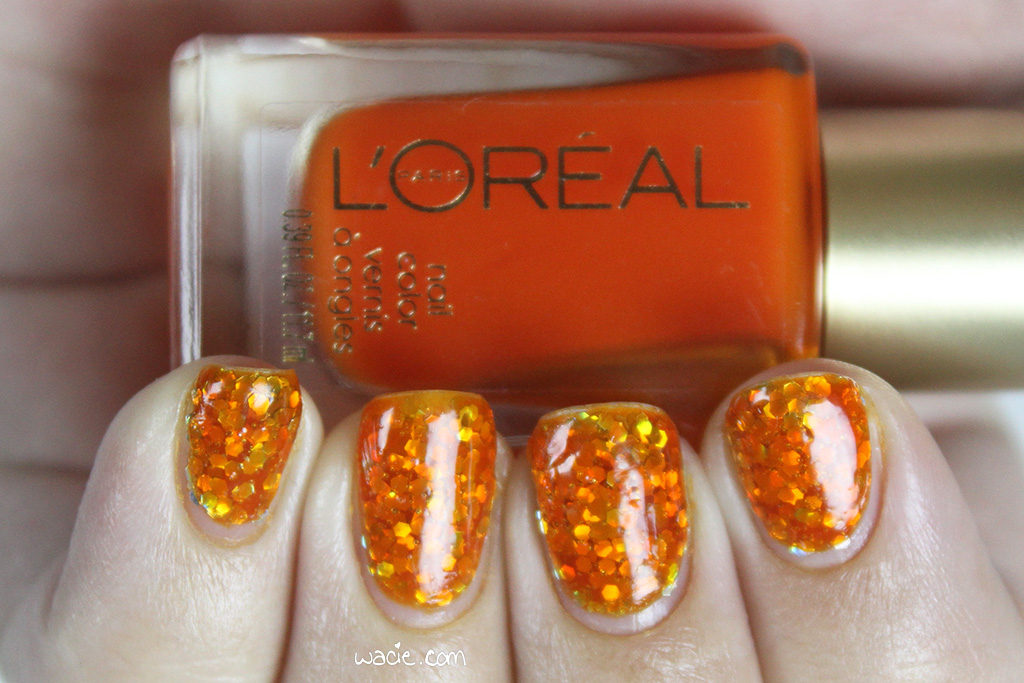
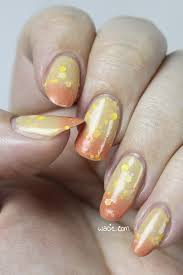
June: Orange Jello Sandwich

My first Empties Roundup post was also in June.
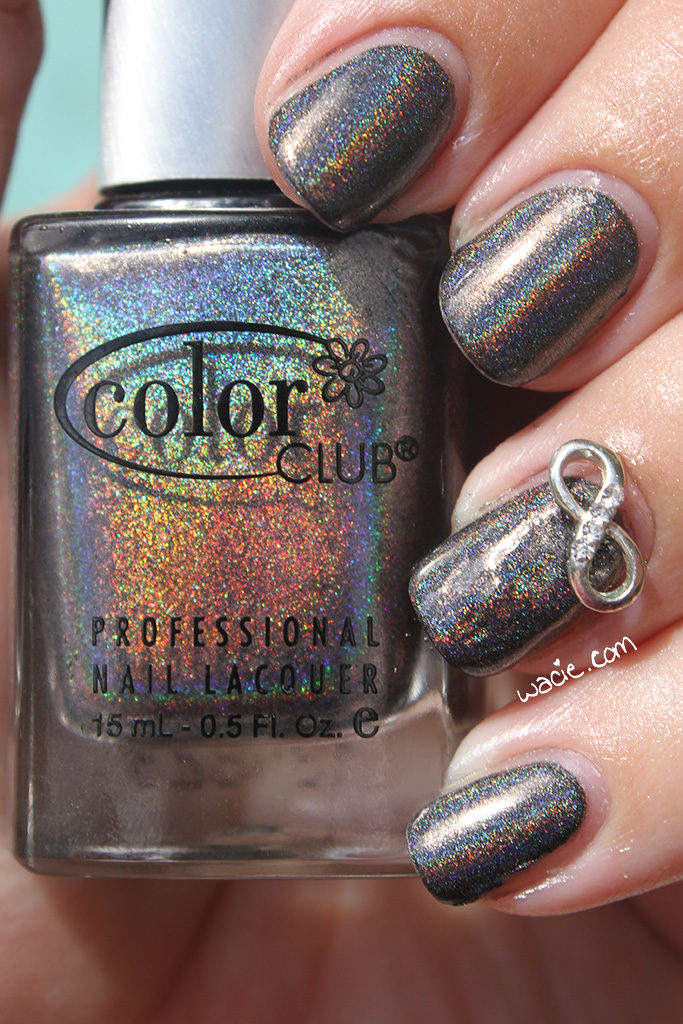
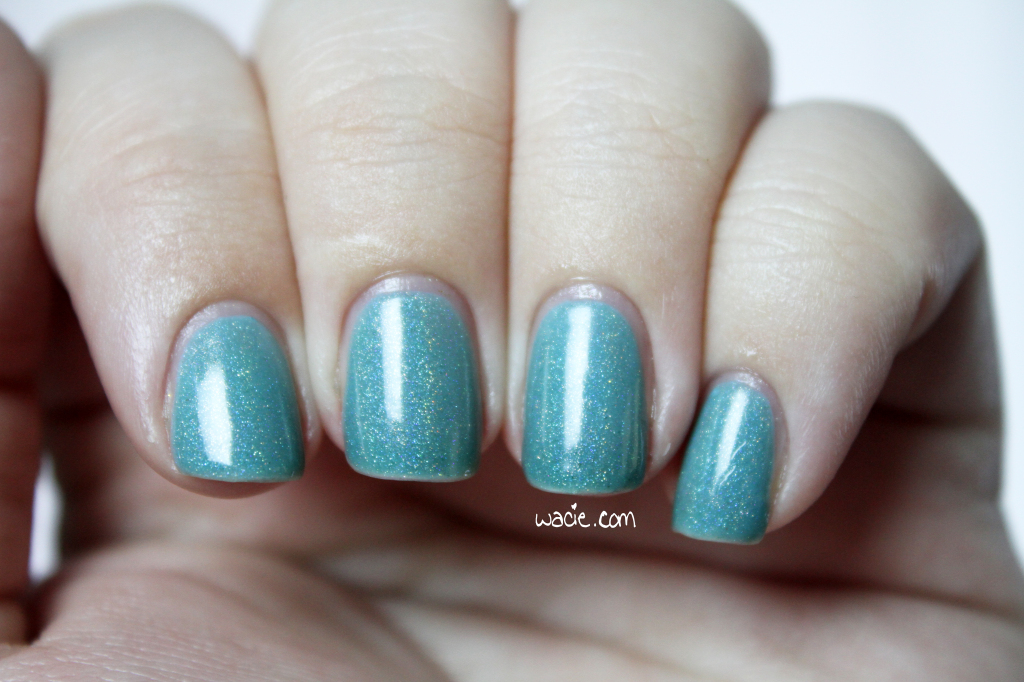
July: Beyond

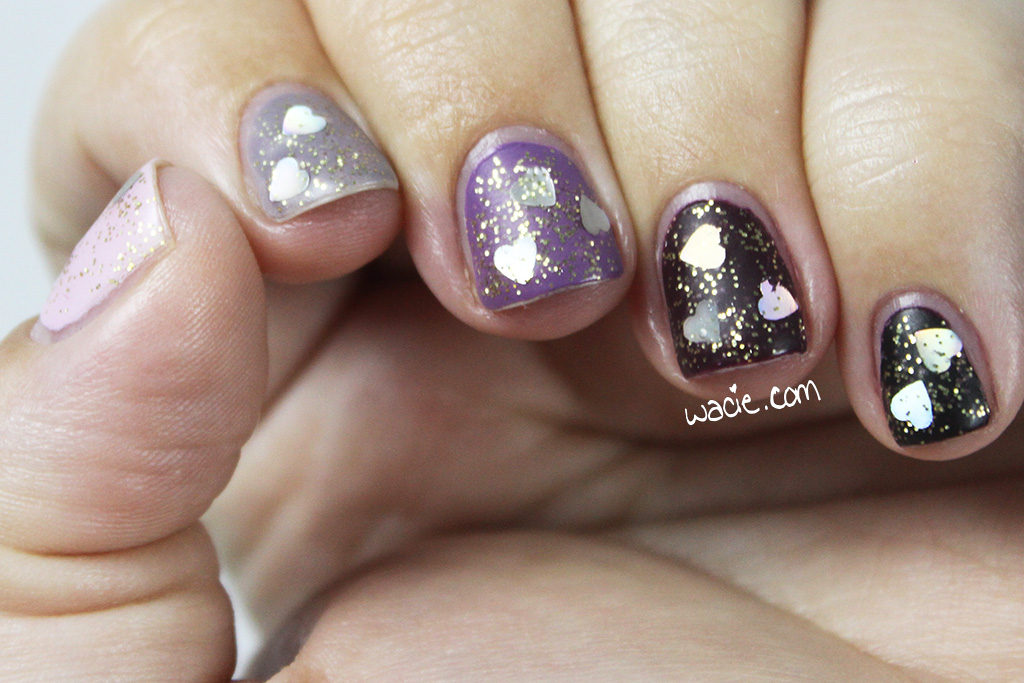
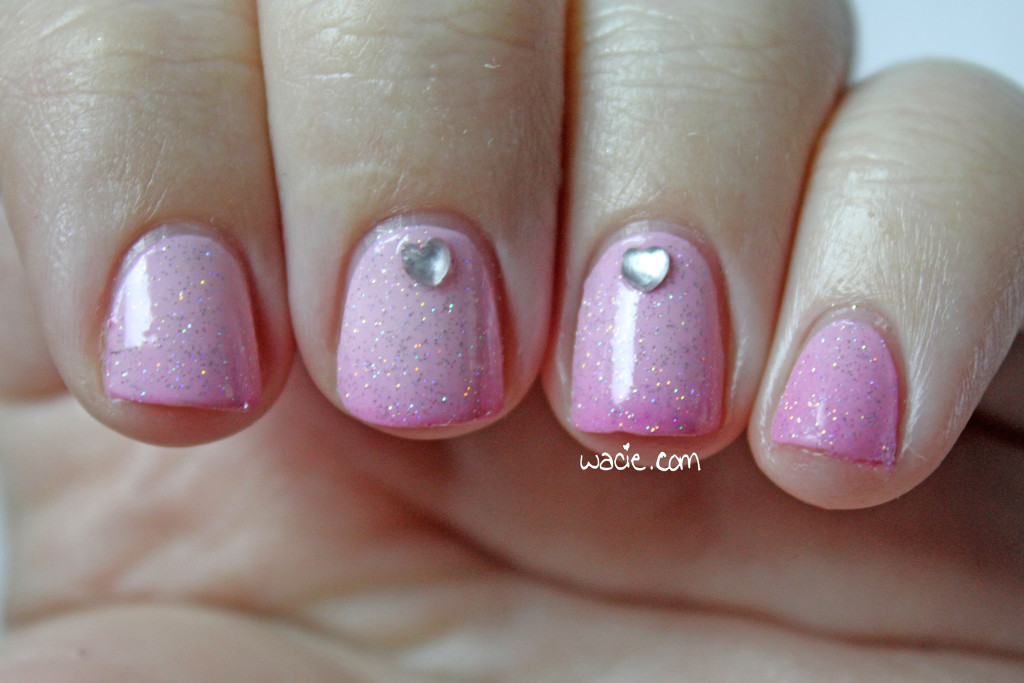
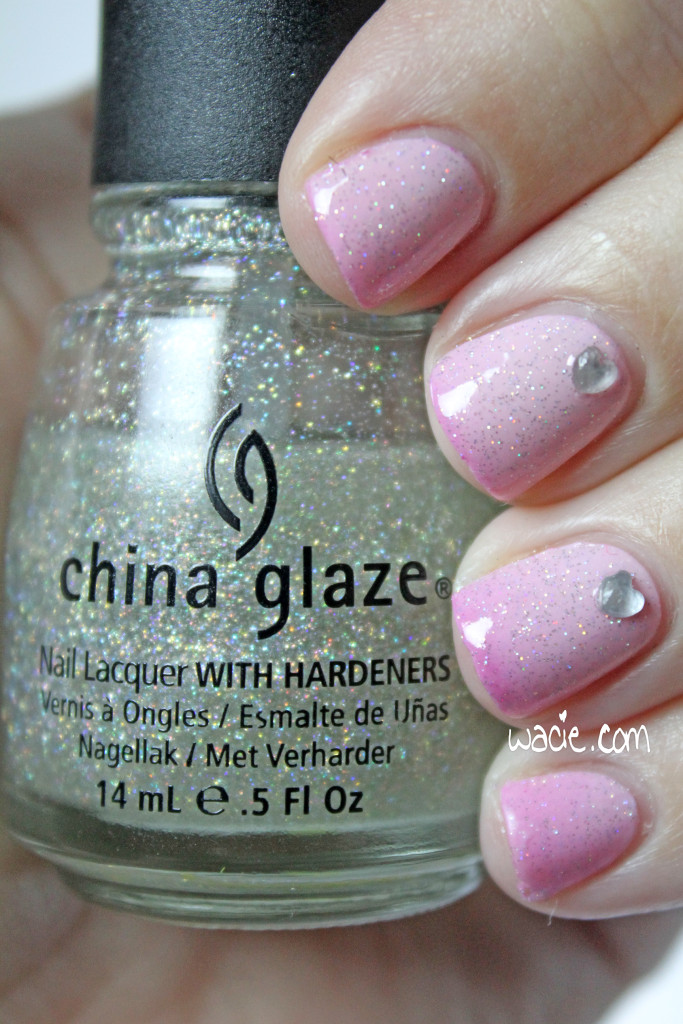
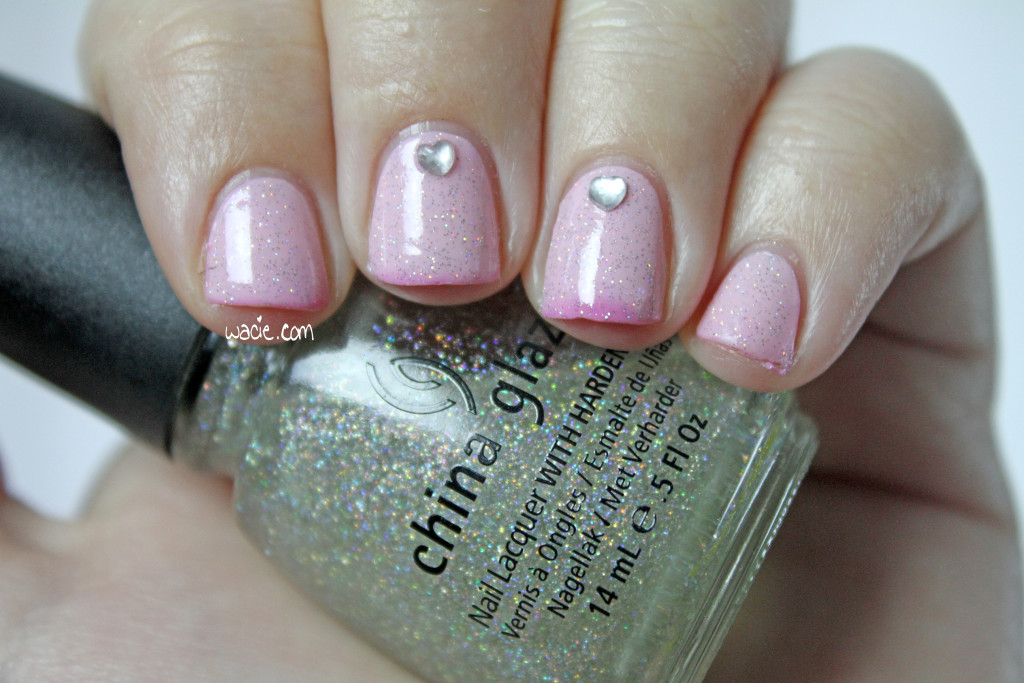
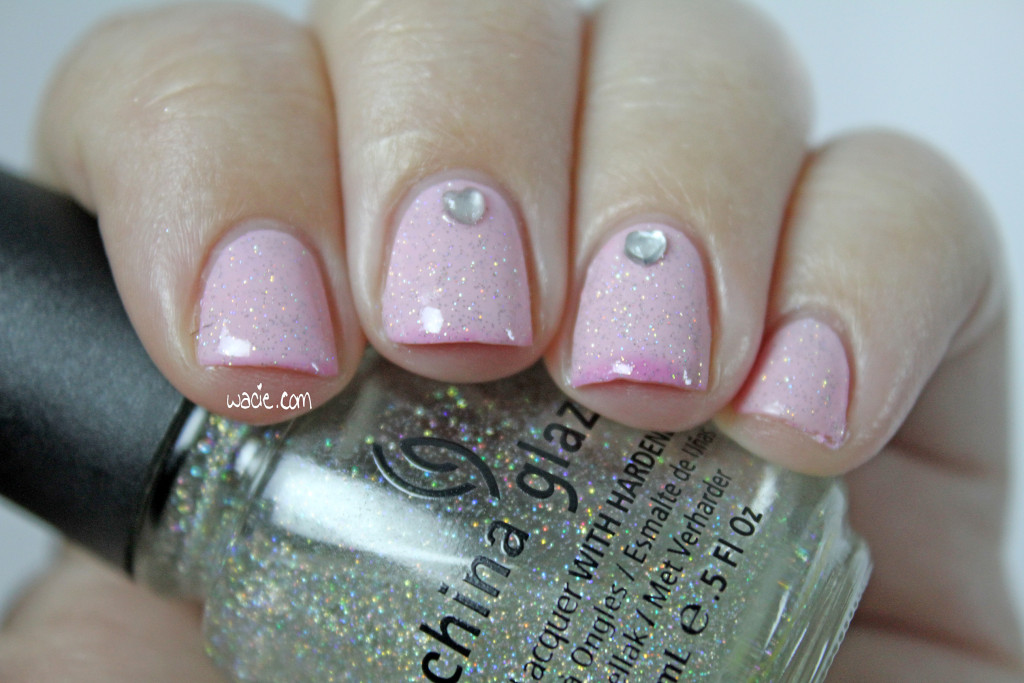
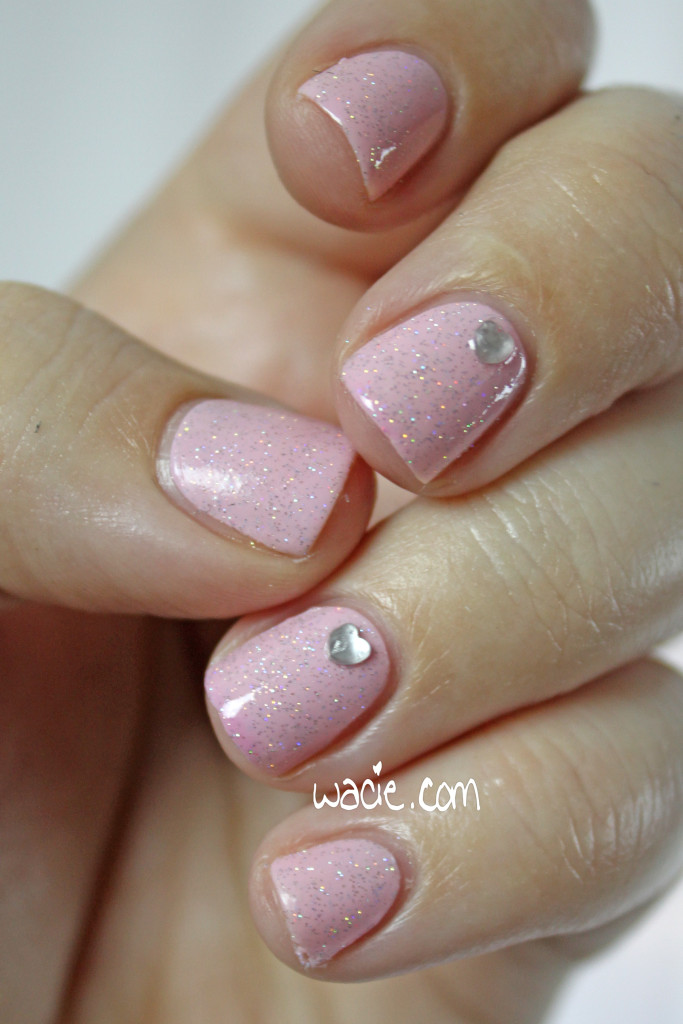
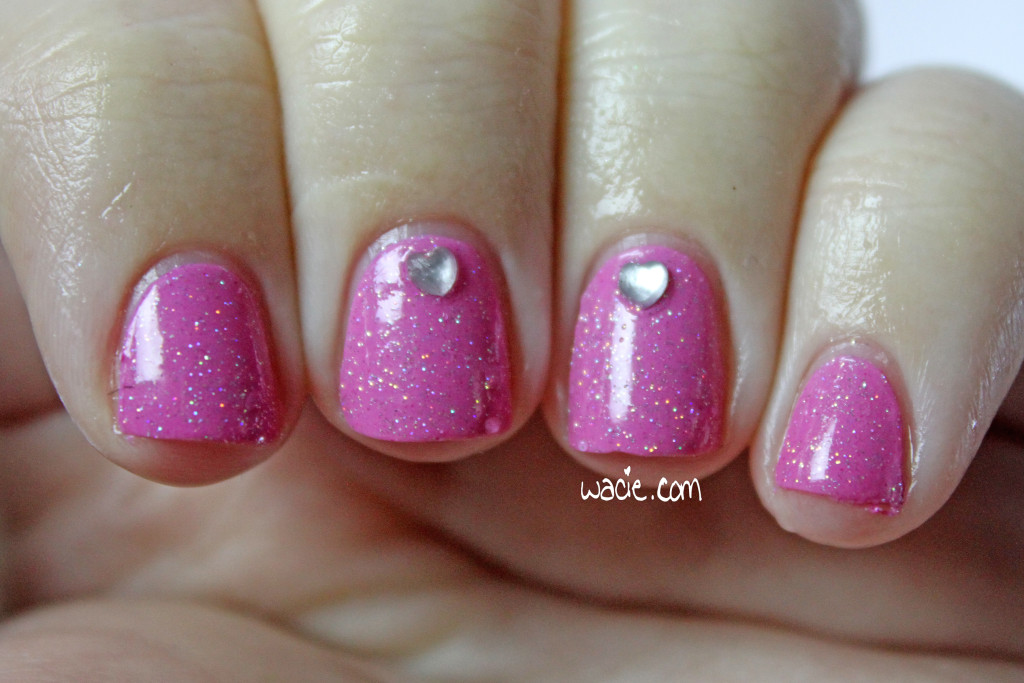
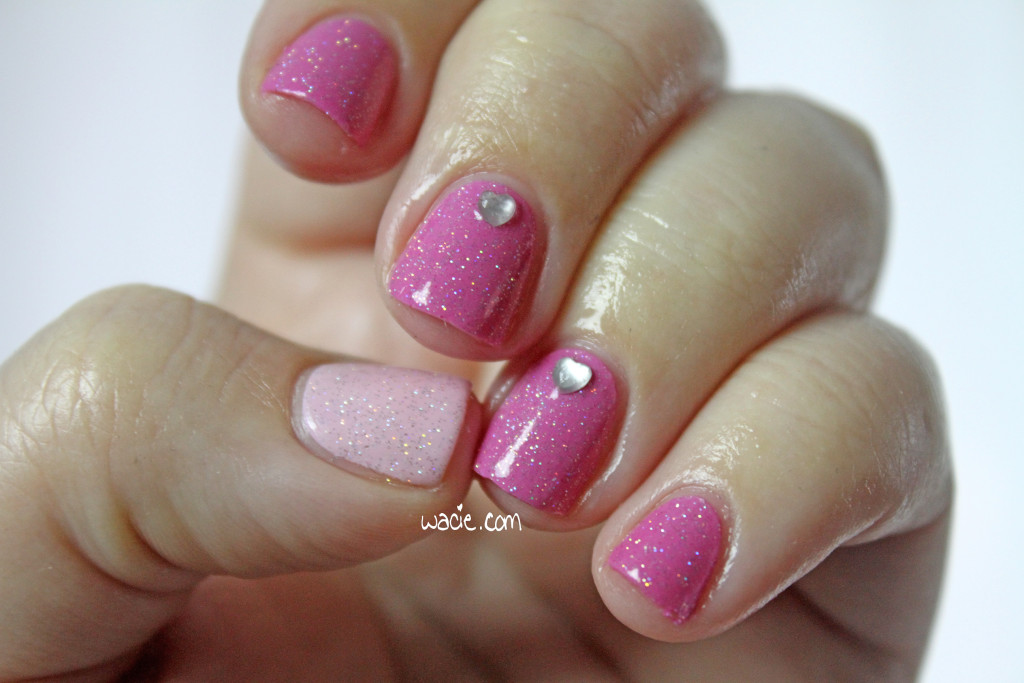
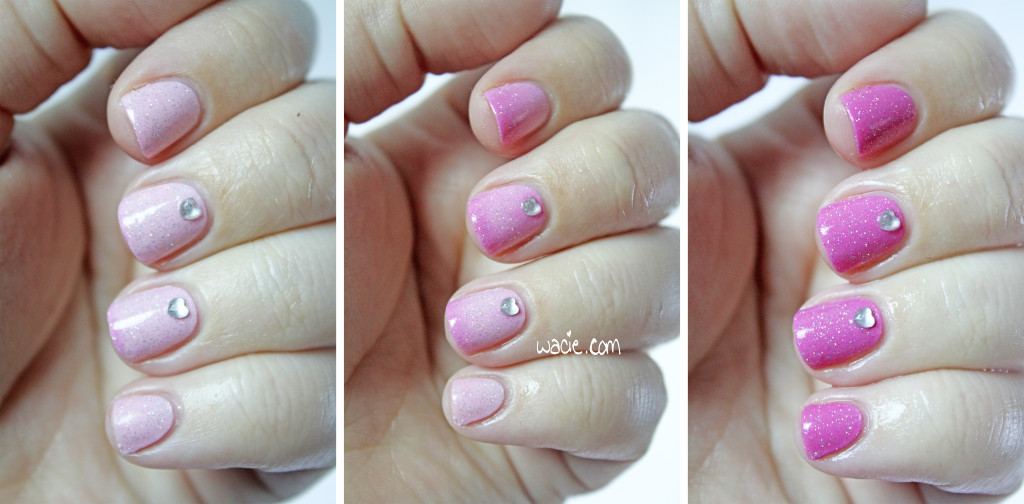
August: Ombre Hearts

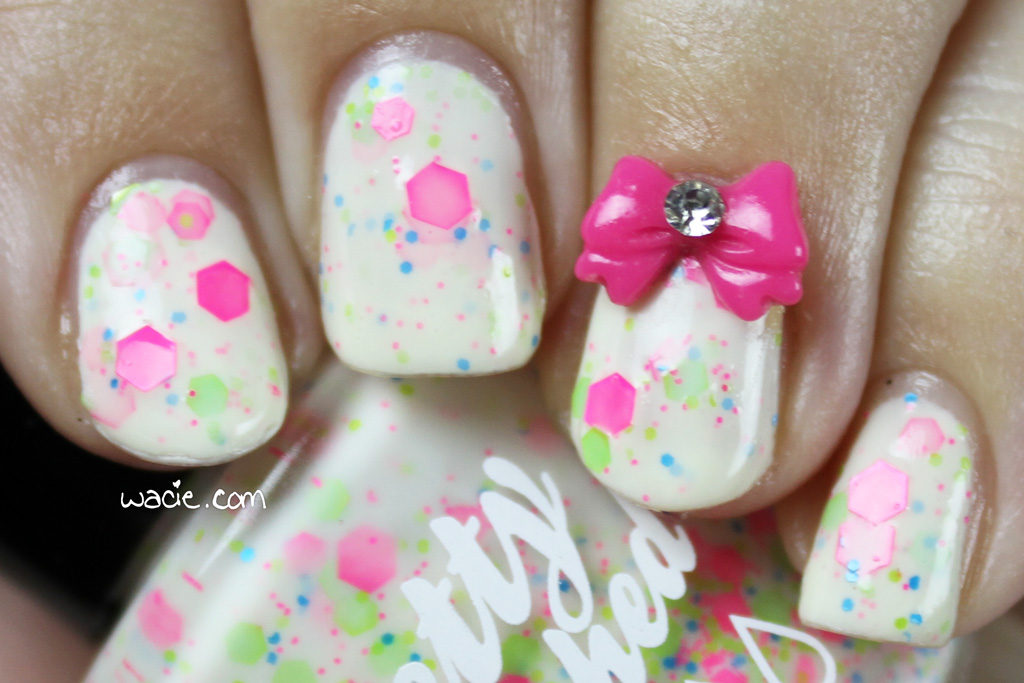
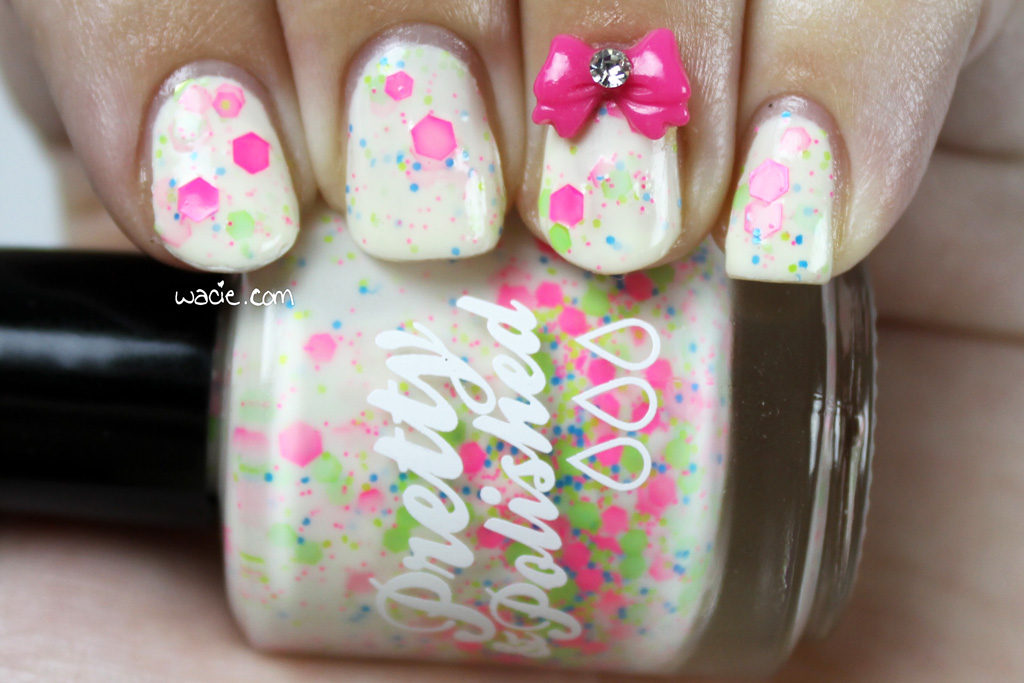
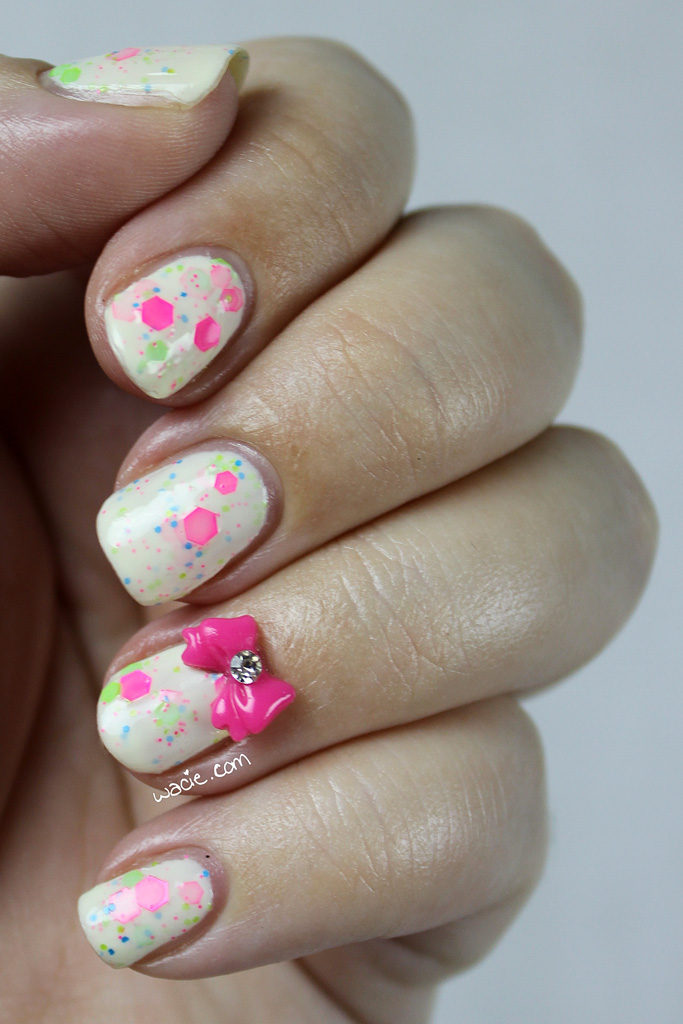
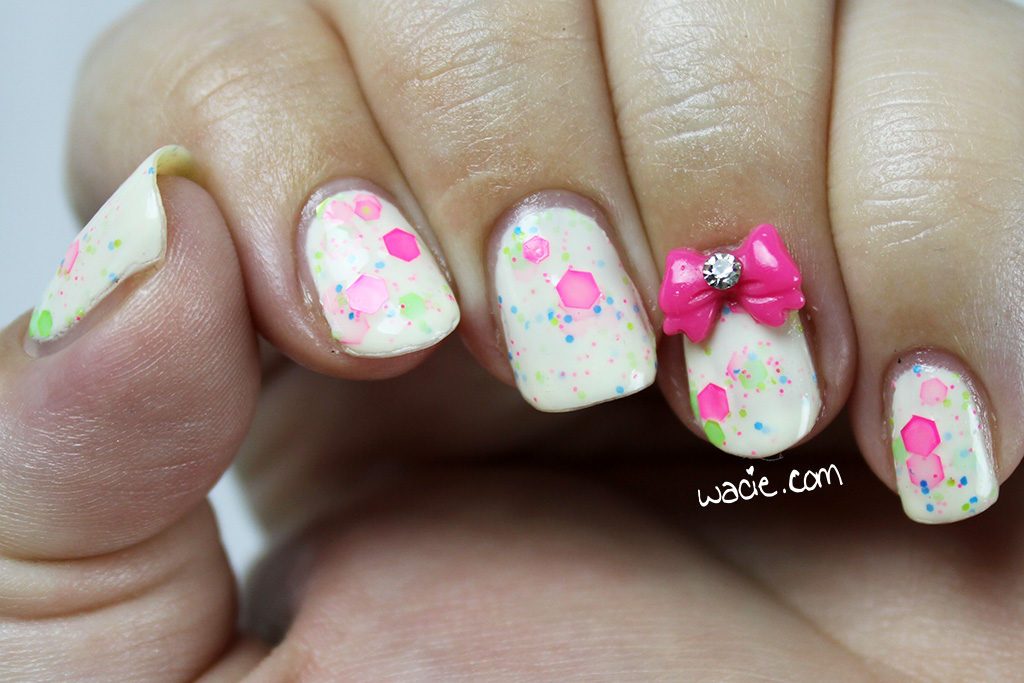
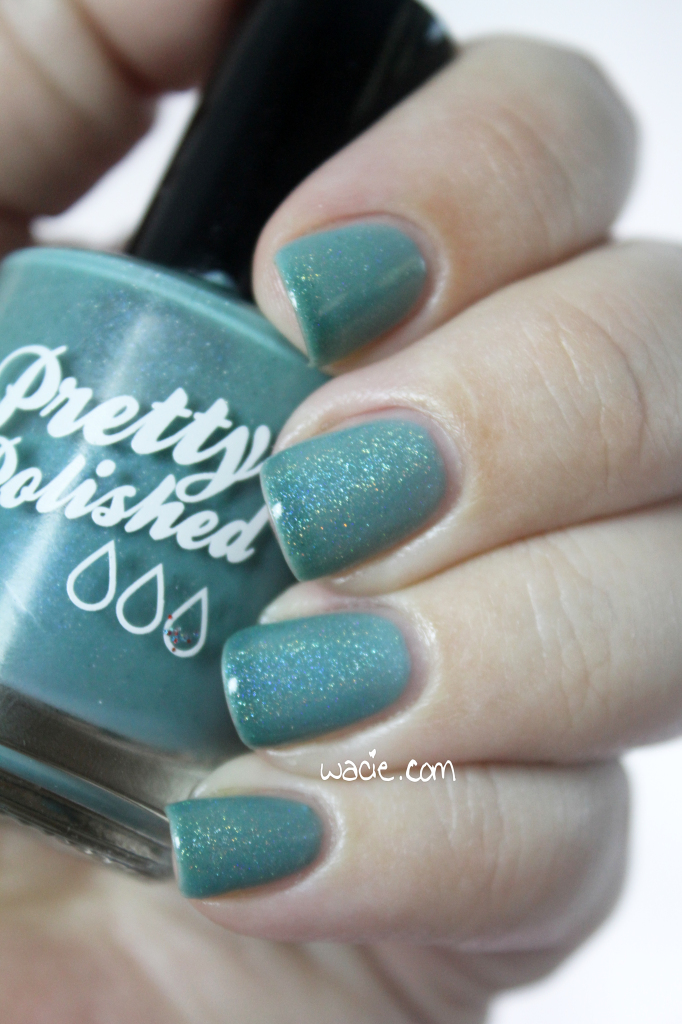
September: Popples

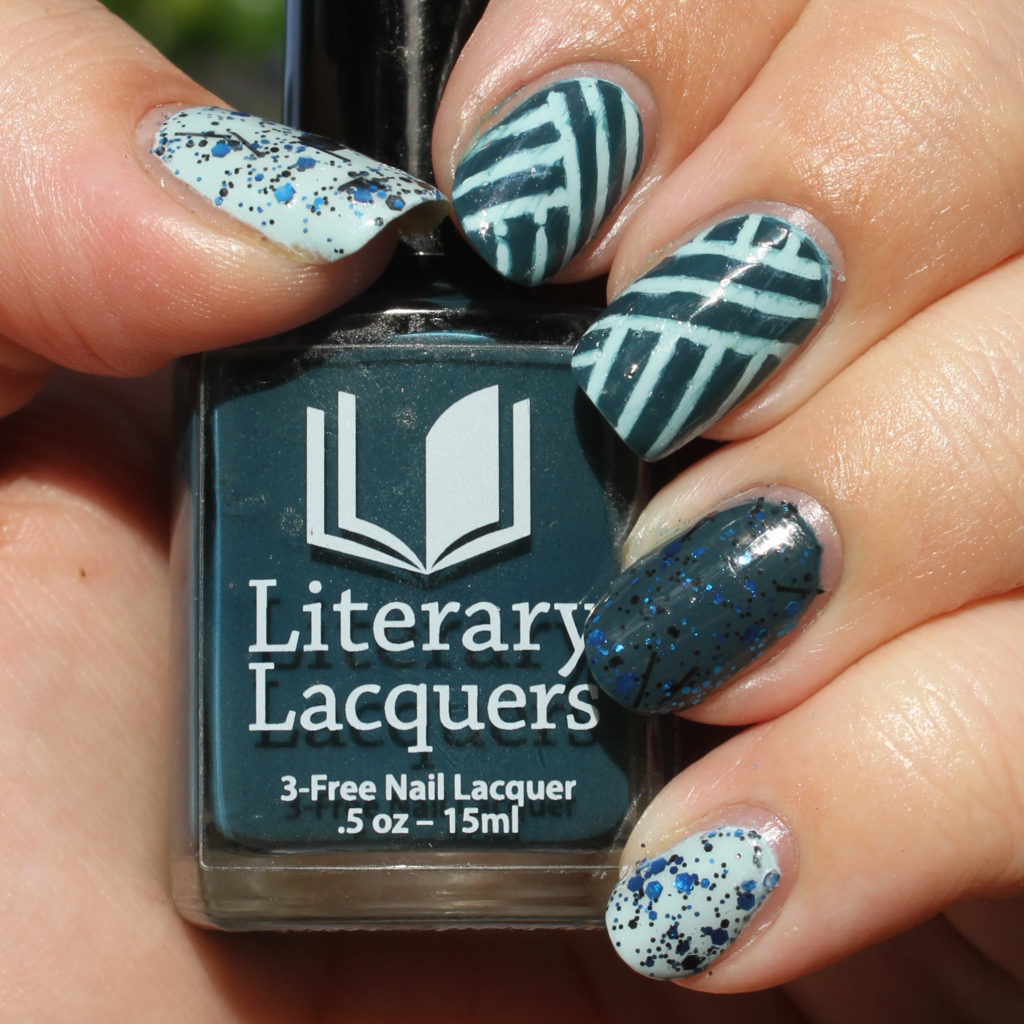
October: Stripey Blue Frosting

This was a look I did to celebrate my birthday.
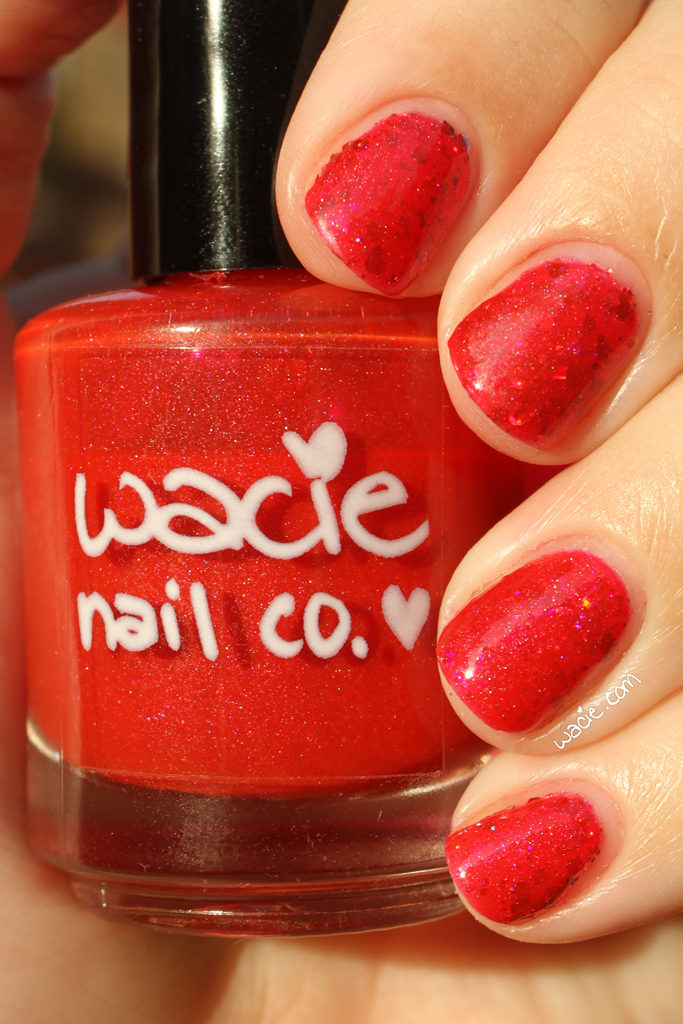
November: Ruby Opal

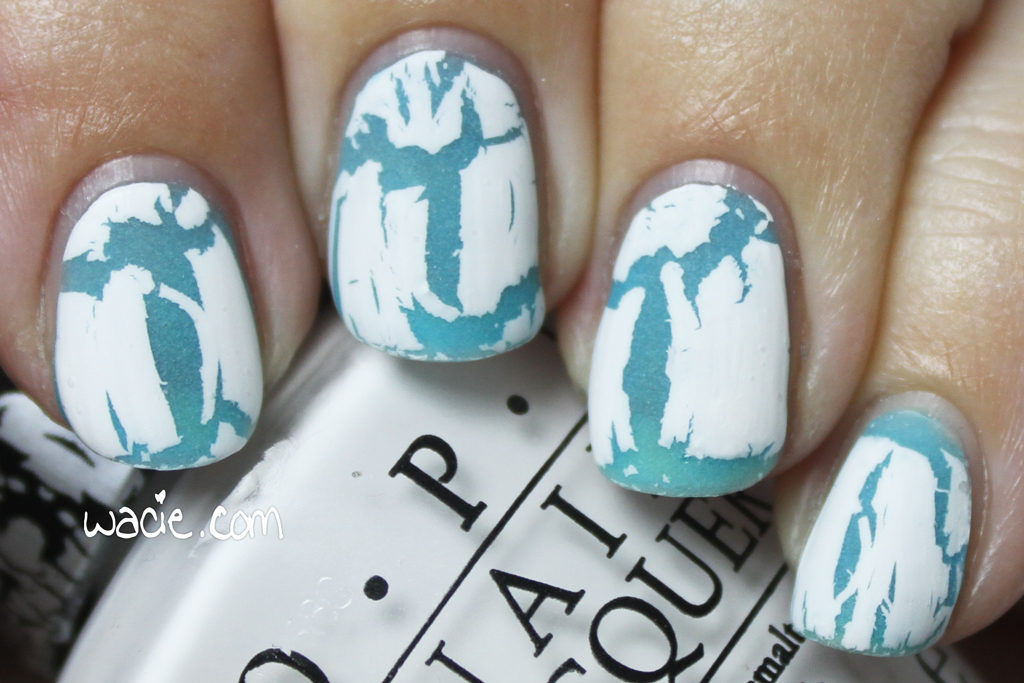
December: White Snow Blue Lava

So there’s my year! This was probably the busiest year for the blog, since I broadened my sujects quite a lot. I did tons of swatches and nail art, but I also ventured into product reviews and makeup talk. I don’t think this will ever become a full lifestyle or beauty blog, but I’m definitely having fun with it in this format. I’m kind of excited to see what it’ll evolve into in 2017. Here are a few beauty goals I have in mind, though.

1. Write more
I wrote 175 posts in 2016, averaging about 14 per month. It doesn’t sound like much to me, like I did way more work than that, especially when it started to feel stressful. That said, I’d like to do at least one more post every week.

1b. Write on my other blog more
I have a second blog that I want to start posting to more. It’s been so long since I’ve bothered with it that I don’t even remember the login credentials. I still want a place to talk about myself and my life, a place to seem like I have a life away from my nails.

2. Build a real skincare routine
I still feel insecure about my skin. I’m frustrated that I’m 31 and I still get acne. I want to take every preventative measure I can against wrinkles and anti-aging. I also want to try a 10-step Asian beauty routine. If you’re over 30 with oily skin and hormonal acne, I want your recommendations.

3. Stop competing
I know one of the big rules of blogging is not to compare your success with others’, but I feel so competitive about it. At the risk of sounding whiny, I always look at other bloggers who’ve been working on their blogs for about as long as I have, and watching their blogs grow faster than mine is kind of frustrating. I don’t want to feel like that anymore.

4. Do more real nail art
I love glitter toppers and I think I use at least one every week, but sometimes it feels lazy. I want to go back to the basics: watermarbling, gradients, dotting. I love my glitters, but it’s starting to feel like a cop-out.

I think that’s it! Anyway, I think 2017 is going to be an exciting year, and I’m looking forward to the good times, the challenges, and the time we spend together. Thanks for reading!
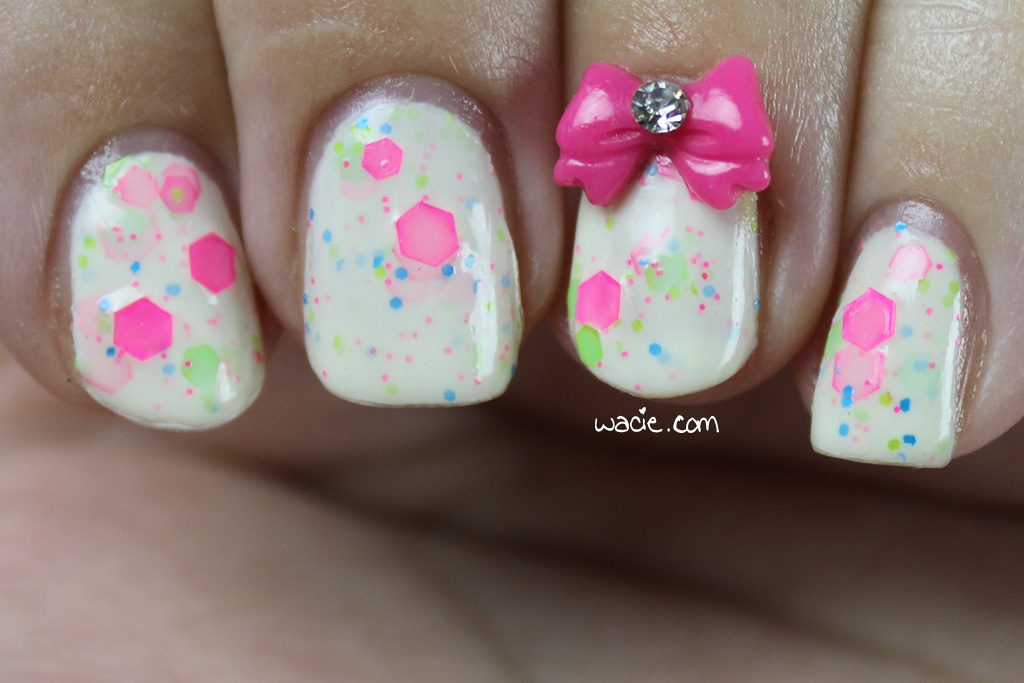
Manicure Monday: Popples

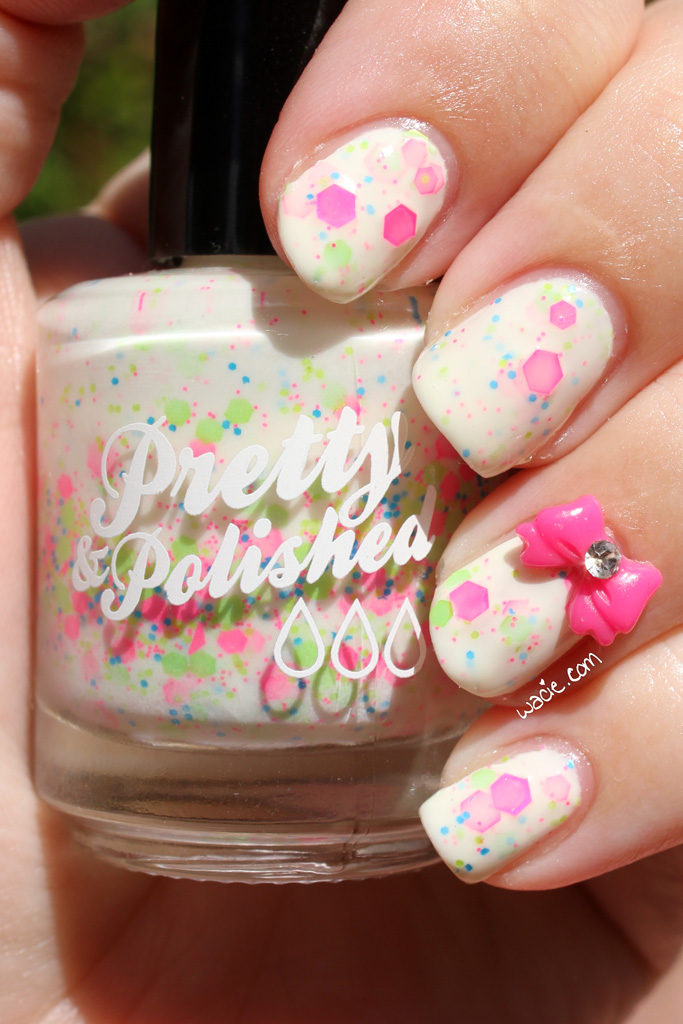
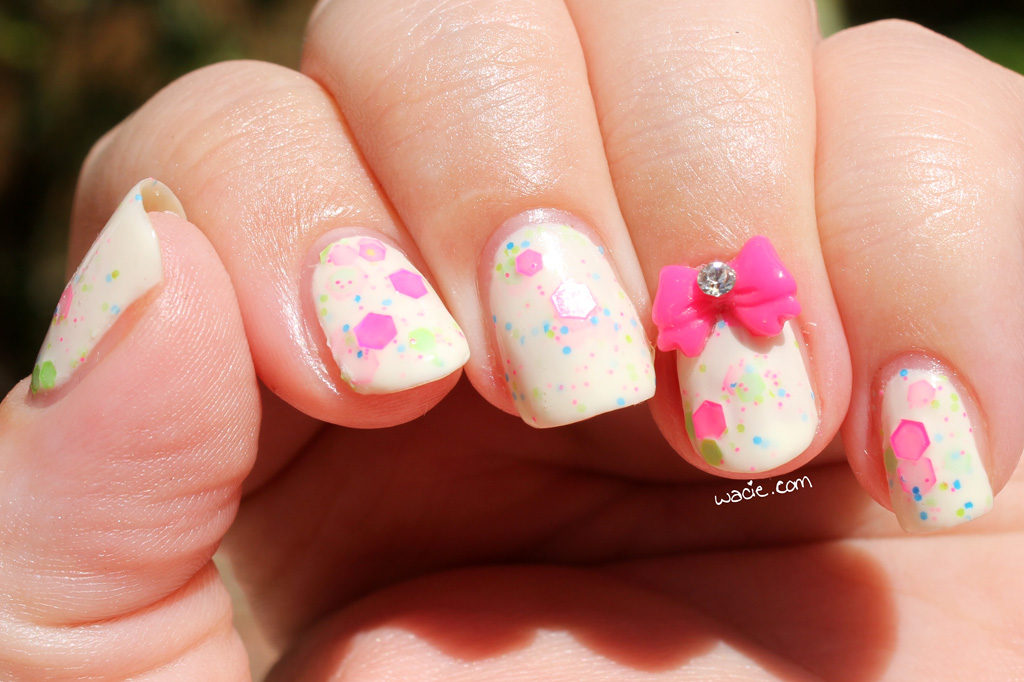
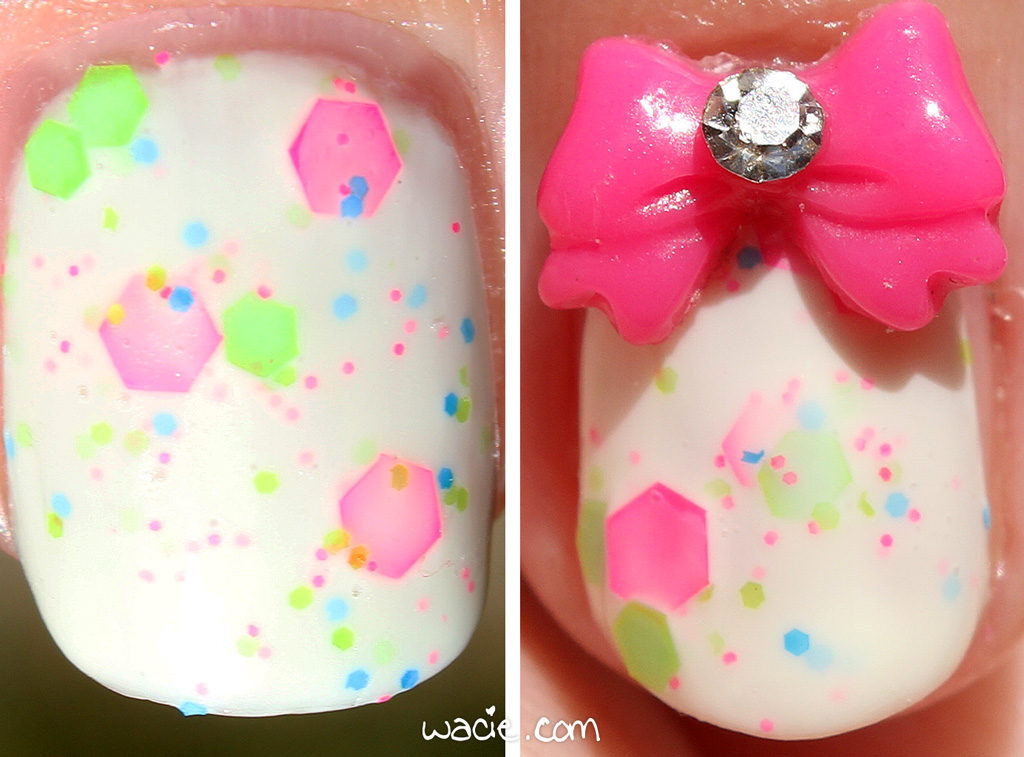
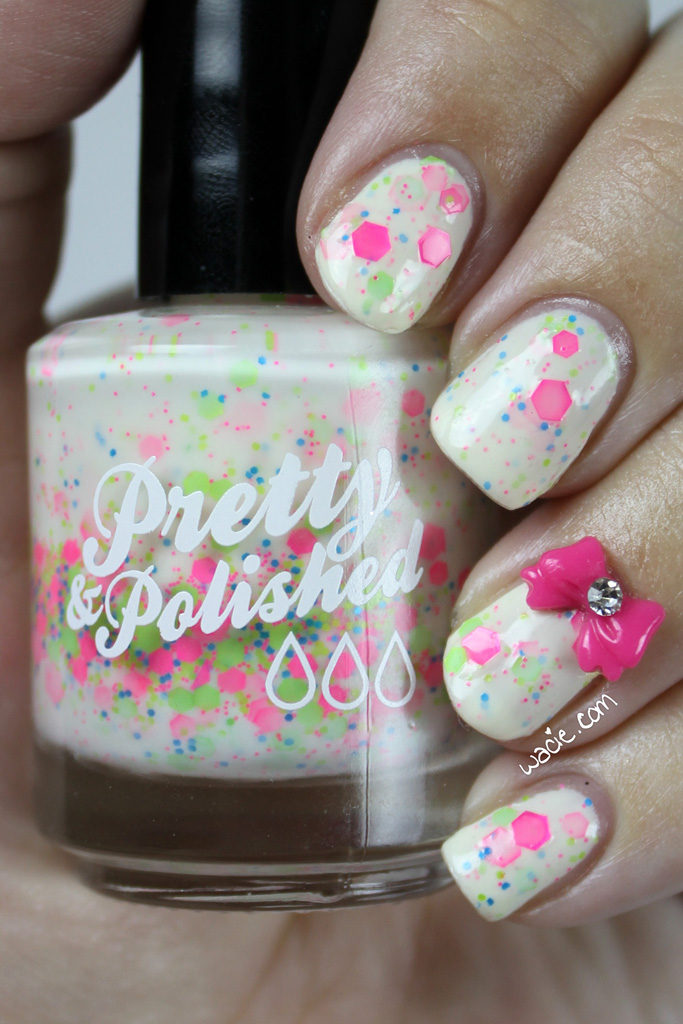
Happy Monday, reader! Today’s polish is so bright and happy that I’m cool with it being Monday. This is Pretty & Polished‘s Popples; I’m wearing three coats of Popples with one coat of Seche Vite and a bow charm from Claire’s.
img_53202

img_53272

So this is super cute, right? This is actually one of the first indie polishes I ever bought. It wasn’t one of the very first, but in the grand scheme of things, it was a pretty early etsy purchase. It doesn’t seem like it, but 2013 was a long time ago! I can’t believe I’m just getting around to trying this polish. I love the neon glitters popping out from the white crelly. It’s one of the cutest things I’ve worn in a while.

img_53292

img_53342

White crellies are my favorite polishes to buy (and make, sometimes) because the possibilities are really endless. There’s very little that doesn’t work with the crelly + glitter formula. I’ve always loved neons and white together, so this is really up my street.

img_53412

img_53472

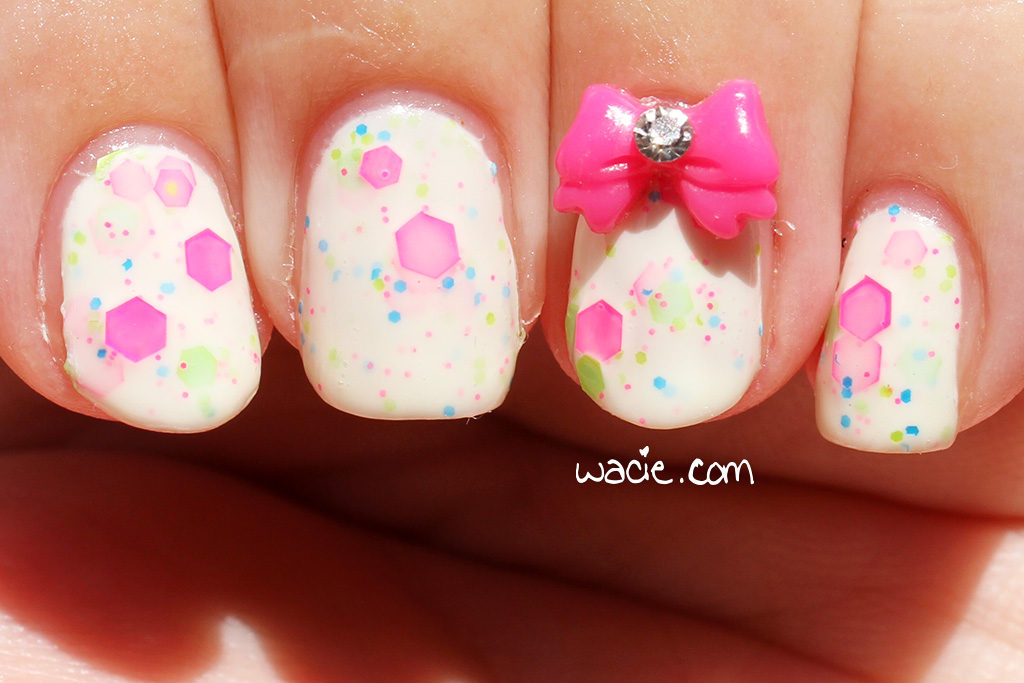
I took some photos in the sun, which were not really necessary. The colors pop just as much outdoors as indoors. Still cute though!

img_52972

img_52902

img_53062

mmpnppmm

Popples and other Pretty & Polished products are available in their etsy shop. My bow charm is from Claire’s.

I bought these products myself.

Manicure Monday: Dreams of Mermaids

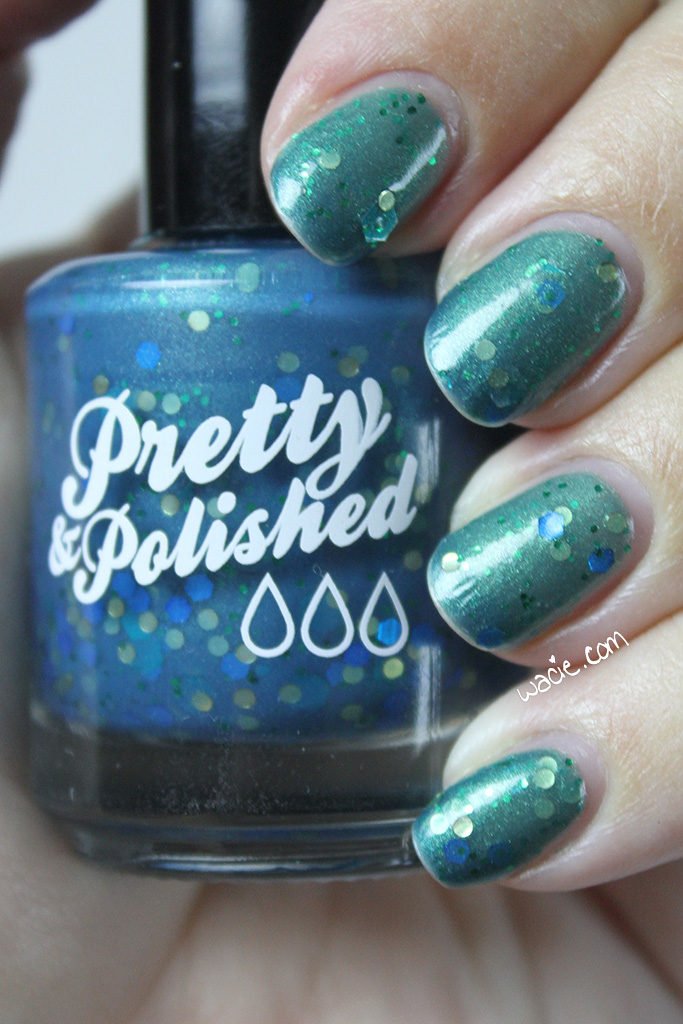
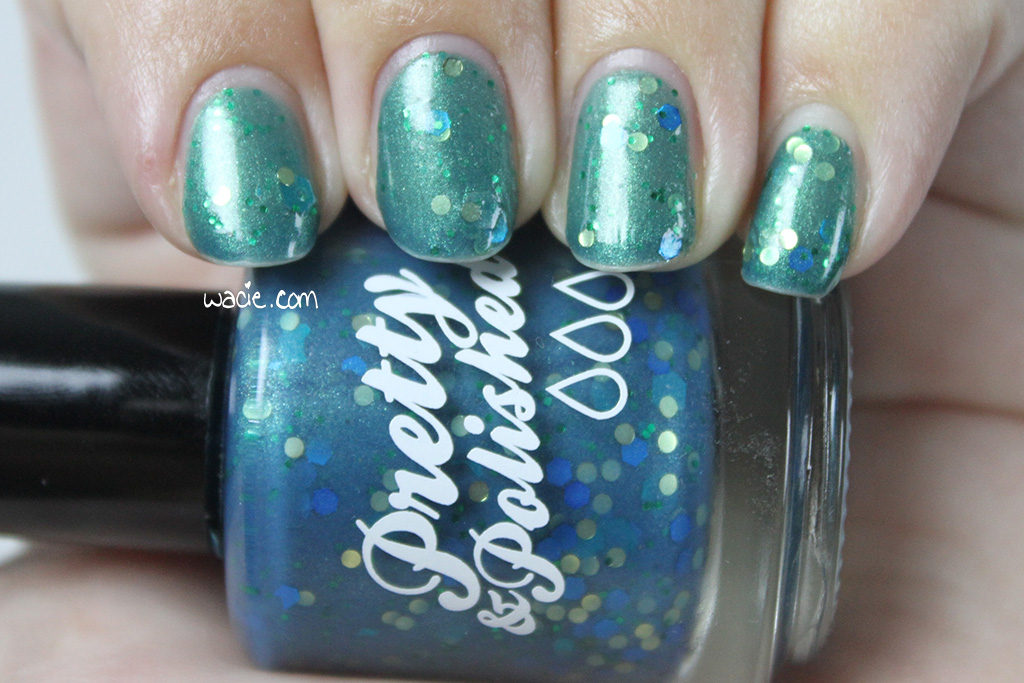
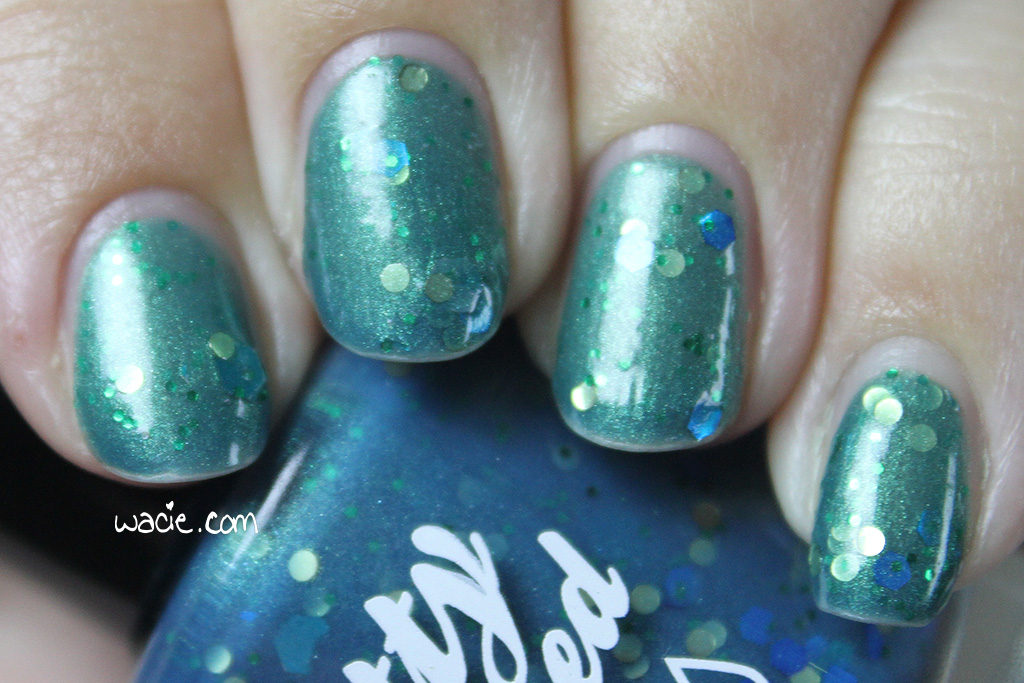
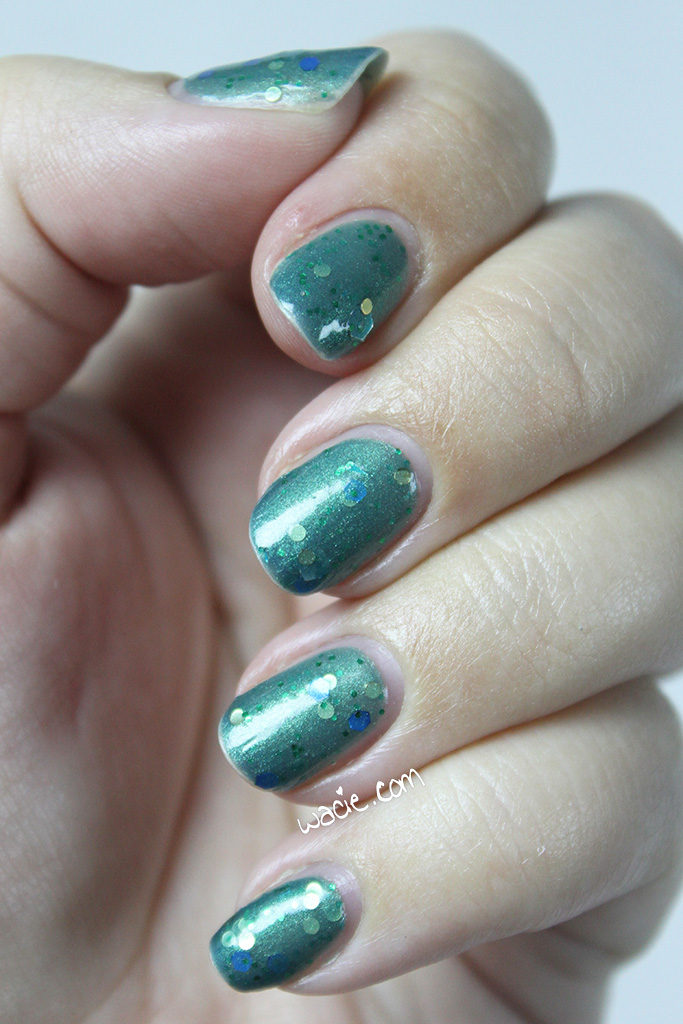
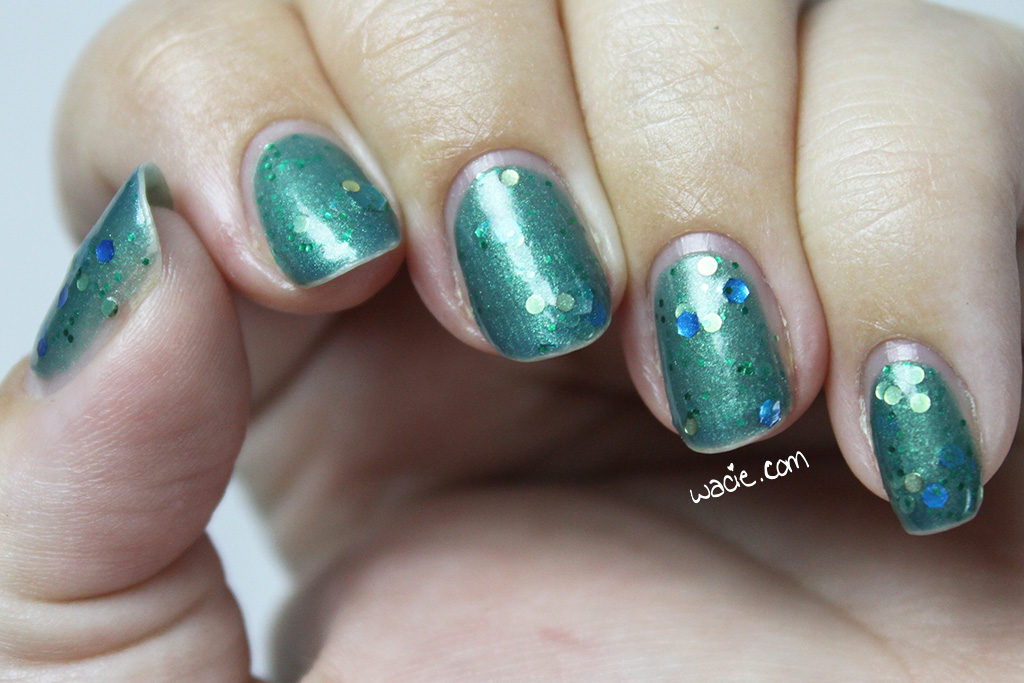
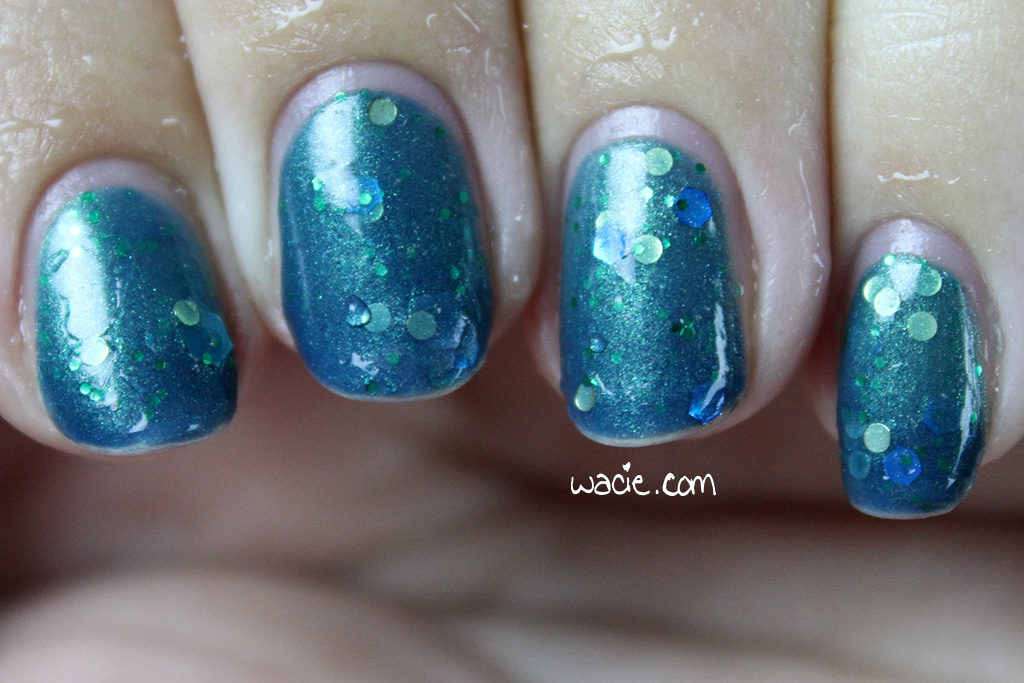
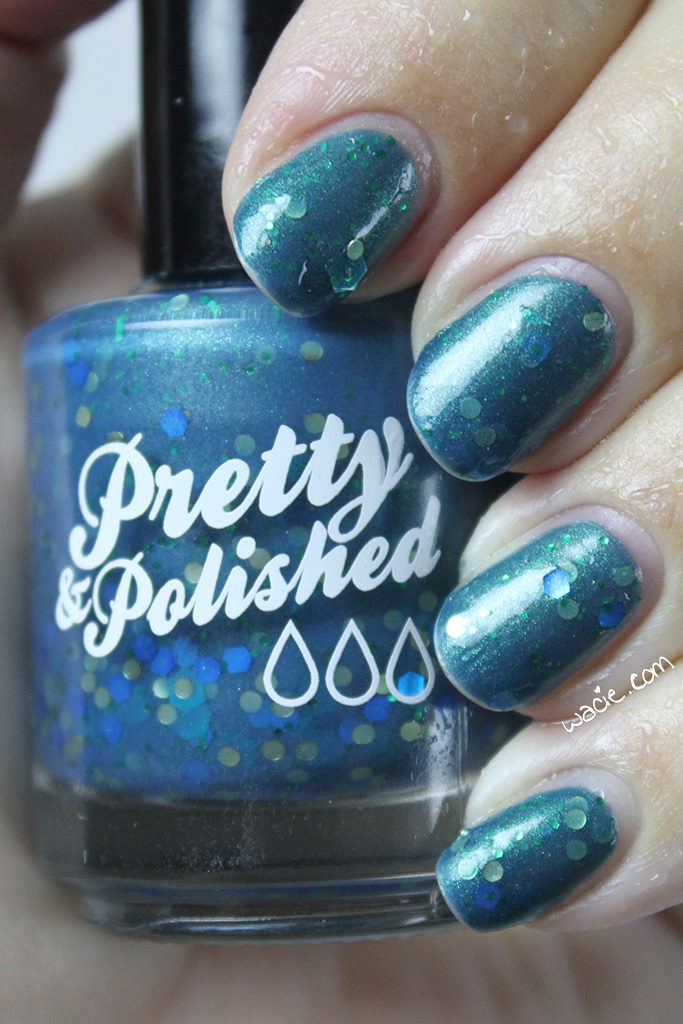
Hello reader! I’m so excited for today’s post. I’m wearing a thermal polish! Dreams of Mermaids was a very early indie polish purchase, and today’s the day I’m giving it some love. I’m wearing three coats with one coat of Seche Vite top coat.

IMG_27532

IMG_27562

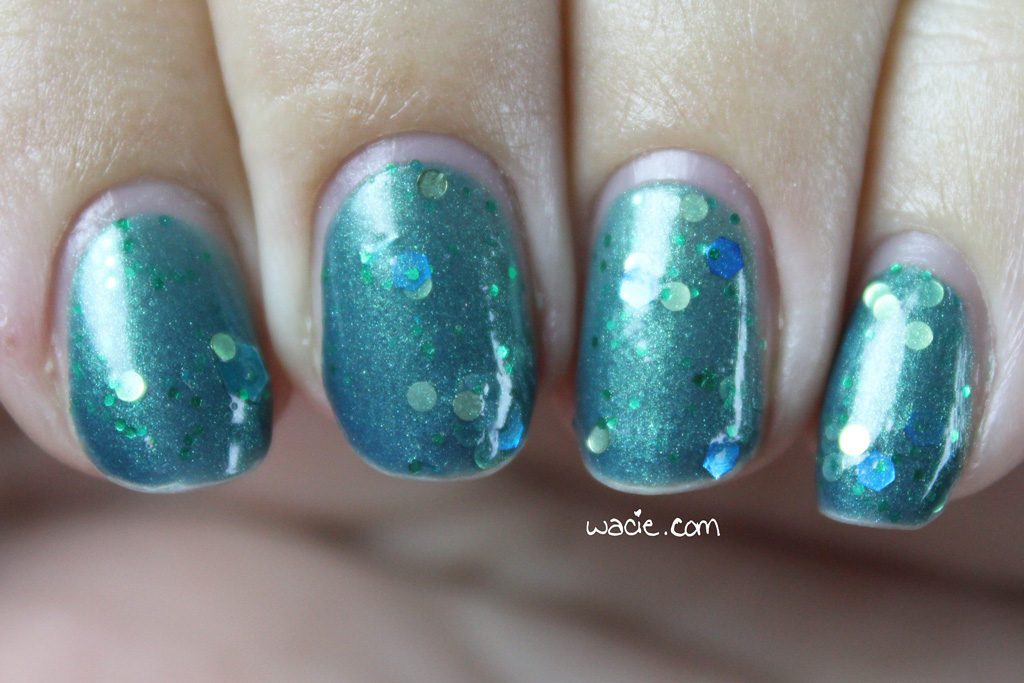
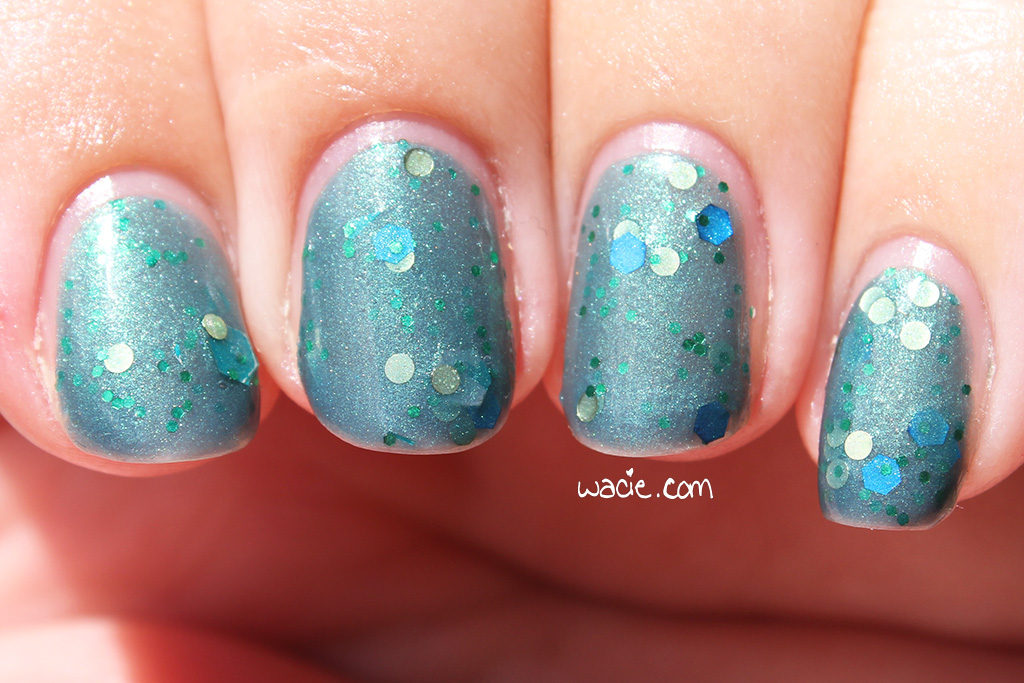
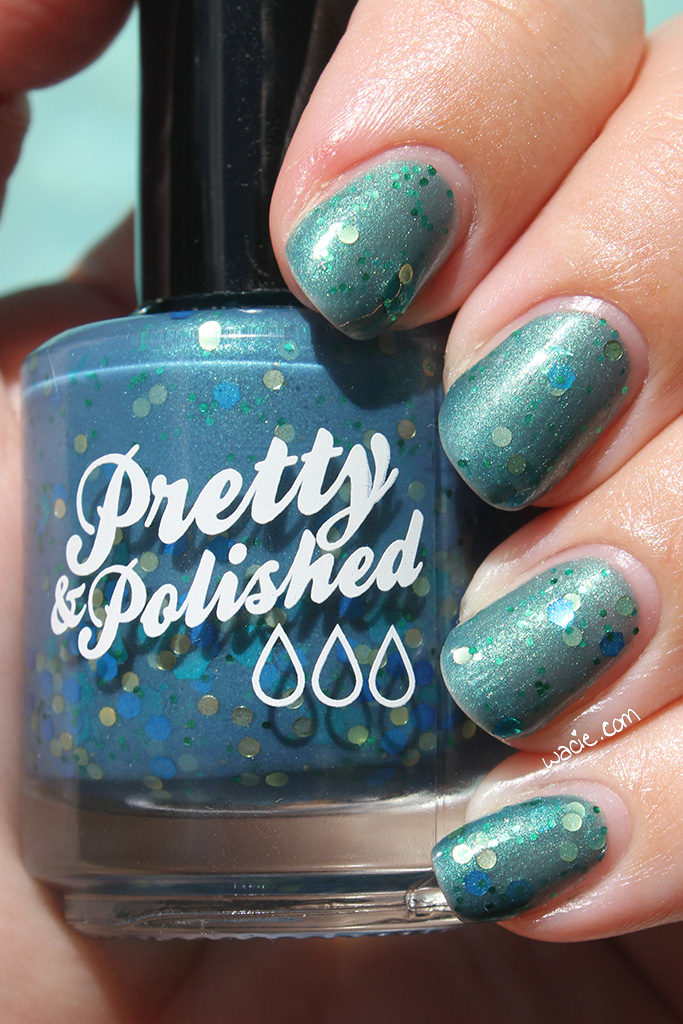
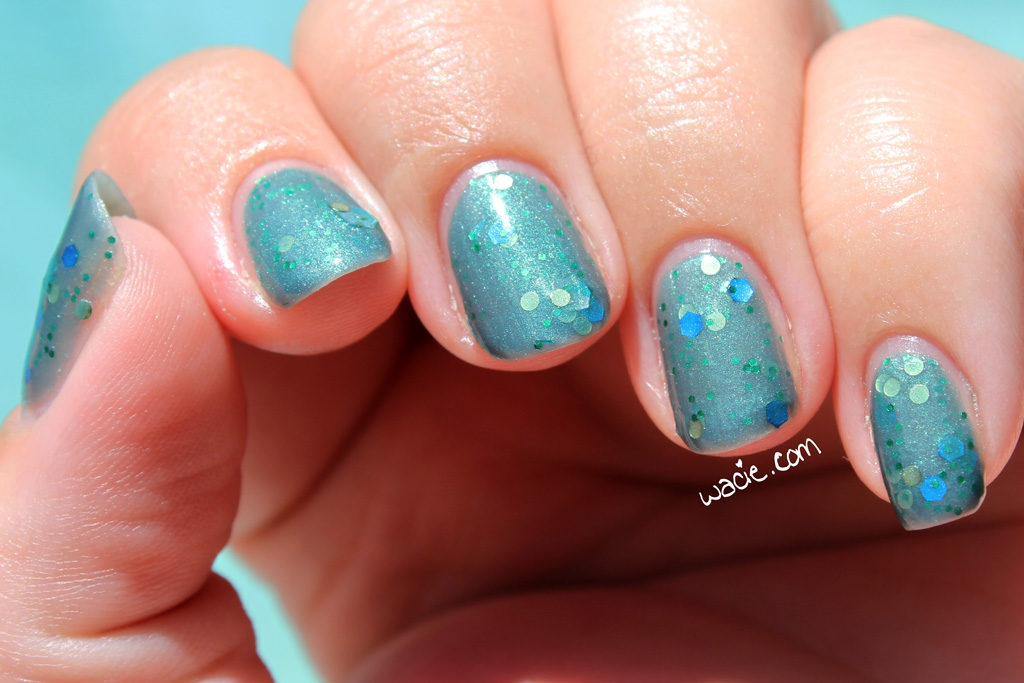
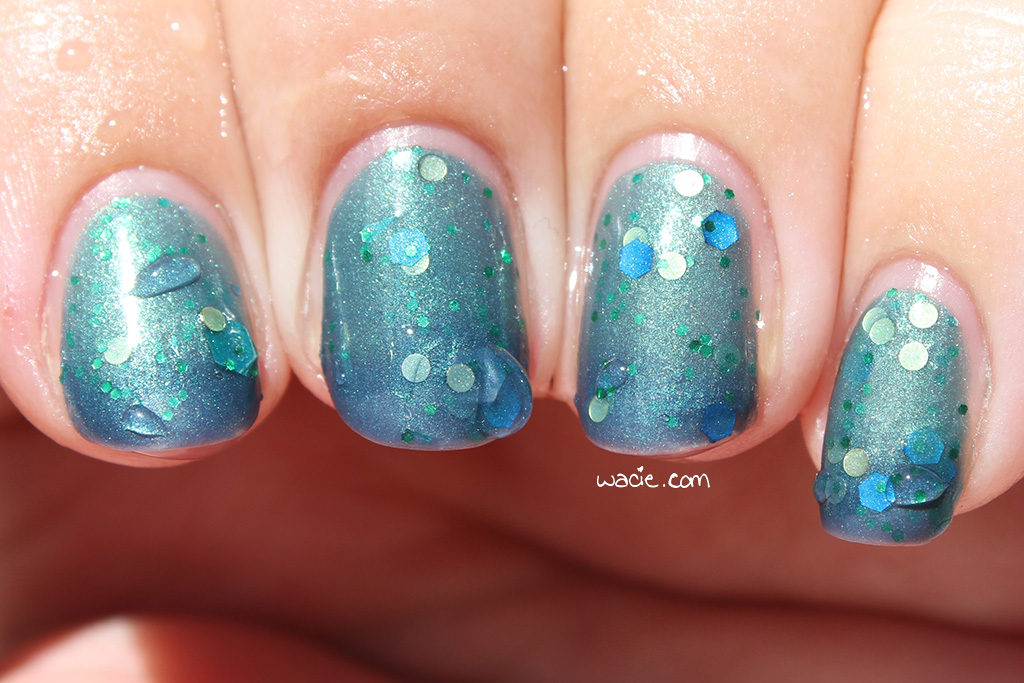
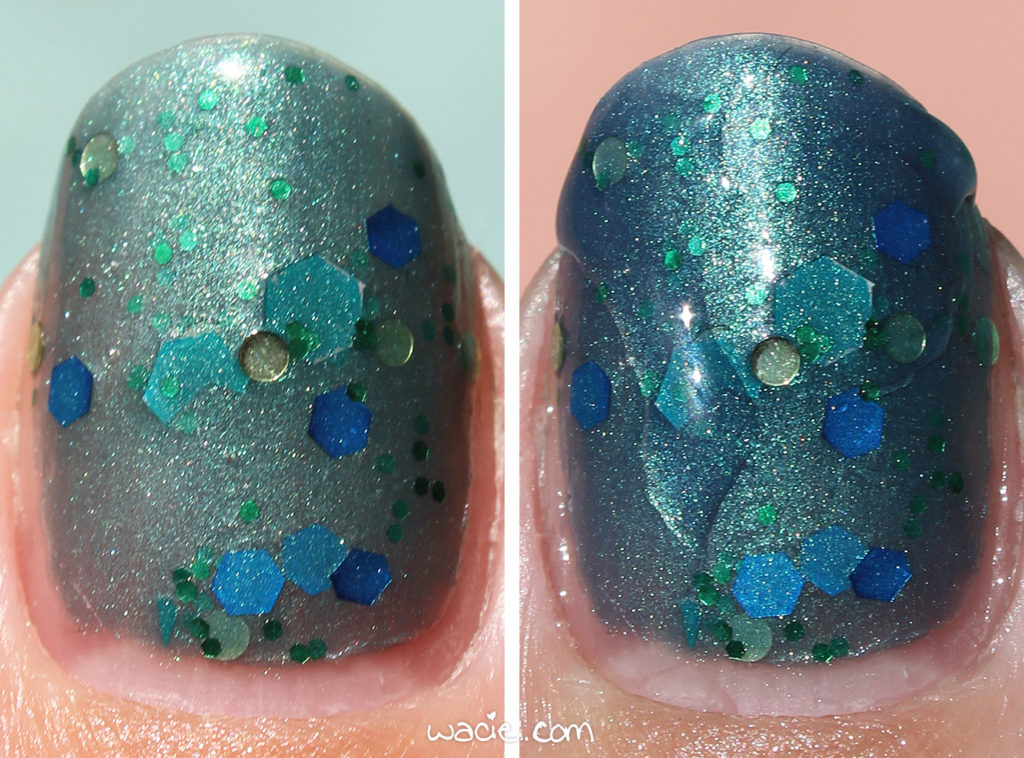
Dreams of Mermaids is a green-to-teal thermal polish with gold, blue, and green glitters, as well as a green shimmer throughout. Unfortunately, because it’s a very hot day in sunny Florida, I wasn’t able to capture the thermal effect well. In July, it doesn’t matter how long my nails are, the polish is always in the hot stage. Dunking my nails in ice water effects the change, but as soon as I pull it out, it goes right back to hot. This is why my cold stage and transition photos are so watery; I had to work fast. I do apologize.

IMG_27622

IMG_27642

IMG_27692

IMG_27752


I’m actually surprised the thermal effect still happens at all; this is a three year old polish, after all. I bought it at the same time I bought Pretty Chameleon, another beautiful Pretty & Polished thermal. Not only does it still change, it still has a pretty dramatic change. Something I notice about old thermals is that even though the effect still happens, it doesn’t happen as quicky or as powerfully as it used to. This one still works like it’s brand new.

IMG_27822

IMG_27882

In the sunlight, you can see exactly why this polish is called Dreams of Mermaids. The colors are definitely evocative of the ocean, and the shimmer really lights up out here! These photos were taken in direct sunlight.

IMG_27132

IMG_27252

IMG_27212

IMG_27342

mmpnpdommc

It looks like Dreams of Mermaids has been discontinued by Pretty & Polished; other P&P polishes — including thermals! — are for sale in their etsy shop and on their website.

I bought this polish myself.

Swatch Sunday: Pretty & Polished’s Pretty Chameleon

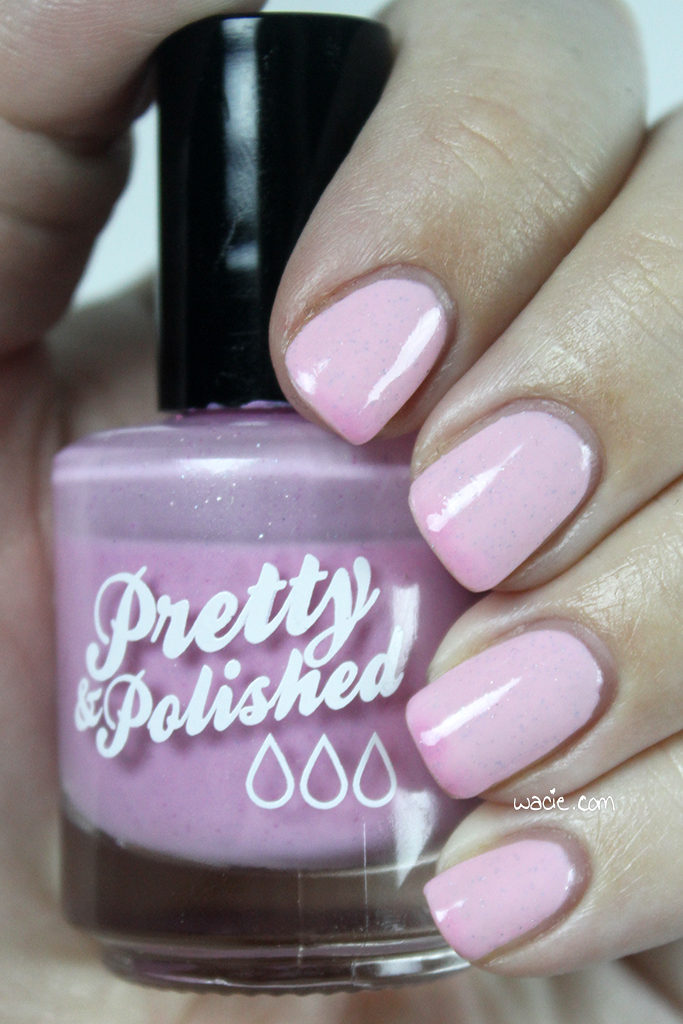
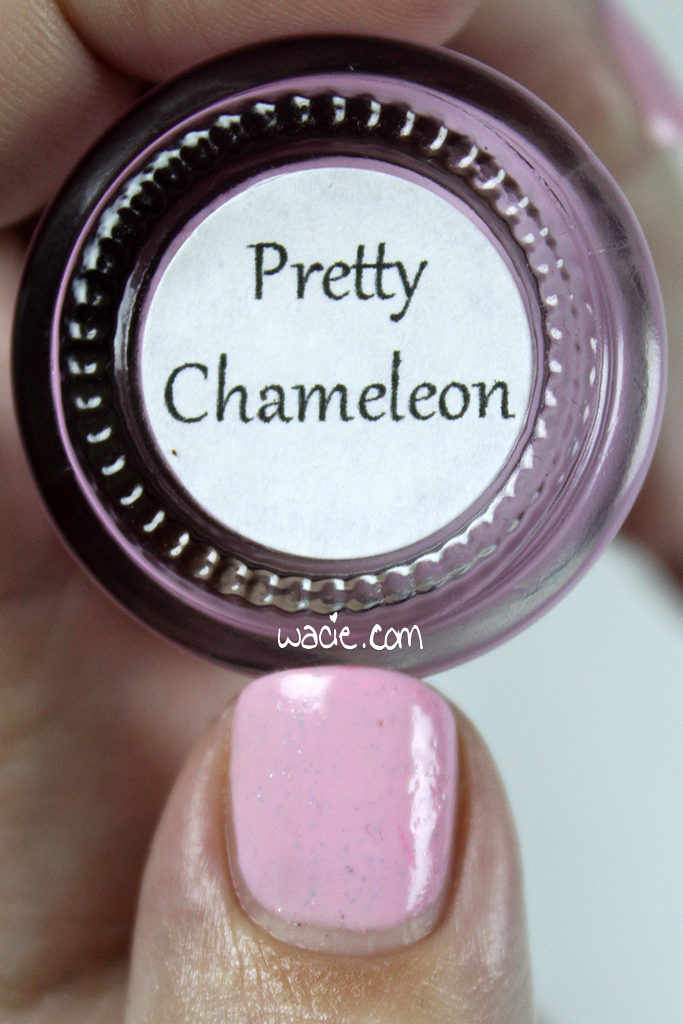
It’s another Swatch Sunday! I get to show you a thermal this week and I’m super excited. Pretty Chameleon from Pretty & Polished has been on the blog before, but never on its own. I’m wearing three coats of Pretty Chameleon with one coat of Seche Vite top coat.

IMG_79762

IMG_79732

IMG_79822

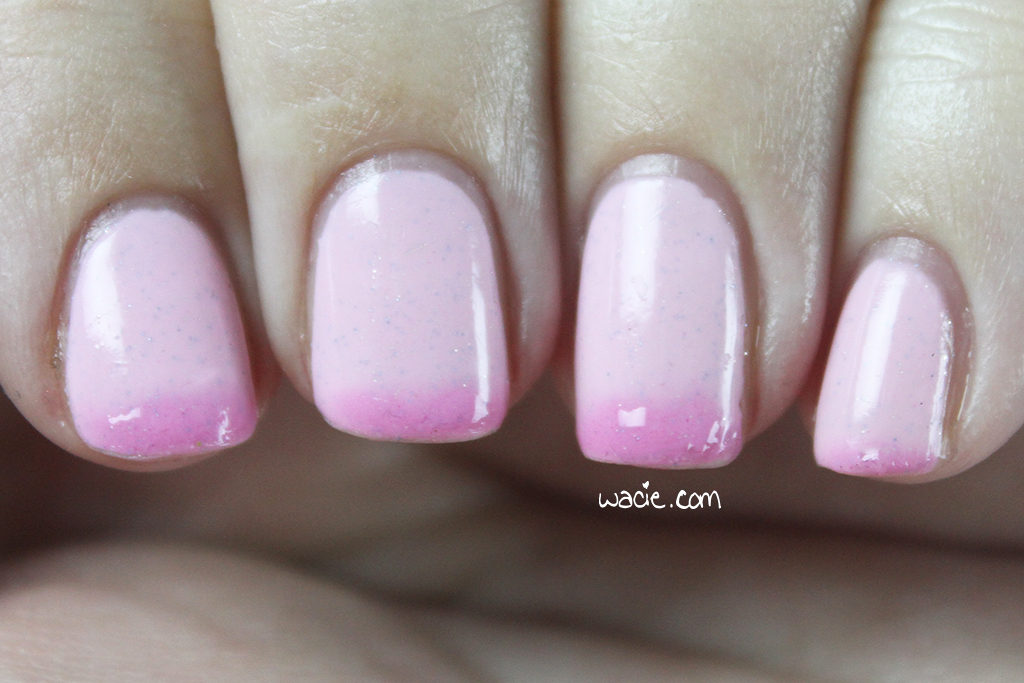
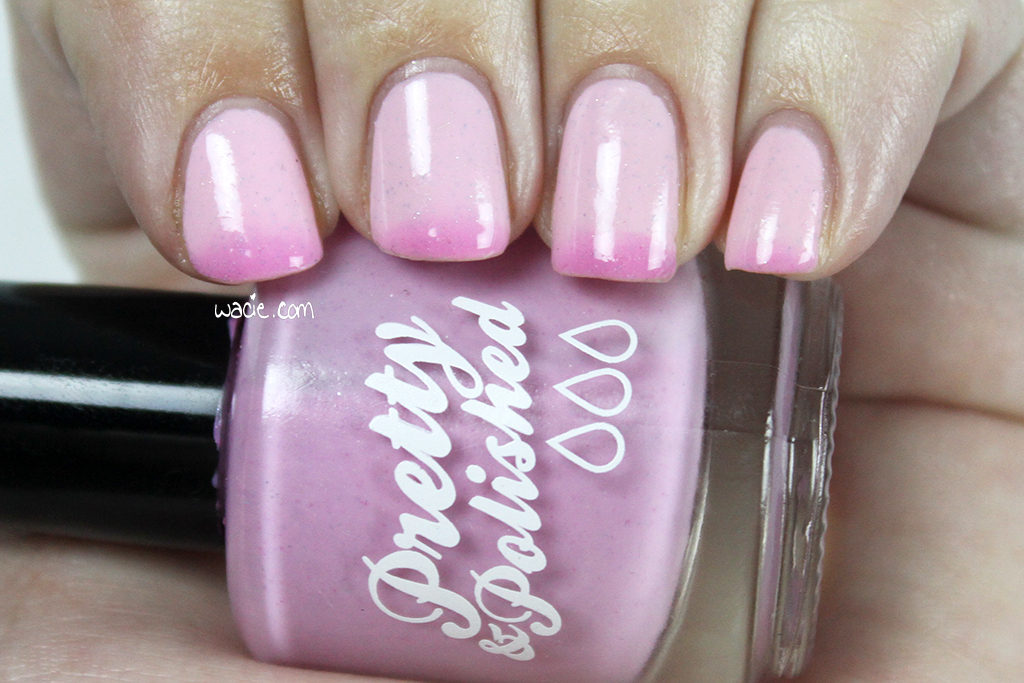
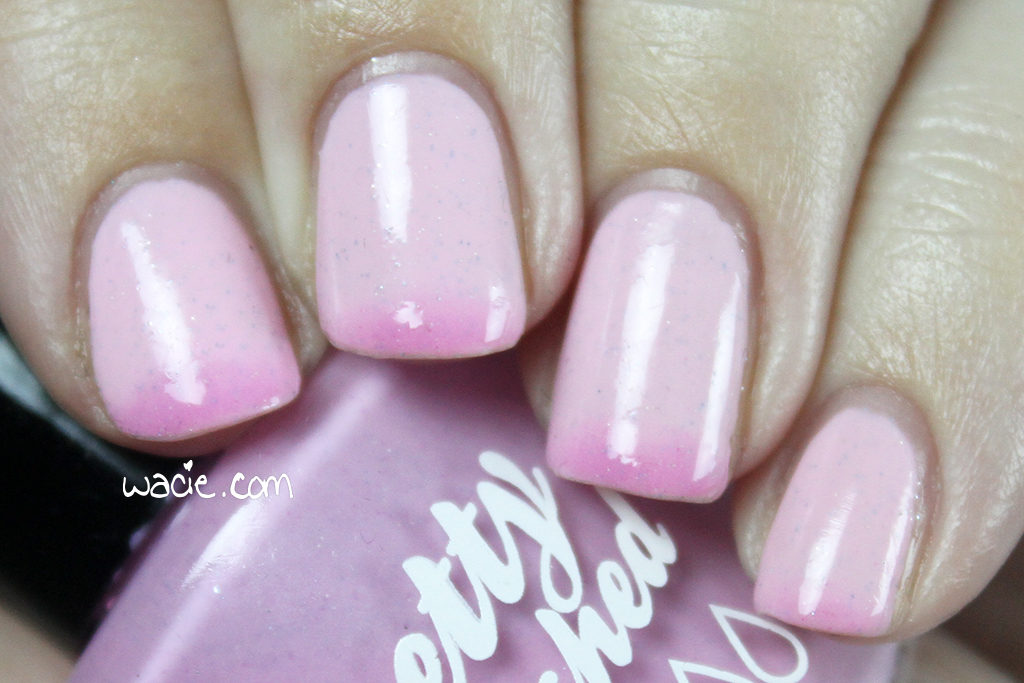
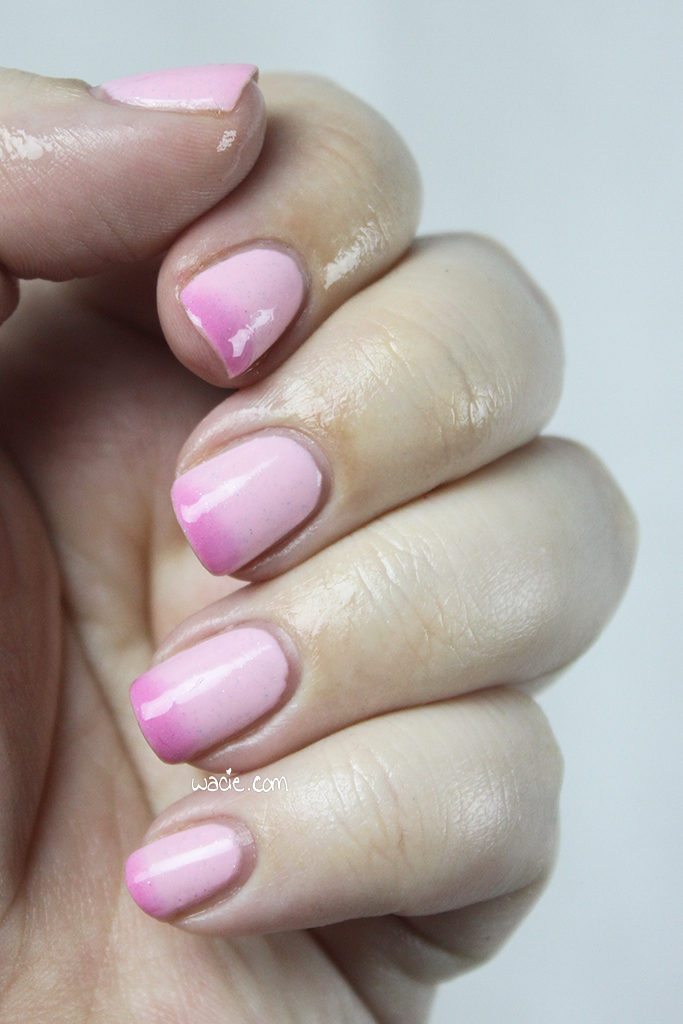
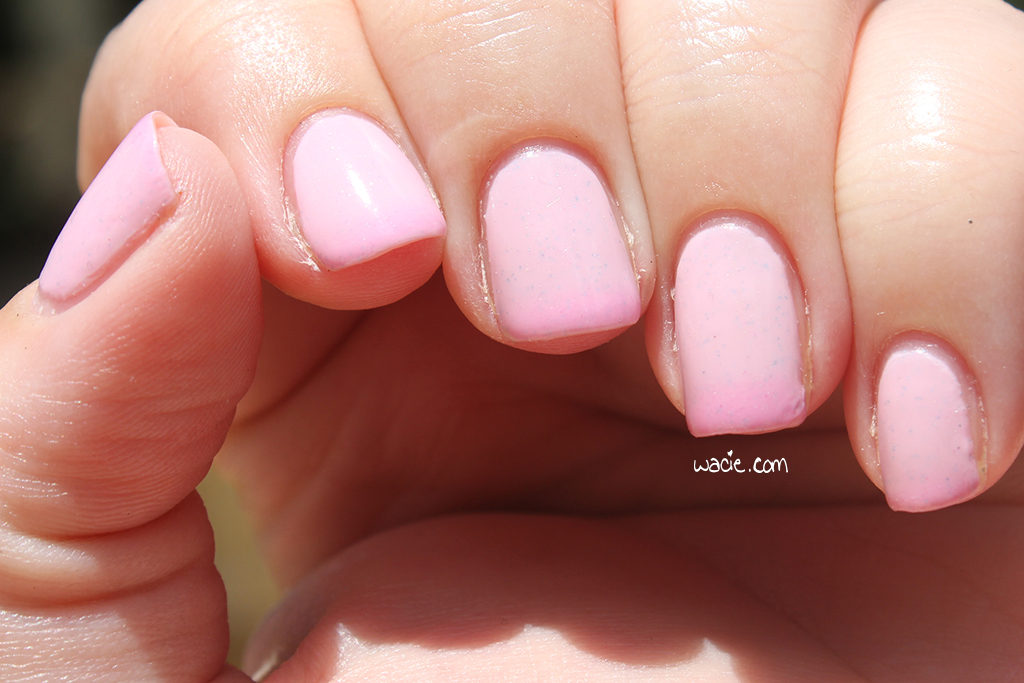
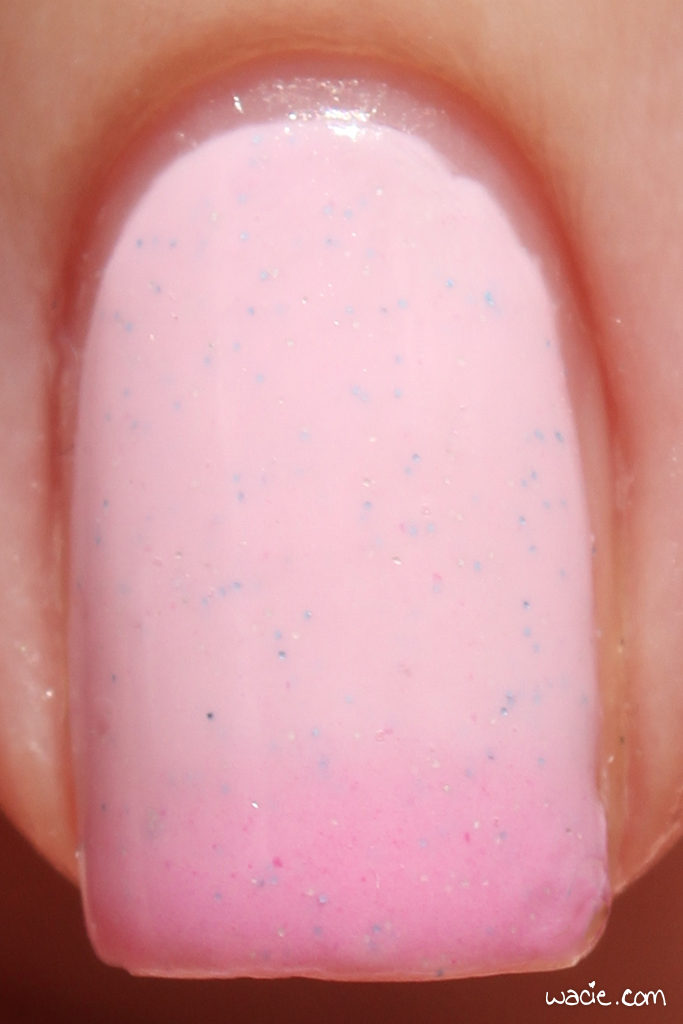
Pretty Chameleon is a pink thermal polish with fine pink and blue glitters. Application was good; the product formula was very easy to work with, and I achieved full opacity in two coats. The colors change with the temperature of the polish; the pink is deep when cold and pale when warm. The glitters, though sparse, get lost in the creme; most of it just looks like blue dots with very little sparkle. It dries quickly and with a satin finish; I used top coat for extra shine.

IMG_79882

IMG_79922

Pretty Chameleon is one of the first indie polishes I ever bought — the eleventh, to be exact, and my second thermal — and it’s always been a polish I’ve loved. Thermals were new to me back then, and being pink made it all the better. I think the color difference was a big stronger when I first got it, but that tends to happen with thermals as they age. I’m surprised this one still changes at all, given it’s three years old. Also, because it’s hot in the house as well as outside, it was difficult to keep the cool effect long enough to get photos of it. As soon as I pulled it out of the ice water, it warmed right back up again.

IMG_79962

sspnppctec

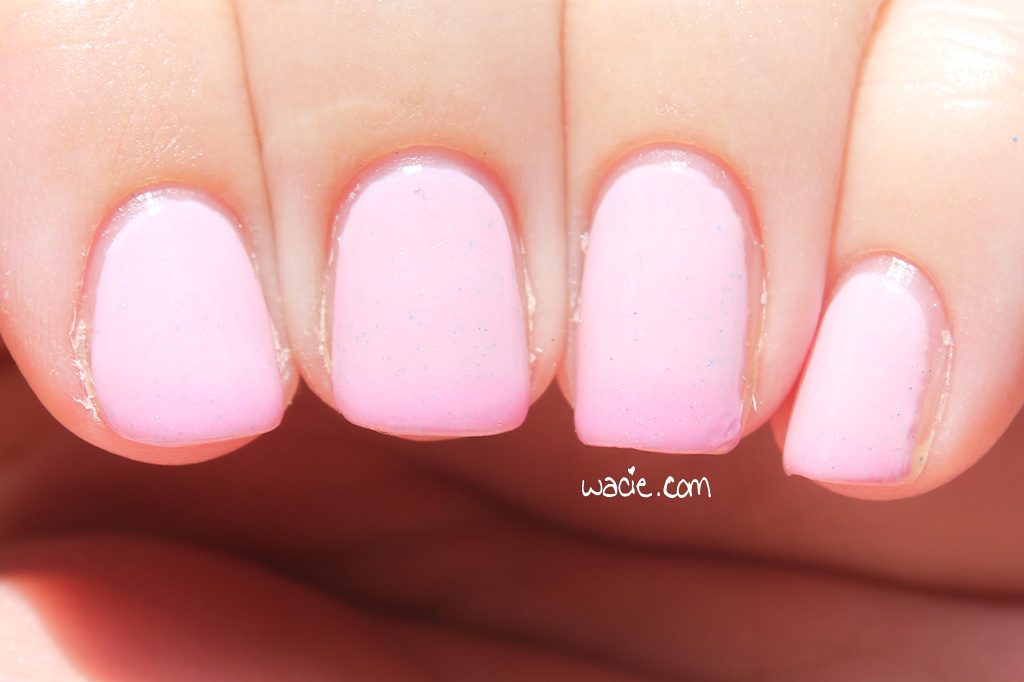
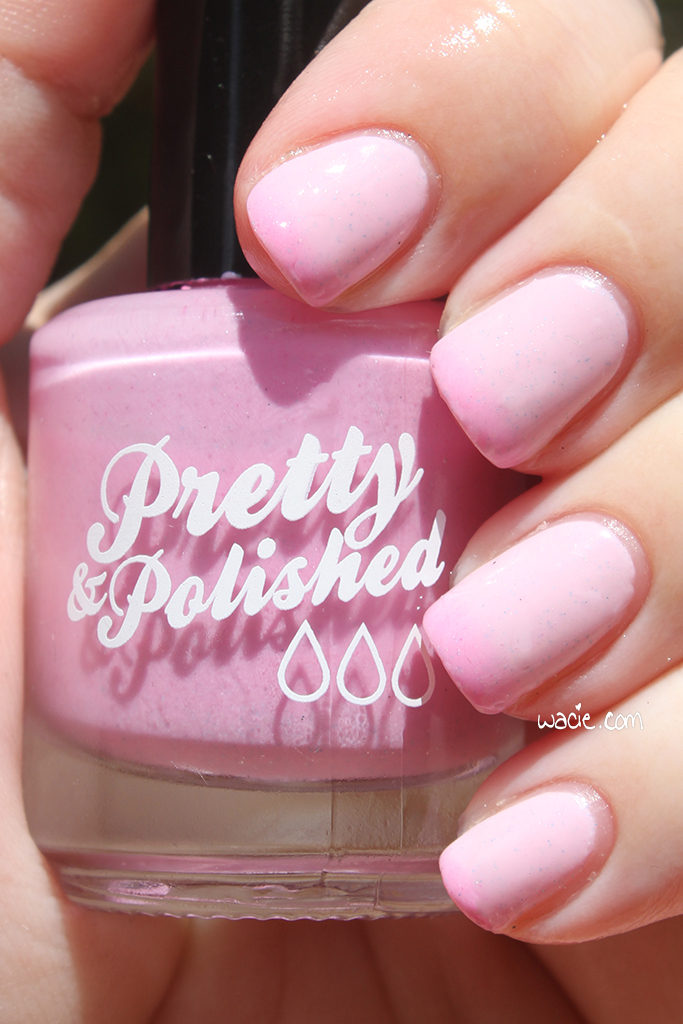
These photos were taken in direct sunlight outdoors. I used pool water to effect the temperature change. It heated back up almost immediately.

IMG_79092

IMG_79212

IMG_79172

IMG_79262

Pretty Chameleon is out of stock; check Pretty & Polished’s website and etsy shop for other polishes.

I bought this polish myself.

HPB Presents First-Ever Indie Brand!

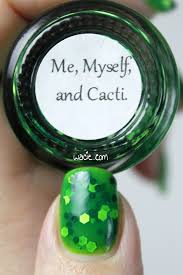
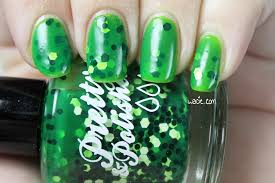
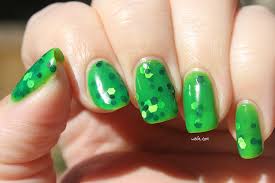
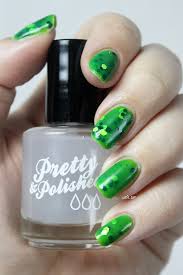
Hello reader! Today’s post is a special post. This is the Hobby Polish Bloggers link-up for the month of February! Every month this Facebook group does a themed mani, and February’s theme is all about our first indie brands. The first indie brand I ever bought from, as well as my first-ever etsy order, was from Pretty & Polished, so I decided to try some products from them I hadn’t used yet. This is Me, Myself, and Cacti at three coats, with one coat each of Seche Vite top coat and the Pretty & Polished Wax on Wax effect top coat.

hpbfib

hpbfib2

hpbfib3

hpbfib4

Way back in June 2013, after reading about indie polishes on Reddit and talking to other nail enthusiasts about them, I took the plunge and ordered some of my own. I was drawn to Pretty & Polished for their thermals, but I loved their chunky glitters and crellies. I bought two polishes that day, one of which was a thermal, and it kind of changed my life. It took my nail polish addiction to an incredible high. I placed orders with three other makers that same day.

hpbfib5

hpbfib6

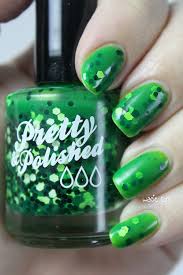
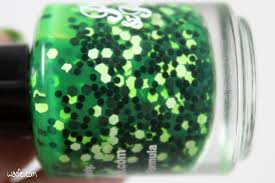
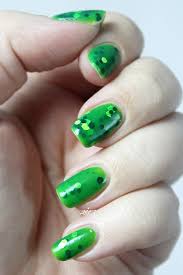
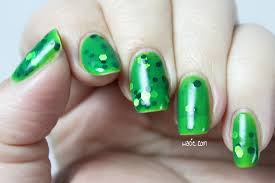
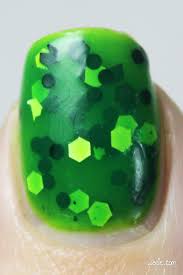
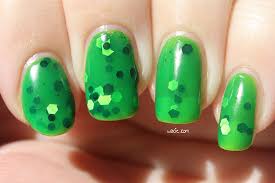
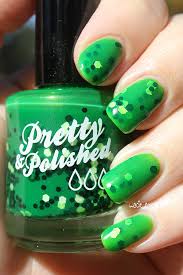
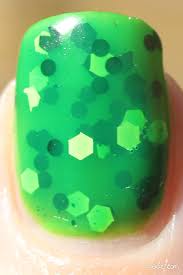
I had other P&Ps I’d bought first and hadn’t tried, but I really just wanted to use this one. I have always loved the look of this polish, because it’s not like anything else I own: the green jelly is rich but still transparent, and the glitters add just enough to break it up and make it interesting. Unfortunately, the glitter was a bit hard to get out; I only got one or two pieces on some nails, but I’m still happy with the look.

hpbfib7

hpbfib8

hpbfib11

In the sunlight, it looks about the same. The nail line is a bit more visible, but that’s about it. These photos were taken in direct sunlight outdoors.

hpbfib12

hpbfib13

hpbfib14

hpbfib15

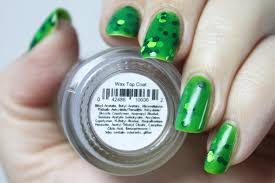
I also decided that this would be the day I tried out the Wax on Wax effect top coat. I bought these two products together and have never used them until today. I like the way it looks over the jelly; there’s still some shine, but it’s subdued. It’s like a satin finish, but more to the glossy side than the matte side. It really does look like I dipped them in molten candle wax. I don’t actually know how often I’ll use this in the future, since I really loved the jelly shine, but it’ll be fun to try out again.

hpbfib9

hpbfib10

Me, Myself, and Cacti has been discontinued, but the Wax on Wax effect top coat and other Pretty & Polished polishes are available at their etsy shop.

I bought this polish myself.


Manicure Monday: Sundown

Happy Monday, reader! This is the last Manicure Monday of 2015. I cannot believe another year has gone by and I’m still blogging. The wacie.com anniversary, as well as the anniversary of Wacie Nail Company, are coming up, and I have some really fun things planned, like new polishes! For now though, let’s not get too far ahead of ourselves. For this final post of 2015, I’m wearing Pretty & Polished‘s Sundown; this is three coats with one coat of Seche Vite.

mmpnps

mmpnps2

Sundown, as you can see, is an orange-to-yellow thermal creme polish with glitters in orange, yellow, and pink. The polish coverage is on the opaque side, so glitters from previous coats don’t show up so well in the finished look. That’s especially true for the orange/cold stage; since the yellow/warm stage is much paler, and the darker glitters do actually show through a little. The transition occurs easily. Application was okay; the creme went on beautifully, but the glitters were few and took some manipulating to get them just right. The polish dries with a satin finish.

mmpnps3

mmpnps4

I bought this polish in 2015, and I’m actually surprised it still transitions. I’m thrilled with it, really. A lot of the thermals I’ve had that long — even a few I bought more recently — have stopped altogether. I was really unsure of what to expect from it. It’s beautiful, though, isn’t it? It’s so strangely appropriate for this post, and in so many ways: obviously the name is appropriate, since the sun is setting on such an exciting year. Today’s high was 83 degrees, and so the colors are unseasonally seasonal. It’s not a NYE glitterbomb, but it’s a really cool polish to see me through the end of the year.

mmpnps5

mmpnps6

Sundown is no longer made by Pretty & Polished, but you can find other polishes (thermals!) on both their etsy store and their official website.

I bought this polish myself.


Manicure Monday: Double Pink and Fairy Dust

Happy new year, readers! This is my last manicure for 2014. Yeah, I can’t believe it, either! I’m wearing three coats of Pretty & Polished‘s Pretty Chameleon, one coat of China Glaze’s Fairy Dust, and one coat of Ciate’s Speed Coat Pro top coat.

IMG_25812

IMG_25862

Pretty Chameleon is a thermal polish that goes from bright pink to light pink with body temperature. Applying this polish was a dream; the consistency is thick, but this is typically the case with the way thermal polishes are made. Drying times were quick, however, and the polish dried with a matte finish. It’s a very easy polish to put on. There are also some scattered holographic pigments hanging around in it, which aren’t easy to see with the Fairy Dust on top. I really love thermal polishes. The effect occurs almost instantly, depending on how warm or cool my hands are. This is tricky when applying multiple coats; it’s one color on the brush and another color on the nail. It’s so fun, though!

IMG_25942

IMG_25982

Everyone loves Fairy Dust, right? This was actually the polish I wanted to feature today, but the thermal kind of stole the show. It’s such a beautiful polish, and I wish I had the chance to use it more often. Maybe it’s good that I show restraint and don’t put it on everything, even though I’ve been tempted.

IMG_26142

Pretty Chameleon, cold

Pretty Chameleon, cold

IMG_26302

It’s a pretty tame NYE mani, but I’m happy with it. I thought wearing a thermal on nubs would be boring, like they would just always be the warm pink and I’d never get to see a change. Additionally, it was 80 degrees here today, and I was counting on cool outdoor temperatures to effect the change. I saw it change in the supermarket earlier, though, so that’s something.

Transition

Transition

See you guys in 2015!

Manicure Monday on Tuesday: Fun With Thermals

I’m always excited to share a first on the blog. For Manicure Monday this week, I’m wearing Tomboyish from Pretty & Polished, one of my first-ever indies, my first-ever thermal polish, and the first-ever thermal on the blog. I’m wearing three coats of Tomboyish with one coat of Digital Nails‘s Spectraflair top coat and Color Club’s clear coat.

IMG_92412

IMG_92492

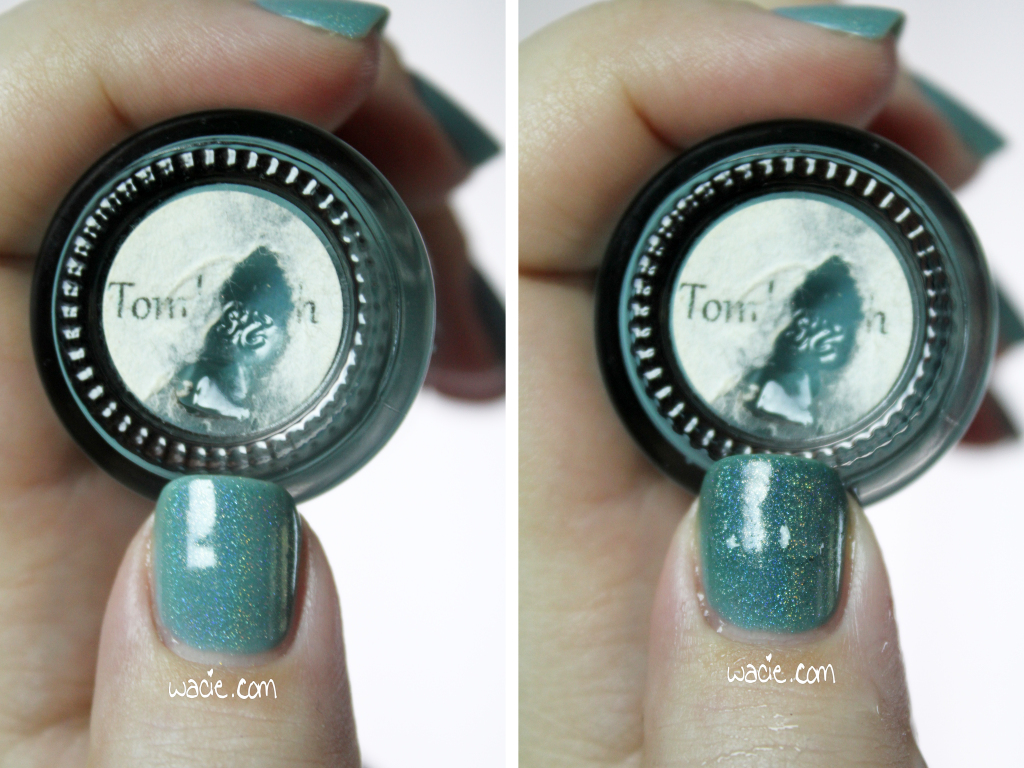
The label got soft and peeled a bit from dipping the bottle into water to change its color.

The label got soft and peeled a bit from dipping the bottle into water to change its color.

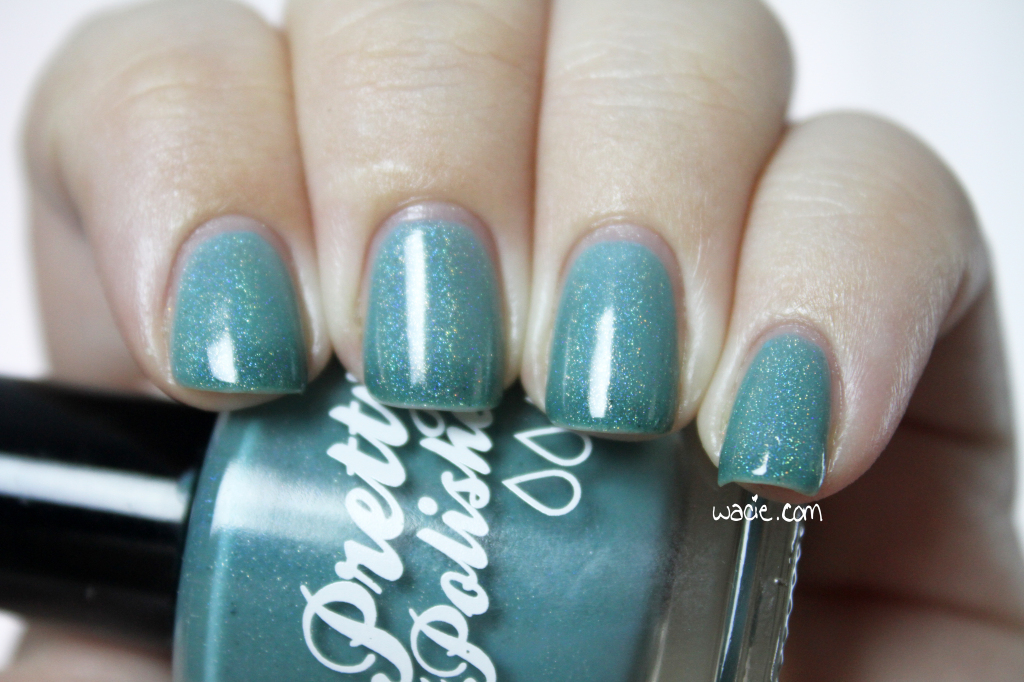
Tomboyish is a deep teal-to-dusty blue thermal polish with a light sprinkle of holographic sparkle. The consistency is thick due to extra pigments, but it’s still very easy to use and apply. The first coat was very sheer, but coverage builds with additional coats. It dries quickly, and with a matte finish. In this regard, it’s very much like an ordinary polish.

IMG_92552

IMG_92612

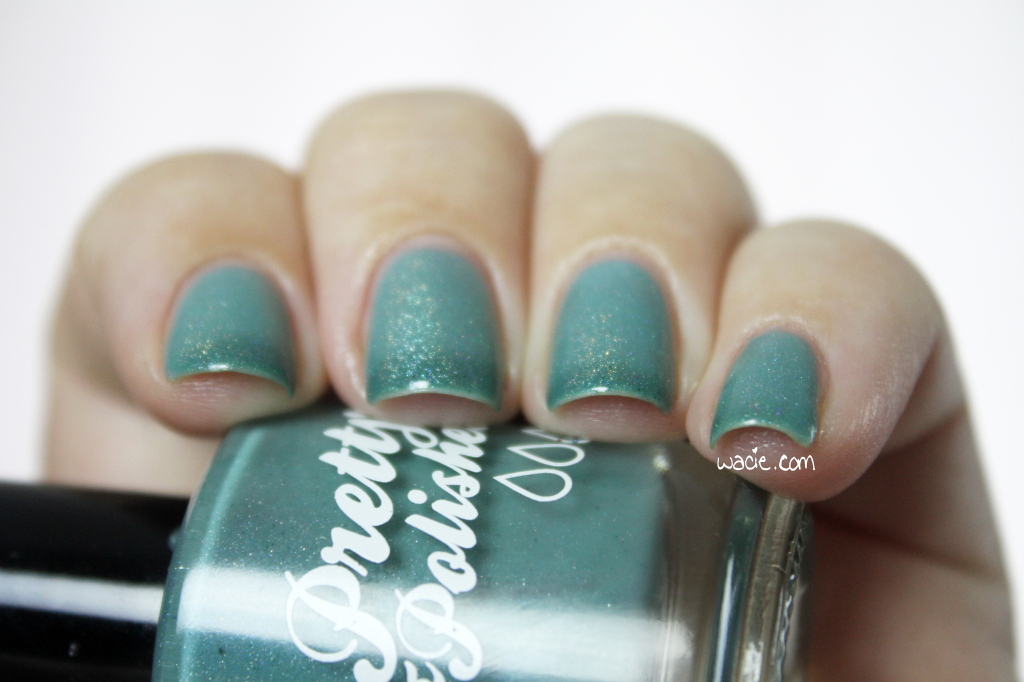
Thermal polishes change color with heat, and that’s what makes this polish special. The teal color deepens when it’s exposed to cold temperatures, and it fades to blue when exposed to warm temperatures. Body heat is enough to effect the change, and it happens instantaneously; if I dipped my fingertips in cold water, the teal color would deepen, but would fade back to blue as they warm up again. If your nails are longer than your fingertips, you’ll often have a nice gradient effect; the part of your nail grown past your finger will be different than that’s closer to your cuticle. It’s an awesome, effortless look.

IMG_92672

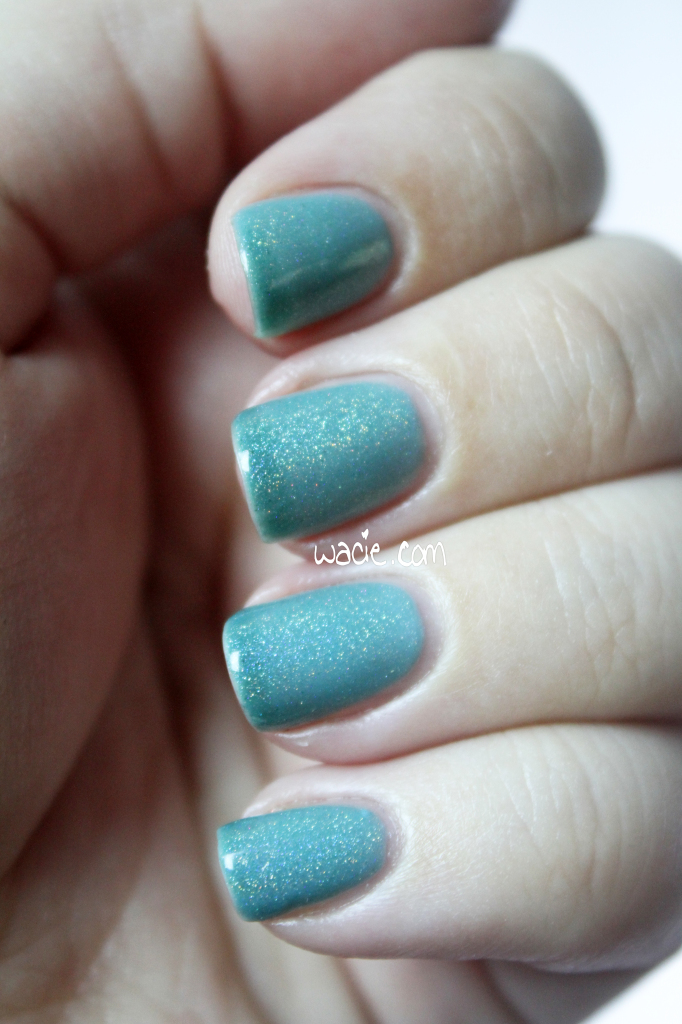
I wanted just a little bit more sparkle with Tomboyish, so I put on a Spectraflair top coat made by Digital Nails. The holo isn’t as strong as it would be if it was a holo polish, but being able to turn any polish I own into a holo is pretty cool.

IMG_92702

I’ve had this polish for a long time, so I think the effect isn’t as potent as it used to be. The first time I used it, the light color was much lighter, and now it hovers somewhere in between. It’s still pretty cool, and it still changes, but not like it used to.

I love thermals, and I’ve got more in the pipeline. I can’t wait to wear them.

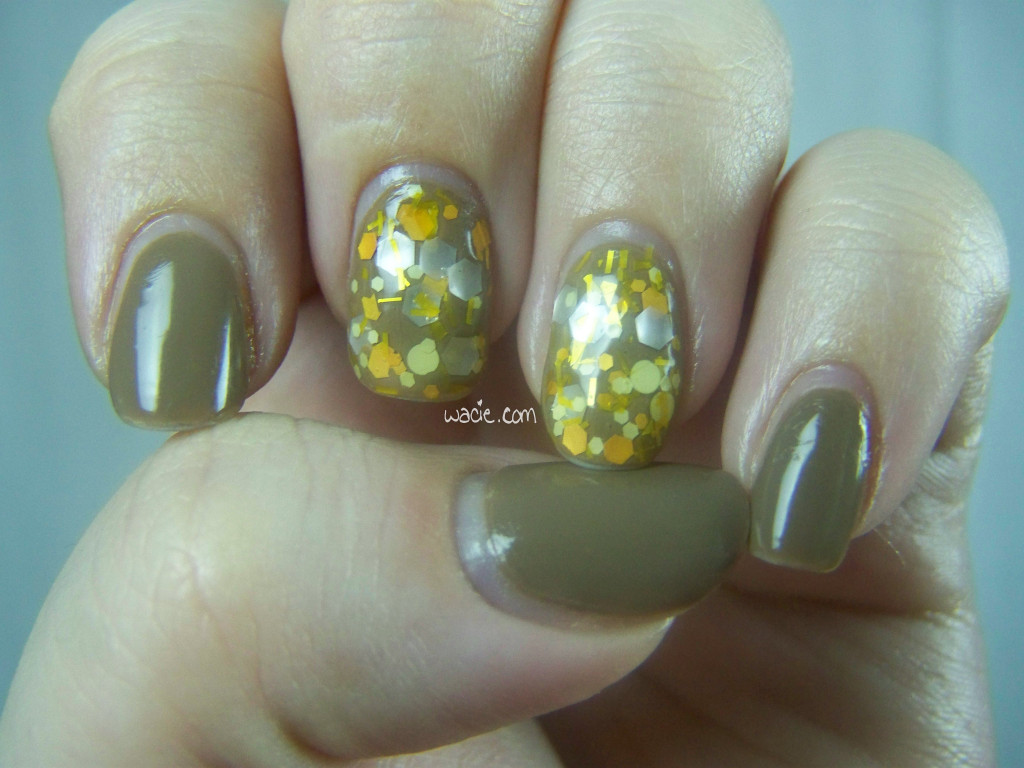
Manicure Tuesday: Harvest Glitter on Brown

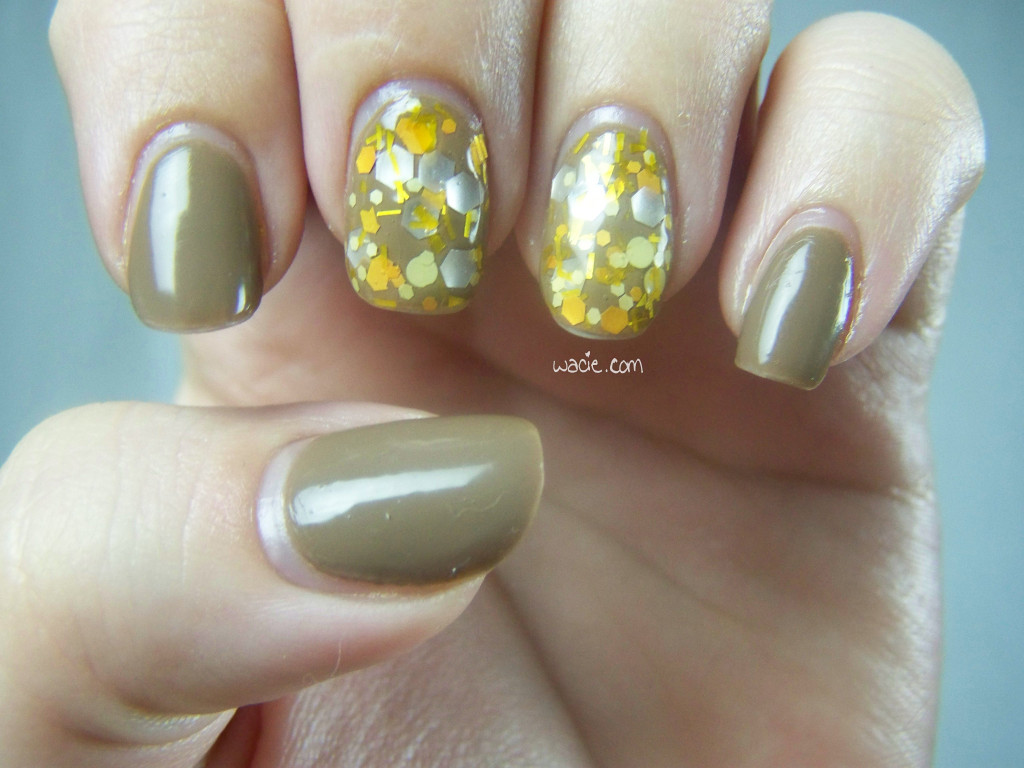
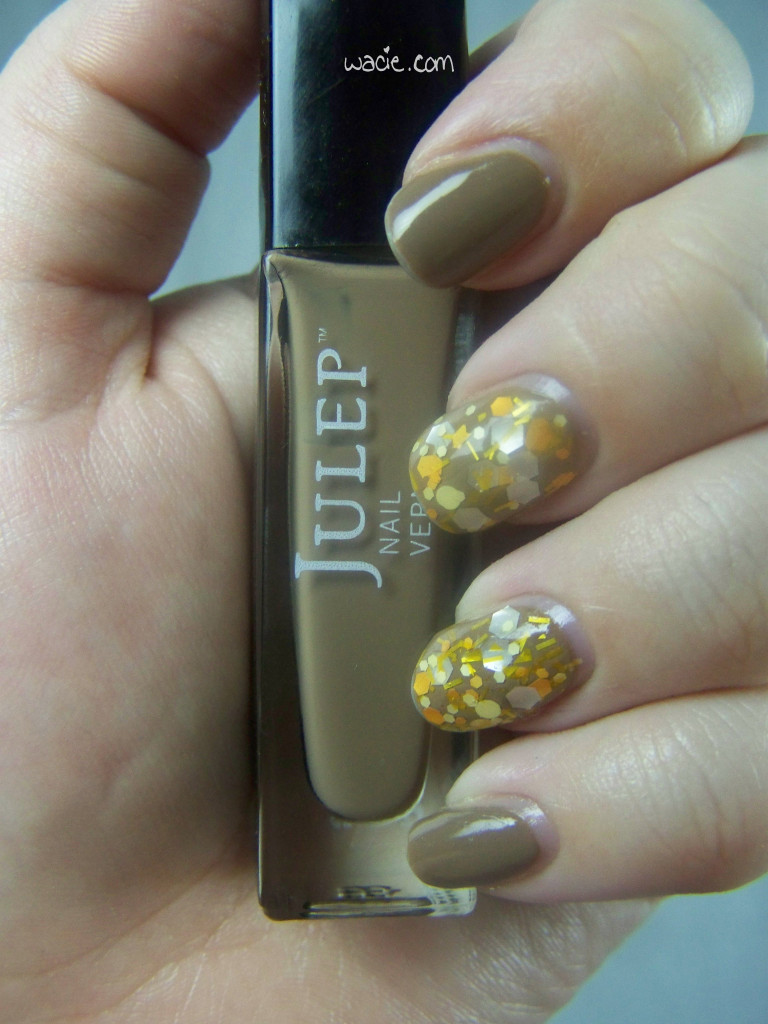
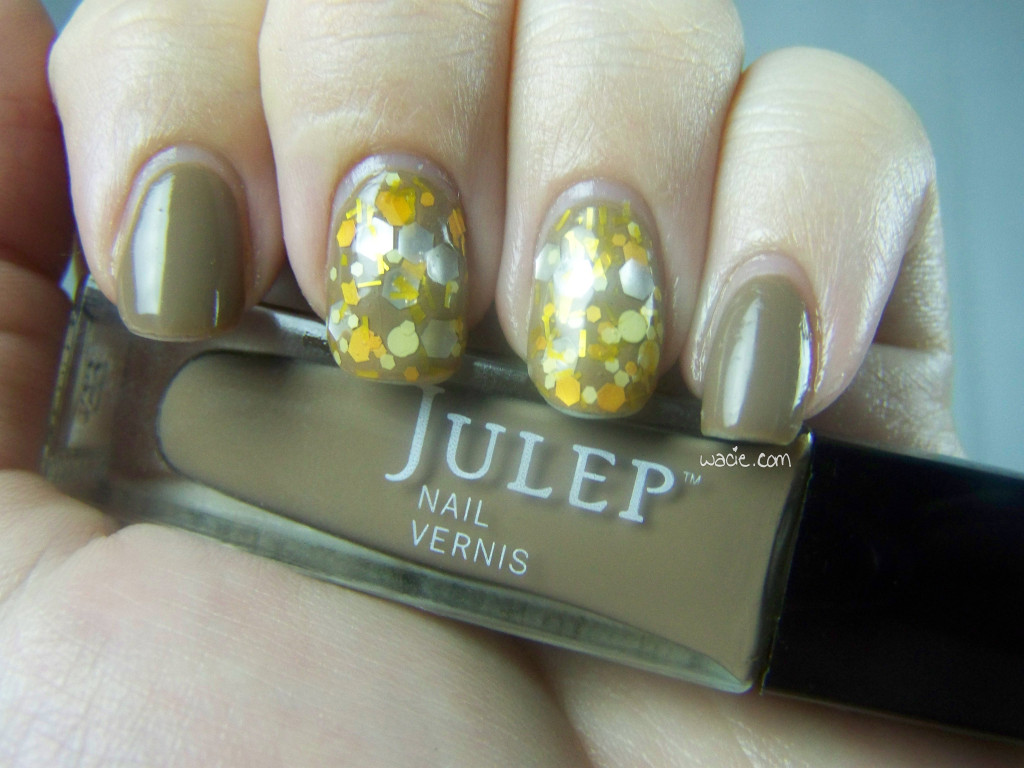
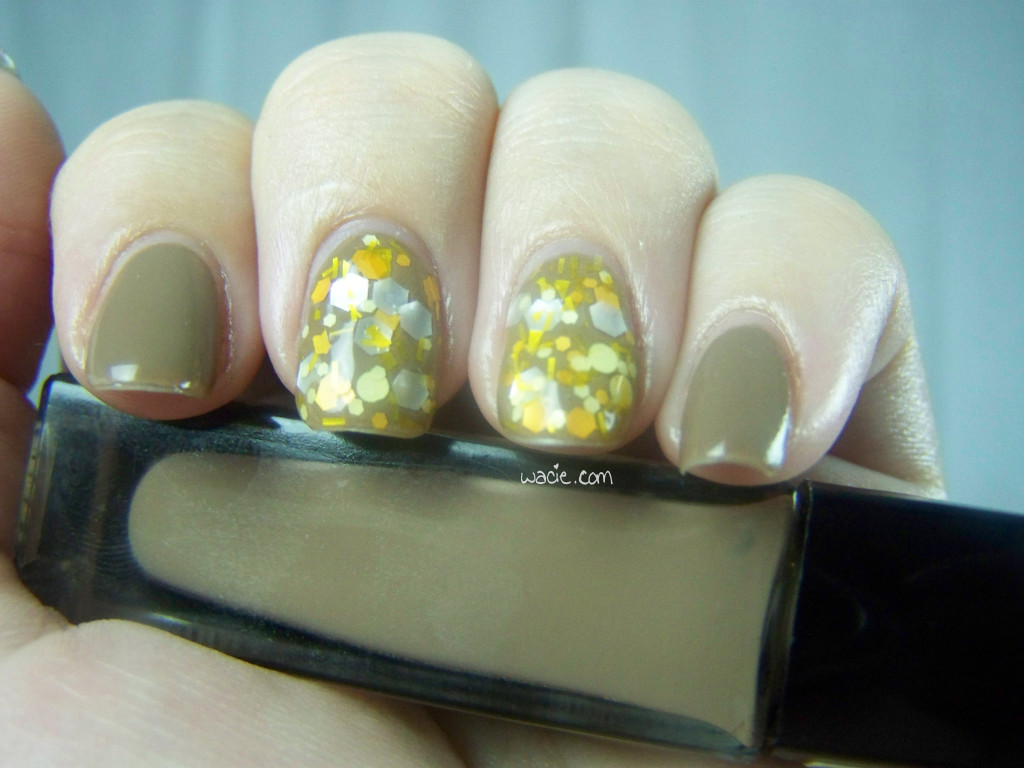
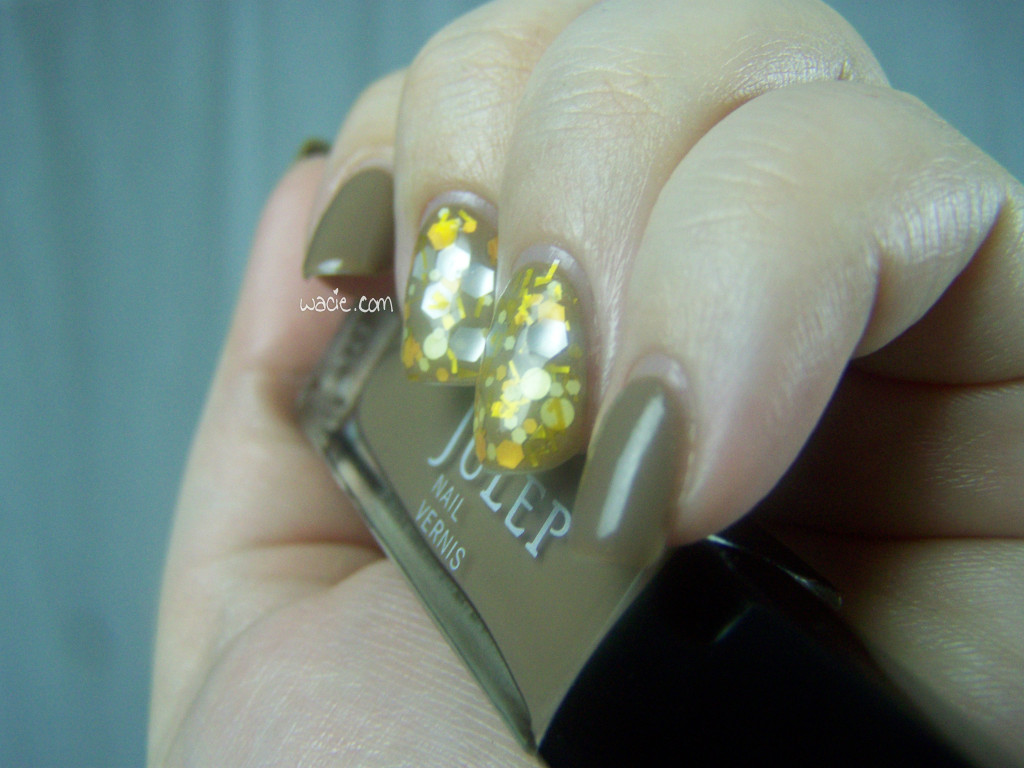
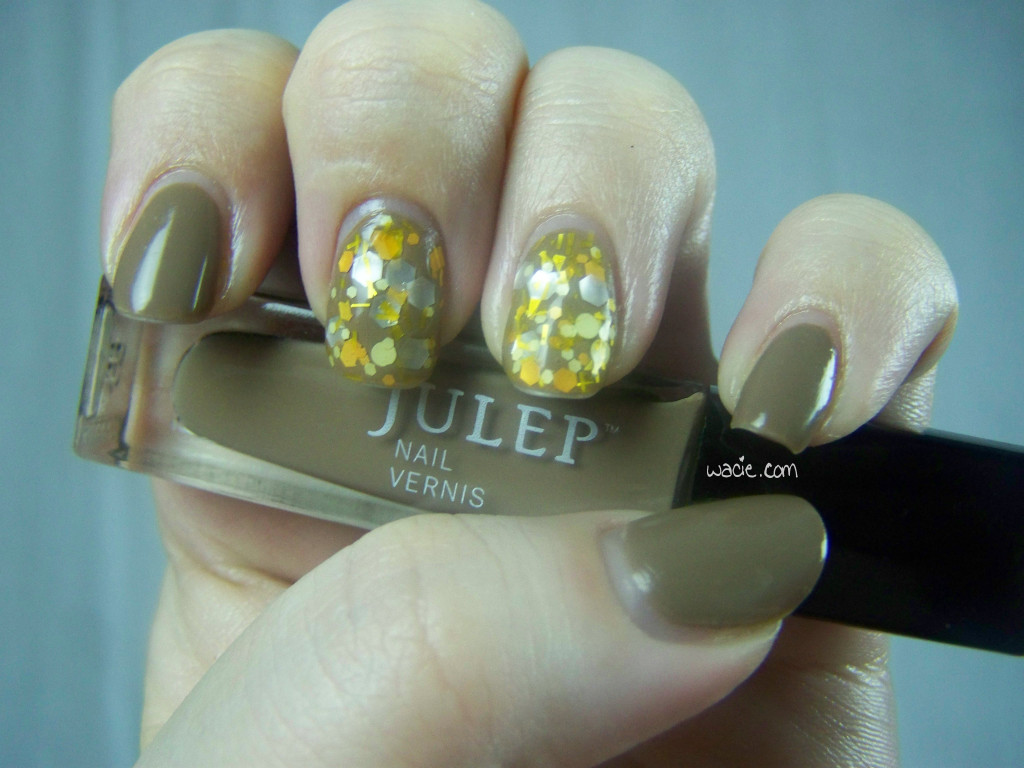
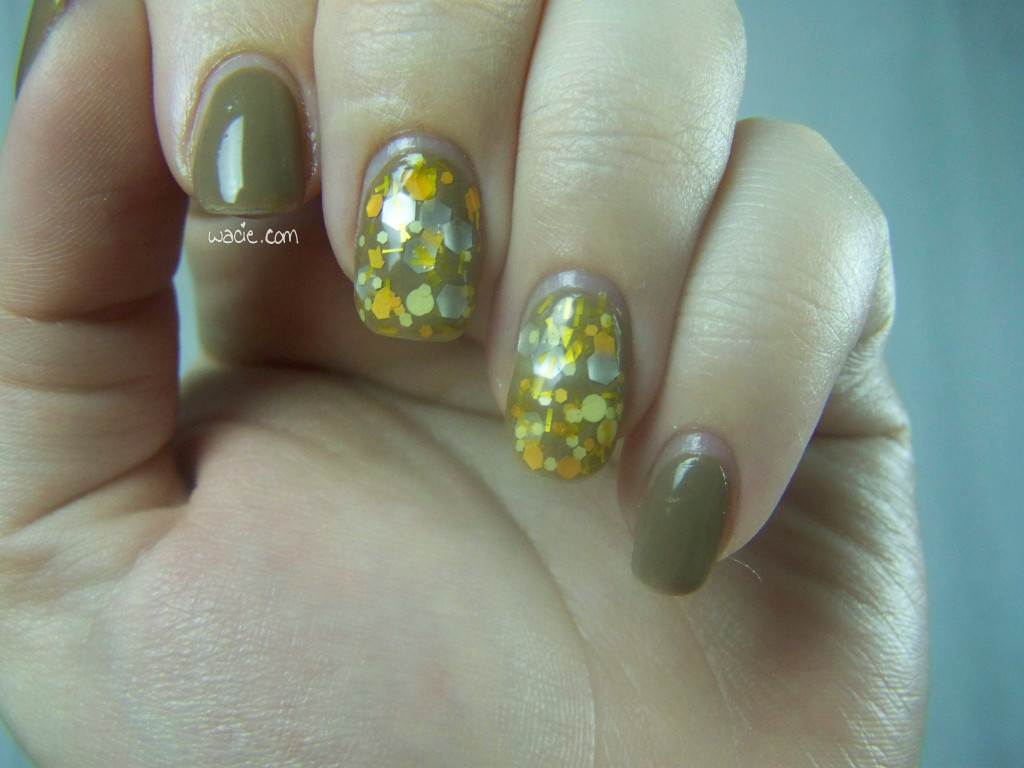
I’m back! I had an unexpected hiatus last week; I underestimated my workload and didn’t have time to take photos of my nails. I did do a puzzle piece manicure that was in theme with my job, but I didn’t have the time to take proper photos of it. My thrice-a-week blogging schedule will resume this week. Due to exhaustion, this week’s manicure post is a little late. For Mani Tuesday, I’m wearing Pretty & Polished’s Hows About a Roll in the Hay over Julep’s Vera.

100_47262

100_47302

Vera isn’t such a bad polish, really. I have on three coats here, but I could have gotten away with two. The formula is typical of Julep polish: thin but easy to use, quick-drying and shiny. I just can’t get past it being the same color as chocolate milk. I actually forgot chocolate milk was a thing until I had to work early one morning, my friend had some in the fridge, and I had flashbacks about grade school cafeteria lunches the whole rest of the day. Now I can’t get past this polish being Yoo-Hoo brown.

100_47392

100_47462

100_47482

100_47542

I had really high hopes for Hows About a Roll in the Hay from Pretty & Polished. I ordered it as soon as I laid eyes on it and couldn’t wait to get it. I own many of the P&P thermal polishes and a few of their glitters; I’ve been very happy with them. In this one, the glitter sinks, leaving a quarter-inch layer of lacquer all around the top of the bottle. My first application attempt left me with a thick layer of polish with maybe two pieces of glitter. I had to leave the bottle turned upside-down for 15 minutes before I got a good glitter distribution. This is probably not a problem; there’s actually a ton of glitter in this bottle, and it’s probably perfectly reasonable for it to settle and sink a bit. I’ve never had this happen with any of my P&Ps, so that’s why I feel a bit annoyed by it.

100_47622

100_47632

Despite the trivial issues I have with the polishes, I’m happy with the look I got. I like the autumnal warmth of the color combination. It also reminds me of breakfast foods. And grandma couches.

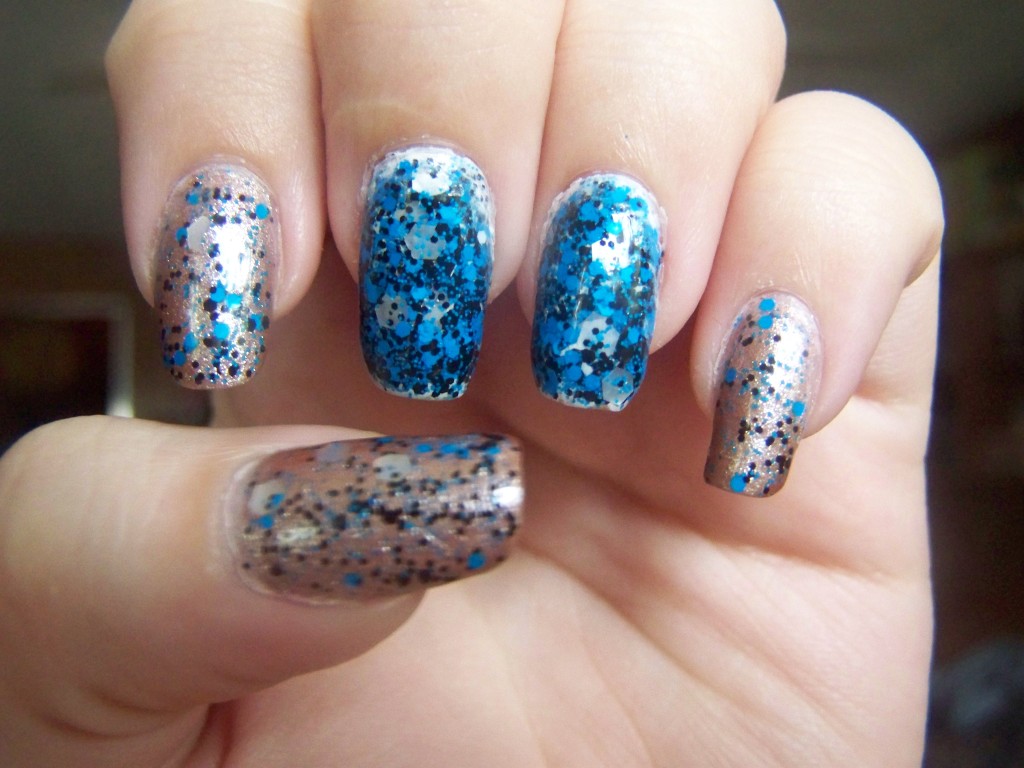
Manicure Monday: Black and Blue Glitter Mess

So I’m really excited about this week’s manicure. There are some things I would do differently, but I’m pretty happy with how it turned out. Also, I’ll be wearing my first indie polish this week, and mostly I’m excited about that.

100_2508

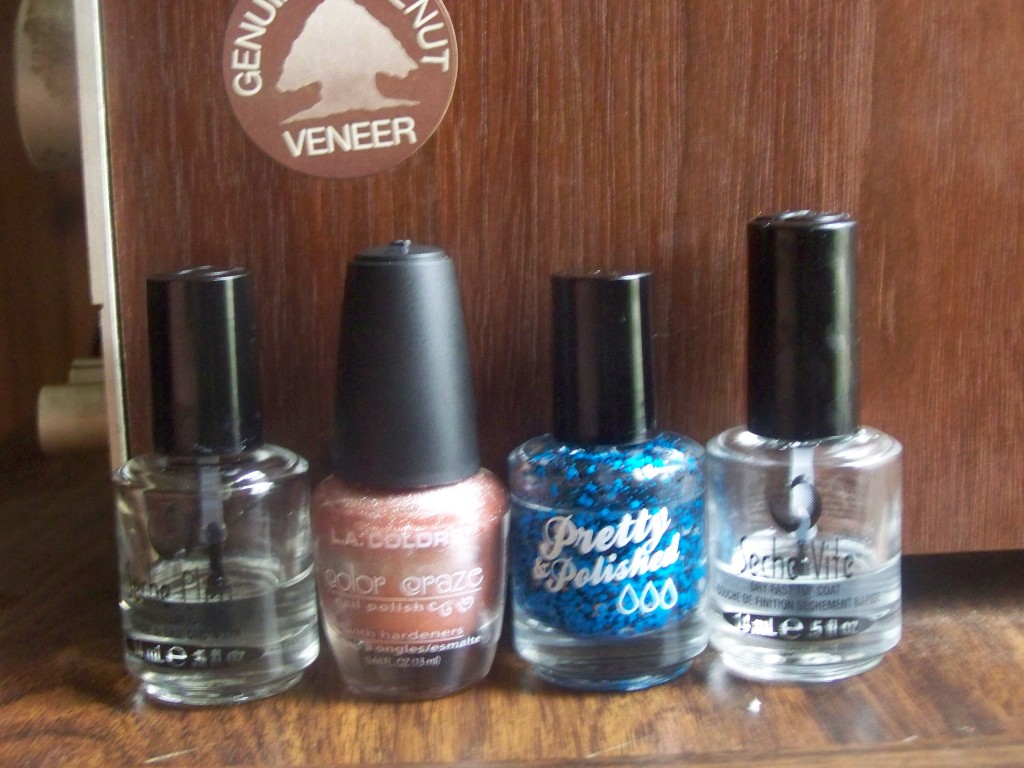
I really love my polishes this week. Outrageous is a soft taupe with a lot of metallic shimmer that goes on opaque in one coat. I’m pretty impressed with it, considering I paid a dollar for the bottle. I really loved it before I put the glitter on over it, and I might regret it a little. The real star here is the glitter anyway.

LA Colors's Outrageous, Pretty & Polished's Boy Bleu

LA Colors’s Outrageous, Pretty & Polished’s Boy Bleu

Boy Bleu from Pretty & Polished is one of the first indie polishes I ever bought. It’s meant to be a full coverage glitter, giving a granite-like appearance. Here’s where I messed up. I thought that dabbing the glitter on instead of brushing it on would give me the most coverage, and I was a little heavy-handed in my application. My accent nails already had two coats of white polish before I added the glitter, just to make up for any bare spots that might have occurred. Thankfully, I didn’t need it, but because the coarse glitter made cleanup difficult, you can now see it around the cuticles. I’m not even sure why you can see it at the tips. Shrinkage, maybe? I don’t know, but there it is. So with the two coats of underwear, the two very thick coats of glitter, and three coats of Seche Vite, the accent nails are much thicker-looking than the others. It kind of bothers me, but it’s not that bad. I actually put so much on that I could shape and mold it with my fingers. Good thing I did, I would have had some strangely shaped nails.

Next time I’ll apply the glitter in thin coats and hope to build coverage that way, rather than trying to load it all on at once. I’ll still probably end up with fat nails again, but it won’t be so problematic.