A Look Back at 2016

Hello reader! Now that 2016 is behind us, I wanted to look back on some of my blog highlights and share my favorite nail art looks, and maybe share some of my 2017 blogging goals with you. I guess I could have waited to do this on my blog-versary in March, but it feels more appropriate to do it now.

January: Elevated Gradient

February: Neon Satisfaction

You’ll notice these photos are tiny. Why? Because in March, The Great wacie.com Server Crash of 2016 happened! My webhost had a hardware failure, and for whatever reason, several months of posts were lost and had to be pieced back together with images and text cached by Google. It was an extremely frustrating and embarrassing time for me.

March: Spring Hibiscus

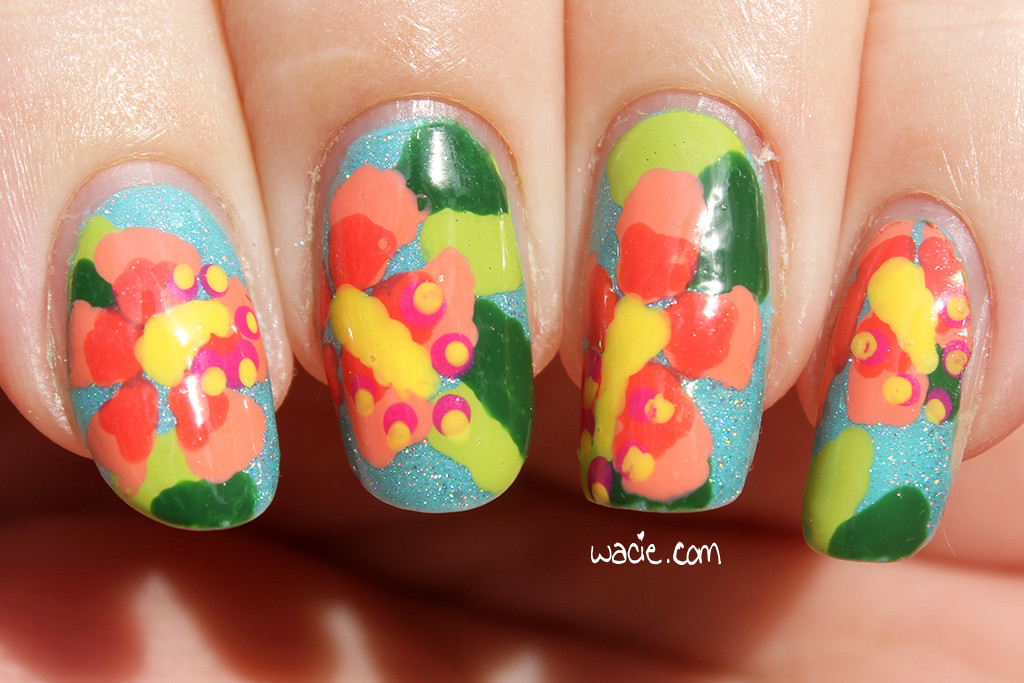
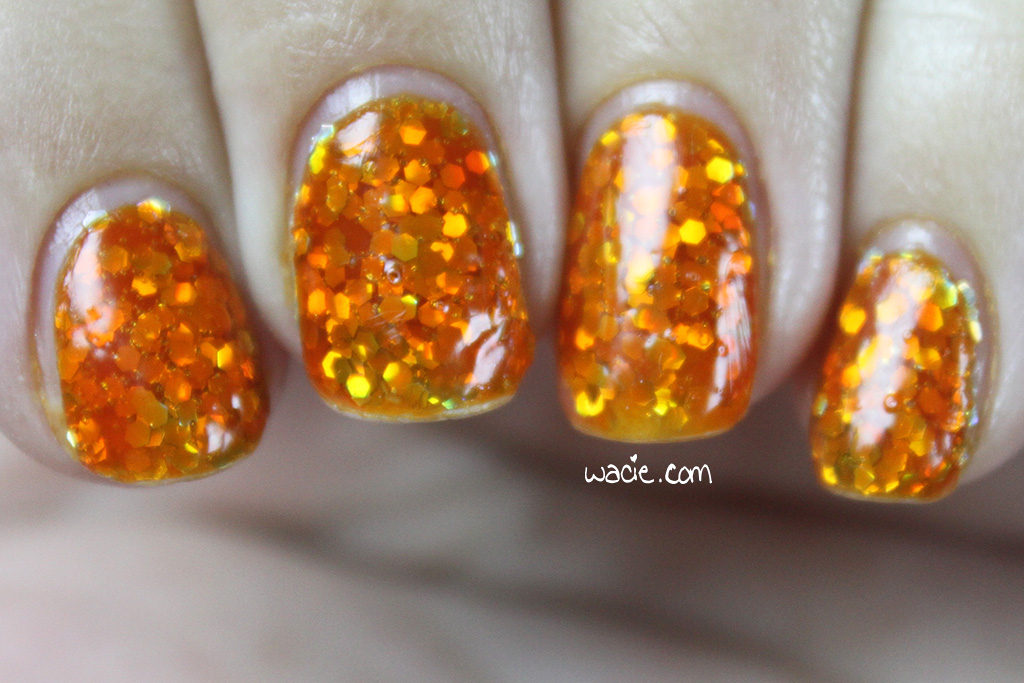
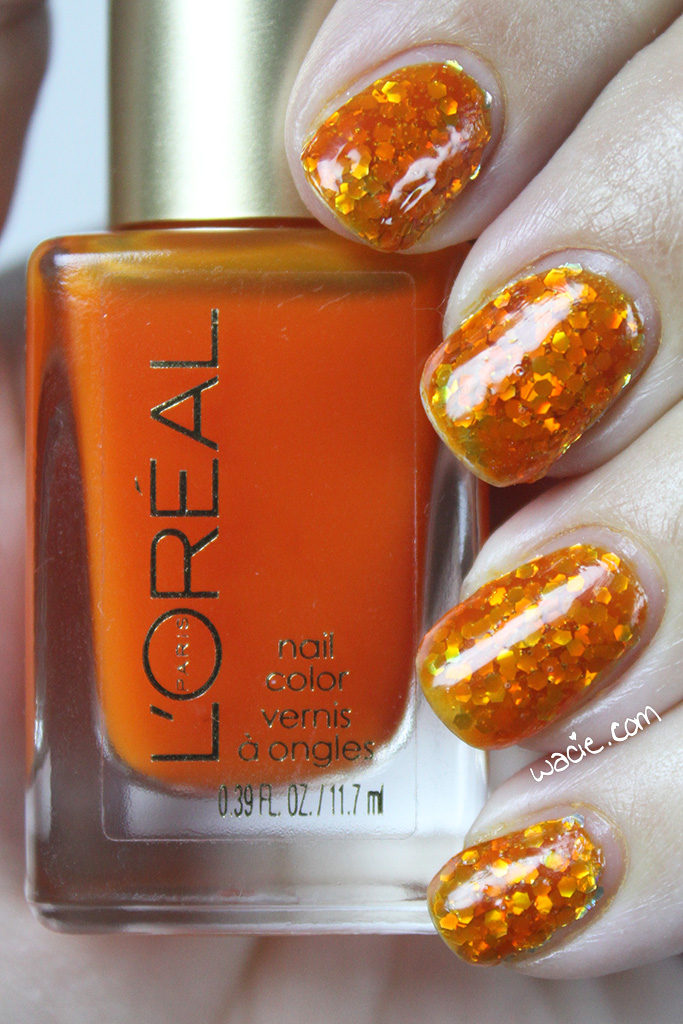
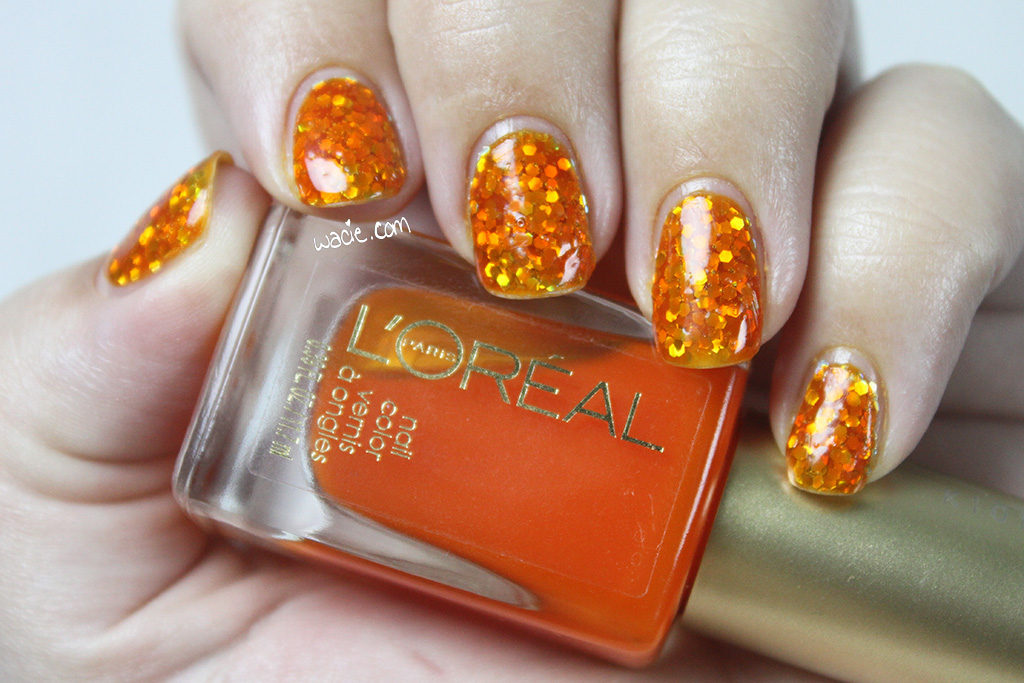
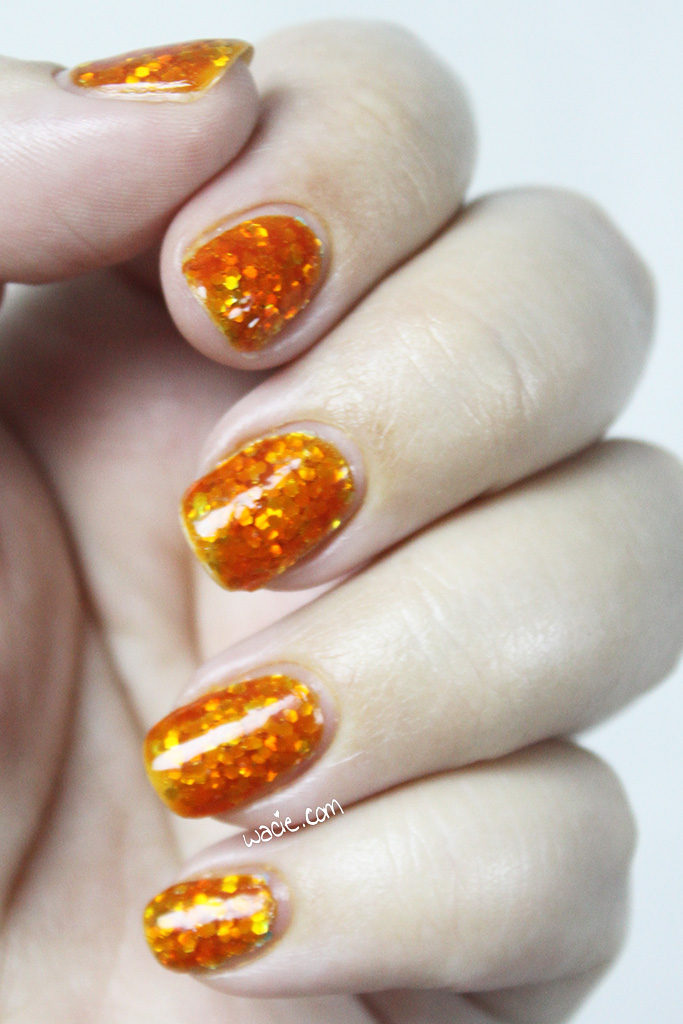
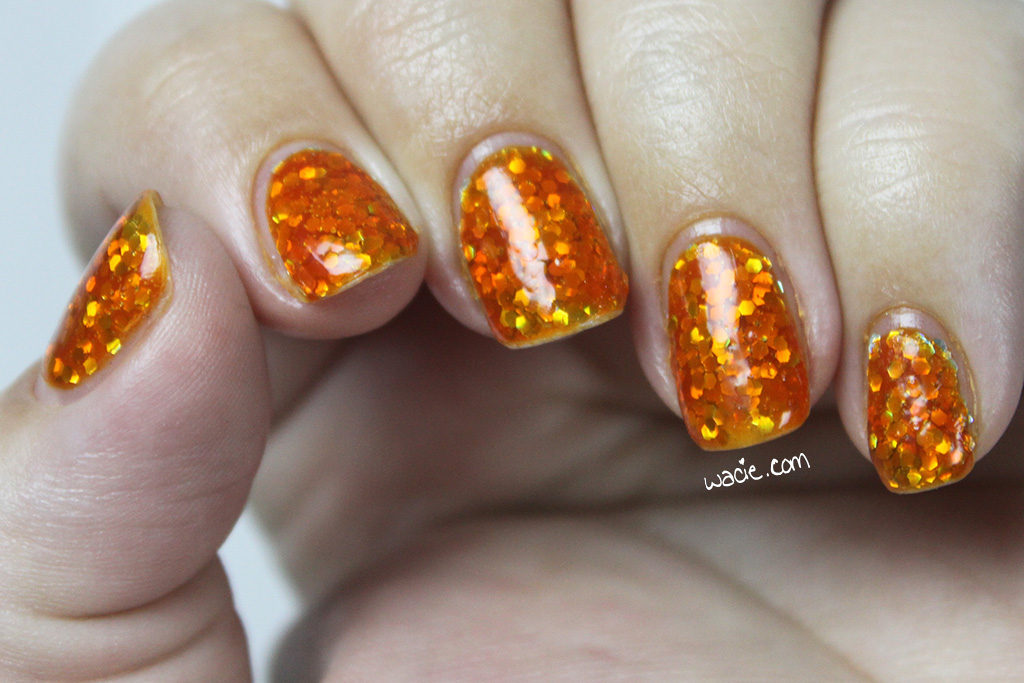
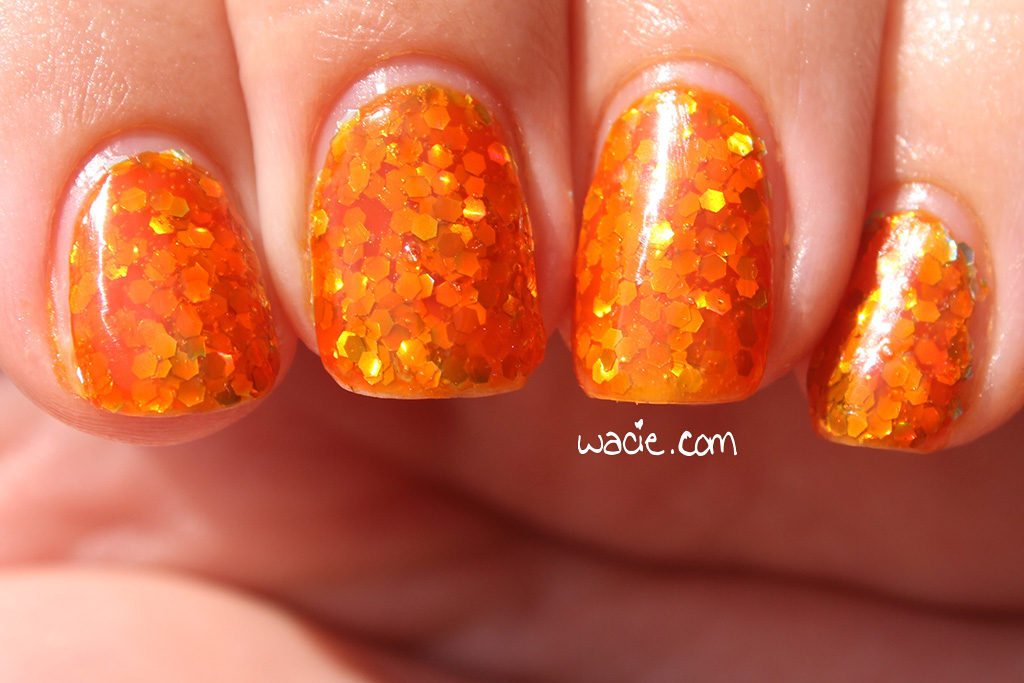
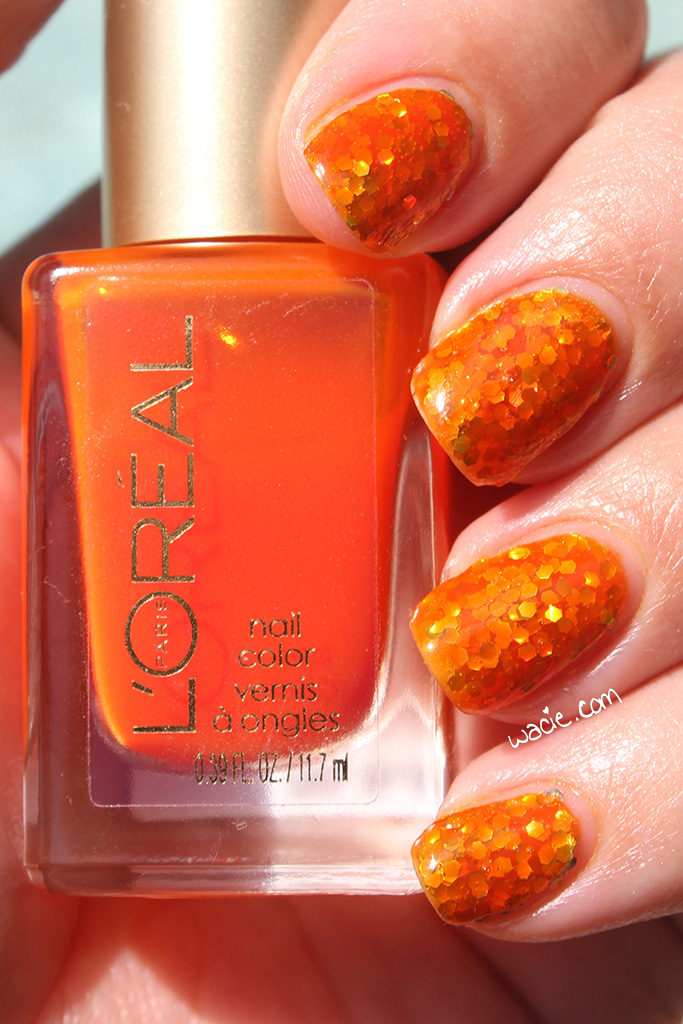
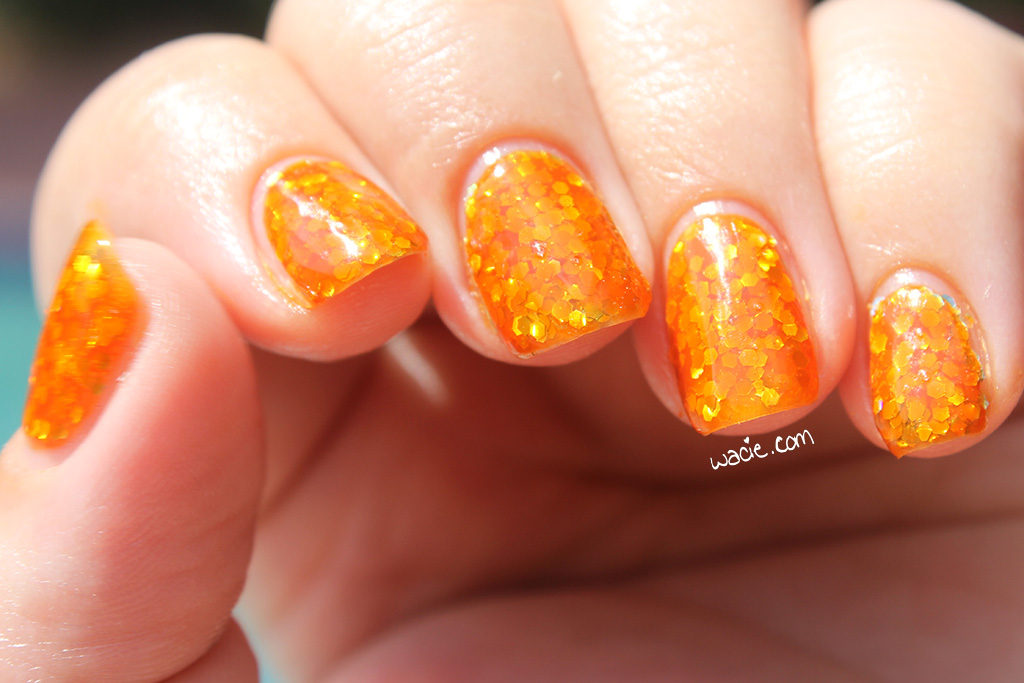
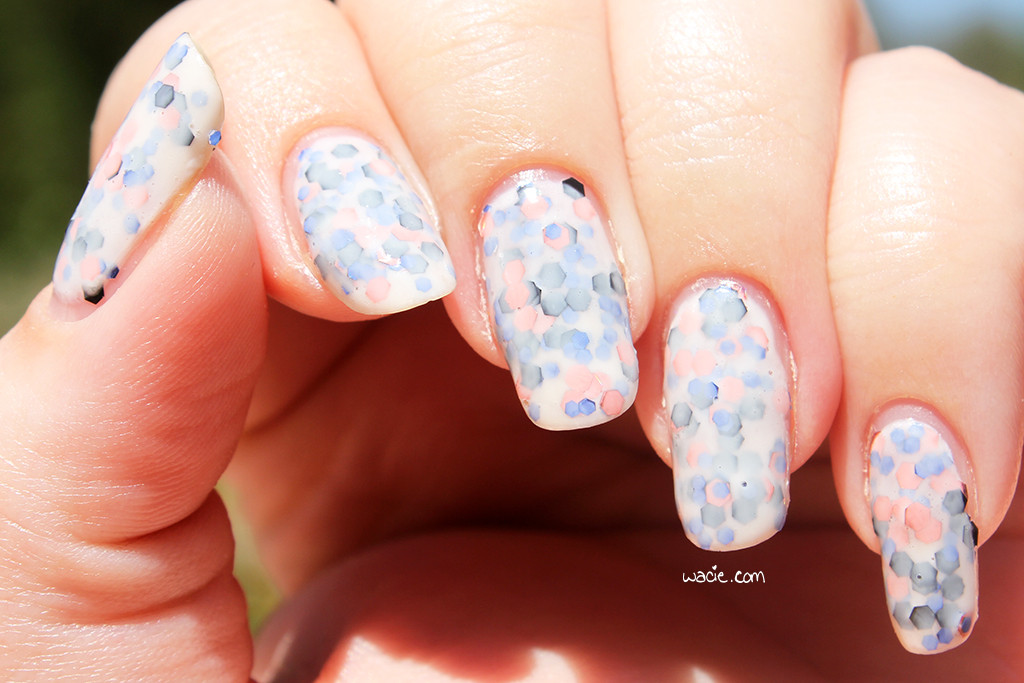
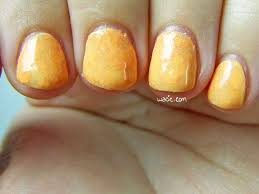
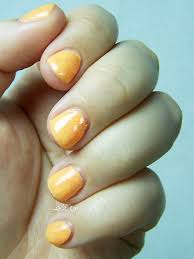
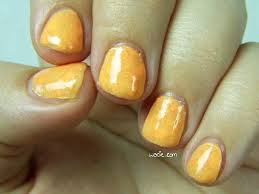
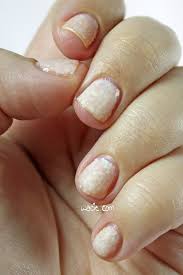
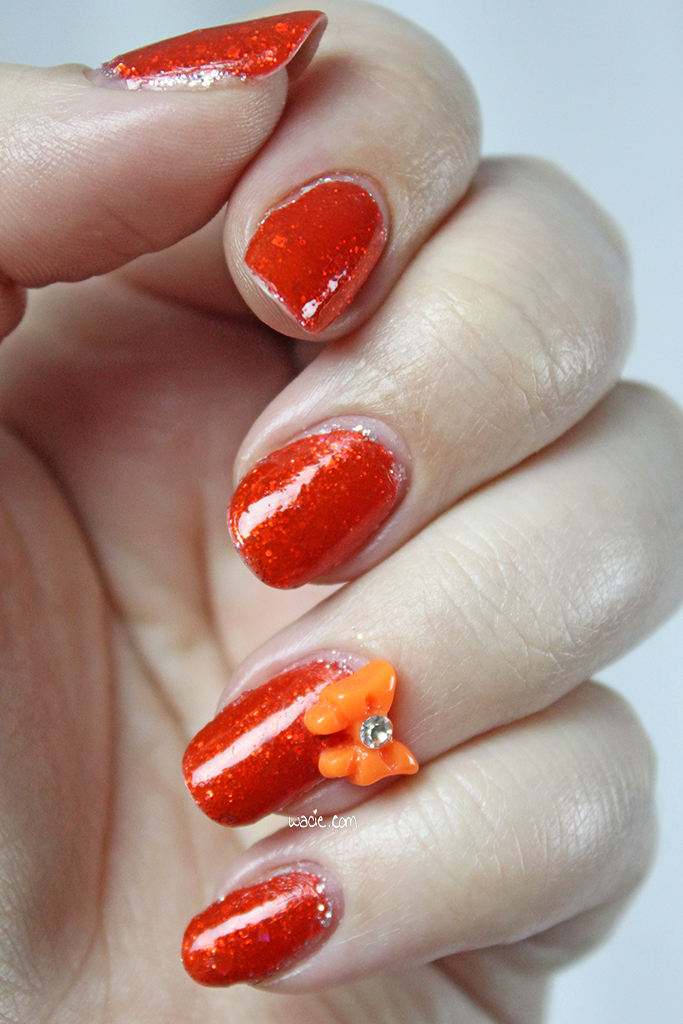
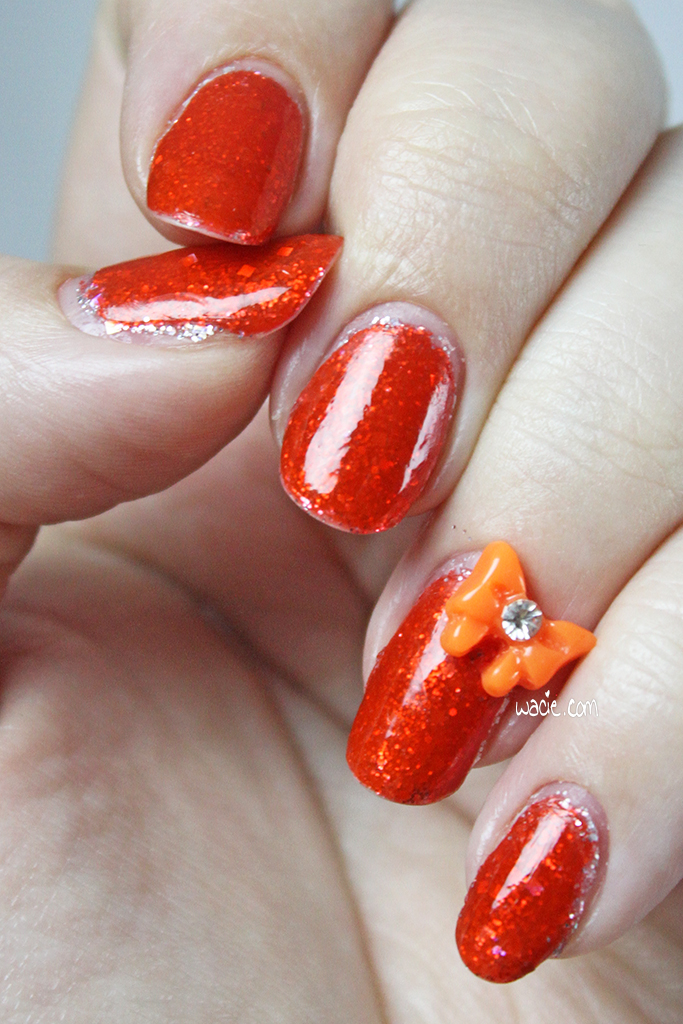
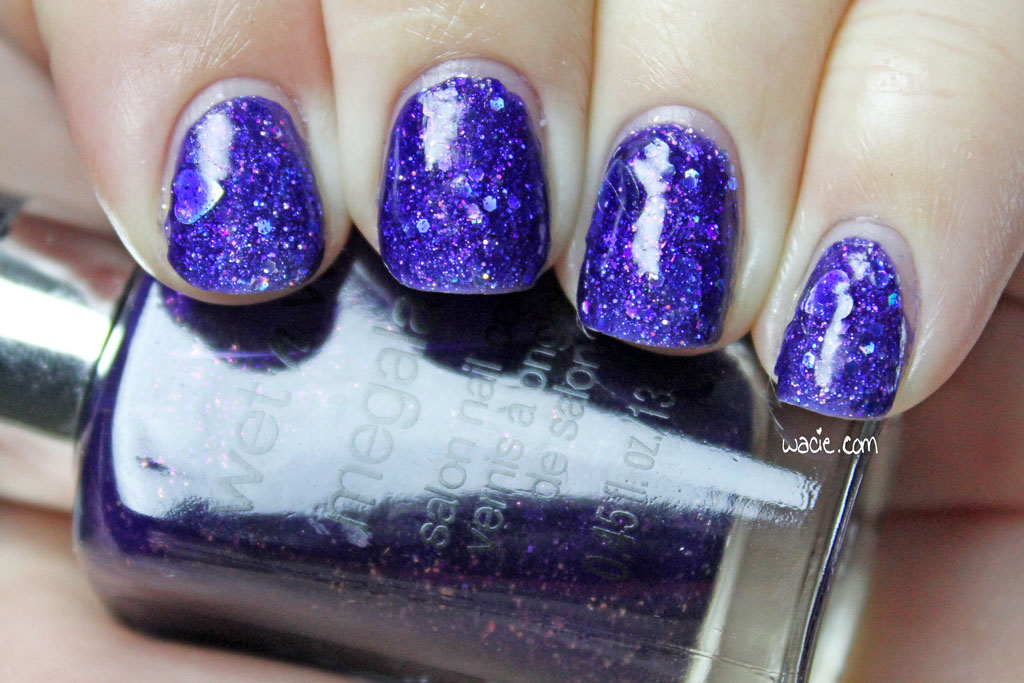
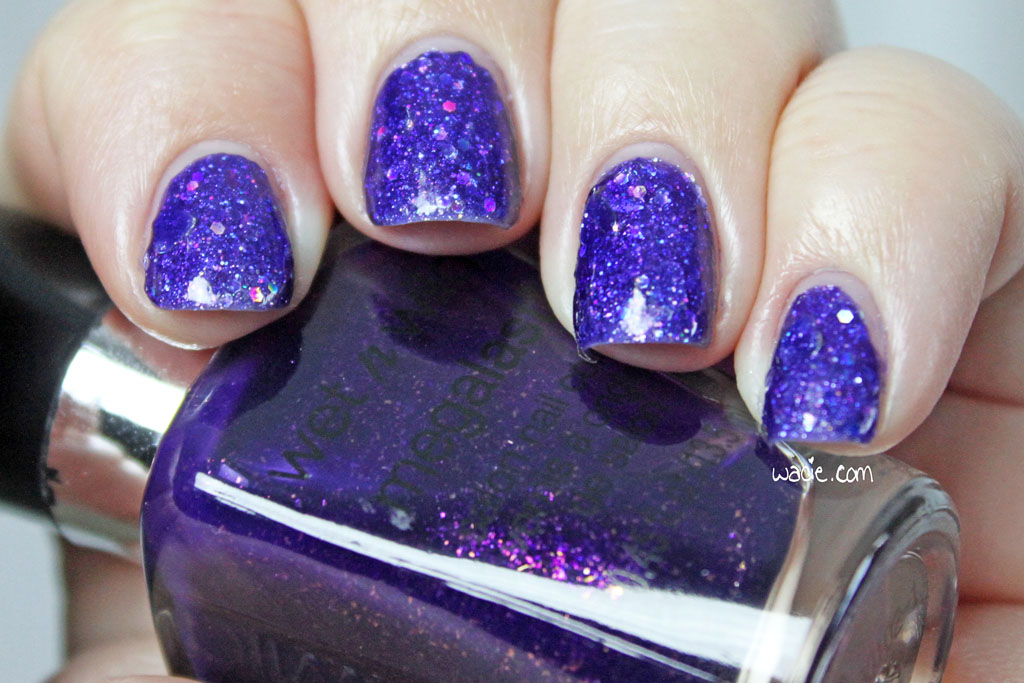
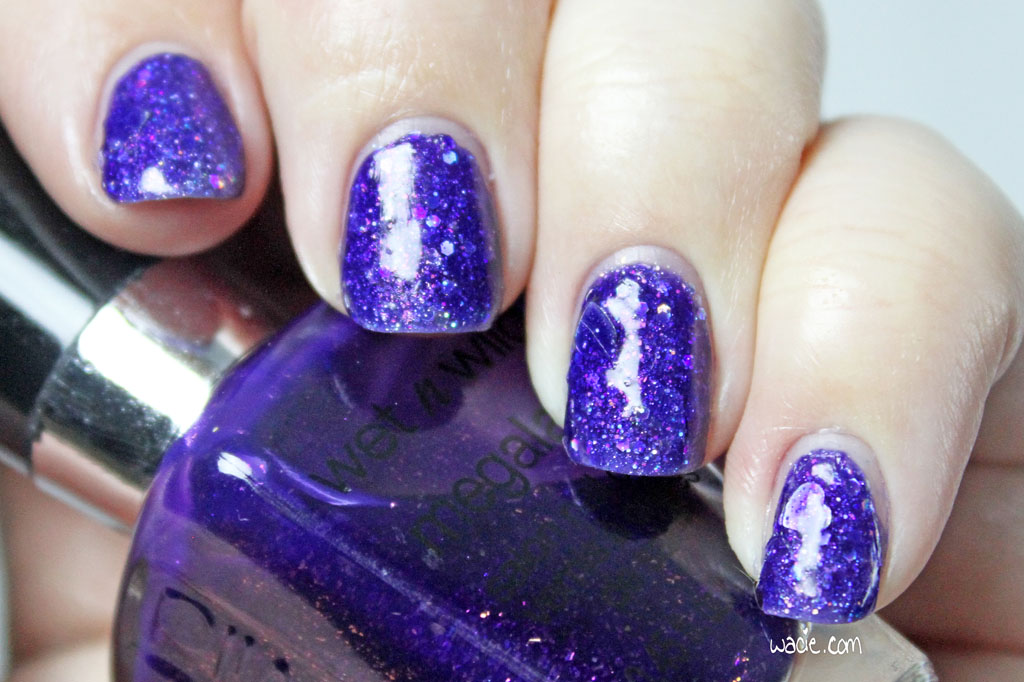
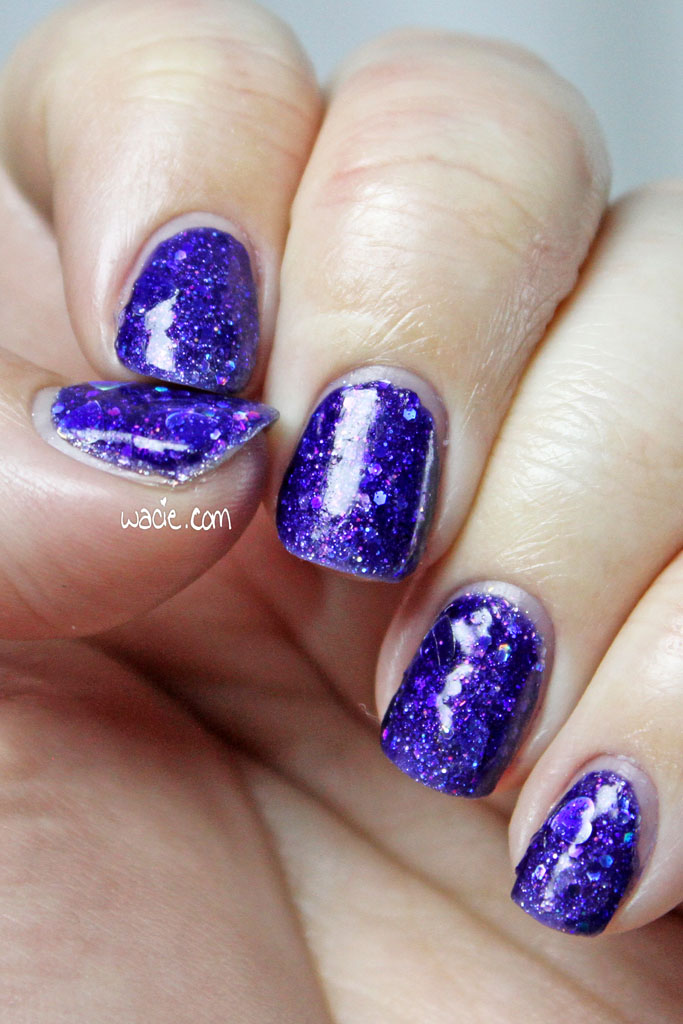
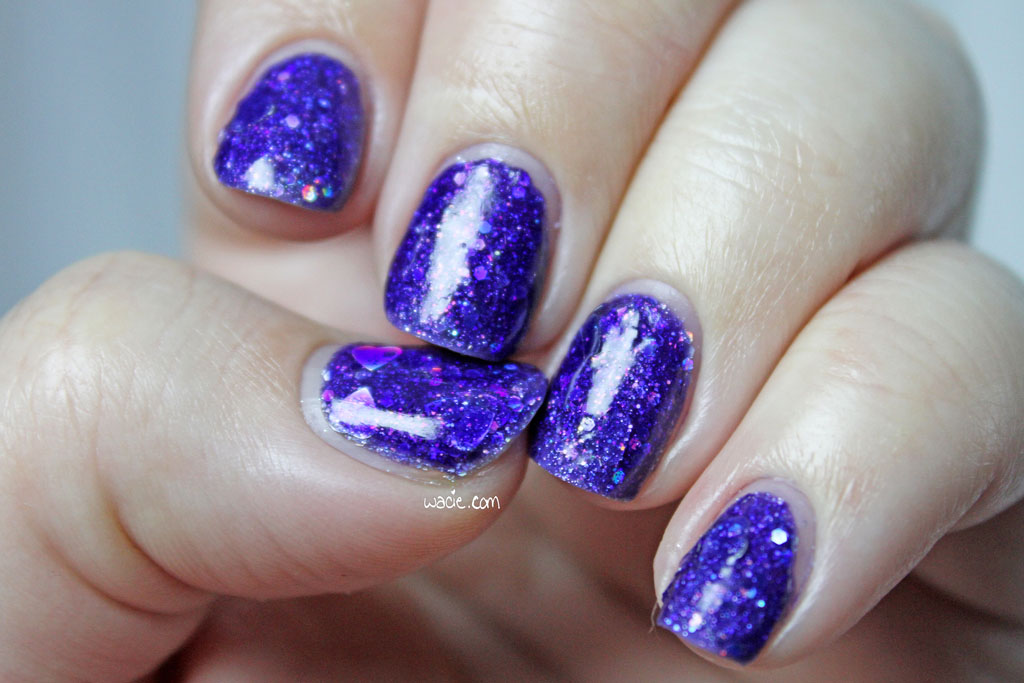
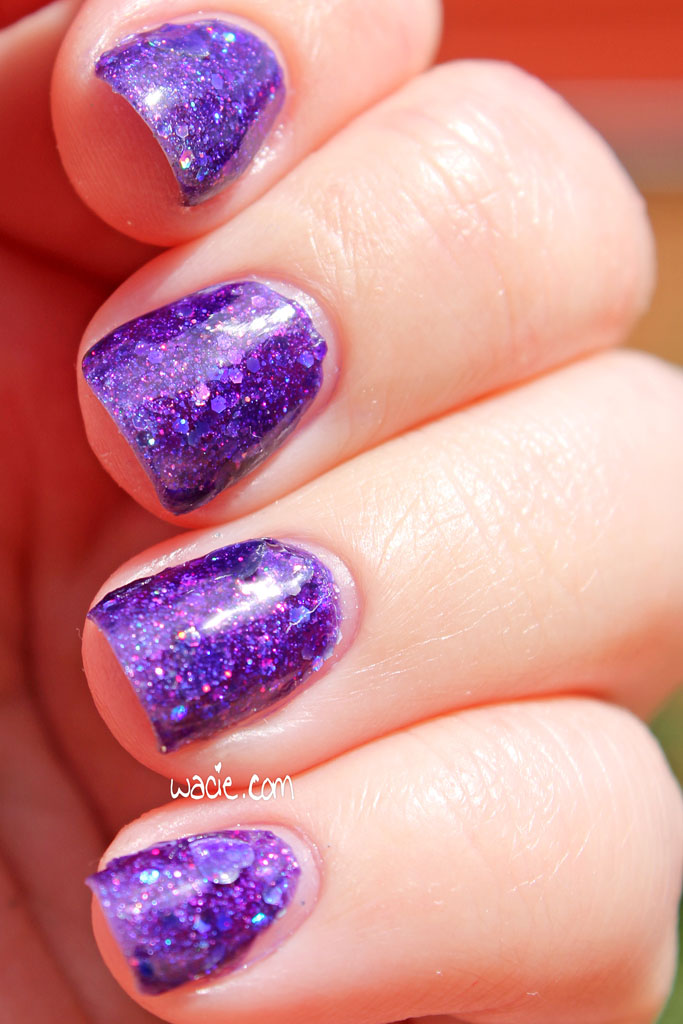
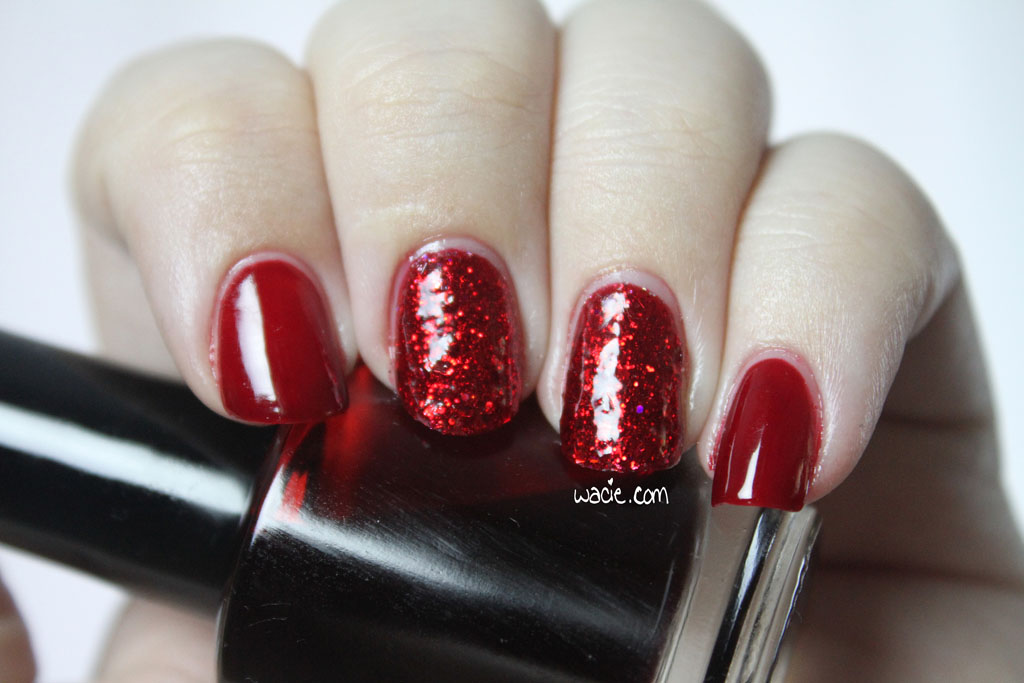
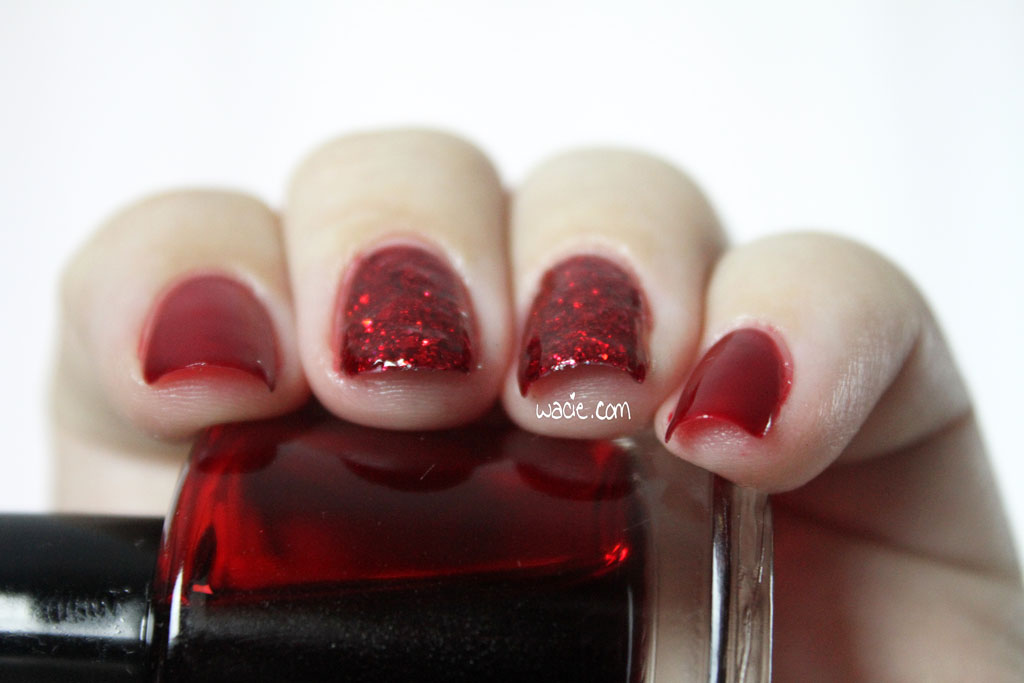
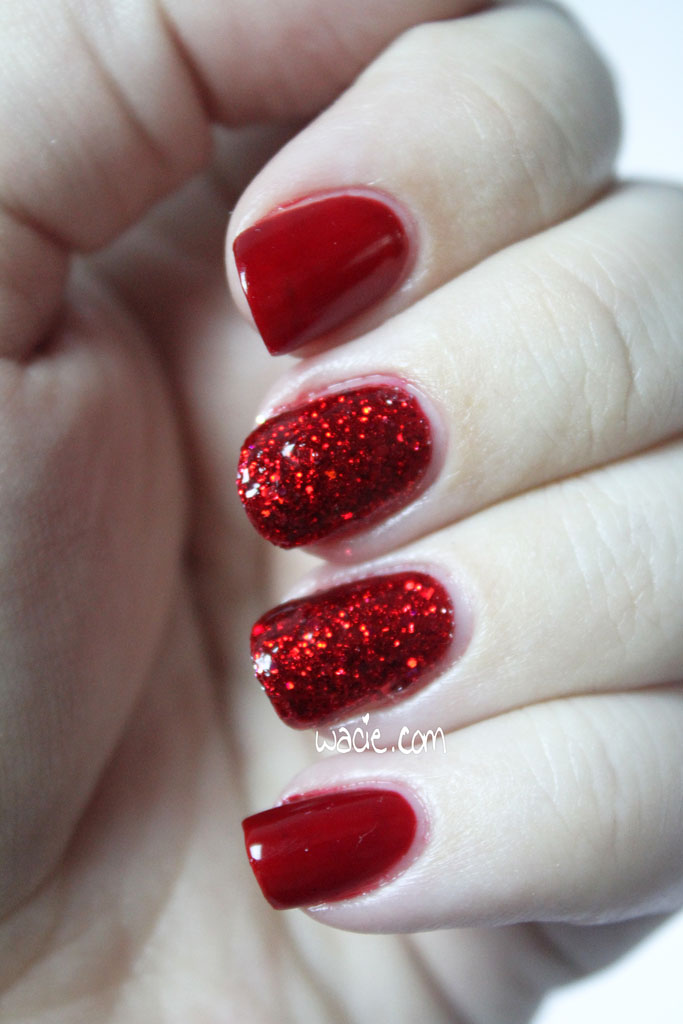
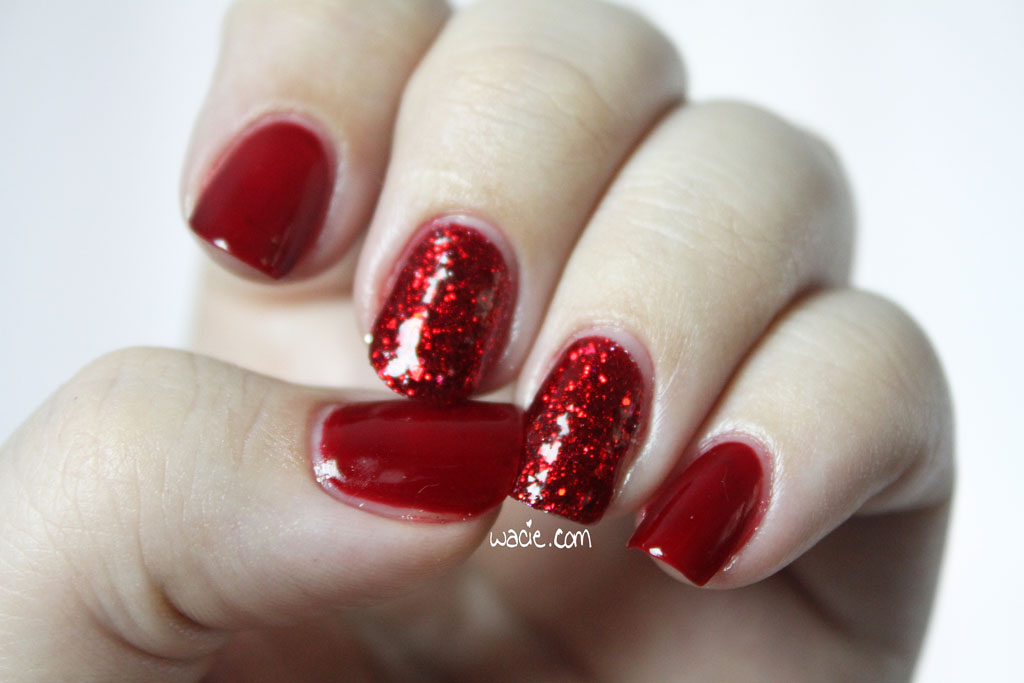
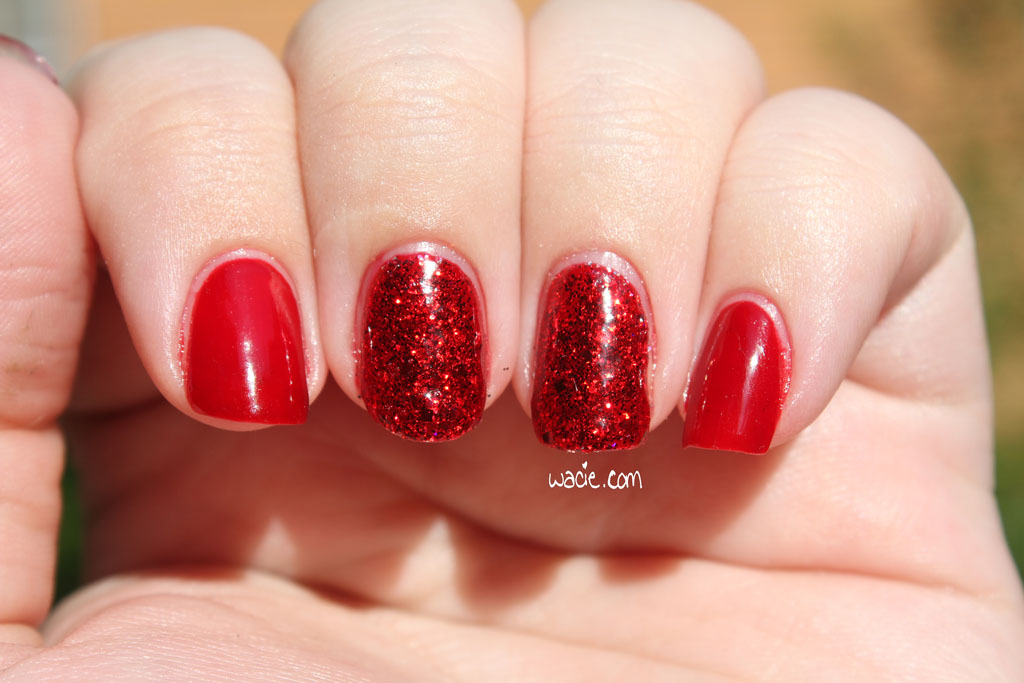
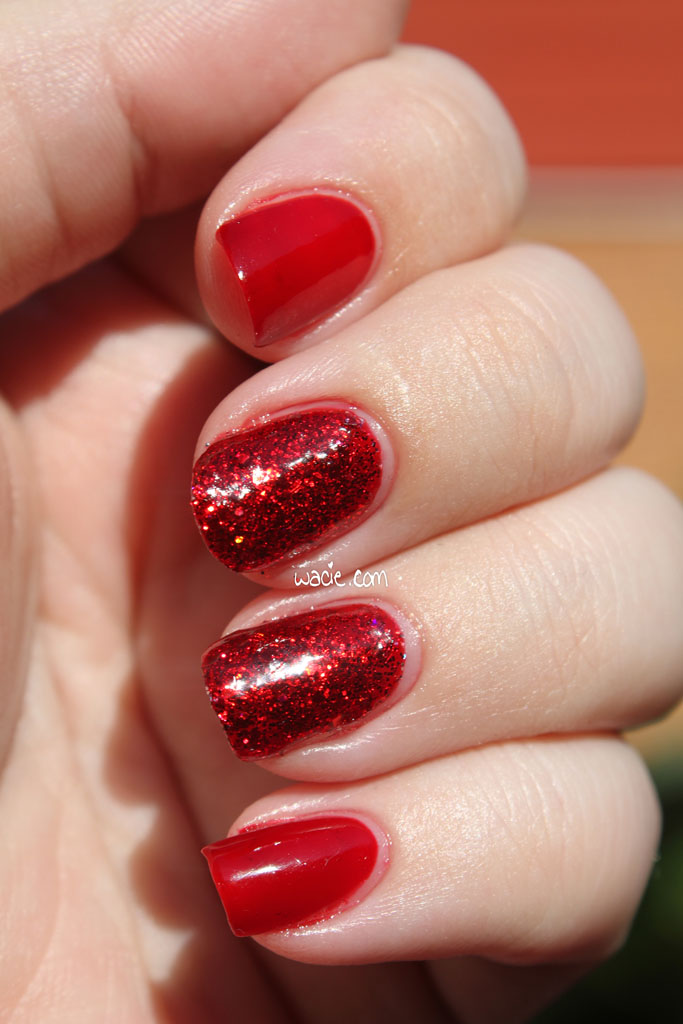
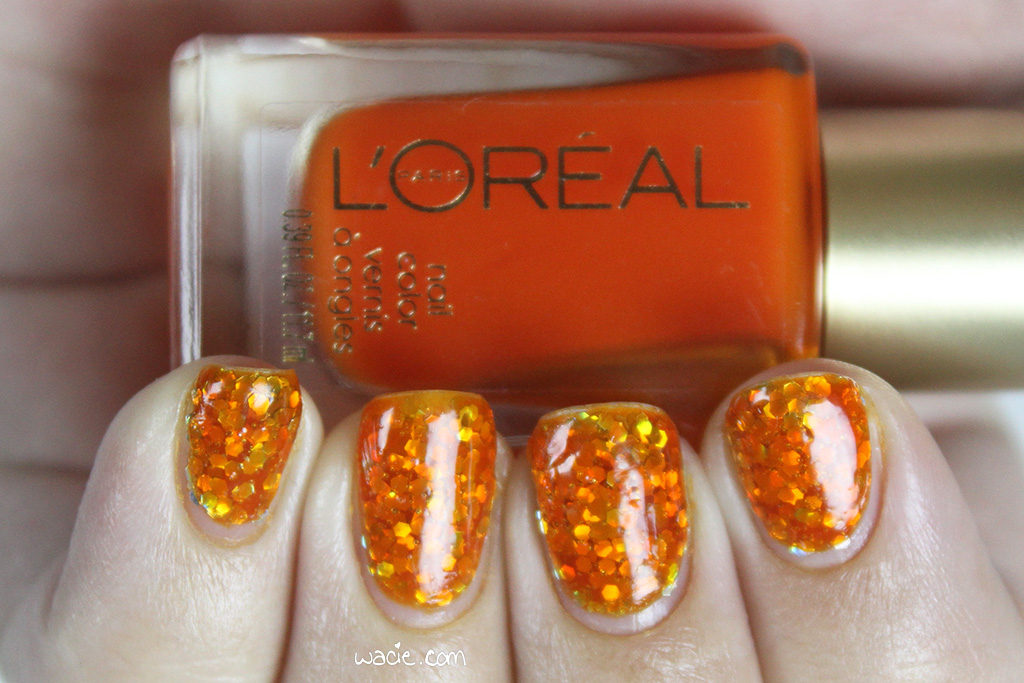
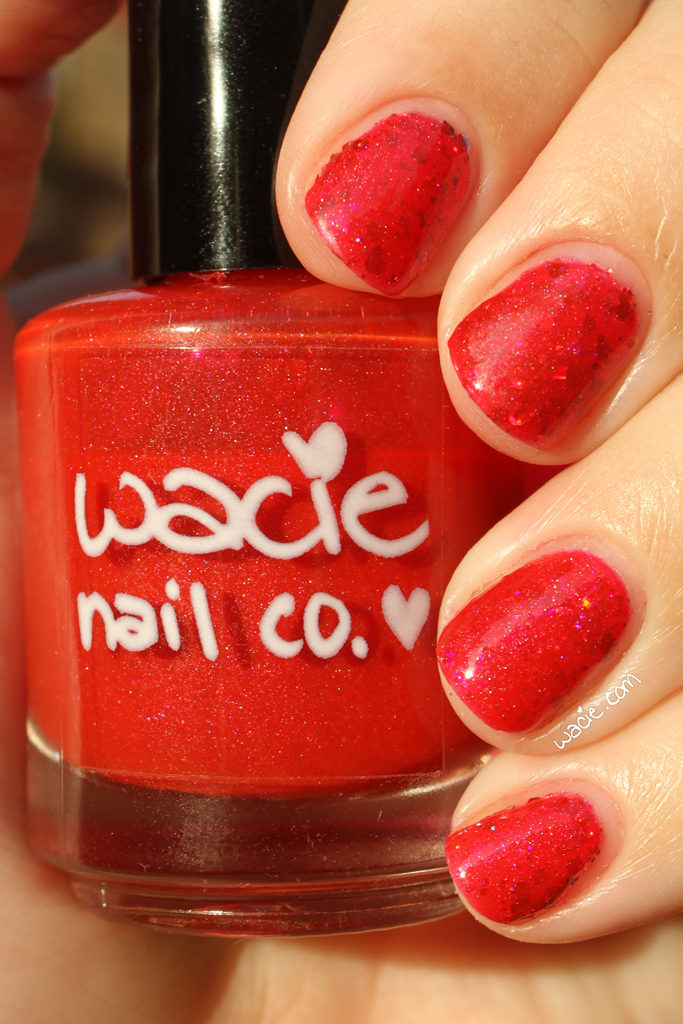
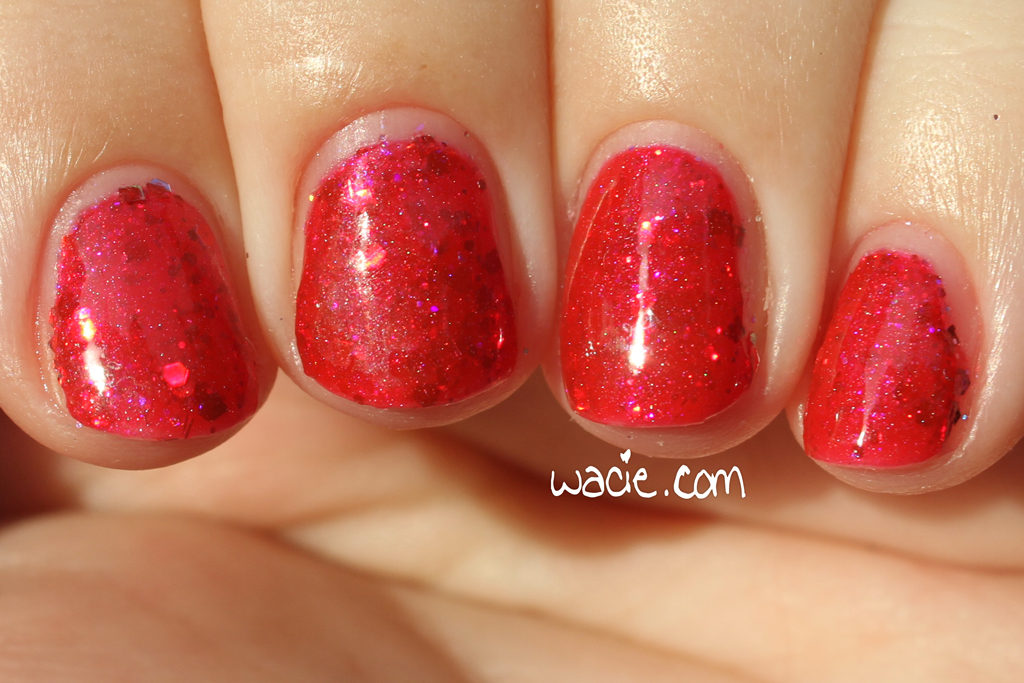
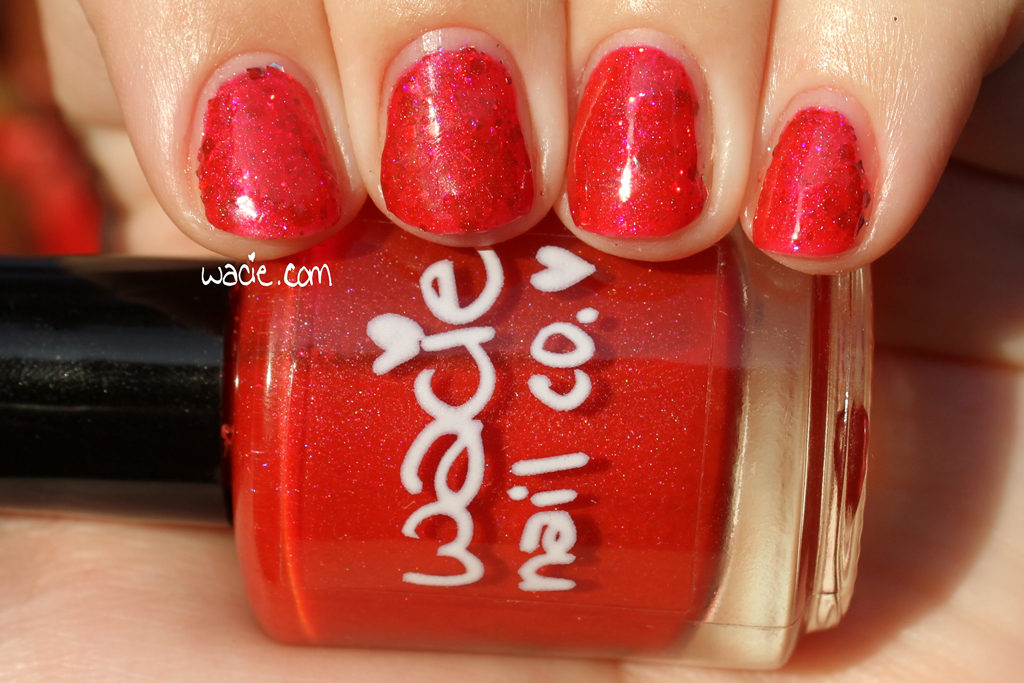
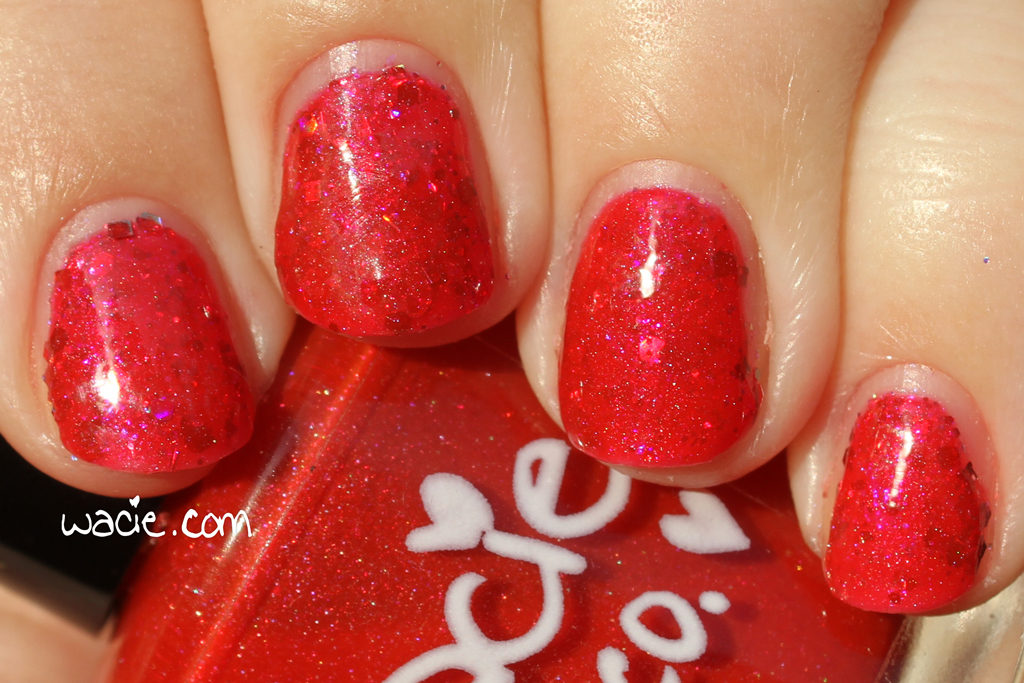
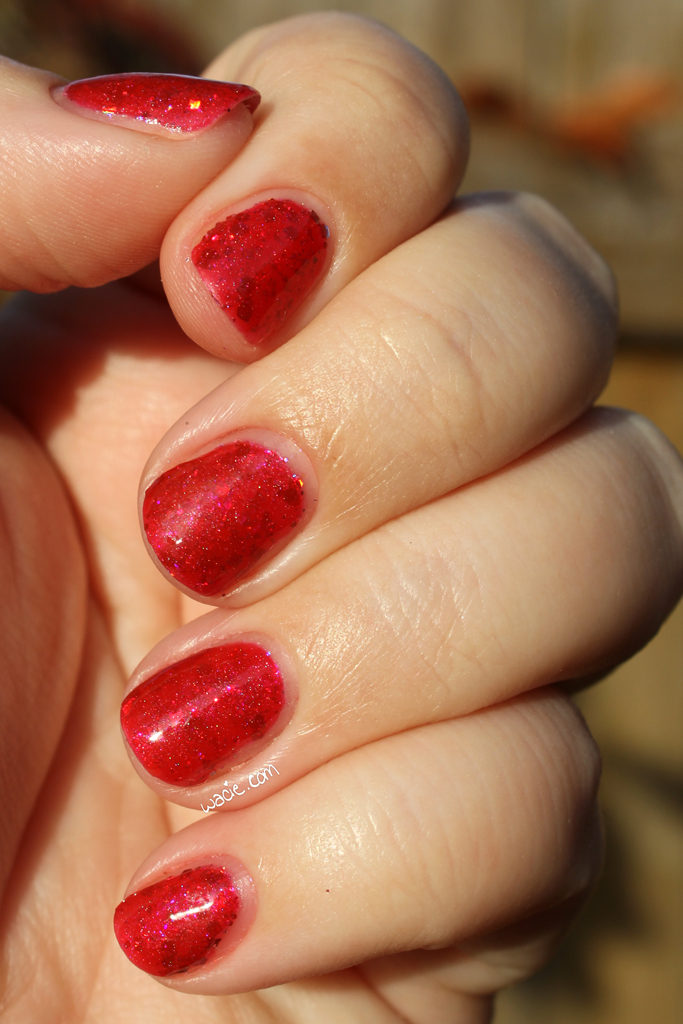
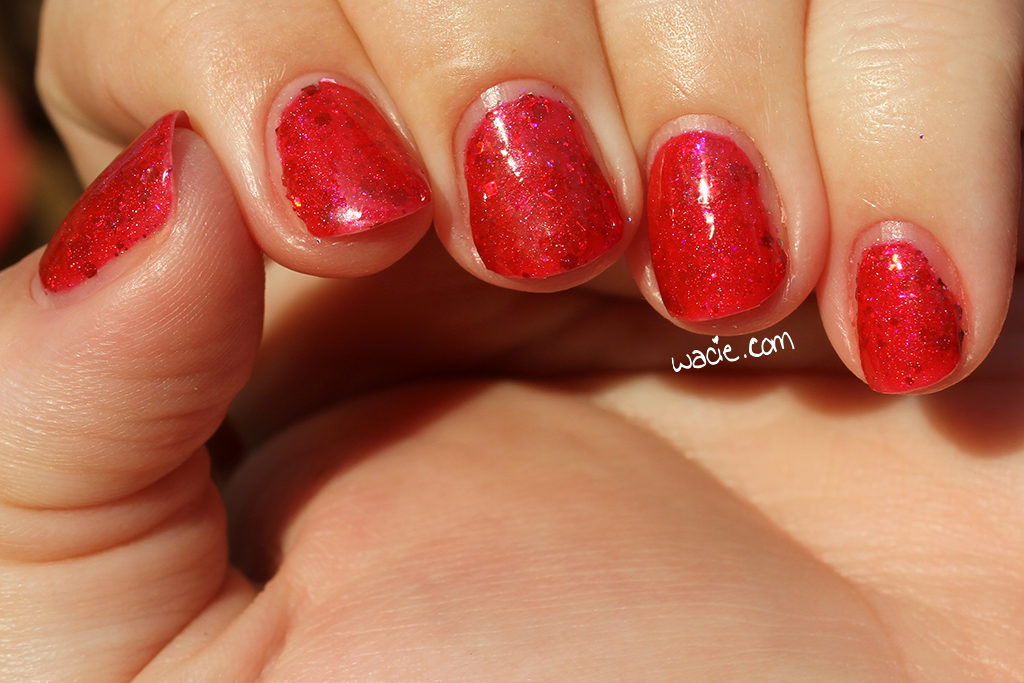
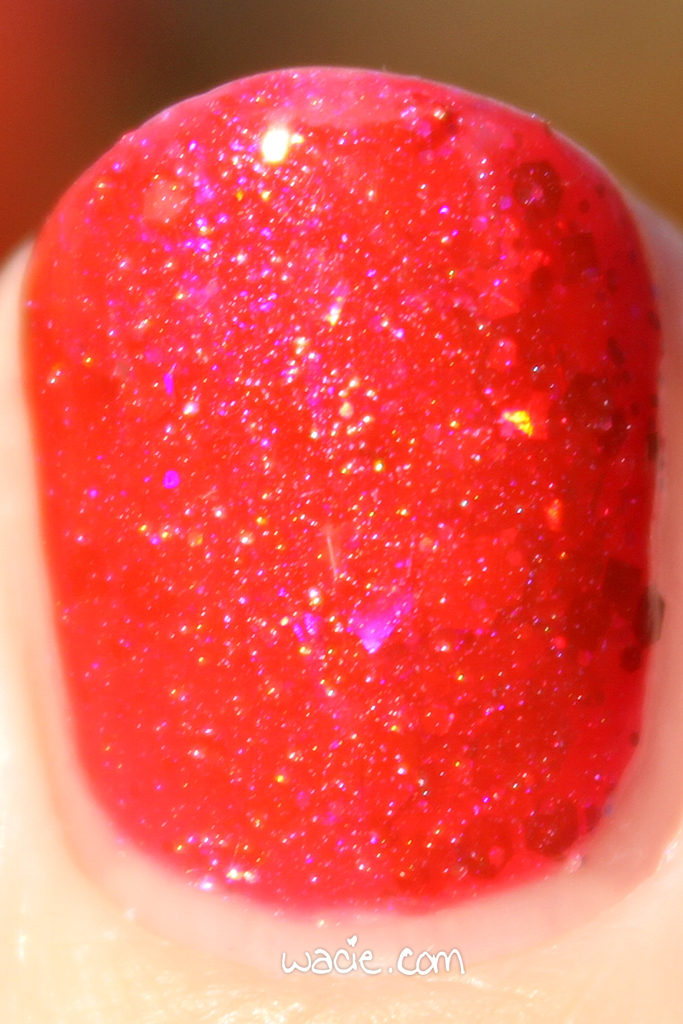
I miss these long nails.

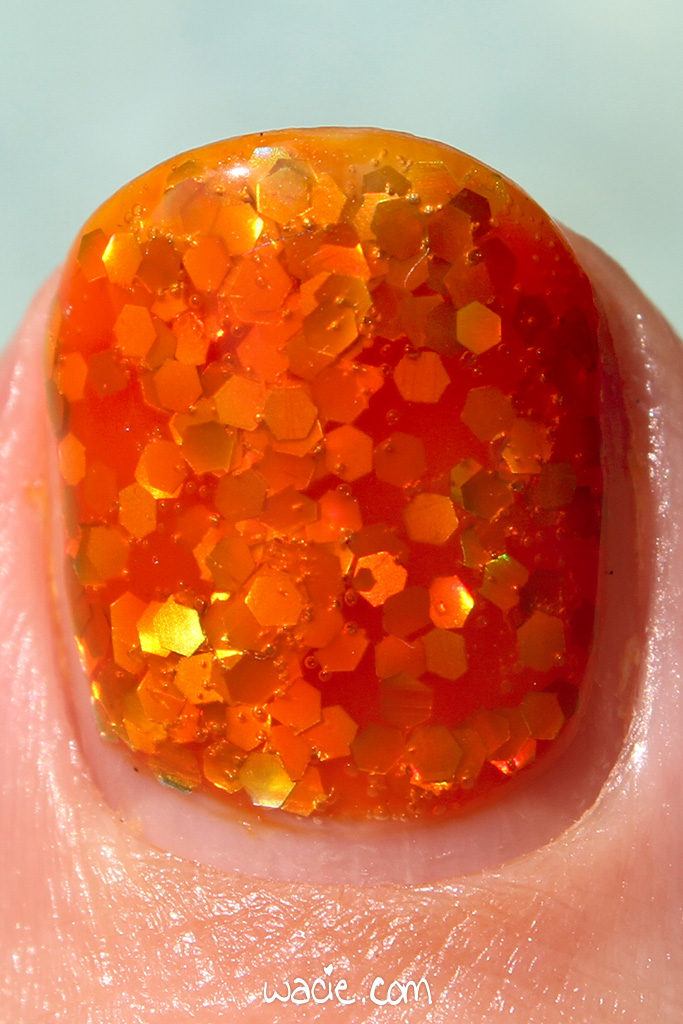
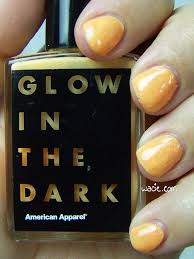
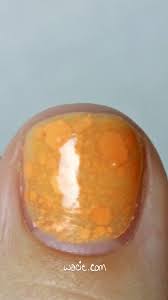
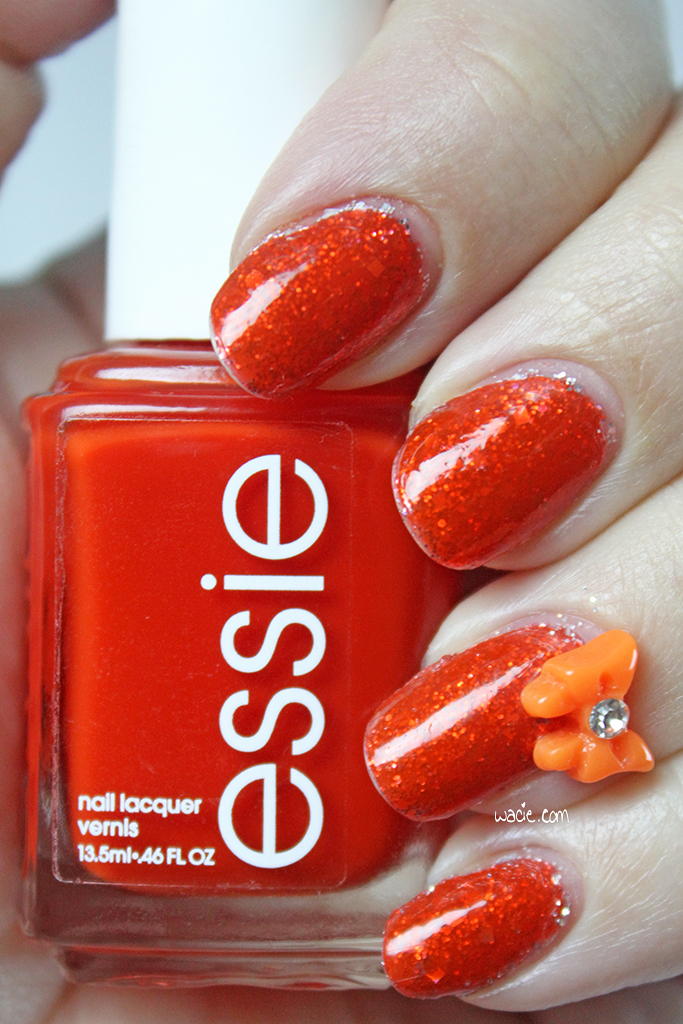
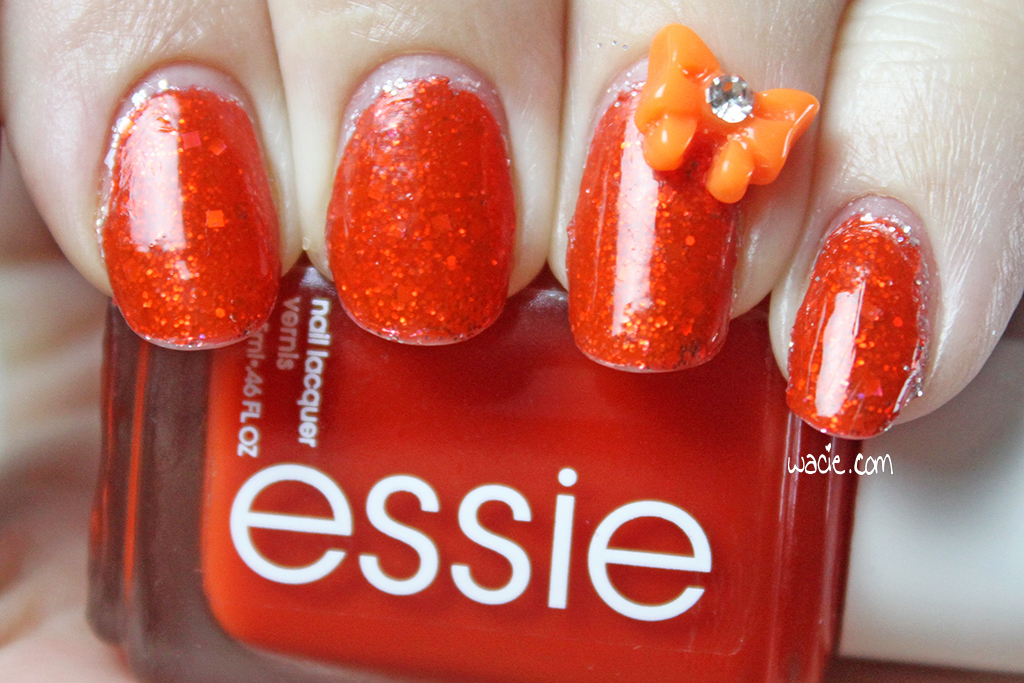
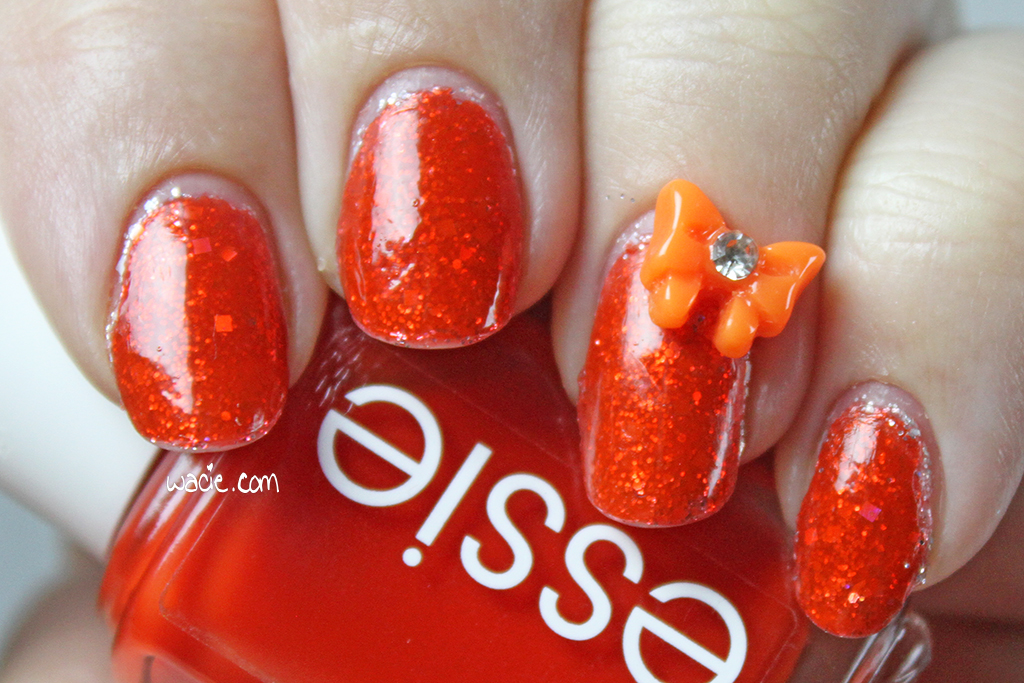
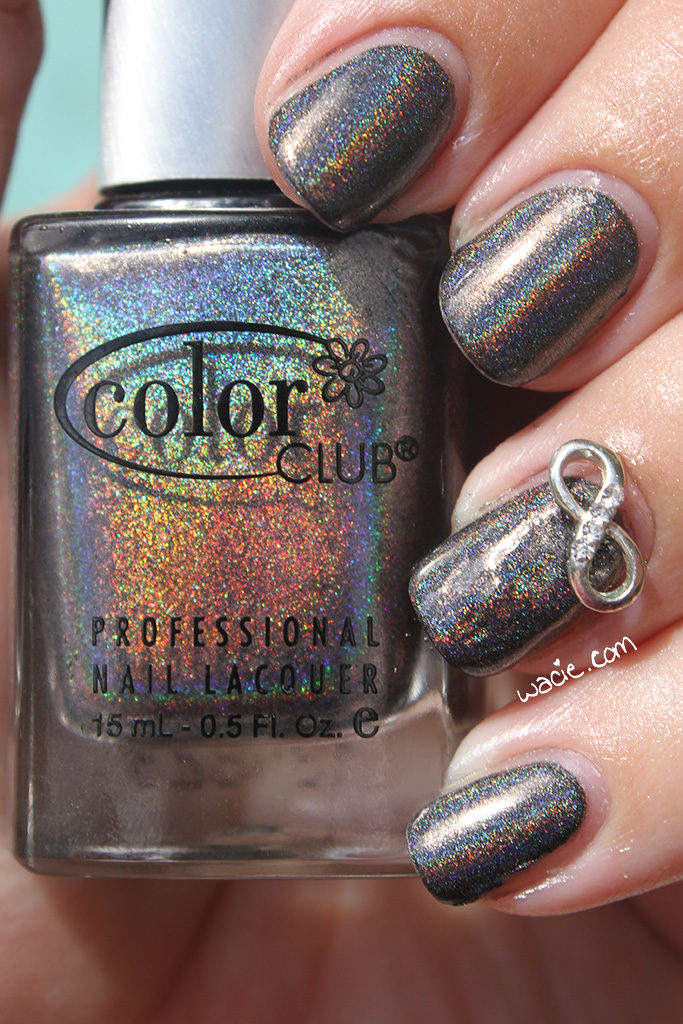
This is probably my favorite look of the year.

Third Anniversary Do-Over

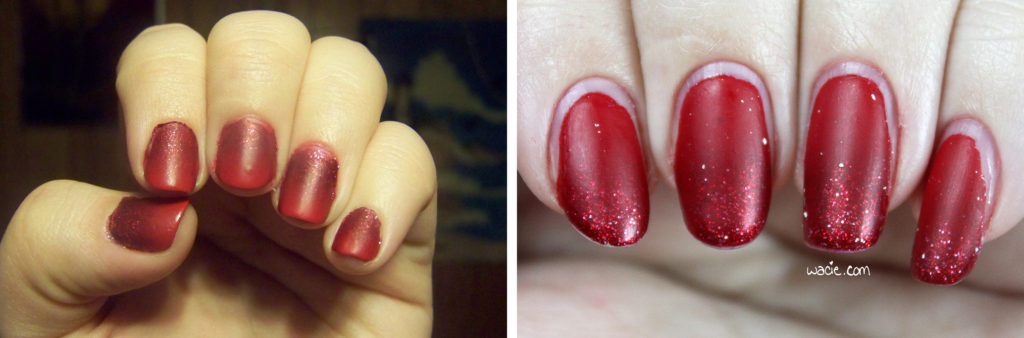
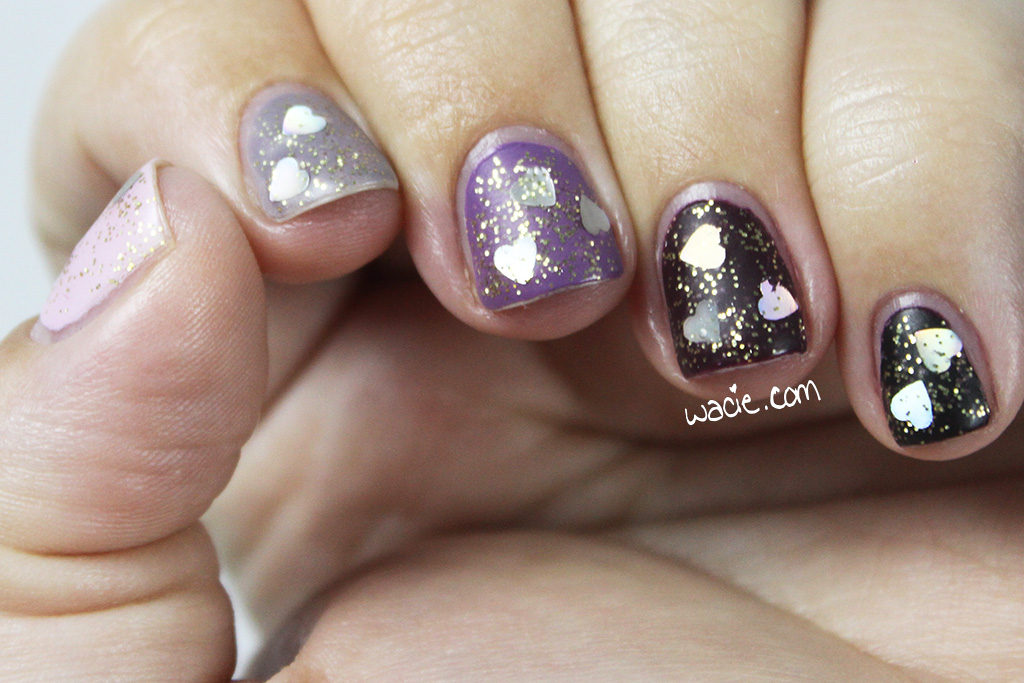
I mentioned earlier that my blog’s anniversary is in March. For last year’s anniversary, I recreated the first-ever mani I posted on my blog. I don’t know yet what I’ll do for my fourth year, but it’ll probably be awesome.

April: Dusty Watermarble

May: Neon Splatter

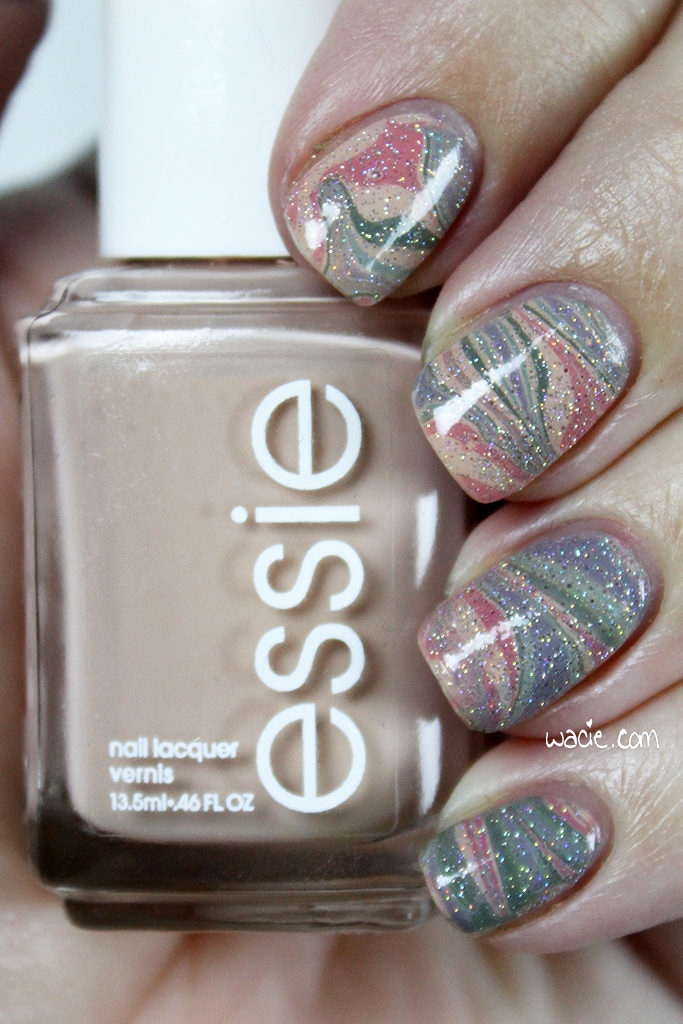
I went to Hawaii in May. As a result, this is my least active month on the blog for the year.

June: Orange Jello Sandwich

My first Empties Roundup post was also in June.

July: Beyond

August: Ombre Hearts

September: Popples

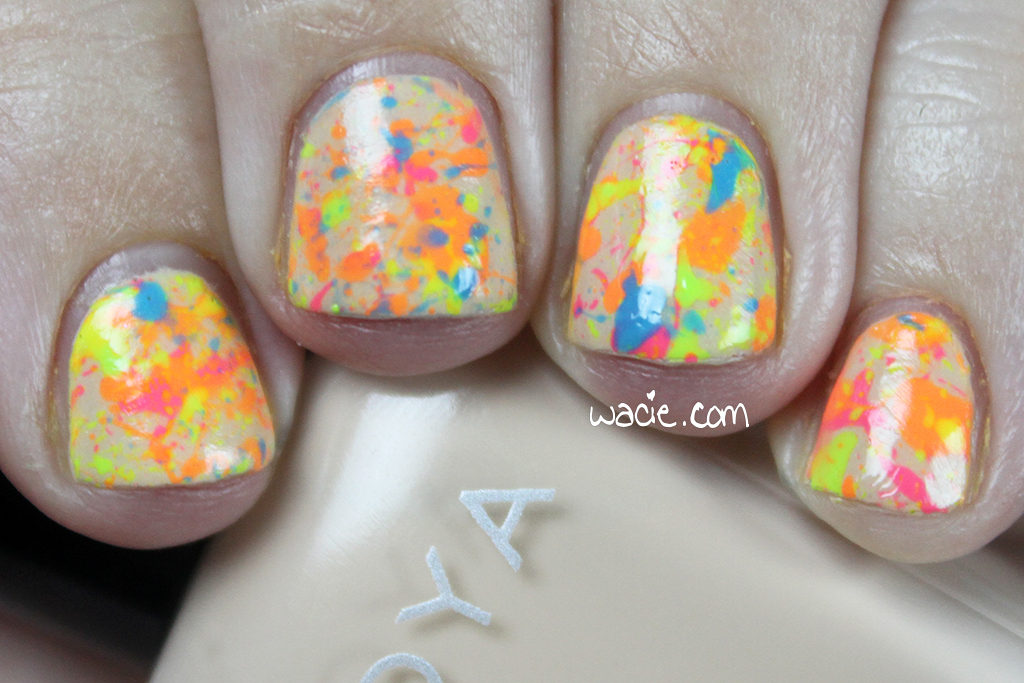
October: Stripey Blue Frosting

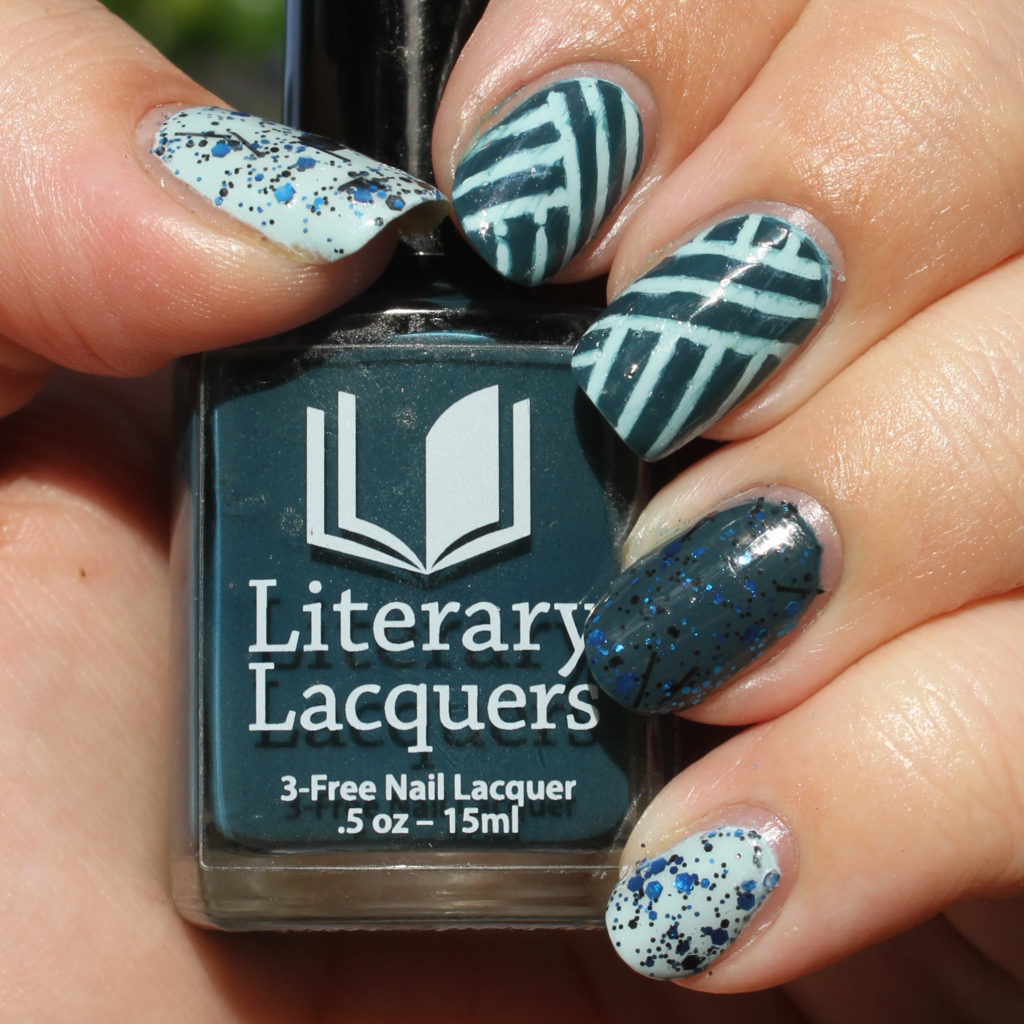
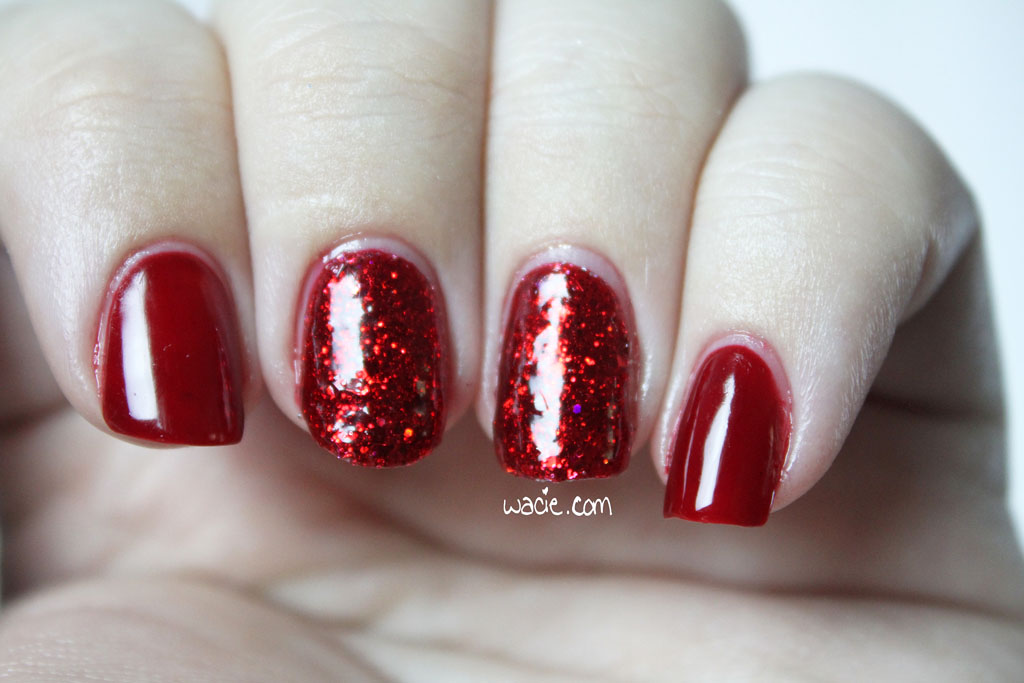
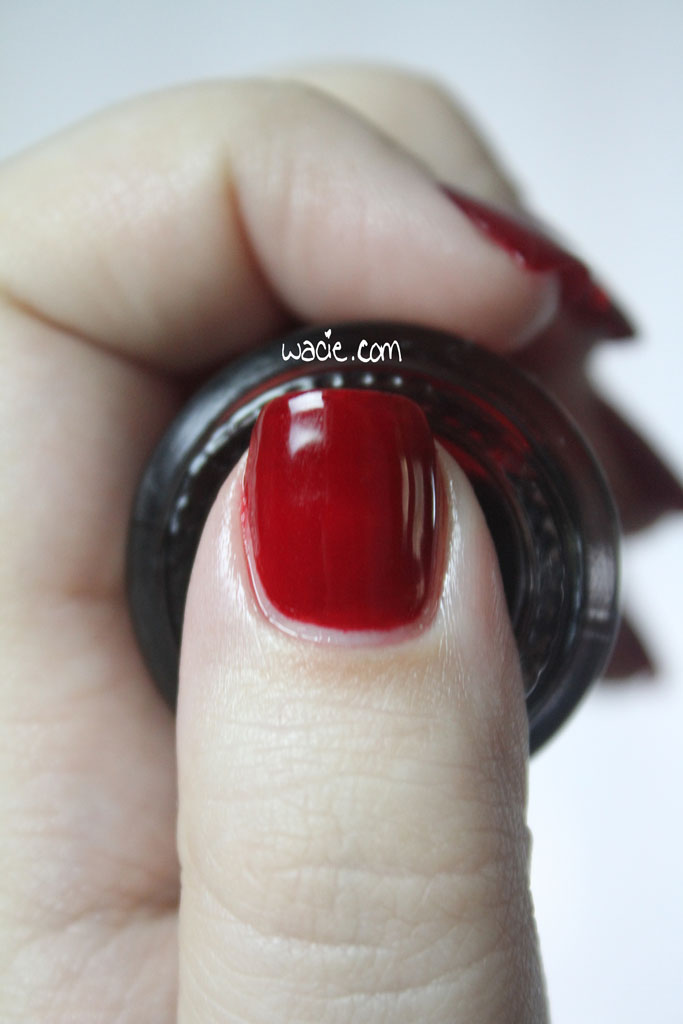
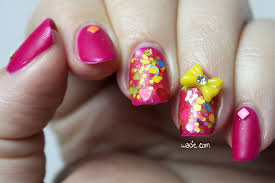
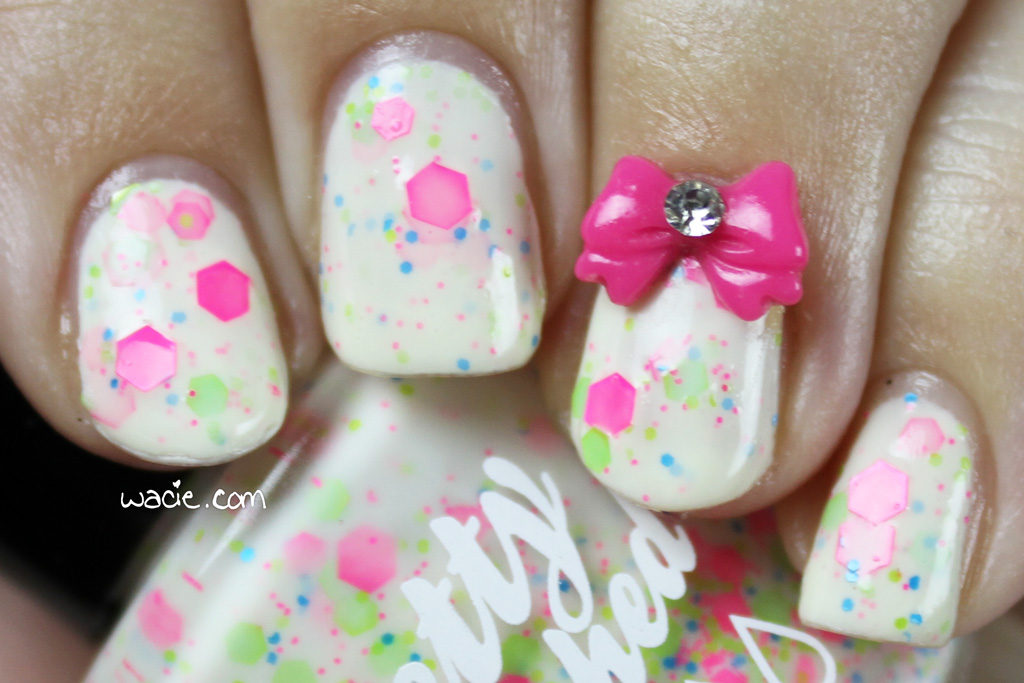
This was a look I did to celebrate my birthday.

November: Ruby Opal

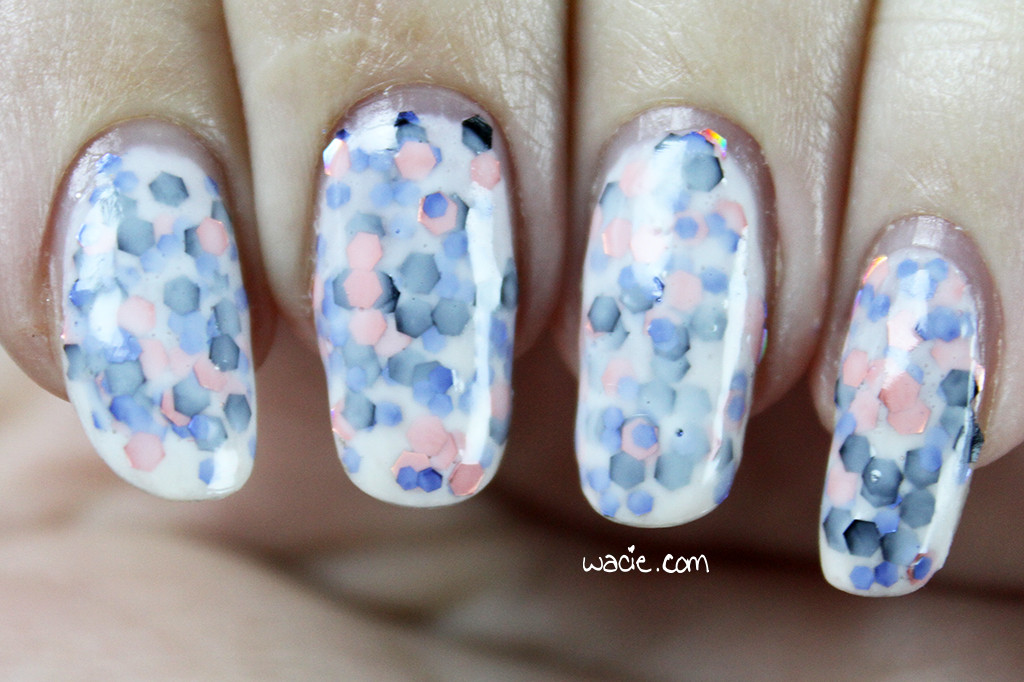
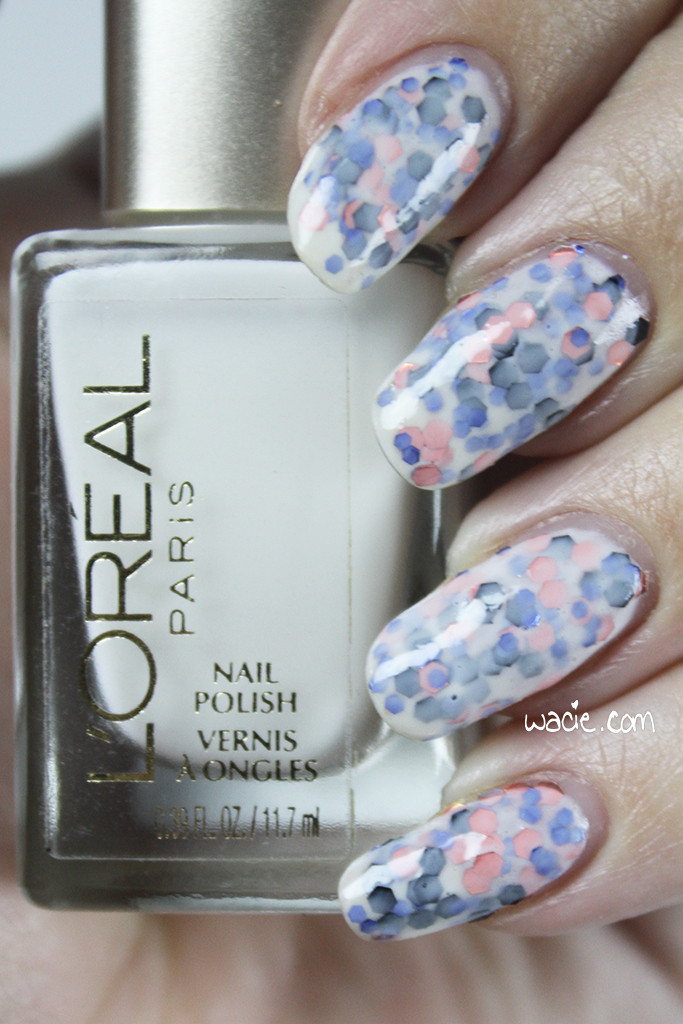
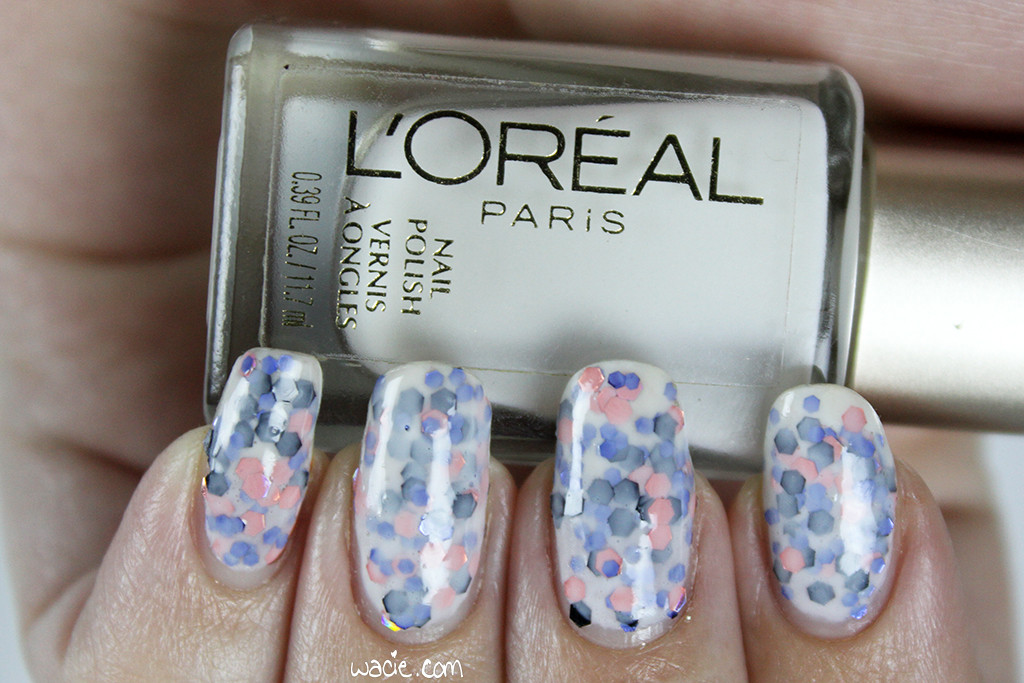
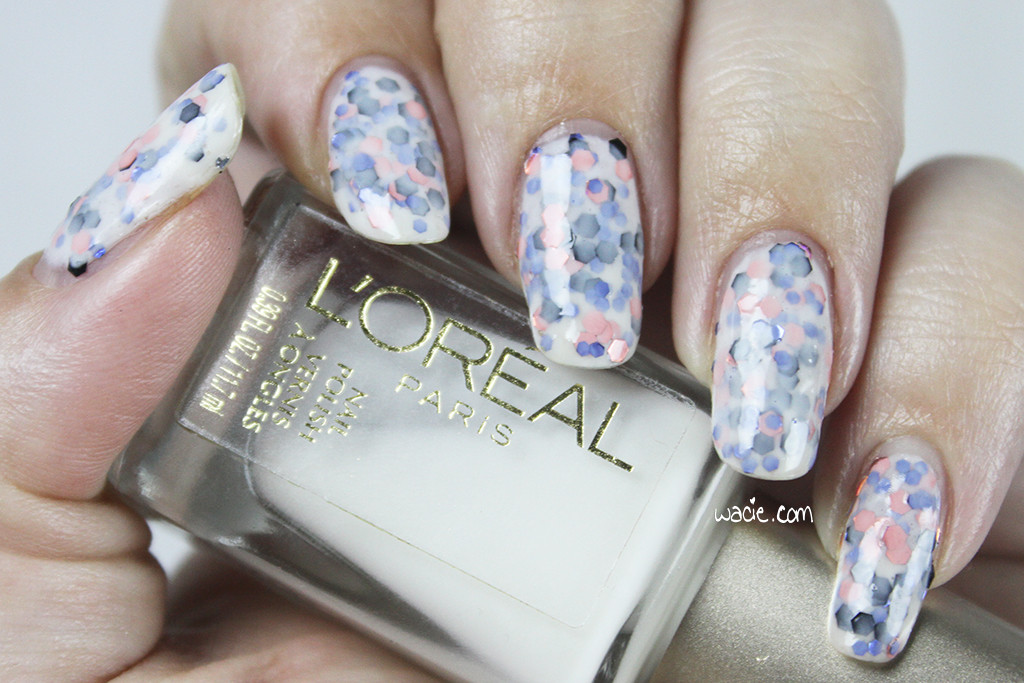
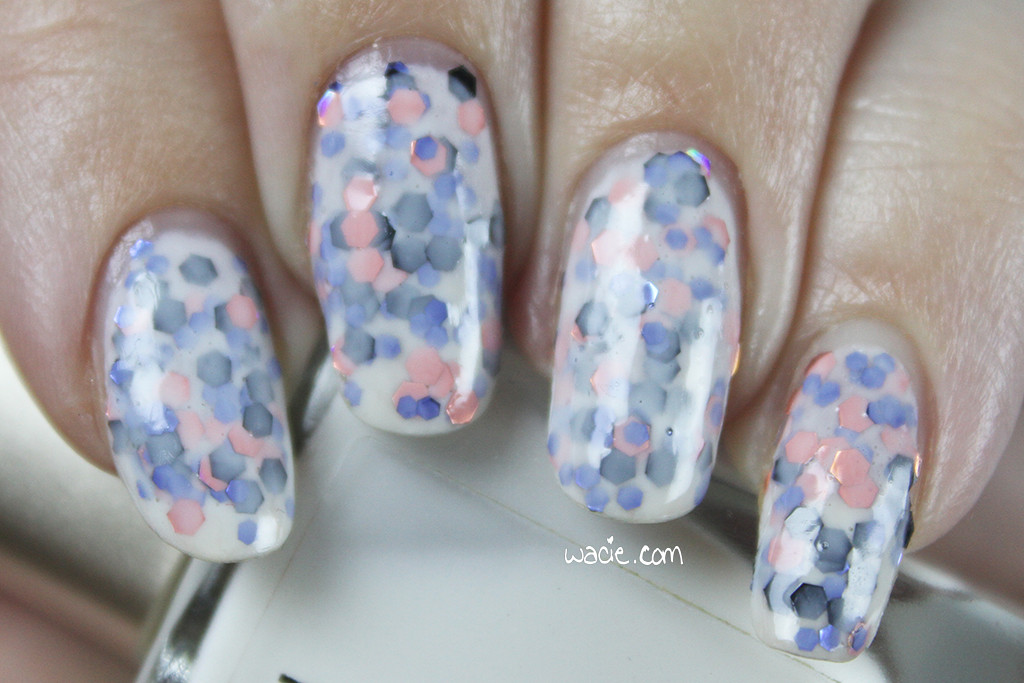
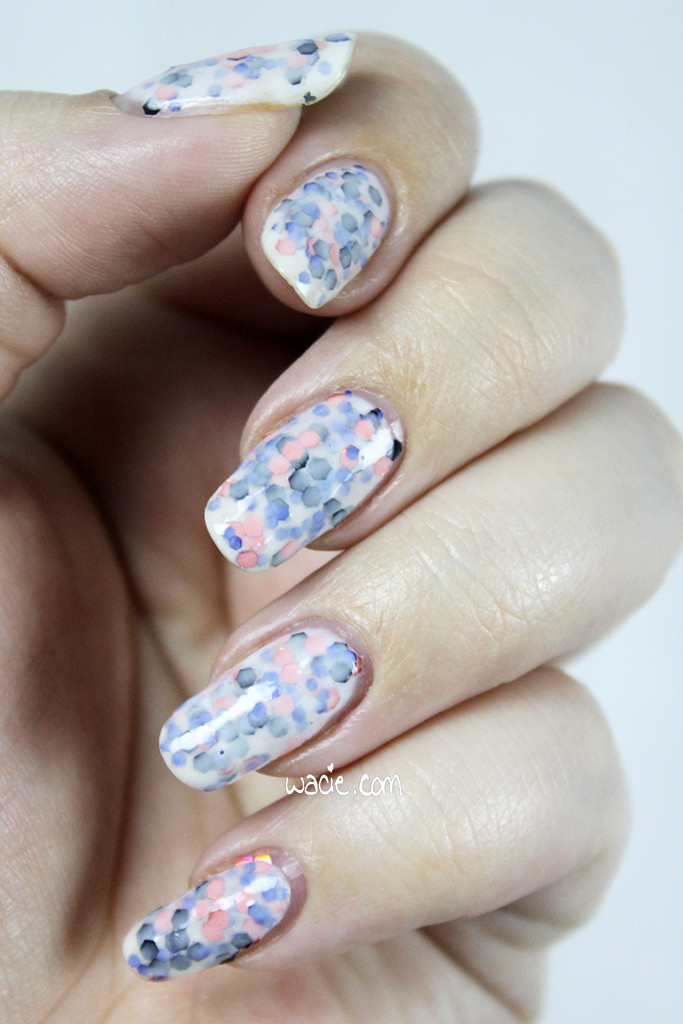
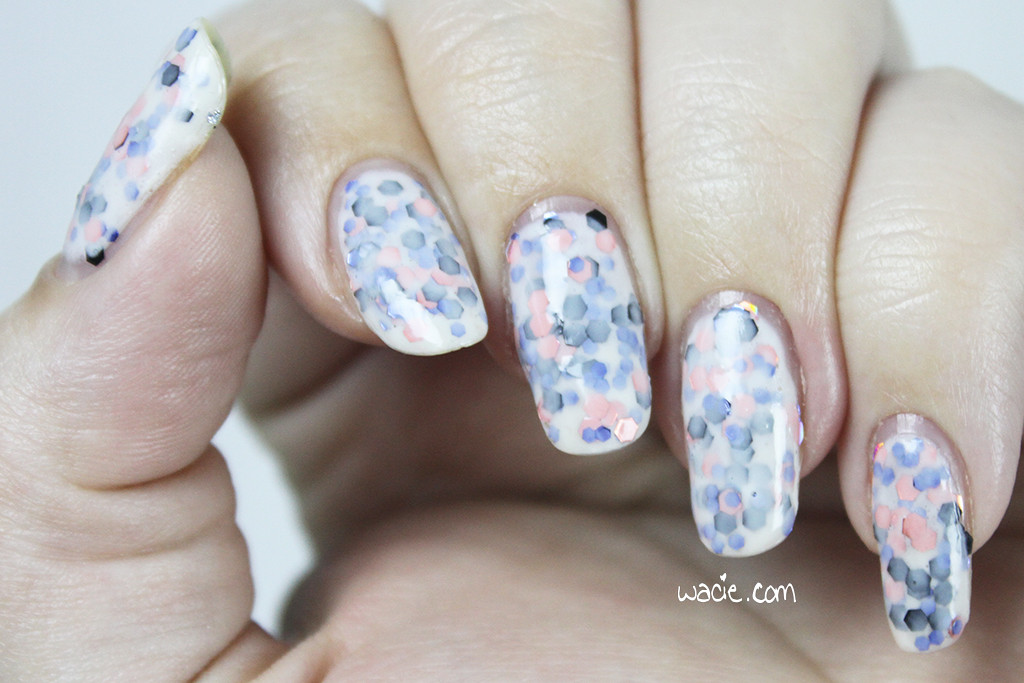
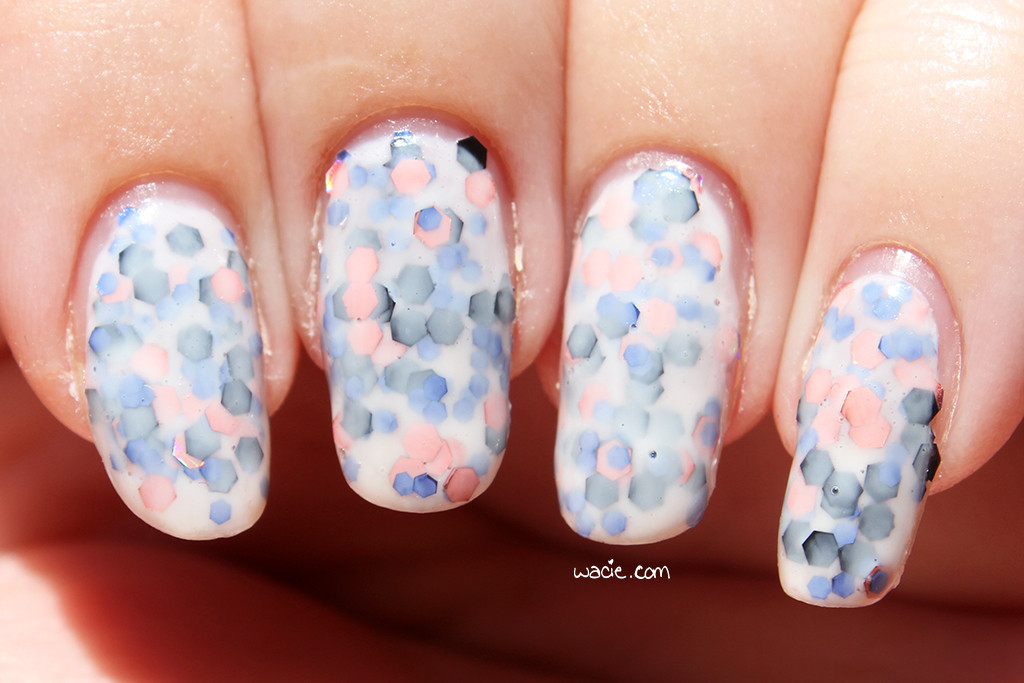
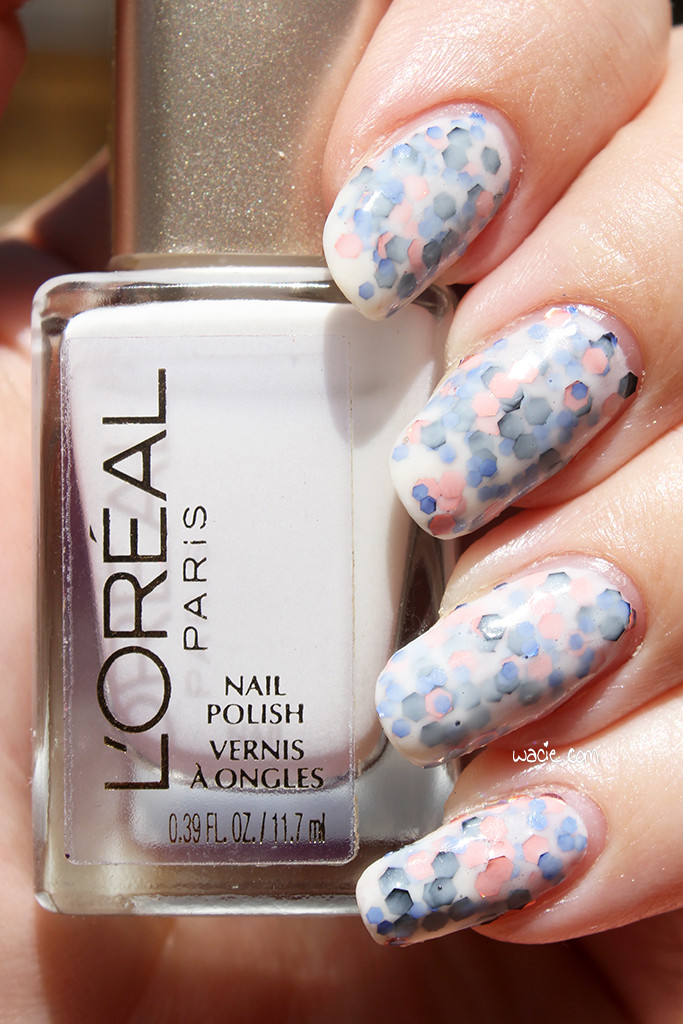
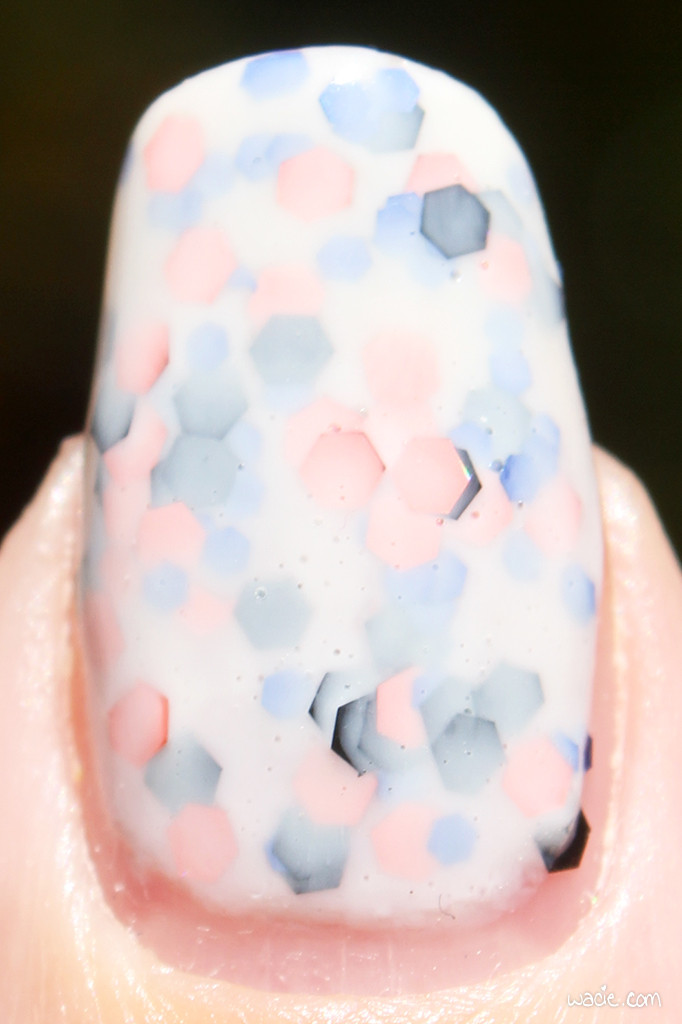
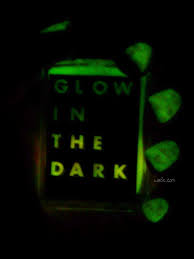
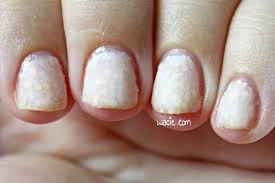
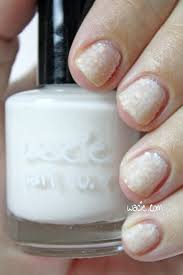
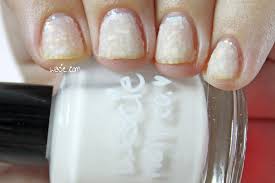
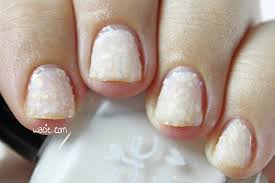
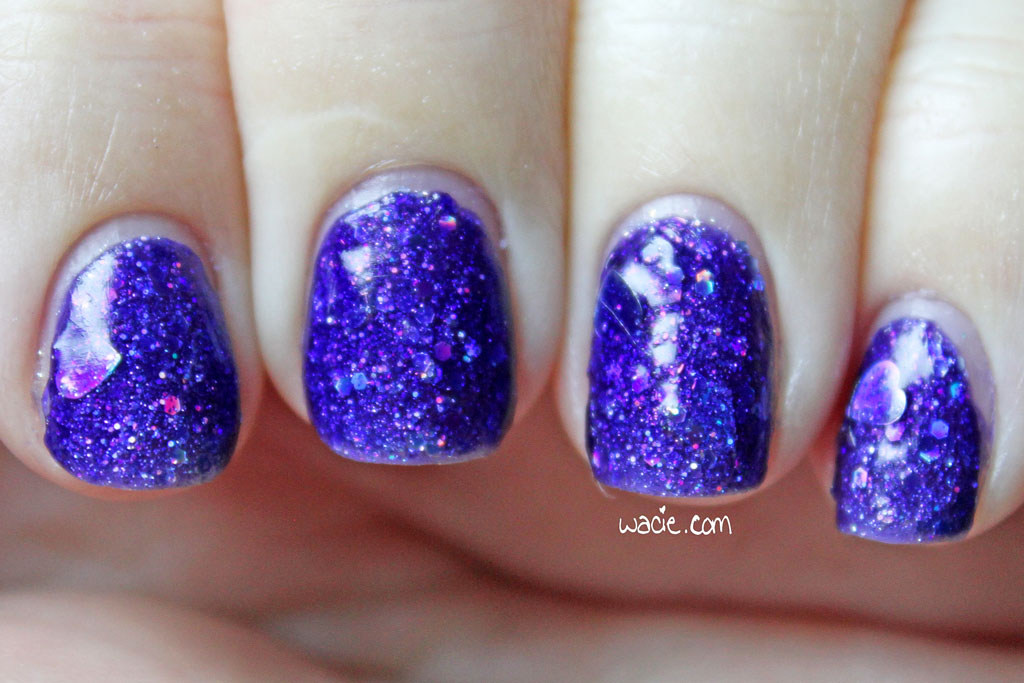
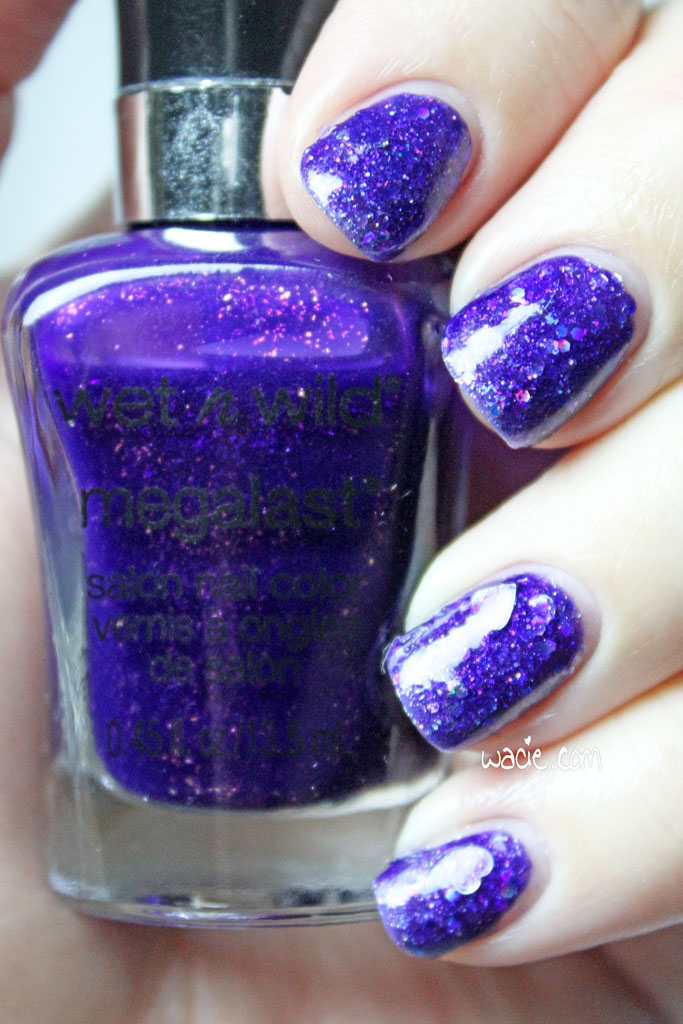
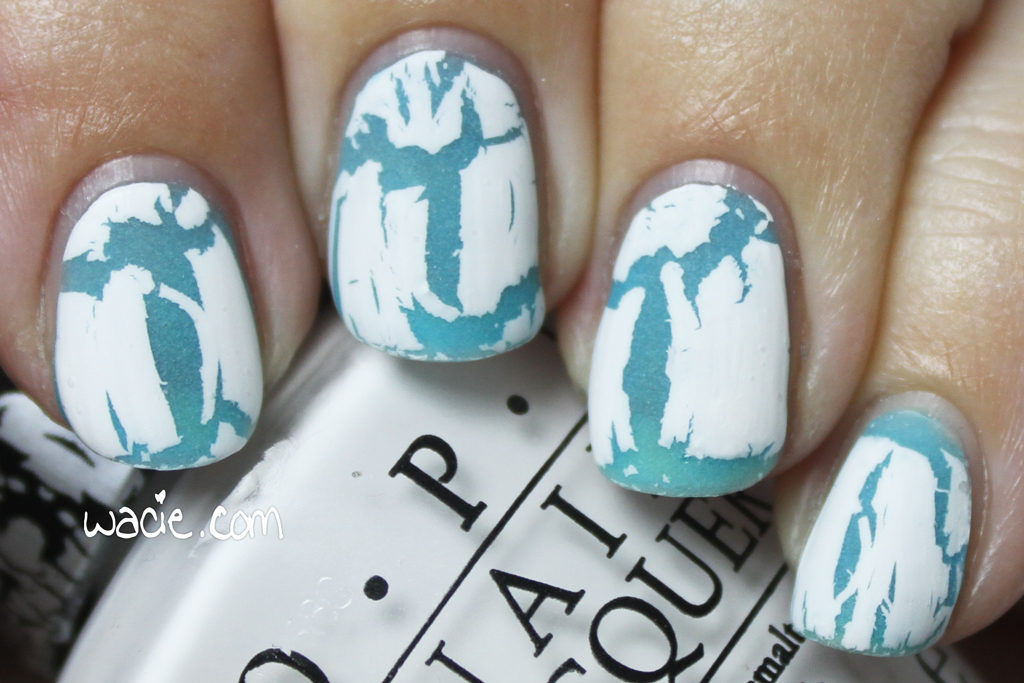
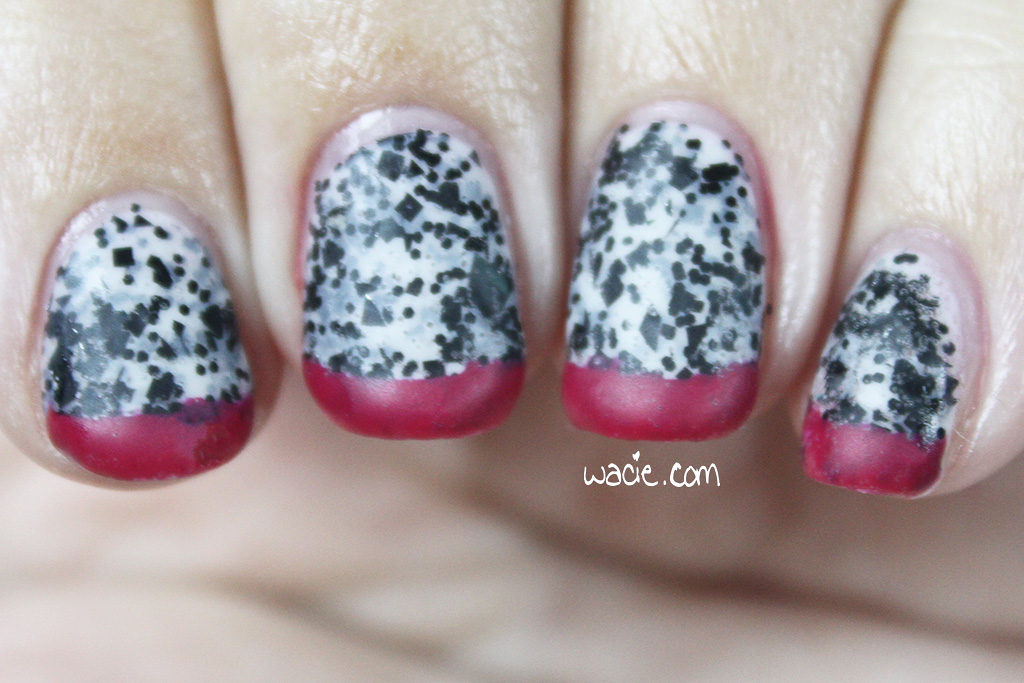
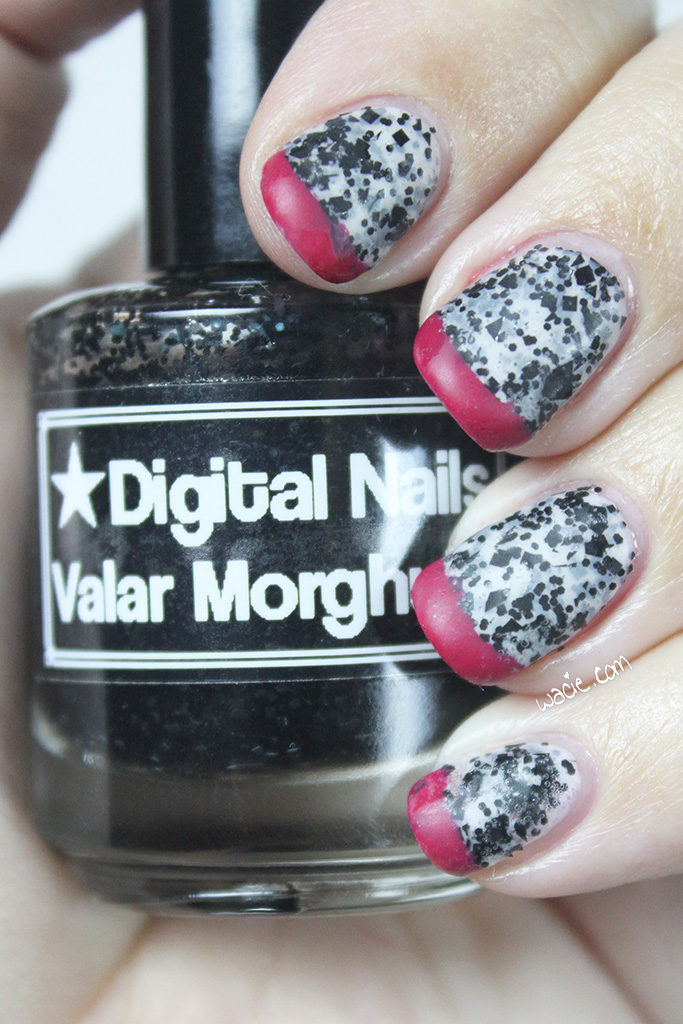
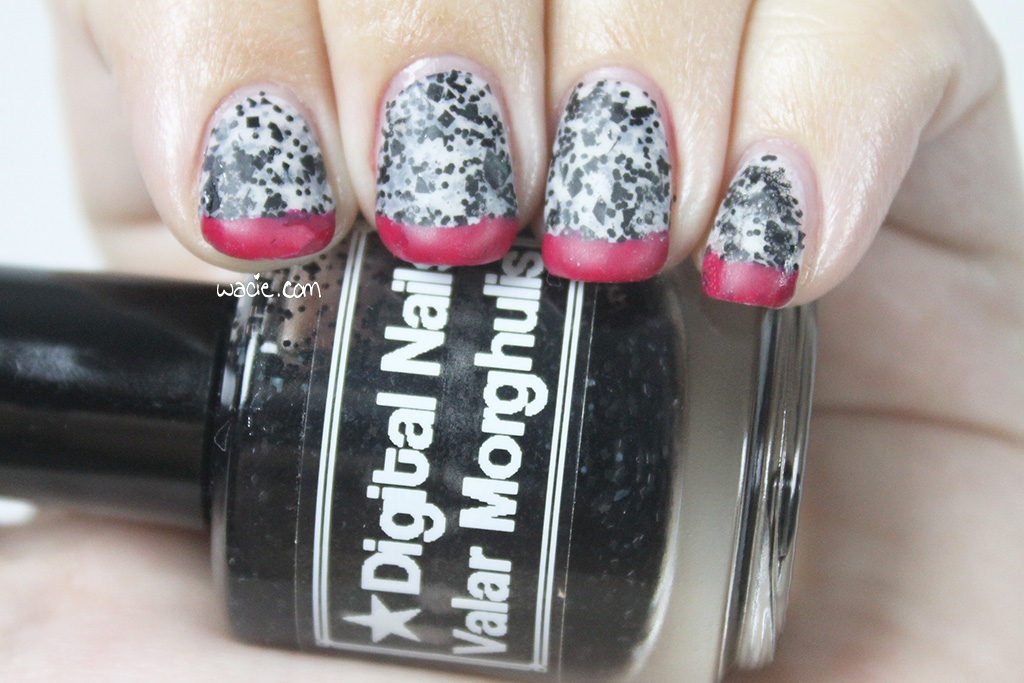
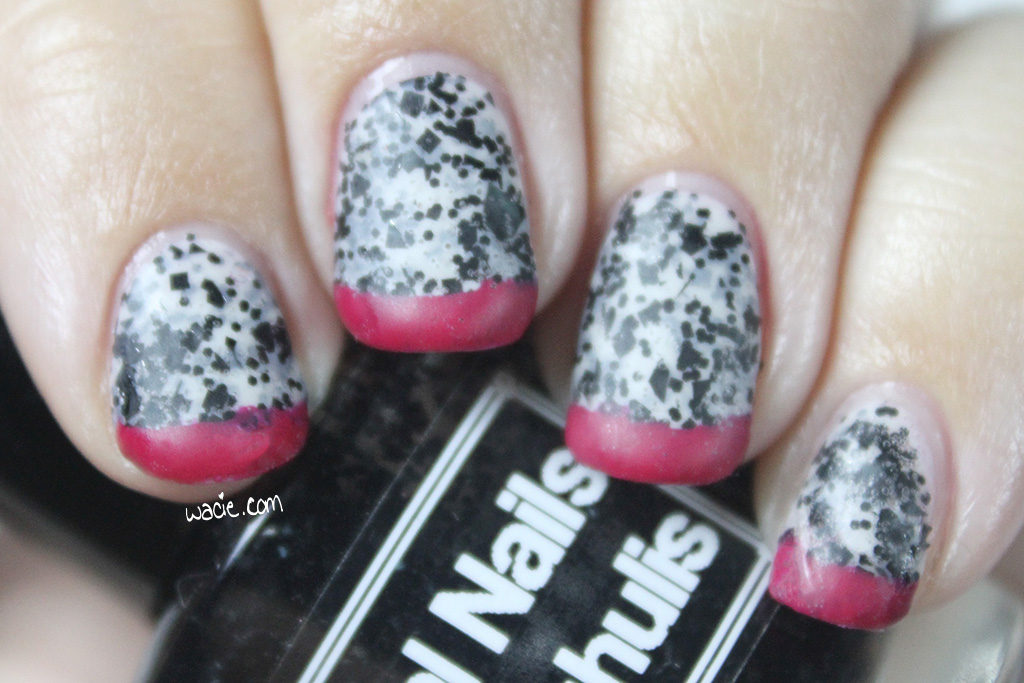
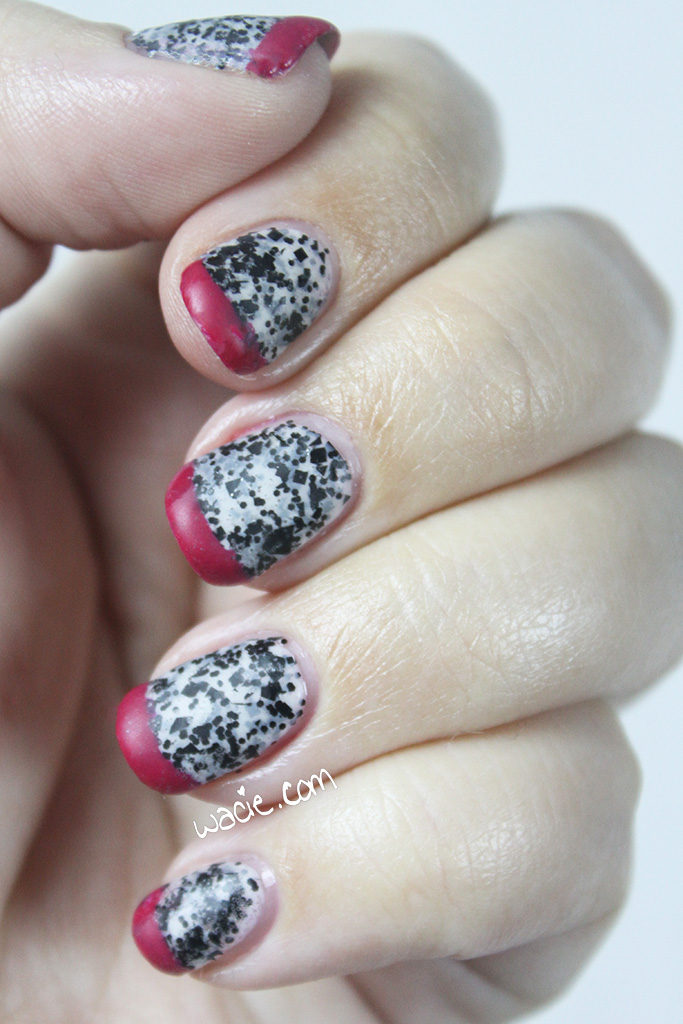
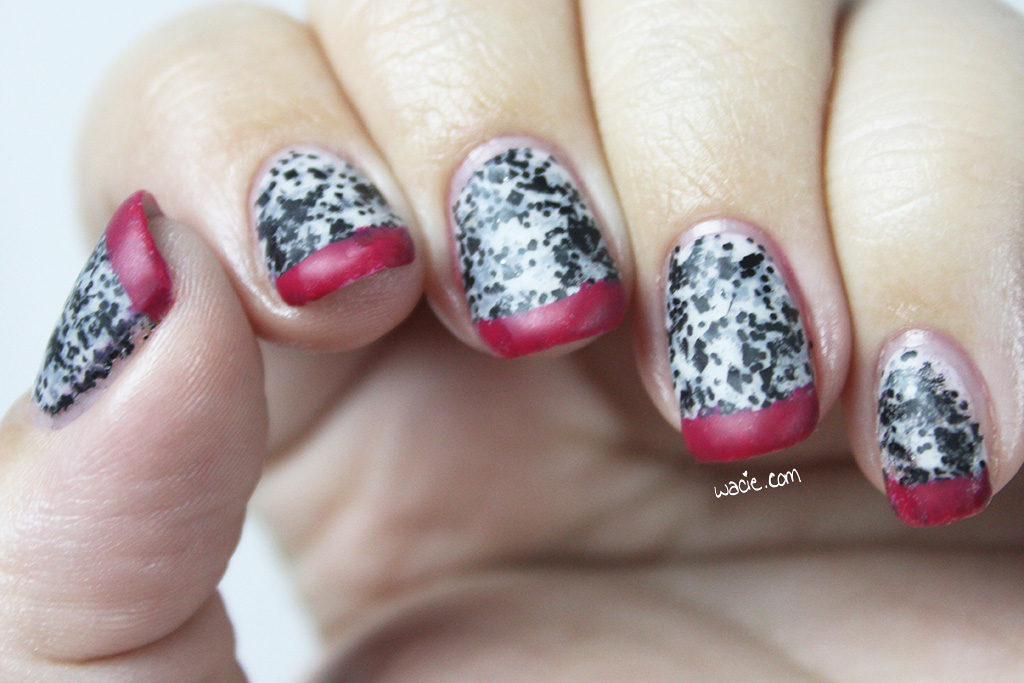
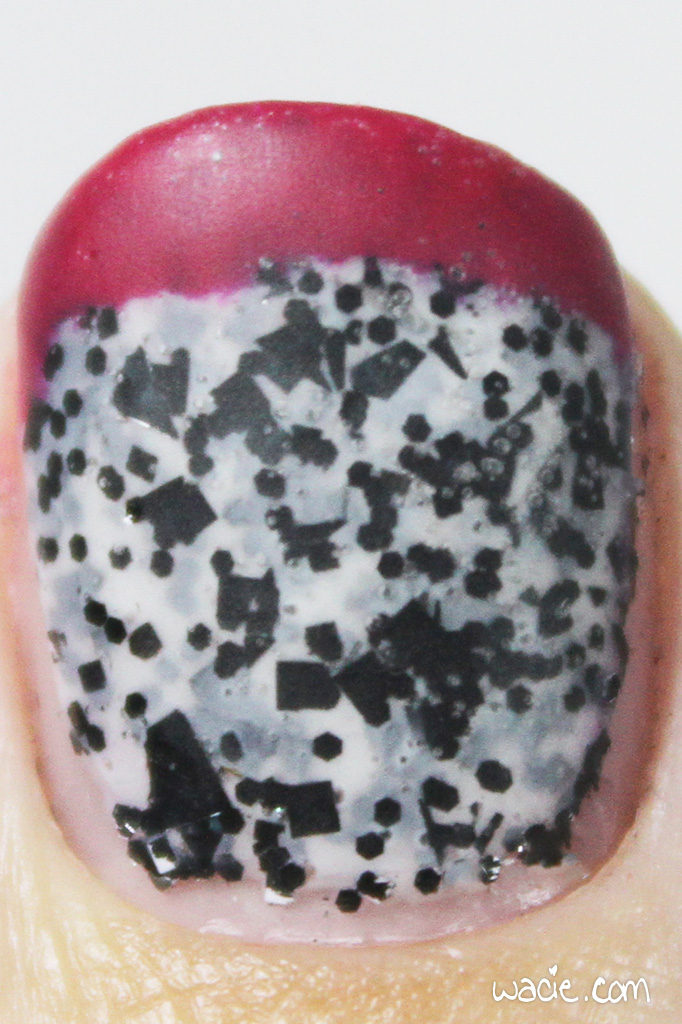
December: White Snow Blue Lava

So there’s my year! This was probably the busiest year for the blog, since I broadened my sujects quite a lot. I did tons of swatches and nail art, but I also ventured into product reviews and makeup talk. I don’t think this will ever become a full lifestyle or beauty blog, but I’m definitely having fun with it in this format. I’m kind of excited to see what it’ll evolve into in 2017. Here are a few beauty goals I have in mind, though.

1. Write more
I wrote 175 posts in 2016, averaging about 14 per month. It doesn’t sound like much to me, like I did way more work than that, especially when it started to feel stressful. That said, I’d like to do at least one more post every week.

1b. Write on my other blog more
I have a second blog that I want to start posting to more. It’s been so long since I’ve bothered with it that I don’t even remember the login credentials. I still want a place to talk about myself and my life, a place to seem like I have a life away from my nails.

2. Build a real skincare routine
I still feel insecure about my skin. I’m frustrated that I’m 31 and I still get acne. I want to take every preventative measure I can against wrinkles and anti-aging. I also want to try a 10-step Asian beauty routine. If you’re over 30 with oily skin and hormonal acne, I want your recommendations.

3. Stop competing
I know one of the big rules of blogging is not to compare your success with others’, but I feel so competitive about it. At the risk of sounding whiny, I always look at other bloggers who’ve been working on their blogs for about as long as I have, and watching their blogs grow faster than mine is kind of frustrating. I don’t want to feel like that anymore.

4. Do more real nail art
I love glitter toppers and I think I use at least one every week, but sometimes it feels lazy. I want to go back to the basics: watermarbling, gradients, dotting. I love my glitters, but it’s starting to feel like a cop-out.

I think that’s it! Anyway, I think 2017 is going to be an exciting year, and I’m looking forward to the good times, the challenges, and the time we spend together. Thanks for reading!

Manicure Monday: Ruby Opal

Happy Monday! I’m kind of happy to be back into my regular routine. Today’s look features a polish of my own called Dynamica; it’s a red crelly with a wee bit of scattered holo goodness. I swatched it in my Wacie Wednesday series ages ago, and lamented then that I didn’t use it in a sandwich mani with some glitter. Well, today is that day. The glitter I paired it with is Lynnderella‘s Red Opal. All photos were taken in direct sunlight.

img_72392

img_72432

I used two coats of Red Opal as my base. Red Opal is so packed with glitter and has such a rich red base that it could be worn at two coats on its own. There are so many kinds of glitter in here, holo, metallic, and iridescent, that it has a lovely dimensional appearance. I used one coat of Dynamica over Red Opal; Dynamica is a warmer red and changes things up a bit, and adds that hint of holo sparkle.

img_72502

img_72562

This late afternoon sun is not the best for holo shots, but it’ll have to do. It was dark and overcast all morning and afternoon, and then just now, this was the little bit of sun out, and really, I was glad to get it. It still looks pretty cool.

img_72592

img_72662

img_72702

Red Opal might be discontinued; other Lynnderella polishes are sold on lynnderella.com. Dynamica isn’t for sale yet, but may be in the future. I’ll let you know.

Red Opal was purchased myself.
Dynamica was made by me.

HPB Presents: Dragonfruit

Hello, reader! It’s time for June’s installment of the Hobby Polish Bloggers Link-up! Every month, this Facebook group chooses a theme, and the theme for June is fruit! When the theme was announced, dragonfruit was the first thing I thought of, so here are dragonfruit nails! For this look, I used L’Oreal’s Satin Starlet, Digital Nails‘s Valar Morghulis, and P2’s French Kiss, as well as Seche Vite and Essie’s Matte About You top coats.

IMG_15982

IMG_16022

I love the flavor of dragonfruit, and vagely knew what it looked like until I was at a luau in Hawaii and found it on the buffet. It was the first time I’d ever eaten actual dragonfruit, and it was amazing. I knew it would be an easy thing to recreate in a manicure, so I went for it.

IMG_16092

IMG_16142

I started with two coats of Satin Starlet, then added a brushed coat of Valar Morghulis, another coat of Satin Starlet, another coat of Valar Morghulis, and then added the French Kiss tip. French Kiss was more translucent than I thought it would be and you can see some of the black glitter through the tip, but it’s not the worst thing that happened to this mani. With all the coats, it took ages for the polish to be dry enough for the French tip vinyls. I actually did it once, waited an hour, and had the vinyls pull up the polish on every single nail. I got a beer and started over, waiting four hours this time. The pinky peeled off. This time I just peeled the polish off the vinyl and stuck it back on because I was not doing it a third time.

IMG_16162

IMG_16202

My favorite thing about this look is that, even though it’s clearly inspired by dragonfruit, it’s not immediately obvious if you’re not thinking about it. Without the French tip, it’s just a really creamy monochromatic look; I almost didn’t want to add the tip because I liked it the way it was. Adding the tip is adding a great pop of color. White, black, and pink is probably my favoritest color pairing ever.

IMG_16282

Satin Starlet may be discontinued; other L’Oreal polishes are sold nationwide. Valar Morghulis and other Digital Nails polishes are available in their etsy shop (they are currently on hiatus). P2 polishes are sold in Europe.

I bought two of these polishes myself, the other was a gift.
 Loading InLinkz ...

Manicure Monday: Orange Jello Sandwich

It’s Manicure Monday again! Today’s look is a jelly sandwich, which is probably my favorite nail art technique. It always comes out so well! For this look, I used L’Oreal’s Mango Mamma over American Apparel’s Light Year, as well as Seche Vite top coat.

IMG_16562

IMG_16612

Mango Mamma is the perfect jelly. The color is bold but the coverage always stays sheer. It has the appearance of orange gelatin. I badly wish I had an orange-scented top coat, but I feel like this polish also deserves to smell like orange gelatin. As it’s the perfect jelly, the jelly sandwich was basically the only thing I could do with it. I can’t believe something like this came from a mainstream brand.

IMG_16682

IMG_16712

Light Year was maybe not the best glitter for this look, even though it turned out looking pretty cool. I knew brushing it on wasn’t the best application method because it’s liquidy, so I sponged it on. Even then, I got some holes in coverage, even though it didn’t look like it at the time. I guess it doesn’t matter, because what is on there sparkles wonderfully under Mango Mamma. Overall, the look feels flashy, stylish, and bold.

IMG_16782

IMG_16812

For this look, outdoors in direct sunlight is where it’s at. The orange looks a little washed out, but the glitter comes alive and looks its best. It almost looks kind of autumnal, with the orange jelly and the warm shades coming through in the holographic glitter. It’s like Thanksgiving in June!

IMG_16322

IMG_16412

IMG_16392

IMG_16462

Mango Mamma might be discontinued by L’Oreal; other L’Oreal polishes are sold in stores nationwide. American Apparel polishes have been discontinued as well.

I bought these polishes myself.

Manicure Monday: Marshmallow Sandwich

Happy Monday! Today’s look is an experiment with opacity and color. It’s also a lesson in making the best of an unusual polish. For this look, I used China Glaze’s Create a Spark between layers of L’Oreal’s Satin Starlet, topped with Seche Vite top coat.

IMG_71922

IMG_72012

So I started this mani wondering why a polish like Satin Starlet exists in the first place. It’s this sheer, milky white that doesn’t seem like it’s good for much. It might be okay as the sheer shade in a French manicure, but even then, there are colors much better suited for that purpose than white. It would take a staggering amount of polish to get it opaque, so it’s out as a tip color, too. It’s hard to apply without streaks and bald spots. Even after having this manicure on a while, I still have no idea what I would use this polish for if I didn’t do nail art. I don’t think a person who wears one polish at a time would find this polish useful. I got this polish in a big L’Oreal set from an outlet store; it’s not something I would have purchased alone.

I used one coat of Satin Starlet as a base, sponged the glitter on with an eyeshadow applicator, and finished with two heavy-handed coats of Satin Starlet and top coat.

I used one coat of Satin Starlet as a base, sponged the glitter on with an eyeshadow applicator, and finished with two heavy-handed coats of Satin Starlet and top coat.

IMG_72122

IMG_72152

Create a Spark is a clear-based glitter topper with holographic pink and black and blue metallic glitters. This one was a little hard to use, but seems pretty typical of the mainstream chunky glitter topper; there’s so much lacquer in the bottle that the glitter drops right off the brush, and if you try to brush it on, you get like two pieces of glitter and a whole lot of clear polish, which is not ideal. To prevent this, I sponged it on with an eyeshadow applicator; it soaks up all that excess lacquer and helps you position the glitter where you need it. This is my favorite way to get a lot of glitter without having super-thick coats of polish.

IMG_72222

IMG_72292

I chose Create a Spark because I thought big glitter and bright colors were best suited to offset the sheer white. Though they pair well, Create a Spark was done no favors in this mani. You can see the shine in some of the edge glitters; the black glitters are dark and shiny, and the pink ones have a really intense holo finish. Satin Starlet kind of sucks the life out of it. Here are some sunlight photos, and this look doesn’t really look much different from in the studio. It just looks like Funfetti. Also, despite everything I said about Satin Starlet, I love the shine it kept. It has a really glossy original finish, and Seche Vite keeps it smooth and shiny. Sometimes it goes on glossy and then dulls, I’m glad that didn’t happen today.

IMG_71702

IMG_71802

IMG_71752

IMG_71872

Satin Starlet is discontinued by L’Oreal; other L’Oreal polishes are sold nationwide. I got mine from an outlet store. Create a Spark may be discontinued by China Glaze; other China Glaze polishes are sold in stores. I got mine from Sally Beauty Supply.

I bought these polishes myself.

Manicure Monday Night/Tuesday Morning: Orange Sherbet Birthday Warm-Up

Happy Monday, reader! Happy Tuesday as well, if applicable. My look today is one I’ve been looking to try for a while: matte glitter sandwich with glow in the dark polish! It doesn’t translate well to photos, and looks a bit weird. I really regret that, but it looks cool in person, so I’ll need you to trust me on that. Also, this is probably the last manicure of my twenties. Yeah. I turn 30 on Saturday, and I’ll do a birthday mani then. Until then, this will carry me through the rest of the week. The last week of my twenties. I already feel as though the sun is setting.

Anyway, the sandwich I have here is made with Formula X for Sephora’s Firecracker and American Apparel’s Jupiter, topped with one coat of Seche Vite top coat.

mmtmosbwu

mmtmosbwu2

The first thing you’ll notice about this manicure is that’s really orange. The color comes mostly from the glitter. Jupiter has some color of its own, but it’s sheer and not immediately visible. What Jupiter does here, though, is assimilate each individual speck of glitter into one orange entity. Only the large glitters still have definition; the finer glitters look like grit or bubbles in the color, at least in photos. It’s not that bad without the bright studio lights bearing down on it.

mmtmosbwu3

mmtmosbwu4

You may also notice the polish looks quite thick. That’s very accurate. In all, I have seven coats of stuff on my nails. Apart from base coat and top coat, I have two layers of Jupiter, the glitter, which is about as thick as two coats, and two more coats of Jupiter. Firecracker is a pretty chunky glitter, so Jupiter acts as a smoother here as well as a color; my nails are totally smooth to the touch. They are, however, one step away from being gumballs, and I acknowledge that.

mmtmosbwu5

mmtmosbwu6

mmtmosbwu7

One last thing: I tried a real macro shot! I got a new phone with a pretty nice camera, and thought it was worth a shot. If you’re reading this, you’ve scrolled past it, but there it is. You can really see what I mean about the glitter losing its definition. It looks like it’s out of focus because the lines of the glitters are blurry, but it’s really just the sandwich blending it in.

mmtmosbwu8

Firecracker is from Sephora. Jupiter is from American Apparel.

I bought these polishes myself.

Manicure Monday: Opal Sandwich

Happy Monday! I’m excited and nervous to show you today’s manicure. It didn’t turn out quite the way I envisioned, mainly because I expected to have longer nails when it was time for it. However, I get to tell you about a brand new Wacie Nail Co. polish, and that’s cool! For this manicure, I’m wearing Revlon’s Heavenly between layers of Wacie Nail Company‘s Whitewash, topped with Seche Vite top coat and Hard Candy’s Matte-ly in Love matte coat.

mmos

mmos2

Heavenly is one of my favorite glitters, and if you’ve been reading for a while, you’ve seen it on the blog like five times. It’s just the right topper for when you want a little iridescent sparkle. It looks great all over or as a gradient, and its appearance changes over different colored polishes. It’s truly a versatile and beautiful polish.

mmos3

mmos4

I made Whitewash because I wanted a white jelly polish. I actually made this quite some time ago as a franken, long before I’d even really started Wacie Nail Company. I checked a lot of etsy stores and didn’t see any, so I just made one for myself. Today is the first time I’ve used it. It’s still on the creamy side, and maybe it’s just not possible to have a true white jelly, but I quite like the way it layers over glitter. I hope to have proper swatches of it alone soon.

mmos5

mmos6

Heavenly and Whitewash, along with the matte top coat, create a look that’s soft and opalescent. I really love the look, but I wish some things were different. Maybe I should have used an opaque white base. I used three coats of Heavenly to ensure I had a good glitter cover, but it’s still very translucent; I can see where my nails are still stained from a lime green polish I wore a few weeks ago. I wish my nails weren’t so short, because the whiteness and the shortness make my hands look grubby. It’s still a cool look, but today I don’t feel like it suits me.

Revlon is sold in stores nationwide. Whitewash will be available soon from the Wacie Nail Company etsy shop.

I bought these polishes myself.

Manicure Monday: Clambake Sandwich

For Manicure Monday, I’ve done another jelly sandwich! I love this style; my nails always look so shiny and luxe, like special little jewels. This sandwich is made with three coats of OPI’s In True Stefani Fashion between Essie’s Clambake, topped with one coat of Rica‘s Glossy Glam top coat.

IMG_76762

IMG_76812

I have to tell you: I really love Clambake. It’s not one of the more popular Essie shades, and I guess I can understand why; I know people expect a more pigmented, fuller coverage polish, and jellies are duds. I think I also remember it being towards the bottom of the Walgreens Essie display and that’s probably a factor as well. I just think that, if you like jellies, perhaps this is one you should consider. It’s so squishy that you can see the squish from outside the bottle, and the color is really potent, despite the sheer coverage. It’s definitely unique to the Essie lineup, and pretty unique in my collection, too.

IMG_76822

IMG_76922

However, In True Stefani Fashion was a bit of a letdown. I mean, it’s a fantastic polish; it dried well, I got pretty good (but not complete) coverage in three coats, and it dried very quickly. In the bottle, it looks like there are more holographic silver glitters than there are. I thought it was all holographic glitter, which is why I picked it to go in this sandwich. Instead, I think it’s just the bigger square glitters that are holo, and the rest are just metallic silver. I mean, it ended up looking pretty good, but there’s just nothing like a jelly sandwich full of twinkling holographic glitters.

IMG_76962

IMG_77002

I added a bow. When I did that purple jelly sandwich a few weeks, I thought that, even with all that glitter, it still looked a little bare, so this time around I added a bow, just for a little something extra. It’s not the same orange as the polish, but I still like it.

Clambake is available wherever Essie polishes are sold; I got mine from Walgreens. I think In True Stefani Fashion was a limited release as part of the first Gwen Stefani collection, but it can still be found around online. My bow charms are from Claire’s.

Manicure Monday: Blurple Jelly Sandwich

I’ve been looking forward to this manicure for a lot of reasons. Number one, I adore this color. Number two, I’m using a Wacie Nail Company polish in an actual manicure. Number three, Wacie Nail Co. sales info is coming! I’m wearing two coats of Wacie Nail Company’s Dang! under three coats of Wet ‘n Wild’s Black Light Party and one coat of Alter Ego‘s She Shines top coat.

IMG_47382

IMG_47482

On its own, Black Light Party isn’t that special on its own. It’s very translucent, and though it’s the perfect candidate for the jelly sandwich, I don’t feel like it gives enough coverage to make wearing it alone worthwhile. I put it on my toes without the glitter, and it just looks like a watery sad mess. The color is beautiful, though, and the pink-gold shimmers throughout really make it. It gives the holo glitters underneath just a tad more shine and fun.

IMG_47502

IMG_47592

IMG_47652

I was a little uncomfortable using Dang! as the glitter in this mani, but I think it worked out well. Mostly I was unsure whether I should. Even though Wacie Nail Co. has been in the works now for at least a year, I feel a little weird seeing it in a manicure. I also feel a little like a jerk talking about a polish nobody can buy yet. I was also unsure of how well Dang! would work as a full-coverage glitter. I didn’t have to worry about that, though; two coats was enough to cover my nail completely.

IMG_47712

IMG_47752

IMG_47802

In the sun, the blurple is much more on the purple side, and the glitters show really nicely through it. The heart glitters are a lot more obvious.

IMG_47272

IMG_47332

So I promised Wacie Nail Co. info, and here it is: The shop will (finally) open this month! wacie.com’s second anniversary is Wednesday, and I’d hoped to have a couple of special polishes in stock by then, and to have Dang! in stock today, but it’s taken a lot longer to get some supplies in than I expected. I’d also like to bring some swatchers on board so you don’t have to take my word for it. I think that, at the soonest, the end of March is when you’ll finally be able to buy your own Wacie Nail Company polishes.

I bought these polishes myself.

Wacie Wednesday: Pinprick

I’ve been looking forward to swatching this for a while. I got creative some night in the Wacie Nail Co. lab, and by creative, I mean I wanted to make a ton of new polishes, but had very few materials to work with. This is one of the beauties that came from that session. Pinprick, as I’ve come to call it, is a blood red jelly. I’m wearing three coats of it alone on my thumb, index, and pinky fingers; on my middle and ring fingers, I have a glitter sandwich with Pinprick and OPI’s In True Stefani Fashion. All nails are topped with one coat of Color Club’s clear coat.

IMG_95112

IMG_95162

IMG_95232

Pinprick is a jelly, but it’s nearly opaque in three coats. I’m really surprised by the coverage I got, I expected a more visible nail line, and I didn’t expect it to come out so dark. It’s practically black in the bottle, but is very bright over the glitter. If I hadn’t done the jelly sandwich nails, you wouldn’t be able to tell it’s a jelly at all. Pinprick does dry with a matte finish, so top coat is definitely necessary to get this gorgeous shine.

IMG_95312

IMG_95412

Let’s talk about the glitter sandwich nails for a minute. This is the real reason I made this polish. I always say there’s nothing like a red nail to feel glamorous and sexy, but the glitter here makes it even better. The glitters in In True Stefani Fashion are pretty fine, and took a lot of effort cleaning up. I think I spent my whole day trying to get it all off. It was so worth it. I feel like a million sexy bucks right now. Glitter sandwiches are the best.

IMG_95472

IMG_95562

In the sunshine? Oh man. You can really see the jellyness in direct sunlight, and it looks awesome. There’s still no visible nail line, but the color is still really squishy.

IMG_95642

IMG_95672

I’ve got a few more reds in the pipeline like this. They’ve got a lot to live up to, though. I don’t think it can get any better than this.