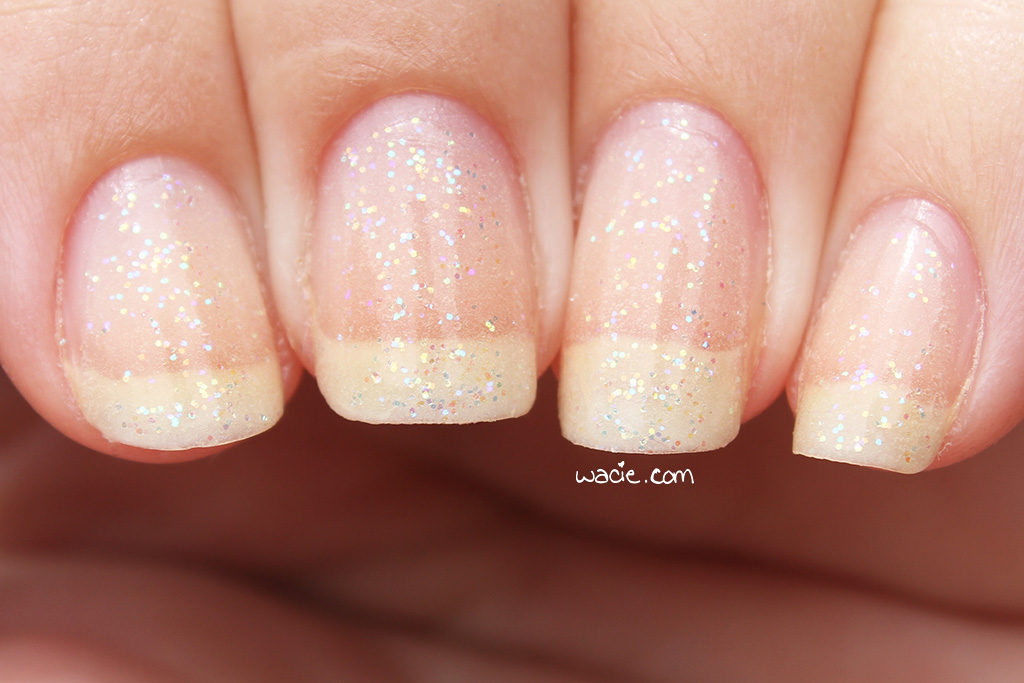
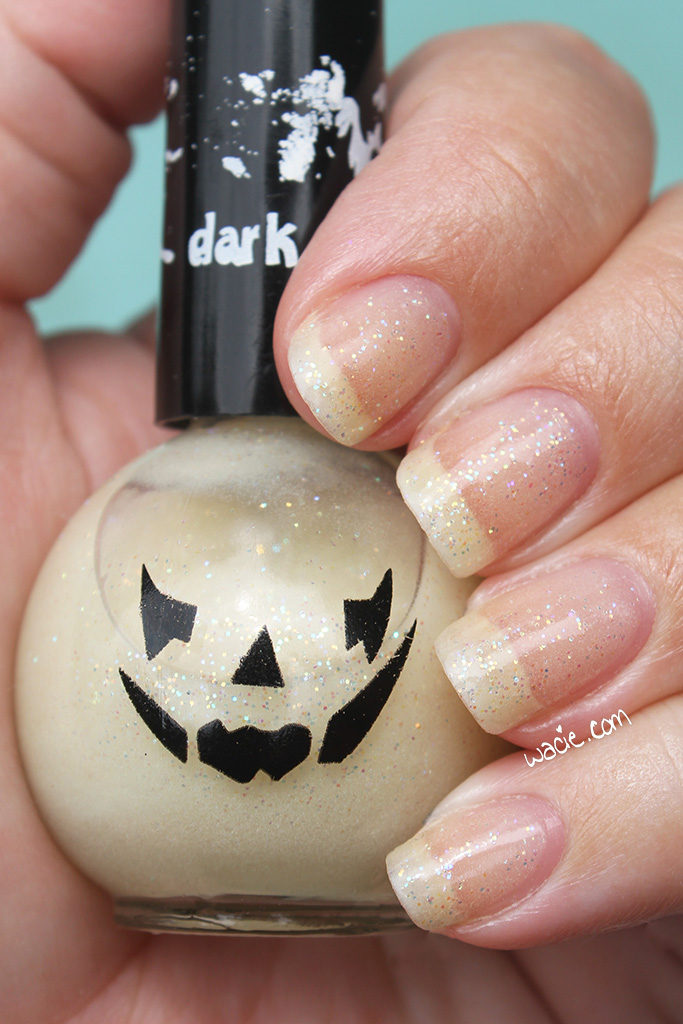
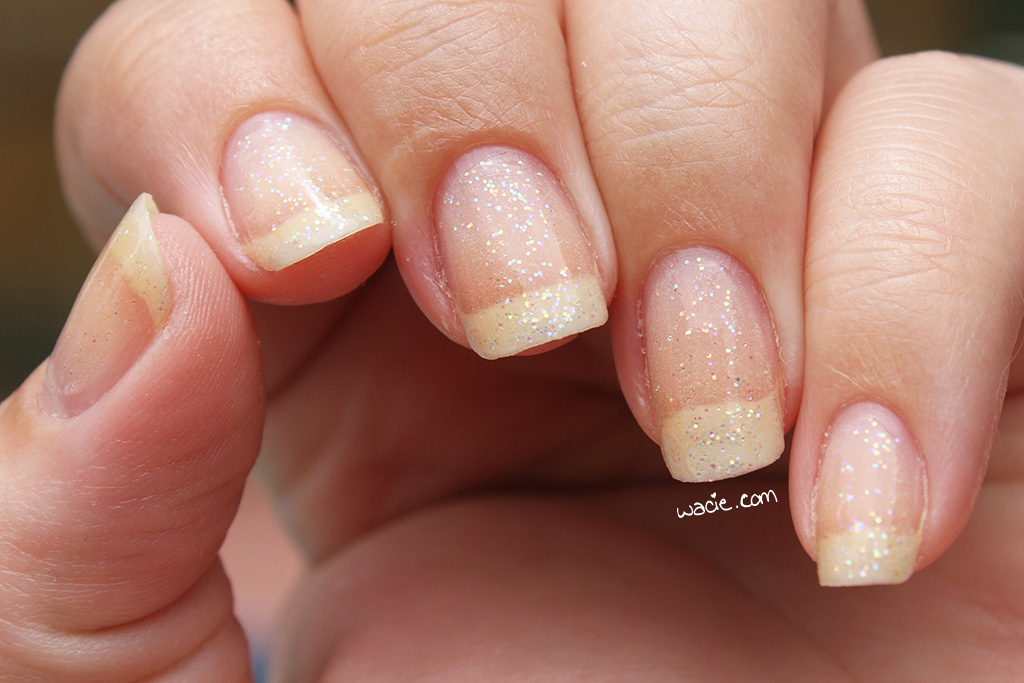
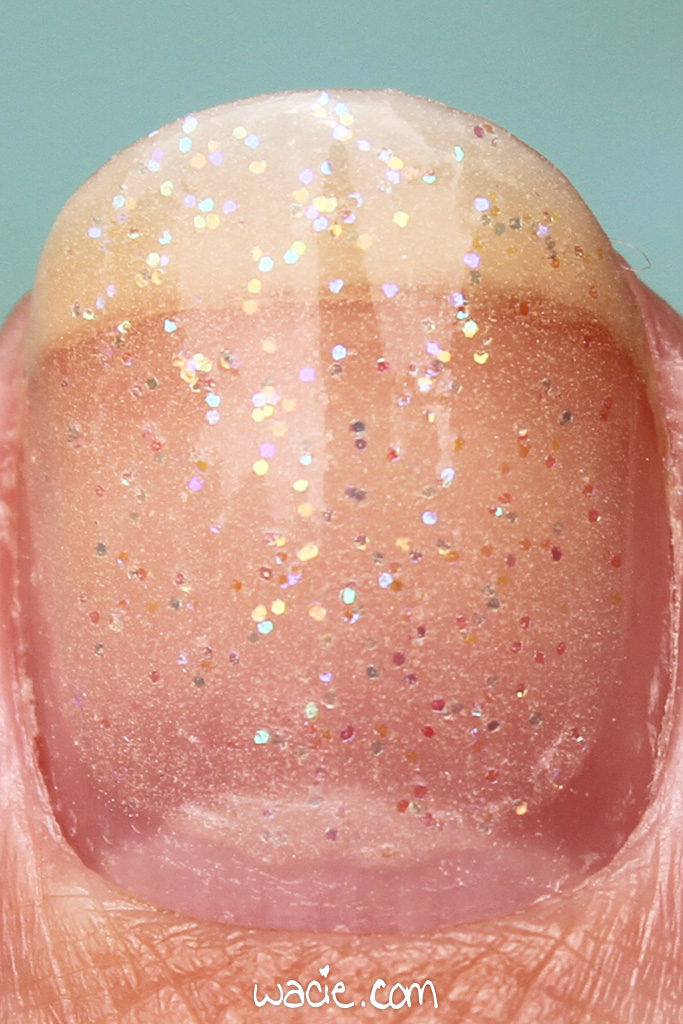
Manicure Monday: Purple and Radioactive

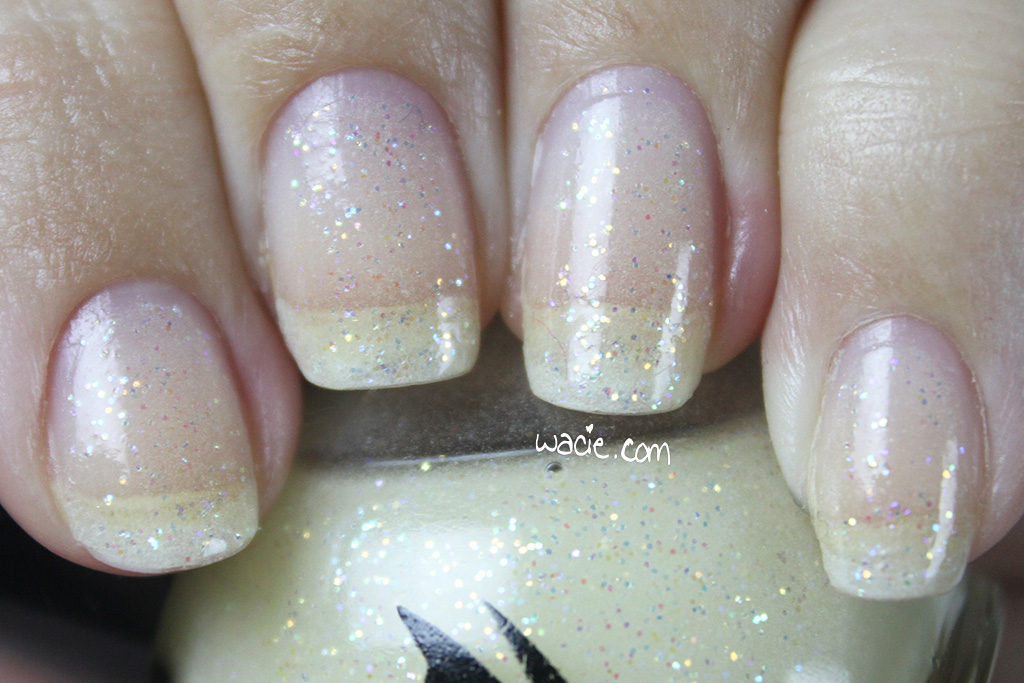
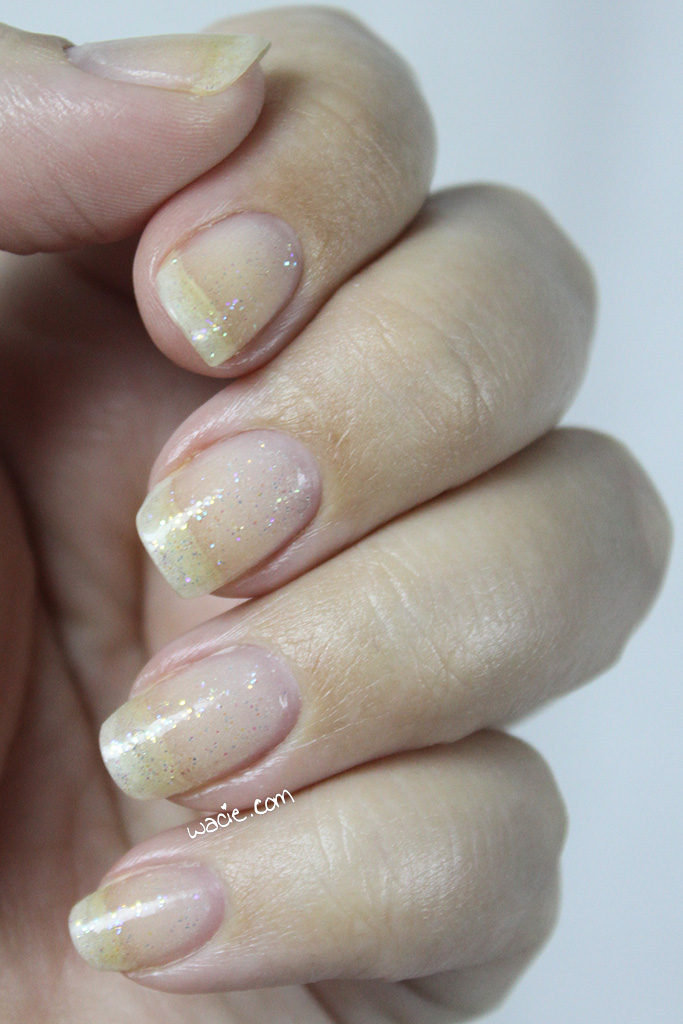
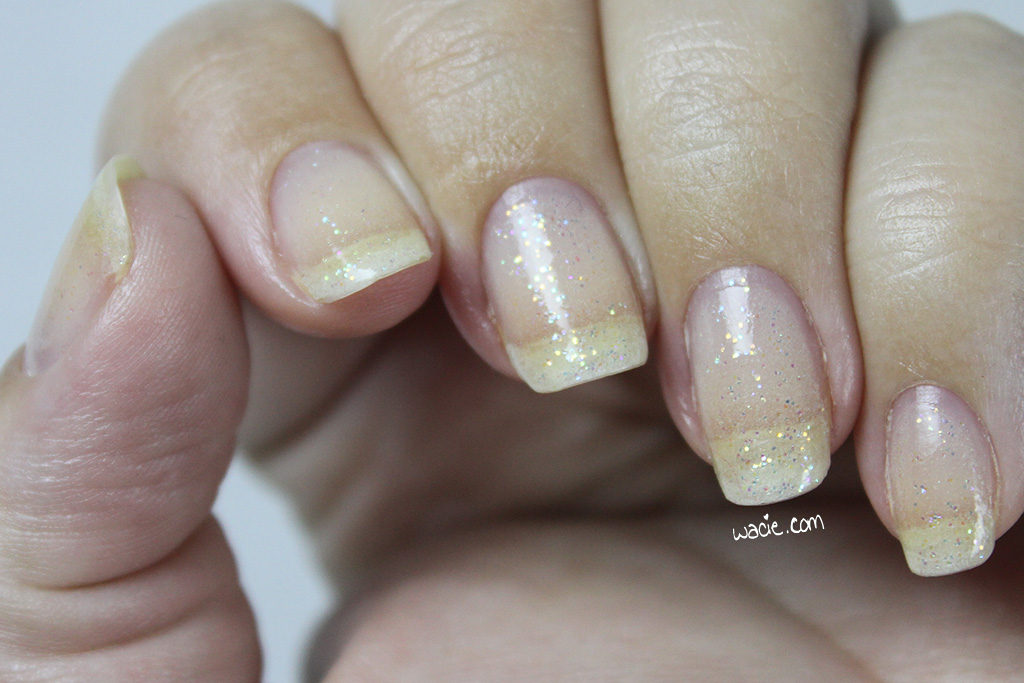
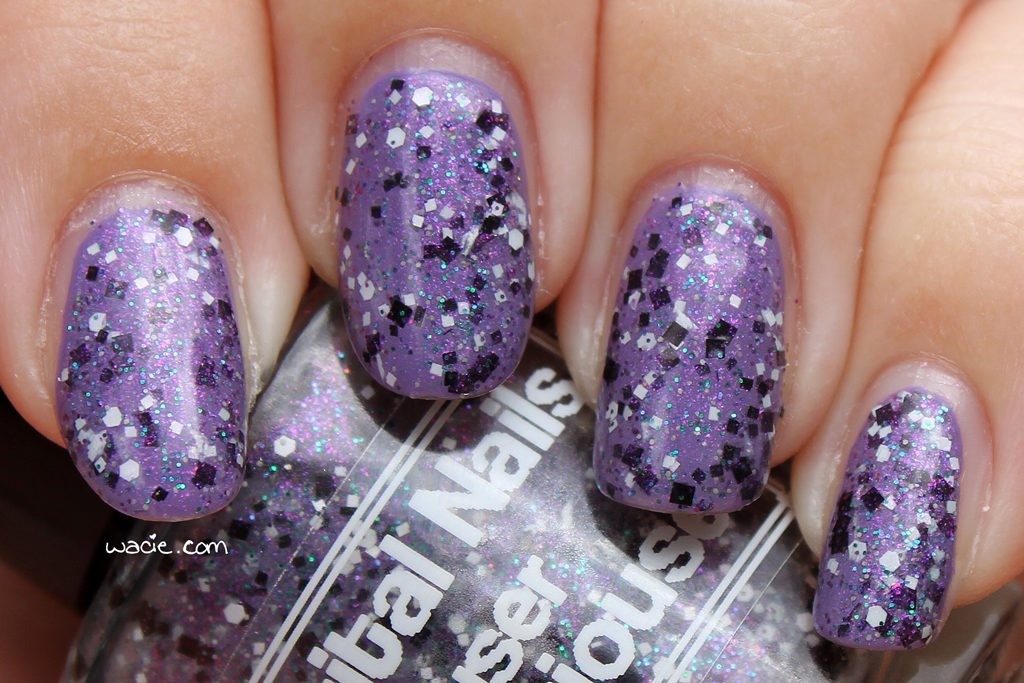
Happy Monday, Reader! I’m so glad to be back, and your reception to the new posts has been absolutely wonderful. It’s almost like I never took a break! For this week’s Manicure Monday, I’m wearing Digital Nails‘s Curie-oser and Curiouser over Sinful Colors’s Verbena.

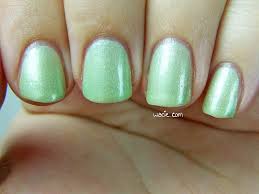
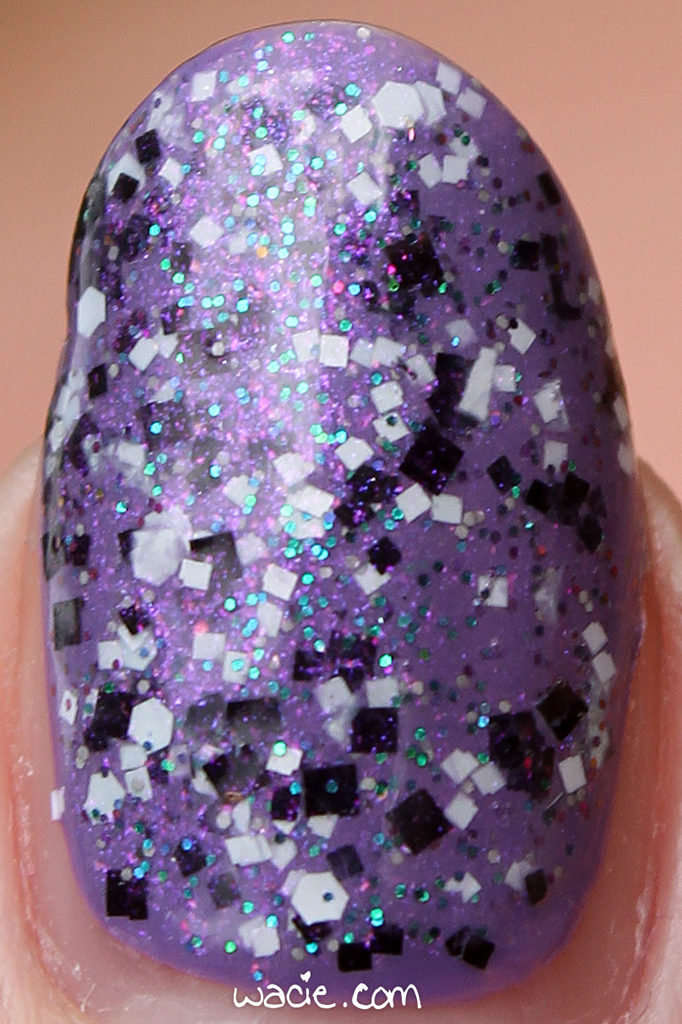
Curie-oser and Curiouser is, of course, a polish made in honor of Marie Curie, the scientist most known for her pioneering research on radioactivity. The polish name is an Alice in Wonderland reference. This is truly a Digital Nails polish. The white and black glitters are the most obvious and true-to-life in these photos, but the finer glitters, the fuchsia and aqua, definitely look bigger in the photos. It’s not a wild indie glitter mix, but it’s very pretty and has quite a lot of dimension thanks to the finer glitters.

Verbena is the perfect companion to the glitter topper. I really agonized over what purple polish to pair with the glitter, and had my regular reminder that no matter how much polish I have, I’m never going to have every single one I need. Luckily, I found Verbena at the bottom of the stash drawer; my friend had given me a bag of polish she didn’t want, I just tucked it away, and rediscovered it while I was putting this manicure together. These two colors couldn’t go better together, and I’m so happy I found it, and grateful to my friend for giving it to me.

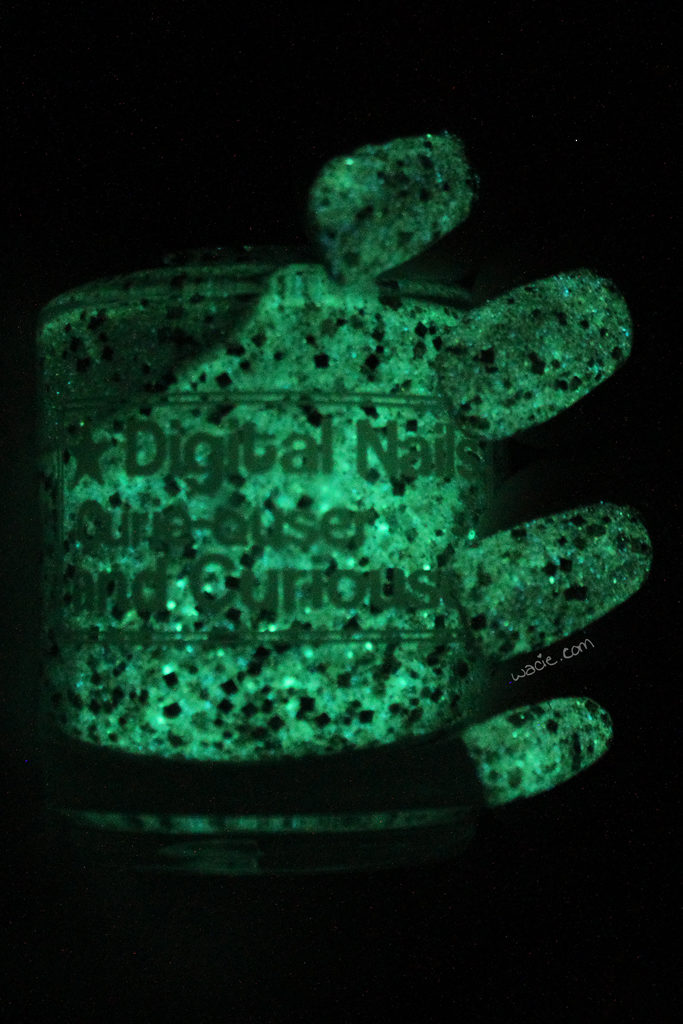
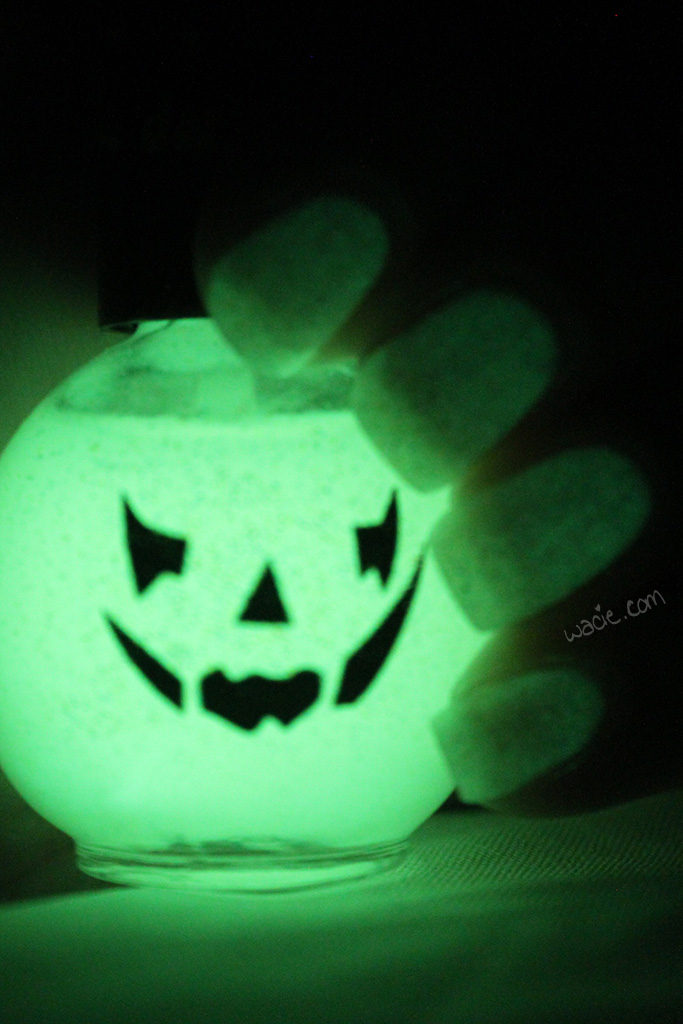
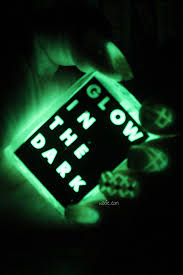
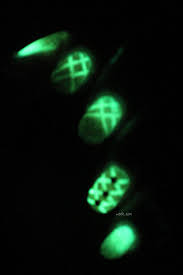
One more word about Curie-oser and Curiouser: it glows in the dark. I mean, if you’re going to make a polish for Marie Curie, you’re basically required to glow in the dark. I’m wearing two coats of it here, so there’s a very strong glow. I can’t wait to go to bed an annoy my boyfriend with my nails!

Verbena looks like it might have been discontinued by Sinful Colors. Digital Nails is currently on a break.

I bought these polishes myself. One with money, and one with friendship.

Guest Post for Secretary’s Nail Art

Hello reader! I hope you like guest posts, because I’ve got another one to share. Dina from Secretary’s Nail Art recently had a baby, and I got to step in and help her out. It’s look that’s a little of everything, but mostly it’s pink.

Follow the link to see more!

A Look Back at 2016

Hello reader! Now that 2016 is behind us, I wanted to look back on some of my blog highlights and share my favorite nail art looks, and maybe share some of my 2017 blogging goals with you. I guess I could have waited to do this on my blog-versary in March, but it feels more appropriate to do it now.

January: Elevated Gradient
February: Neon Satisfaction
You’ll notice these photos are tiny. Why? Because in March, The Great wacie.com Server Crash of 2016 happened! My webhost had a hardware failure, and for whatever reason, several months of posts were lost and had to be pieced back together with images and text cached by Google. It was an extremely frustrating and embarrassing time for me.

March: Spring Hibiscus
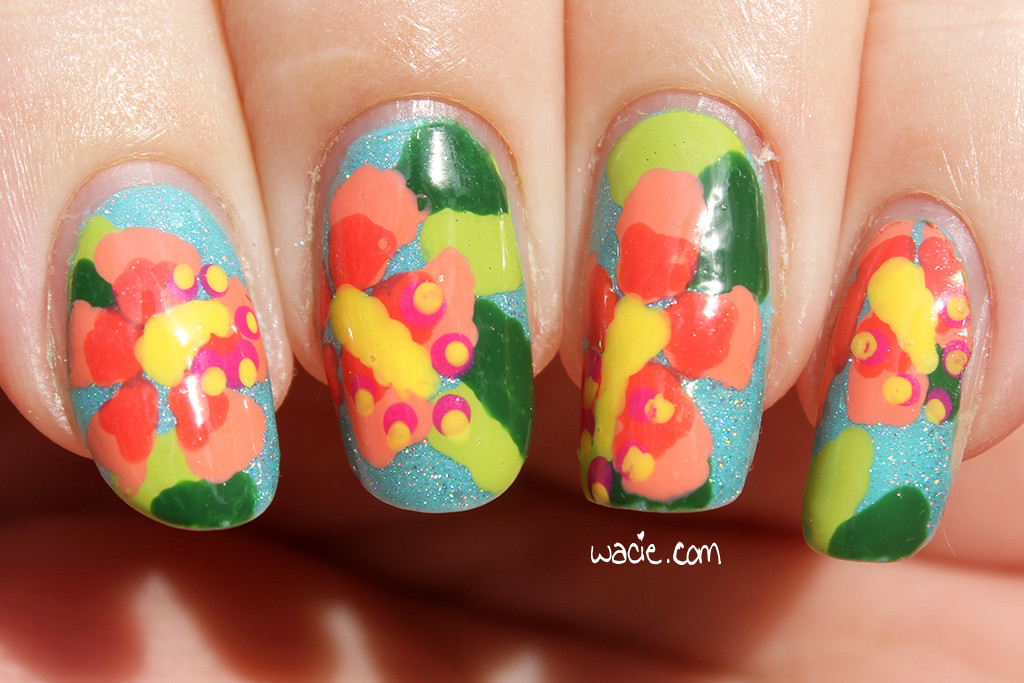
I miss these long nails.

This is probably my favorite look of the year.

Third Anniversary Do-Over

I mentioned earlier that my blog’s anniversary is in March. For last year’s anniversary, I recreated the first-ever mani I posted on my blog. I don’t know yet what I’ll do for my fourth year, but it’ll probably be awesome.

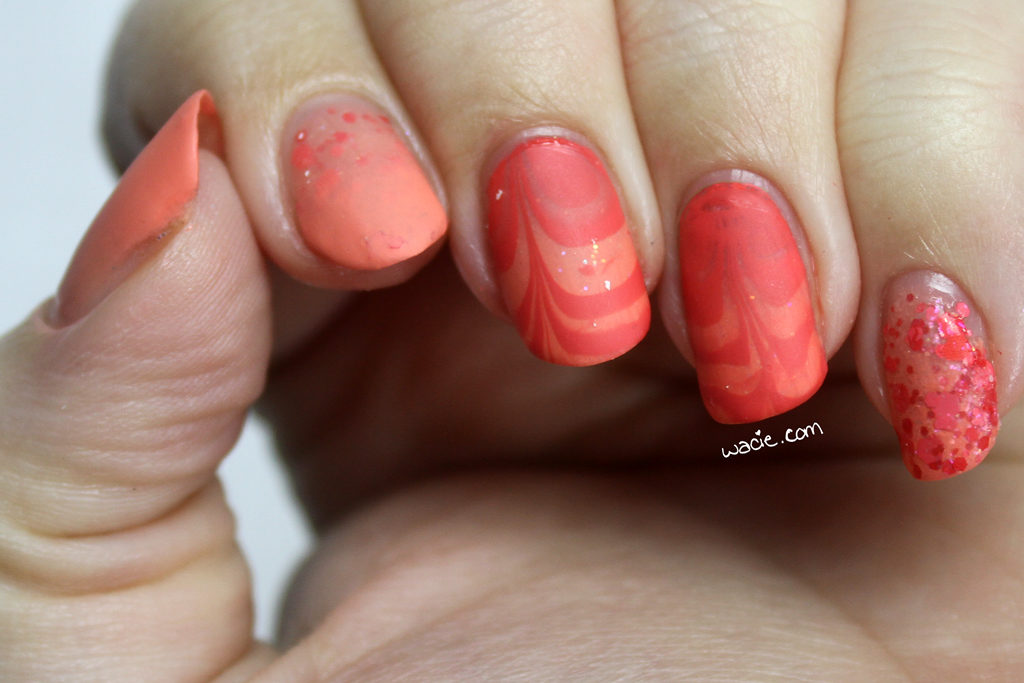
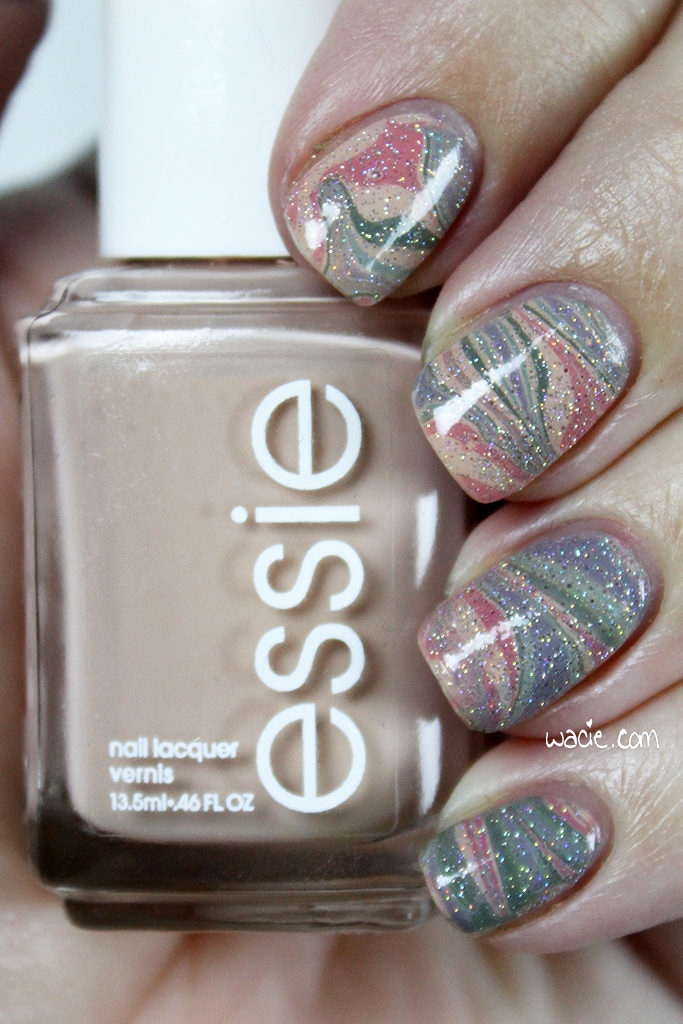
April: Dusty Watermarble
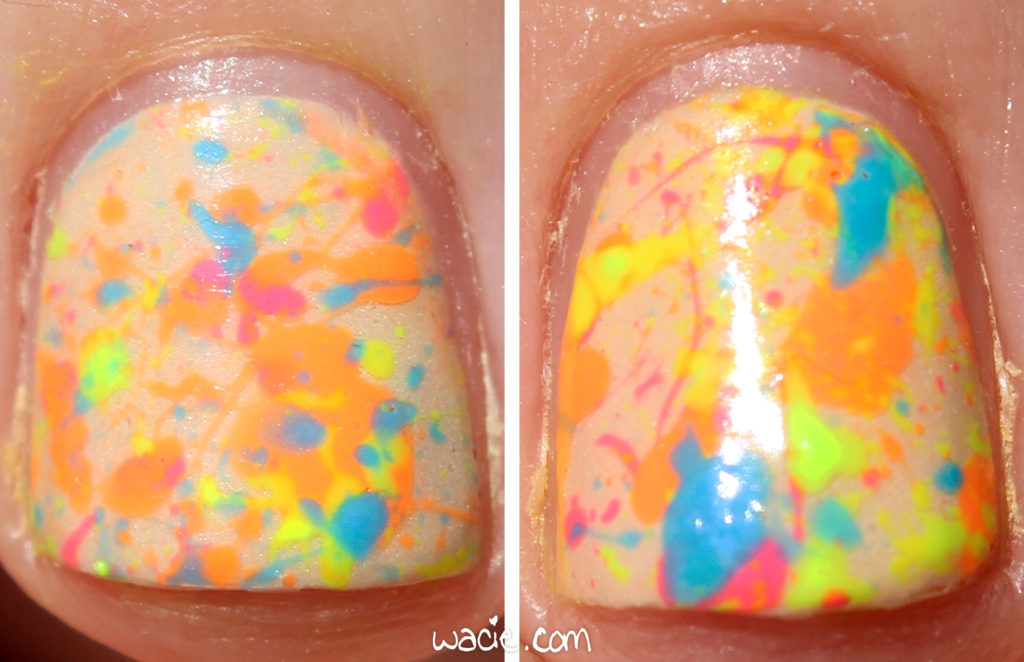
May: Neon Splatter
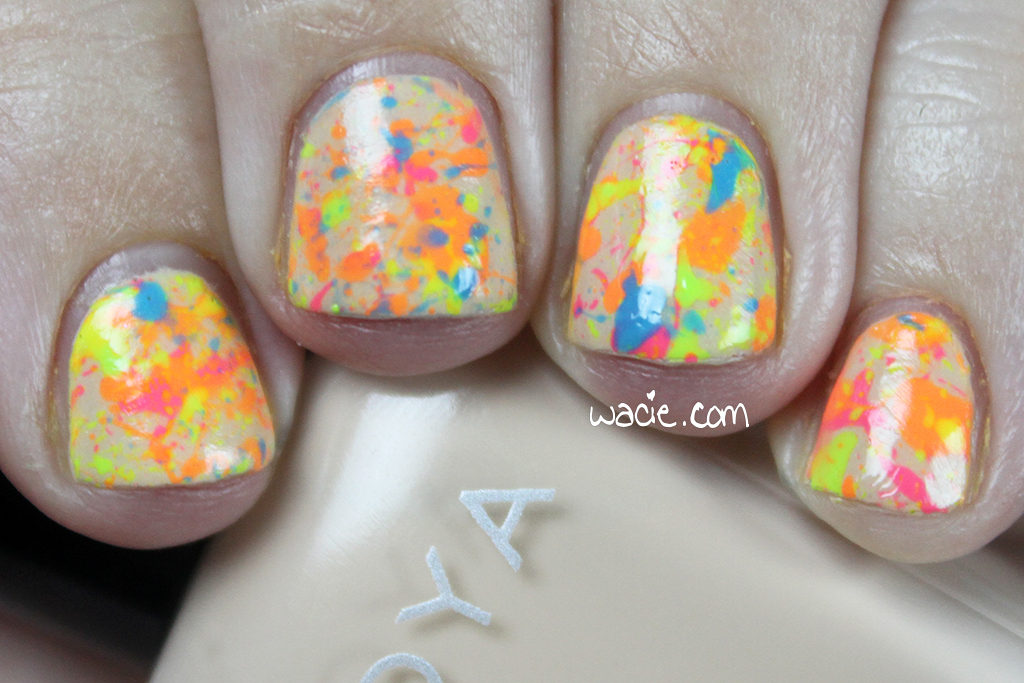
I went to Hawaii in May. As a result, this is my least active month on the blog for the year.

June: Orange Jello Sandwich
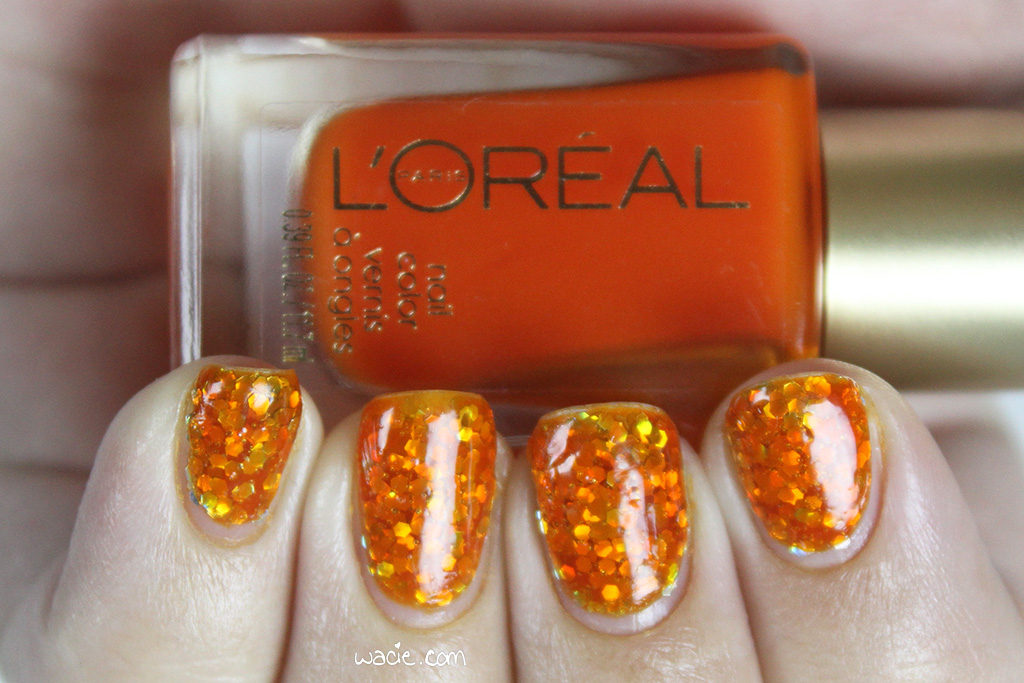
My first Empties Roundup post was also in June.

July: Beyond
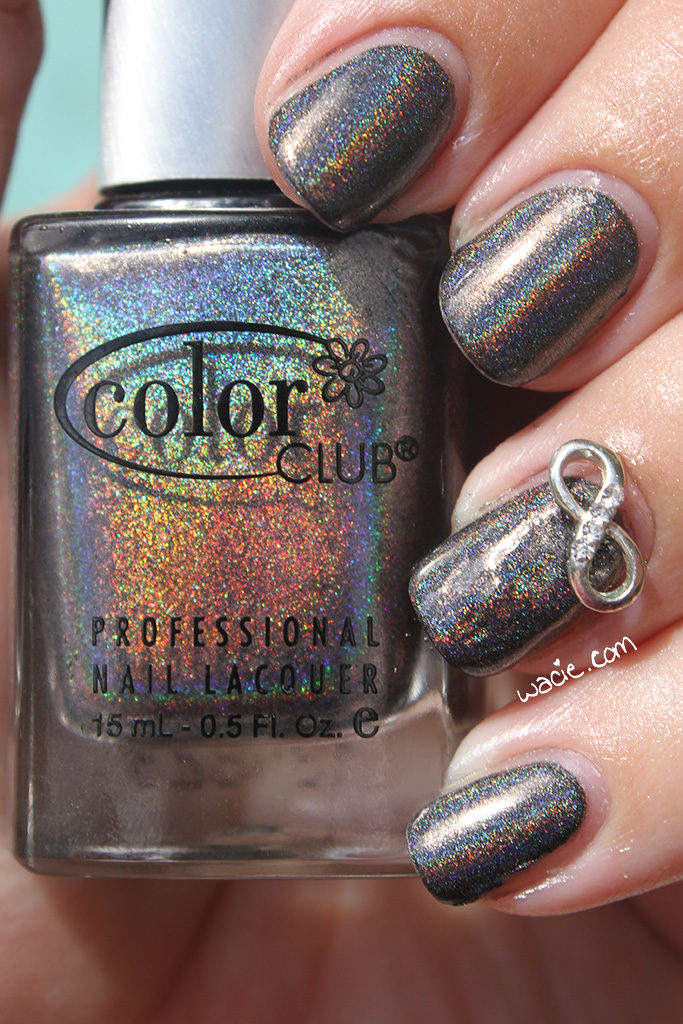
August: Ombre Hearts
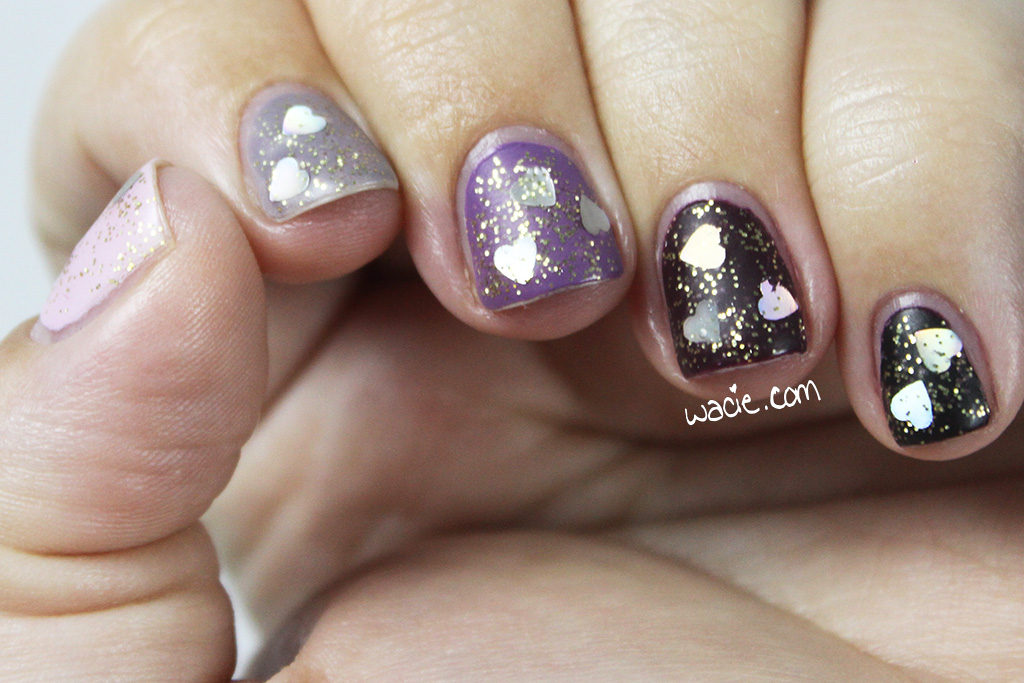
September: Popples
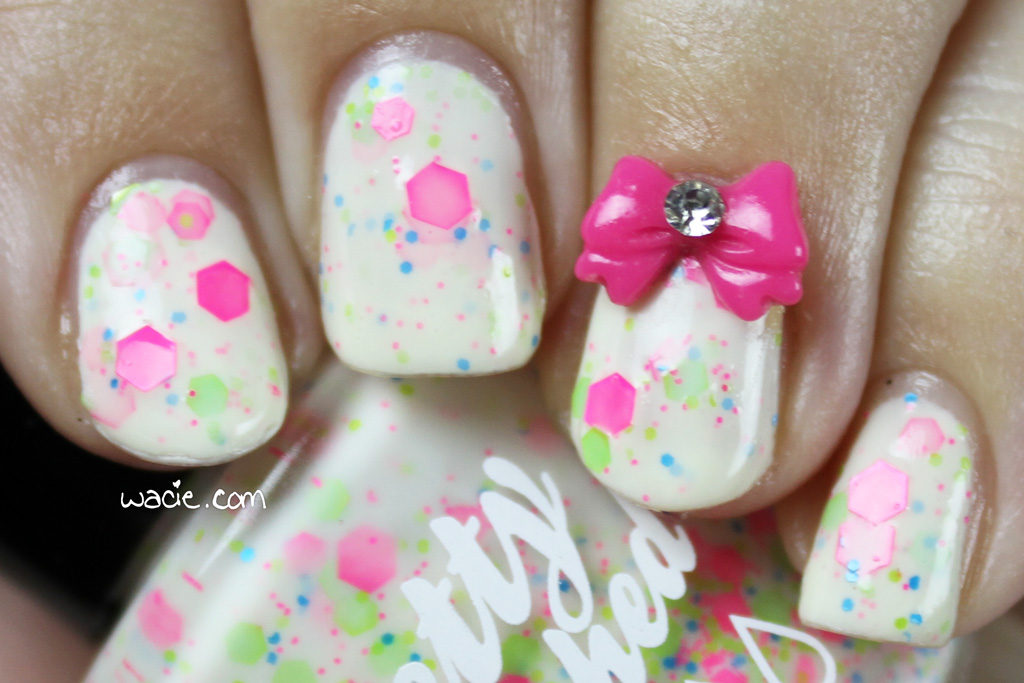
October: Stripey Blue Frosting
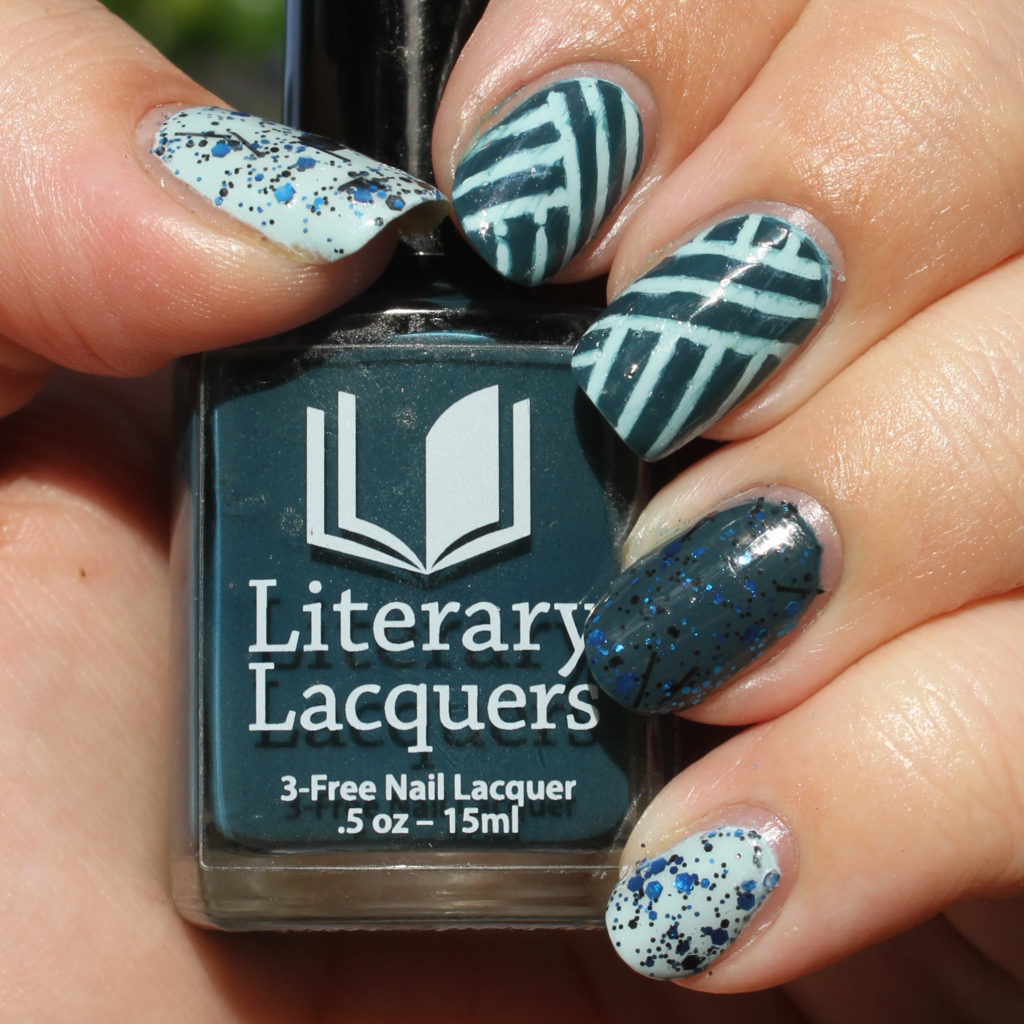
This was a look I did to celebrate my birthday.

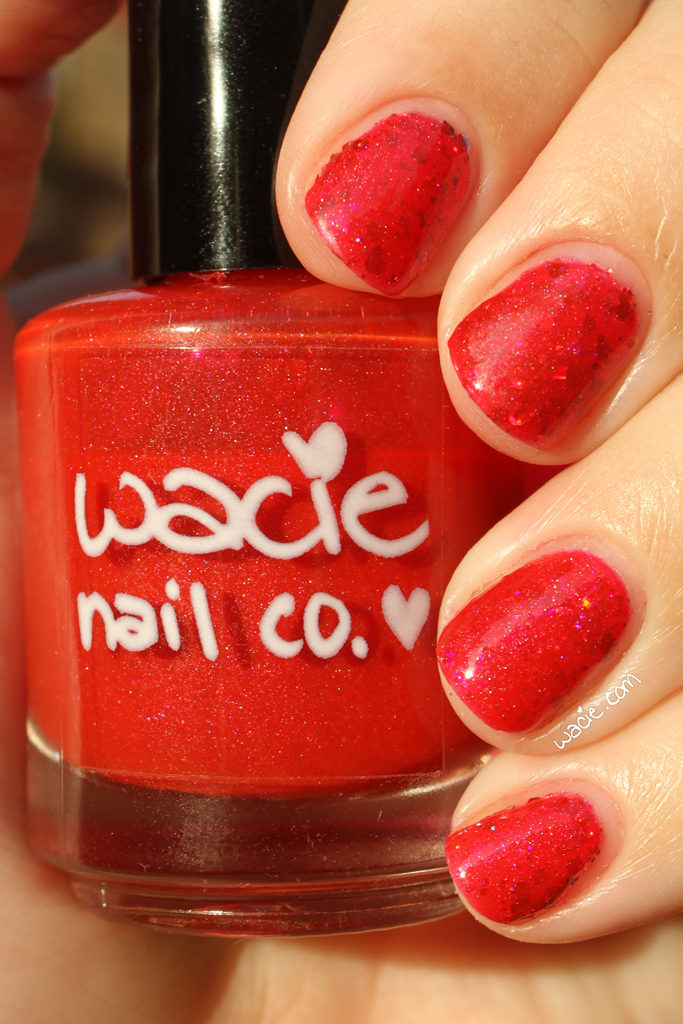
November: Ruby Opal
December: White Snow Blue Lava
So there’s my year! This was probably the busiest year for the blog, since I broadened my sujects quite a lot. I did tons of swatches and nail art, but I also ventured into product reviews and makeup talk. I don’t think this will ever become a full lifestyle or beauty blog, but I’m definitely having fun with it in this format. I’m kind of excited to see what it’ll evolve into in 2017. Here are a few beauty goals I have in mind, though.

1. Write more
I wrote 175 posts in 2016, averaging about 14 per month. It doesn’t sound like much to me, like I did way more work than that, especially when it started to feel stressful. That said, I’d like to do at least one more post every week.

1b. Write on my other blog more
I have a second blog that I want to start posting to more. It’s been so long since I’ve bothered with it that I don’t even remember the login credentials. I still want a place to talk about myself and my life, a place to seem like I have a life away from my nails.

2. Build a real skincare routine
I still feel insecure about my skin. I’m frustrated that I’m 31 and I still get acne. I want to take every preventative measure I can against wrinkles and anti-aging. I also want to try a 10-step Asian beauty routine. If you’re over 30 with oily skin and hormonal acne, I want your recommendations.

3. Stop competing
I know one of the big rules of blogging is not to compare your success with others’, but I feel so competitive about it. At the risk of sounding whiny, I always look at other bloggers who’ve been working on their blogs for about as long as I have, and watching their blogs grow faster than mine is kind of frustrating. I don’t want to feel like that anymore.

4. Do more real nail art
I love glitter toppers and I think I use at least one every week, but sometimes it feels lazy. I want to go back to the basics: watermarbling, gradients, dotting. I love my glitters, but it’s starting to feel like a cop-out.

I think that’s it! Anyway, I think 2017 is going to be an exciting year, and I’m looking forward to the good times, the challenges, and the time we spend together. Thanks for reading!
Manicure Monday: White Snow Blue Lava

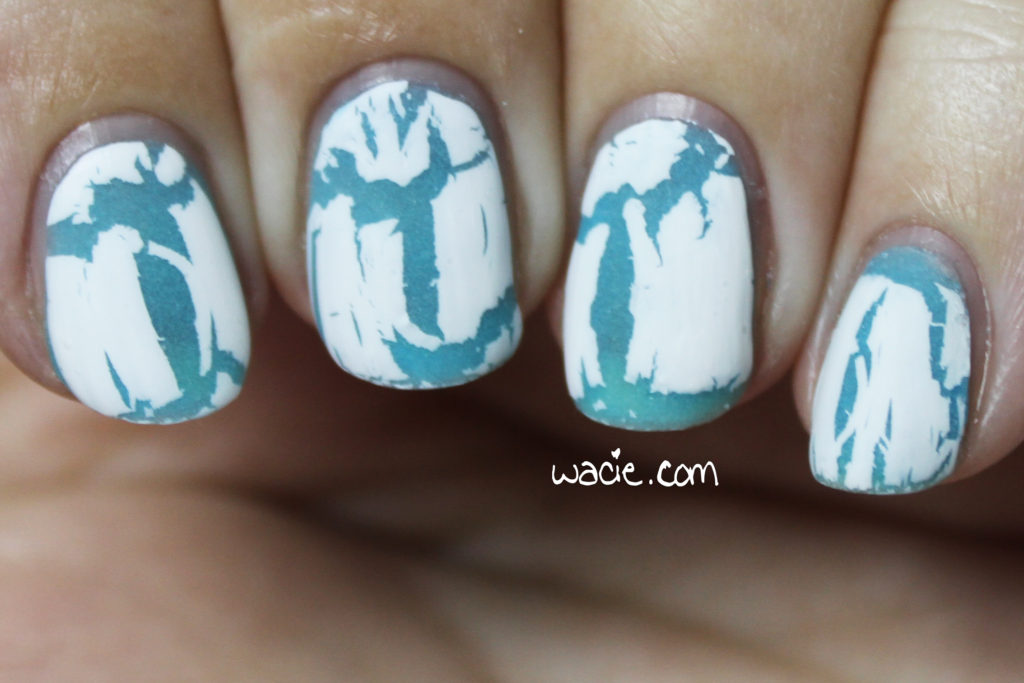
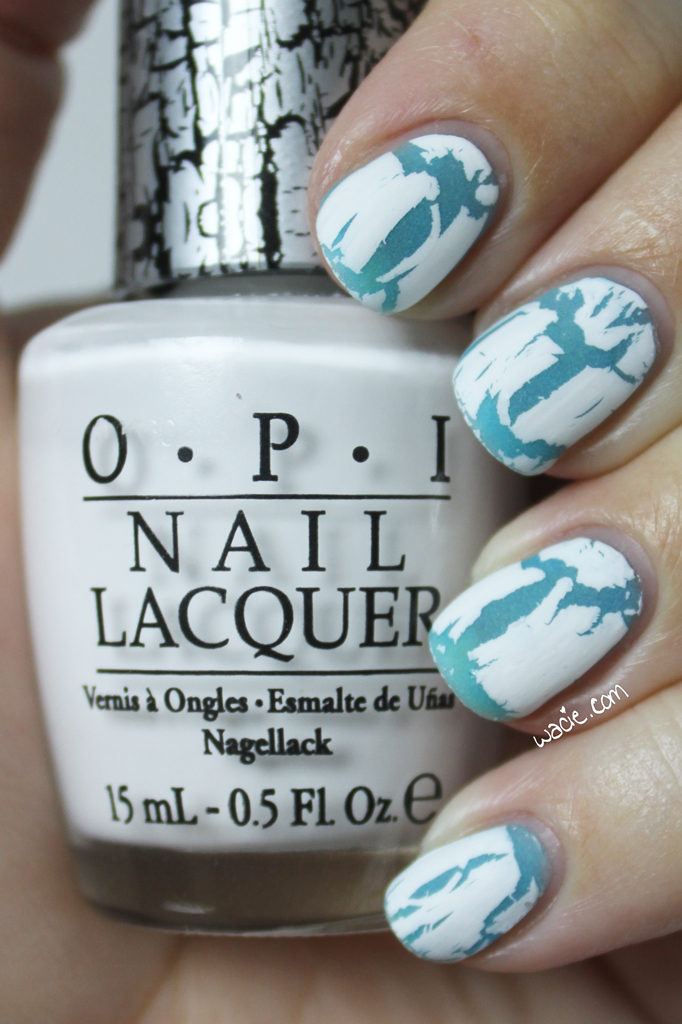
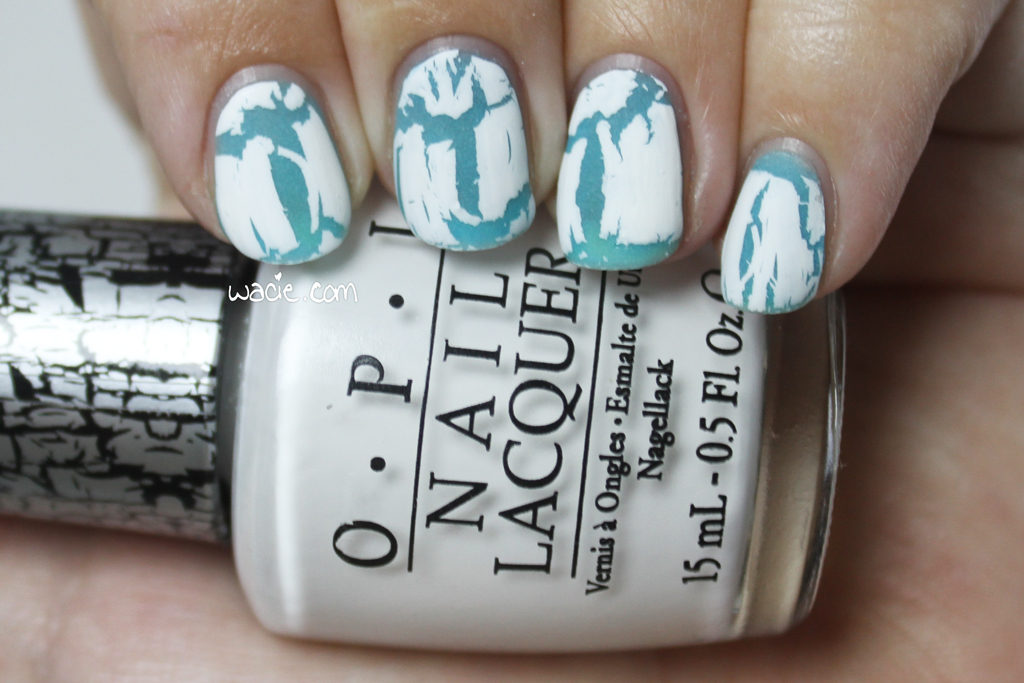
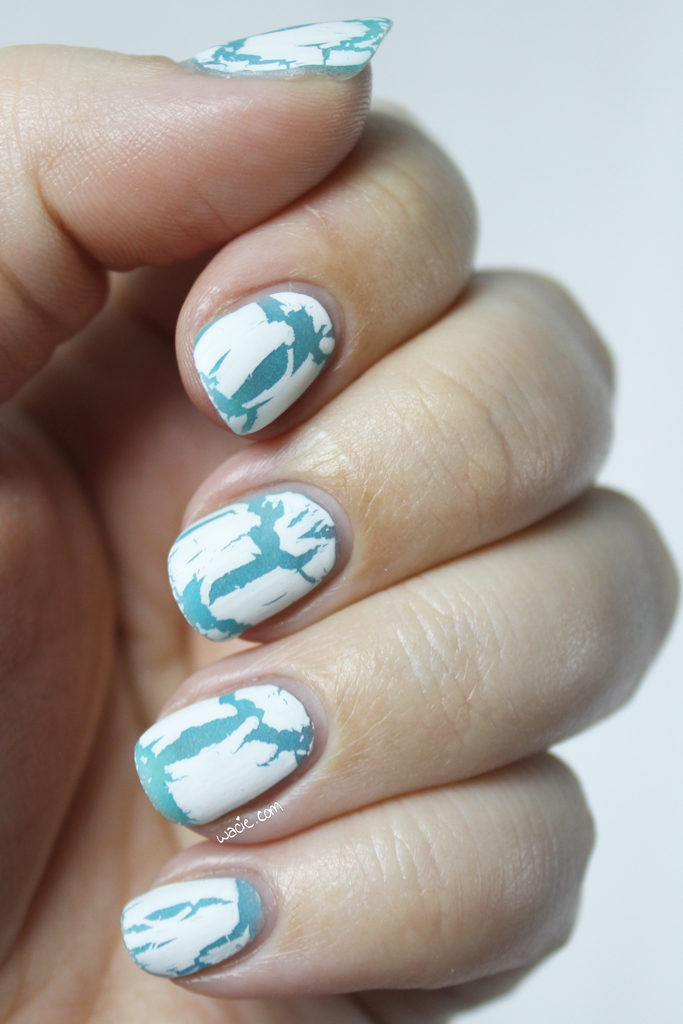
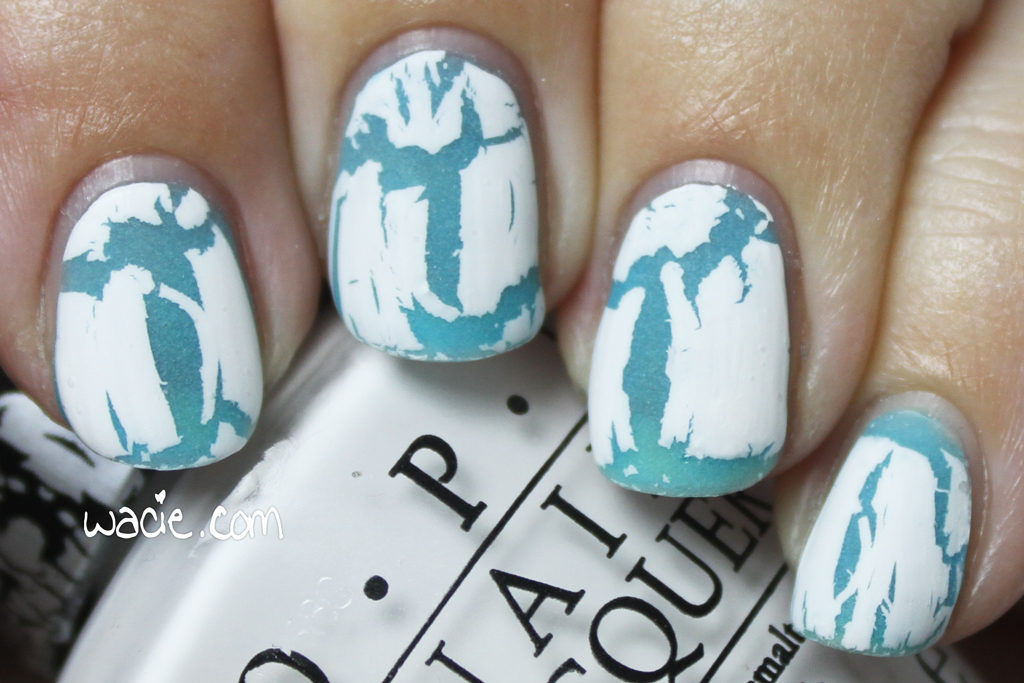
Happy Monday, reader! Today’s manicure is accidentally wintry. Some rain finally brought some chilliness to Florida, but it’ll be warming up again by Christmas (I hope). By chilliness, I mean it’s 59 degrees right now. Anyway, onto the look; I used OPI’s White Shatter over American Apparel’s Neptune, as well as Seche Vite and Essie’s Matte About You matte top coat.

Crackle polish is so over, even Boyfriend knows it’s over. I showed him my nails today and he said “Come on Wacie, crackle polish is so 2011.” I know it is, but I’m still going to keep using it if I have it around. I get tons of compliments on crackle polish whenever I do wear it, and since it’s almost certainly going to be in fashion again in the future, why should I toss it? Not that I plan to hoard it for another ten years, but as I already have plenty of ten year old bottles, it’s not unlikely I won’t still have them.

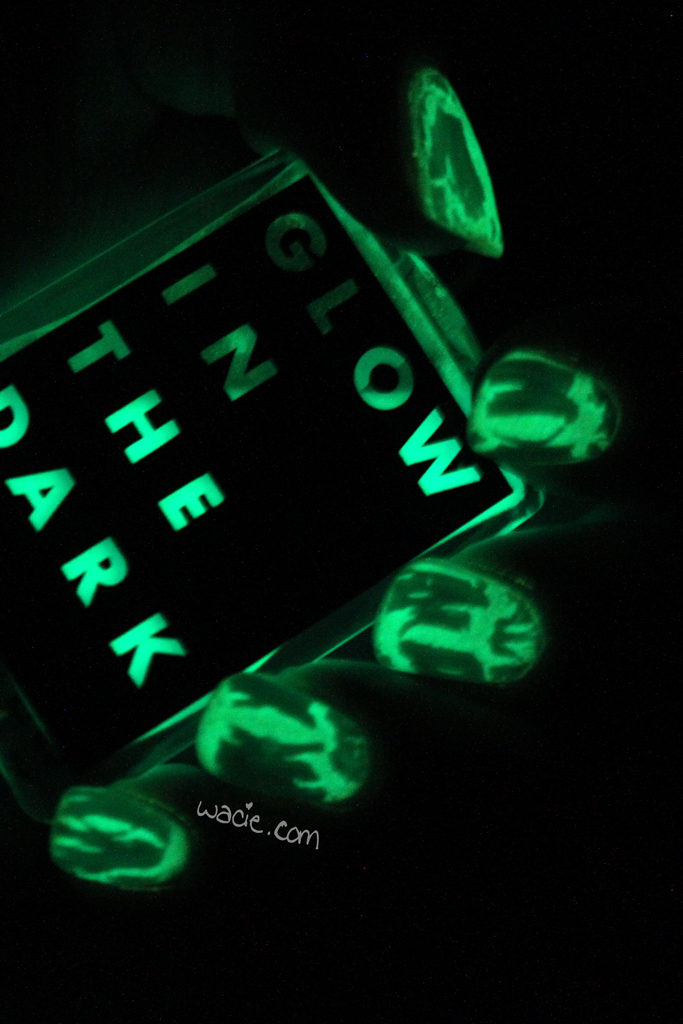
glooow

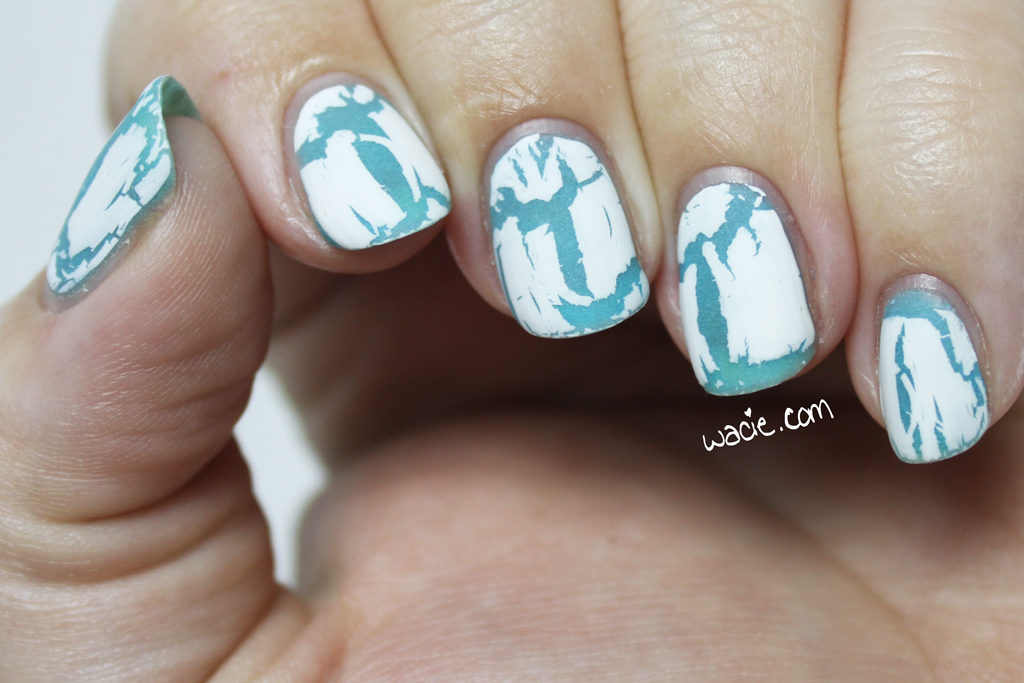
Something I like about topper polishes — not just crackles, but glitters and shifters, too — is that I can get creative with what I use as my base. Sometimes I’ll use it as an excuse to use a high-end or indie creme, a thermal, just something that I wouldn’t normally use. I’ll even try to use a color that makes a contrasting or unlikely combo. I used the glow-in-the-dark Neptune for this because I loved the idea of the glow coming through the cracks. It mostly just glows through the white, but you can still see the difference. Neptune also isn’t completely opaque, and it changes color a bit based on whatever part of my nail it’s on. It’s a bit brighter when it’s on the white free edge of my nail, and makes a mini gradient.

Of course, old crackle polish can be unpredictable. It didn’t crack on a few nails and I had to redo them. The pinky nail you see here had to be redone twice. It wasted a lot of time and polish. I love the matte finish, though. Usually I’m not a fan of the matte finish, but I feel like it was the way to go today.

White Shatter is discontinued, but other OPI polishes are available in stores nationwide. Neptune and other American Apparel polishes have also been discontinued.

I bought these polishes myself.

HPB Presents: Silly Halloween Cats

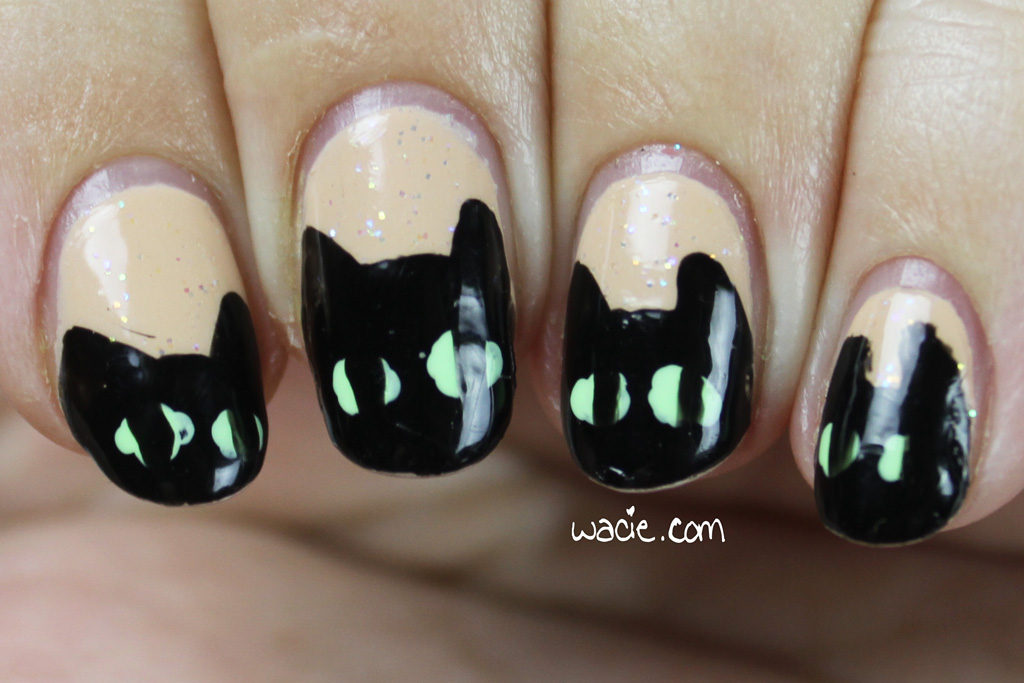
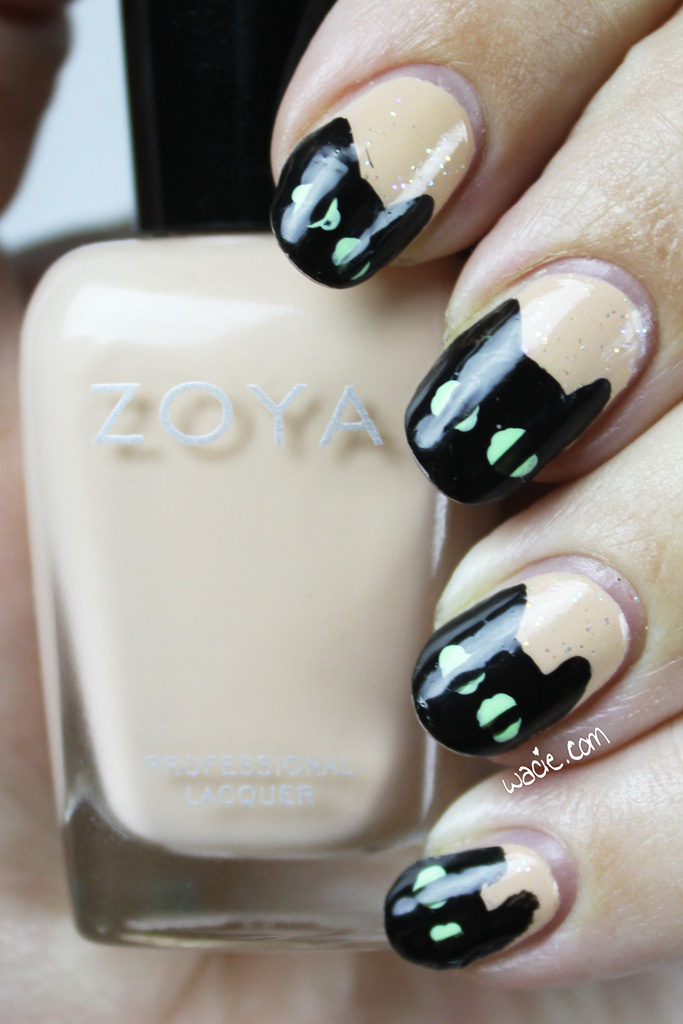
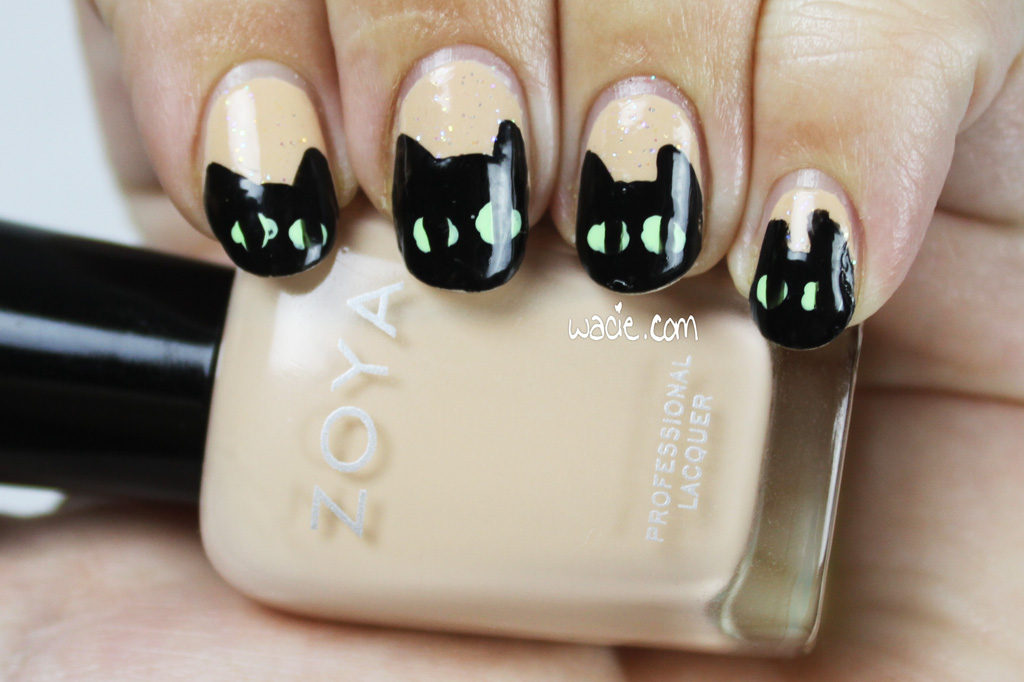
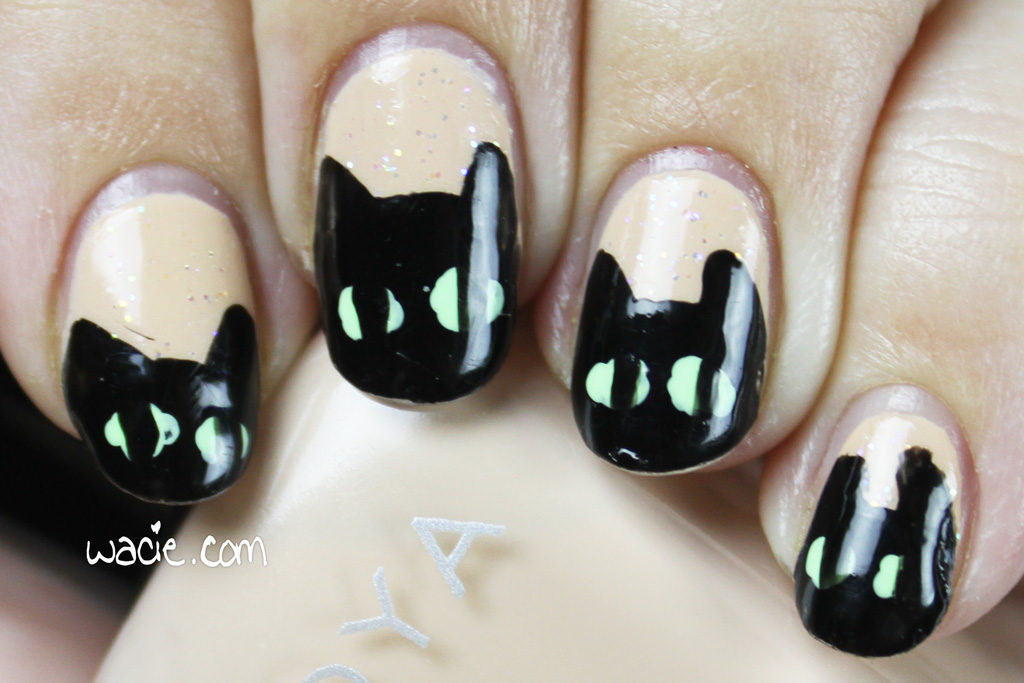
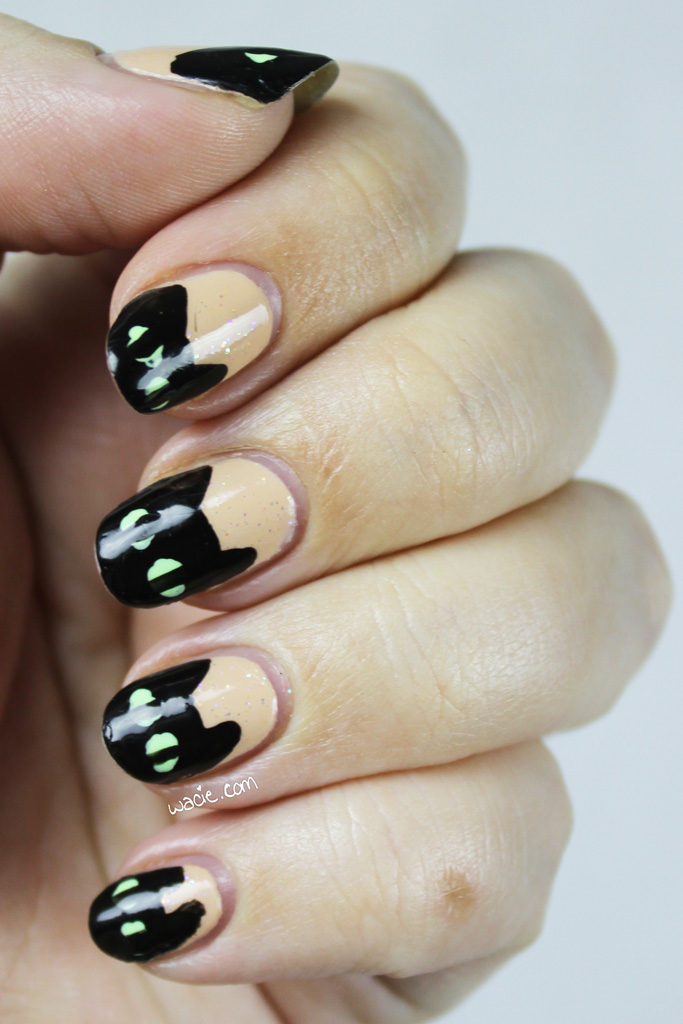
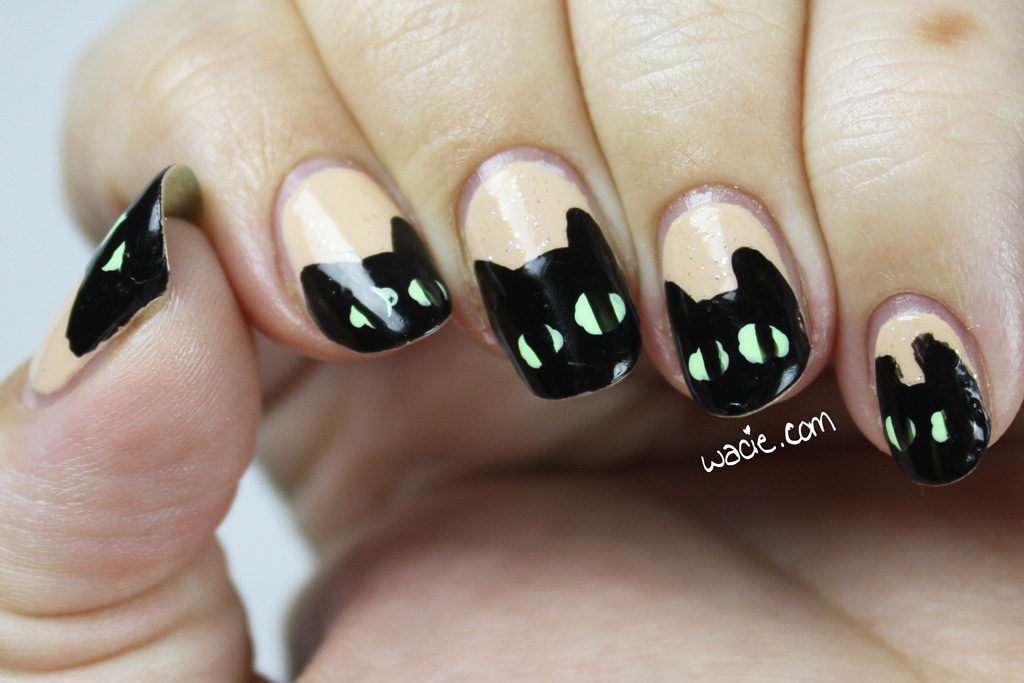
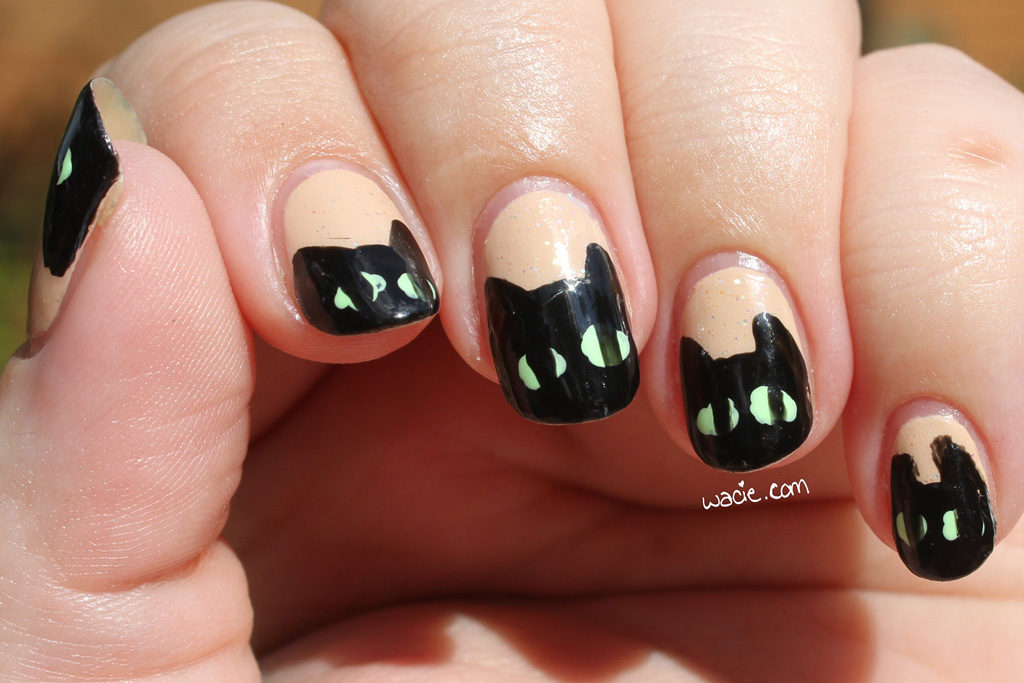
It’s that time again: It’s the Hobby Polish Bloggers linkup for the month of October! Every month, the HPB Facebook group gets together to do a themed mani. Of course, October’s theme is Halloween! I’d been seeing the cat tips around, so I decided to try it out myself. I used Zoya’s Chantal, the no-name glow in the dark polish from Rite-Aid, Sally Hansen’s Black Out, and Enchanted Polish‘s Ectoplasm.

img_61122

img_61202

I don’t really like doing holiday nails, so I wasn’t that excited about the theme. I went with the black cat tips because it’s more cutesy than Halloweeny, and also resembles one of my own cats. It fits the theme while also dodging it, and I’m happy about that.

img_61252

img_61292

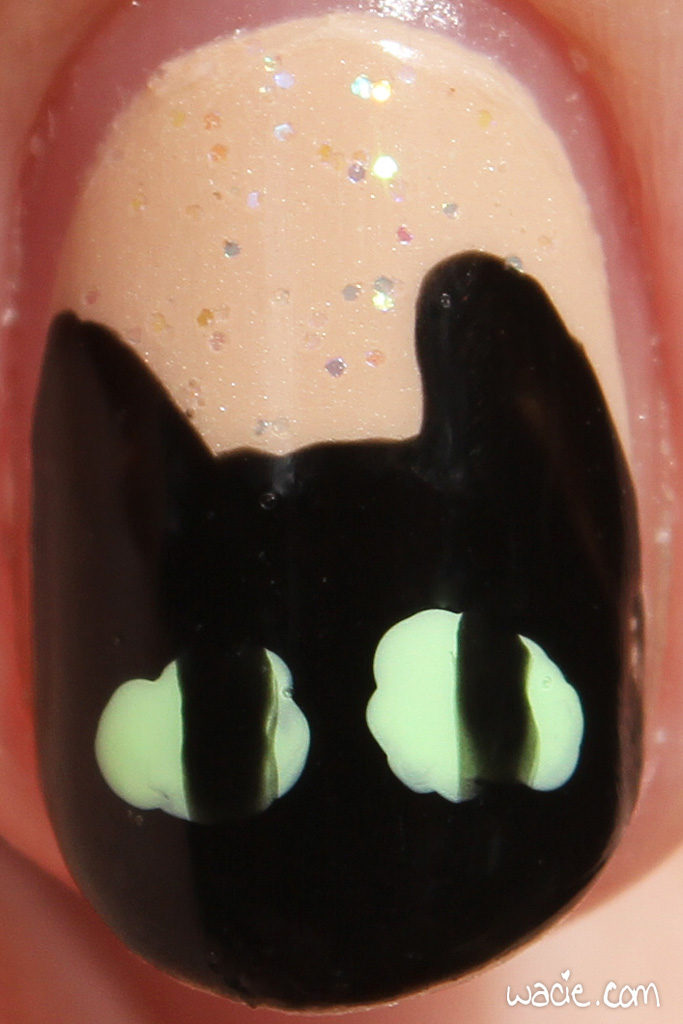
I started with three coats of Chantal; of course, I wanted fewer but could never get it even until the third. I also used two of the glow in the dark, since the glitter is so sparse. I’m pretty happy with the art job I did with the cats; I did the head shape with the polish brush itself, did the ears and pupils with a thin art brush, and used the dotting tool to apply the iris. That part is a little wonky, but I’m happy everything else looks the way it should.

img_61322

img_61372

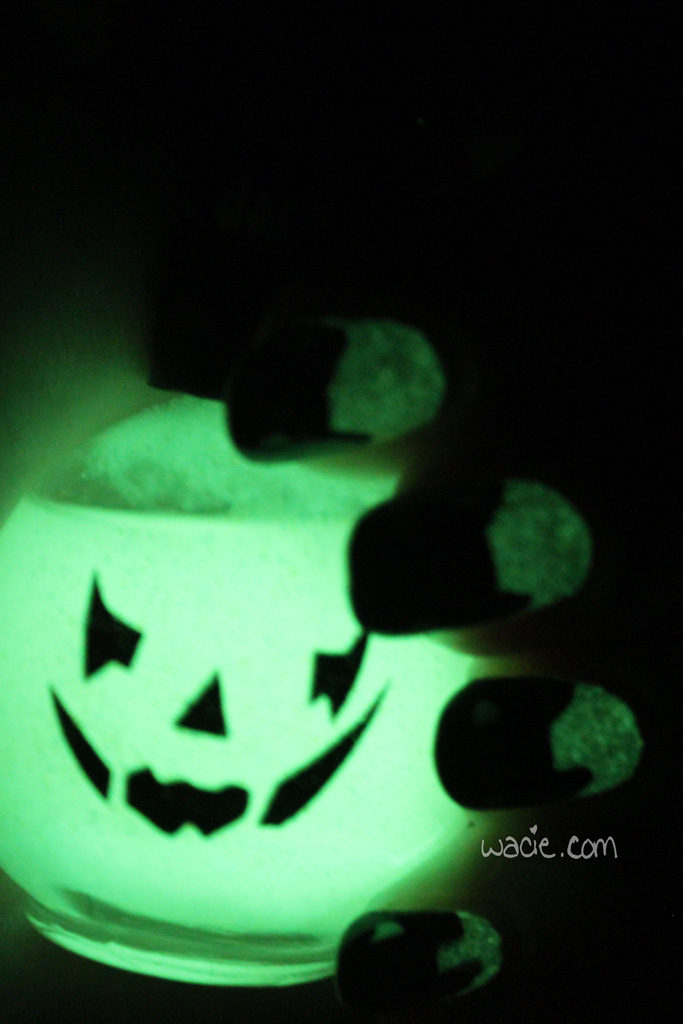
Remember I said I used glow in the dark polish? This part didn’t turn out quite the way I wanted, though it looks really cool in the photo. In real life it just looked weird. This photo was taken in complete darkness.

img_61442

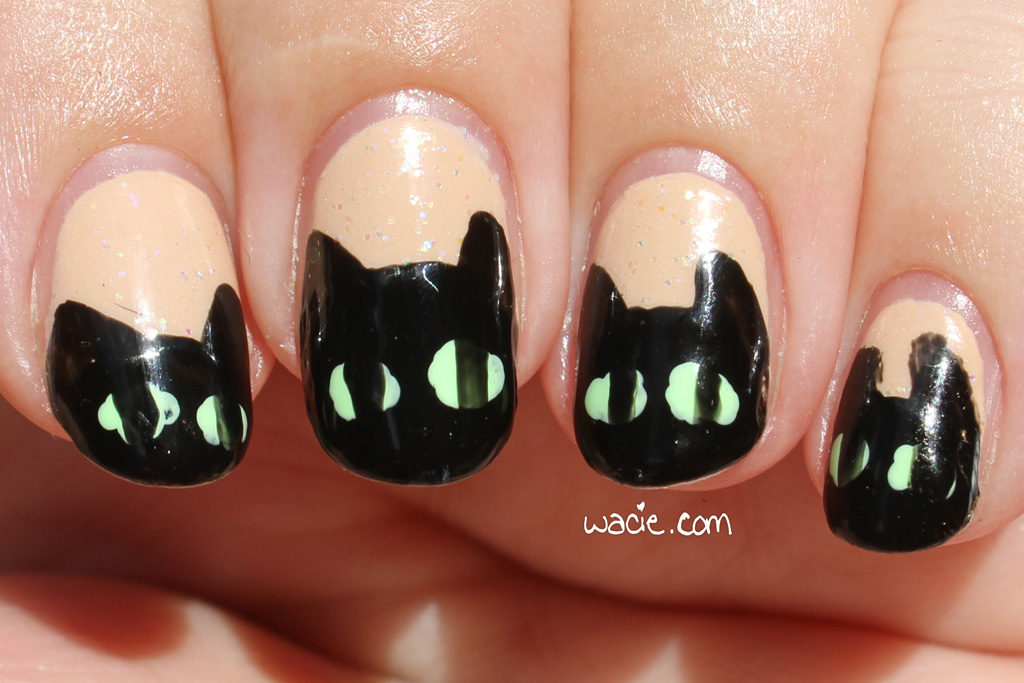
I got some sun shots, too! There’s not much to see here but the glitter. There’s not much, but this is a gentle reminder that it’s there. These photos were taken in direct sunlight.

img_60942

img_61022

img_61082

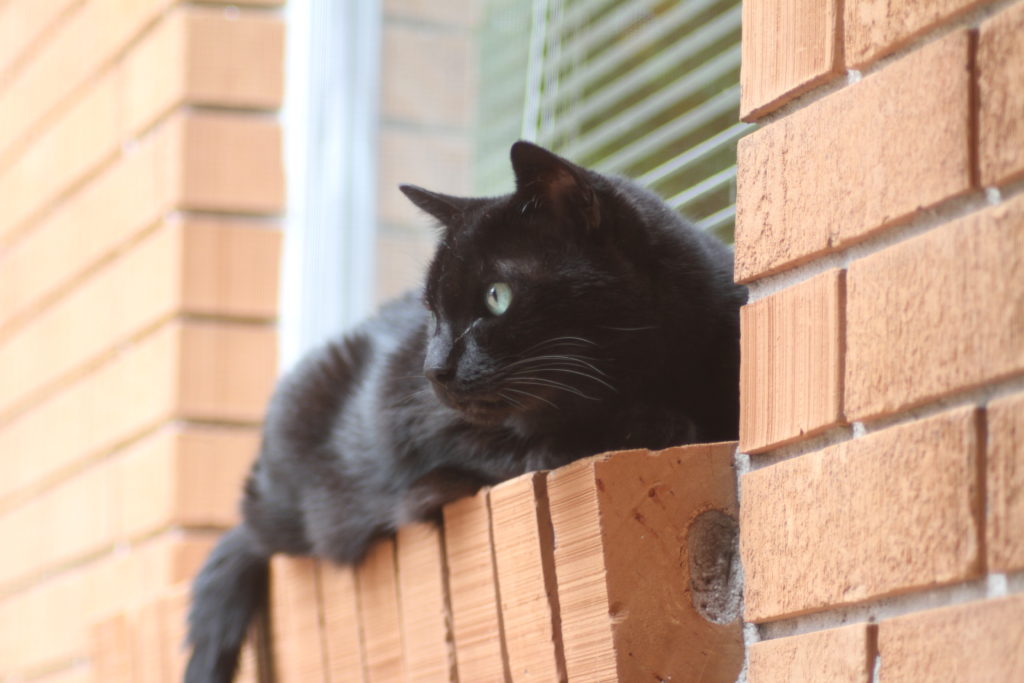
And there you have it! I mentioned earlier that this mani looks like one of my cats, so I’ll leave you with a photo of that dear kitty. This is Quaker. She actually crossed the rainbow bridge last August at the ripe old age of 20. Sorry to bring this post down with a sad pet story, but this mani made me miss her.

img_2478

Chantal and other Zoya polishes are sold at Ulta. Check Rite-Aids and other drugstores for the fun pumpkin GITD polish. Enchanted Polishes are sold in their online shop. Sally Hansen is sold in stores nationwide.

I bought these polishes myself.
 Loading InLinkz ...
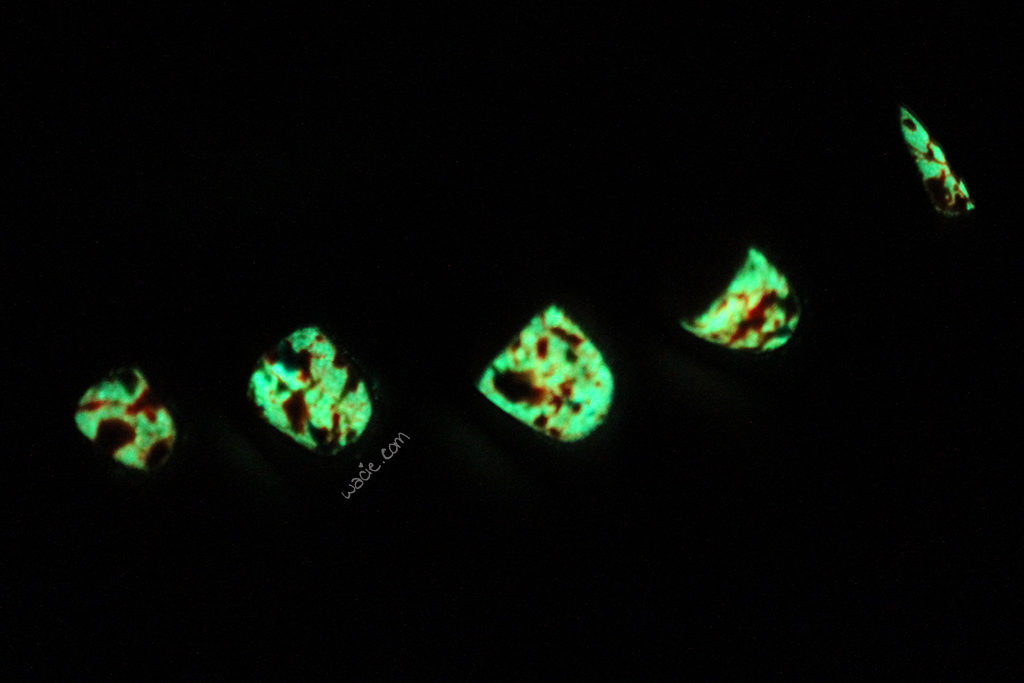
Swatch Sunday: Mystery Brand’s Glitter Glow in the Dark Polish

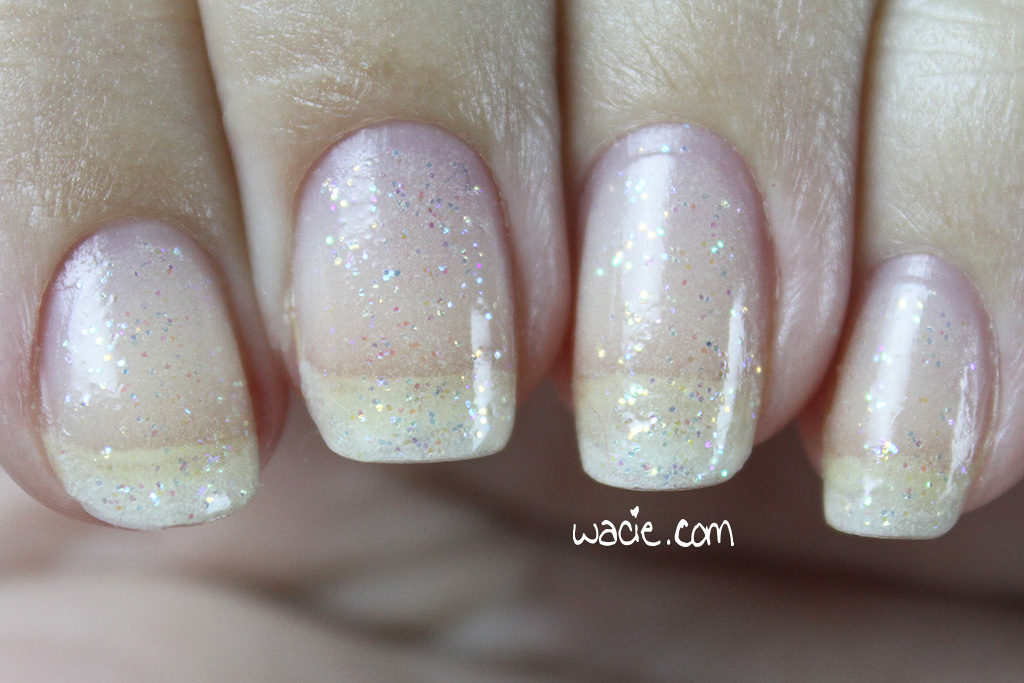
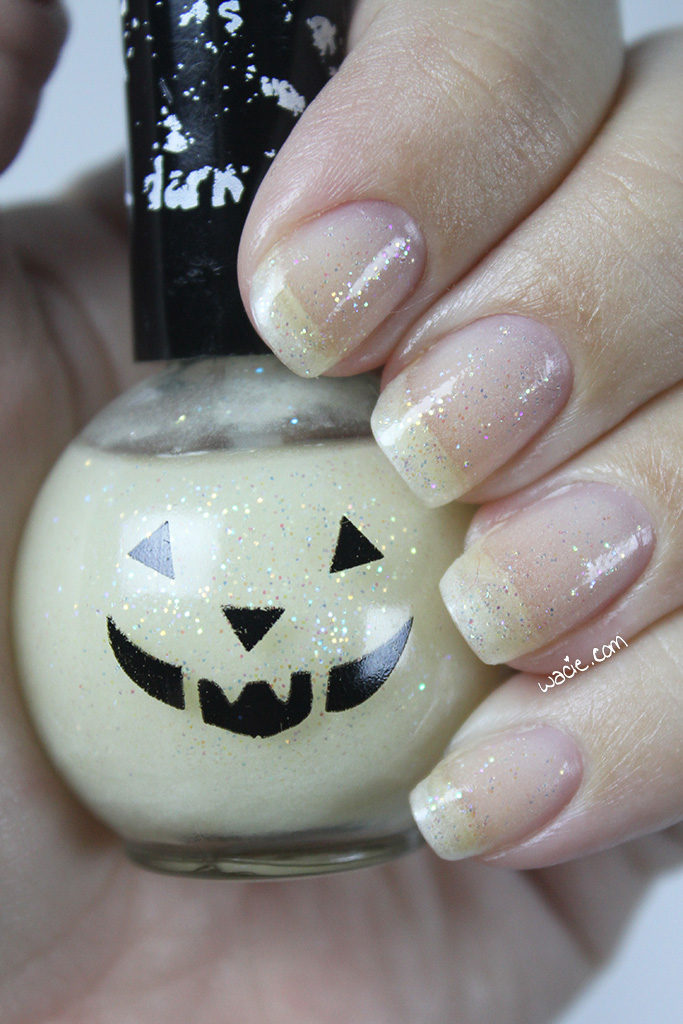
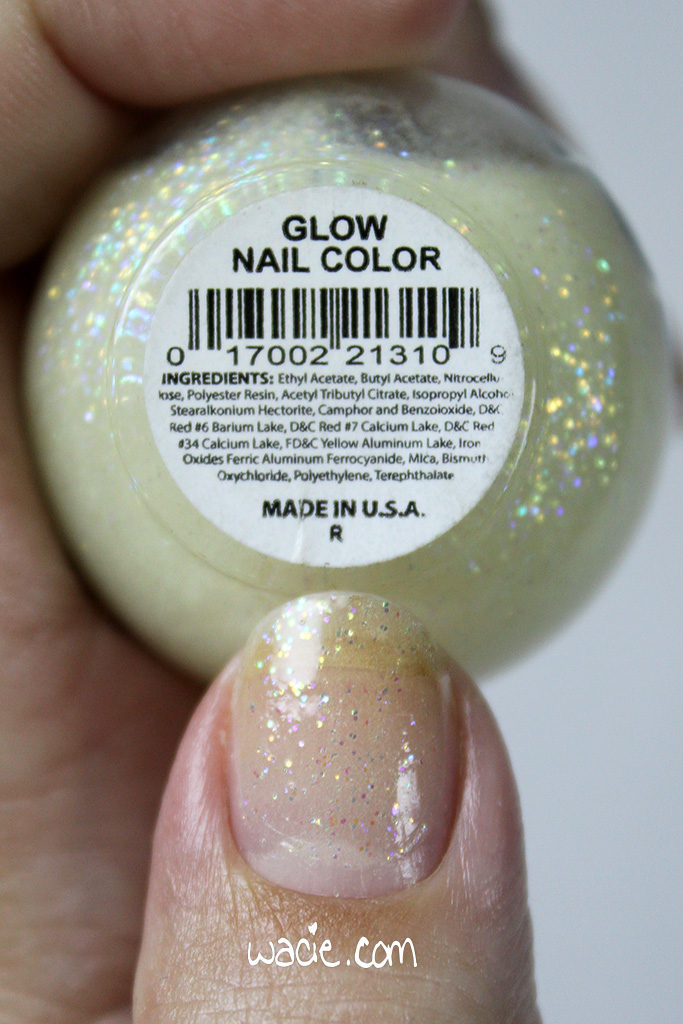
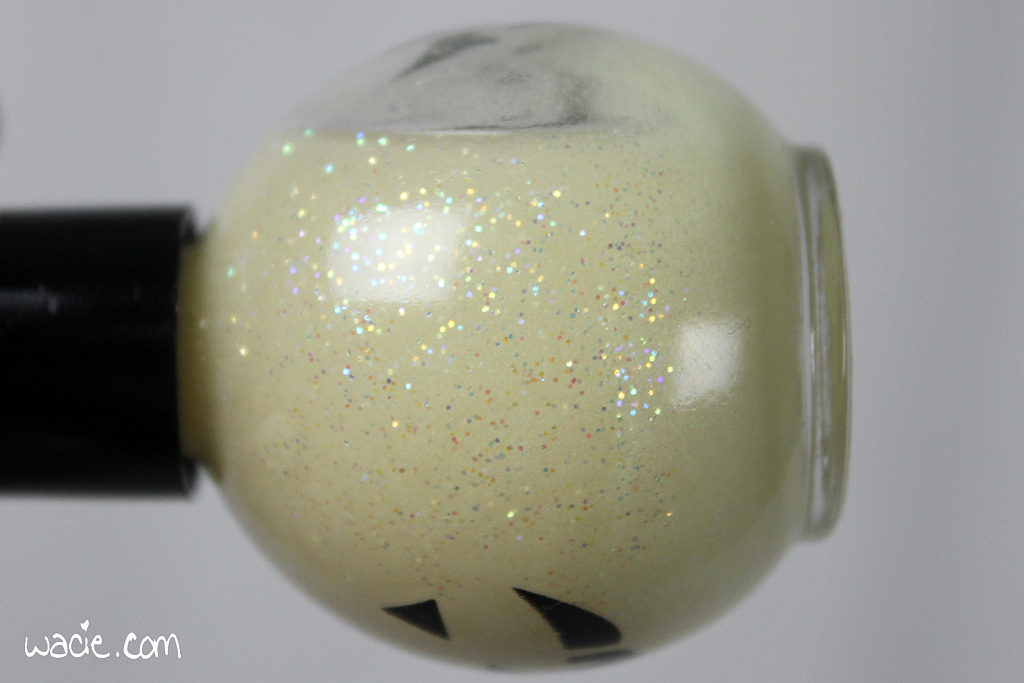
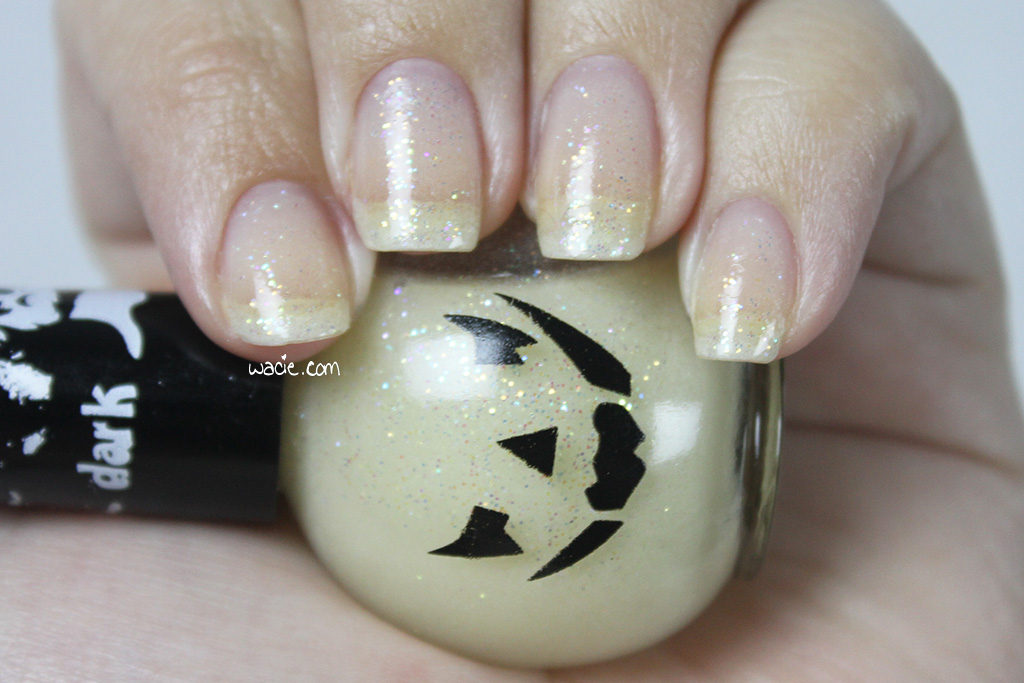
Hello reader! This Sunday’s polish is one of those fun novelty ones from around the holidays. I don’t have a brand or a shade name, just this cute pumpkin face — looks strangely sinister in the dark — and a dainty, glowing look. I got this from Rite Aid in Atlanta a few years ago, and that’s really all I can tell you about it. I’m wearing three coats with one coat of Seche Vite top coat.

IMG_18192

IMG_18262

IMG_18332

IMG_18382

This mystery polish is a translucent glow in the dark polish with a fine iridescent glitter mix. Application was good; the consistency was about what I expected, not too thick or thin. The glitter is well-distributed and evenly applies to the nail. It’s very sheer, so building to opacity is not what this polish was suited for; however, this doesn’t have a grainy appearance that some glowers have with multiple coats, making it a good polish for layering. It dries quickly and with a glossy finish, though there is still a bit of texture from the glitter.

IMG_18422

IMG_18452

IMG_18632

I bought these — I also have a pink equivalent — because I couldn’t turn down glow in the dark polishes with glitter. I’m not the kind of person who (usually) goes after novelty products, but these were so cute and not really something I expected to find, so I got them. I like how barely there it is; I forget I’m wearing polish at all. Even the glitter is inconspicuous unless the light is shining right on it. And, of course, the glow is pretty powerful if you’ve been holding it under the light. One thing I worry about is wear length and quality; a few hours after finishing the mani, I got a chip.

IMG_18522

IMG_18582

I took some outdoor photos. The sun didn’t come out for me today, but it looks nice regardless. These photos were taken in mostly cloudy conditions.

IMG_17992

IMG_18142

IMG_18042

IMG_18092

I have these polishes listed as Rite-Aid, since that’s where I got them, and there’s no branding or anything else on it. I’d love to learn more about who makes these!

I bought this polish myself.

HPB Presents Neon Splatter!

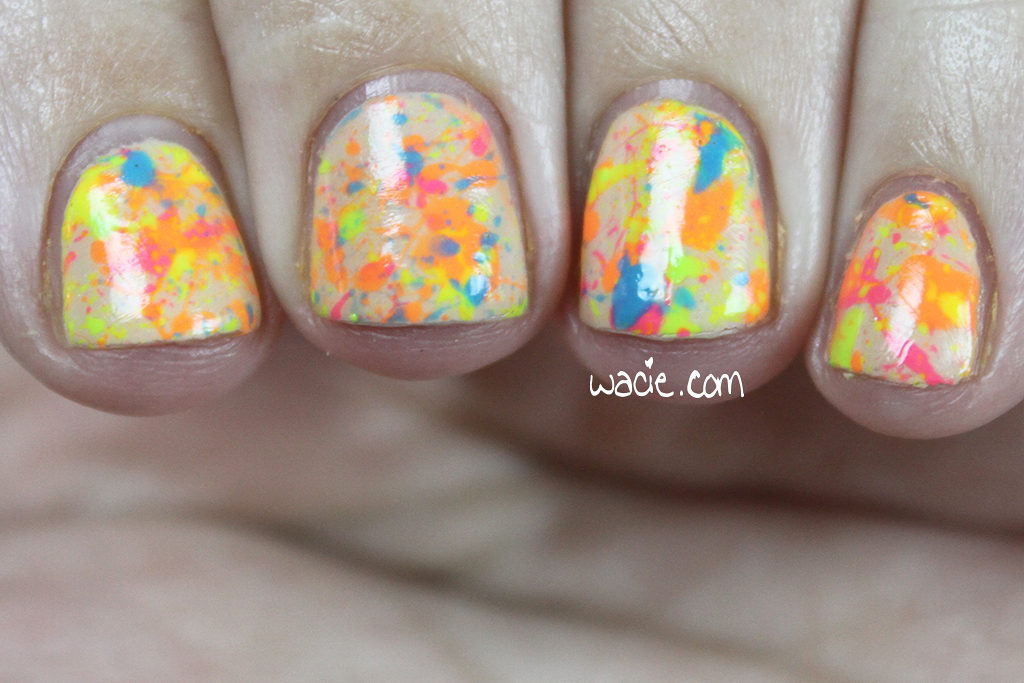
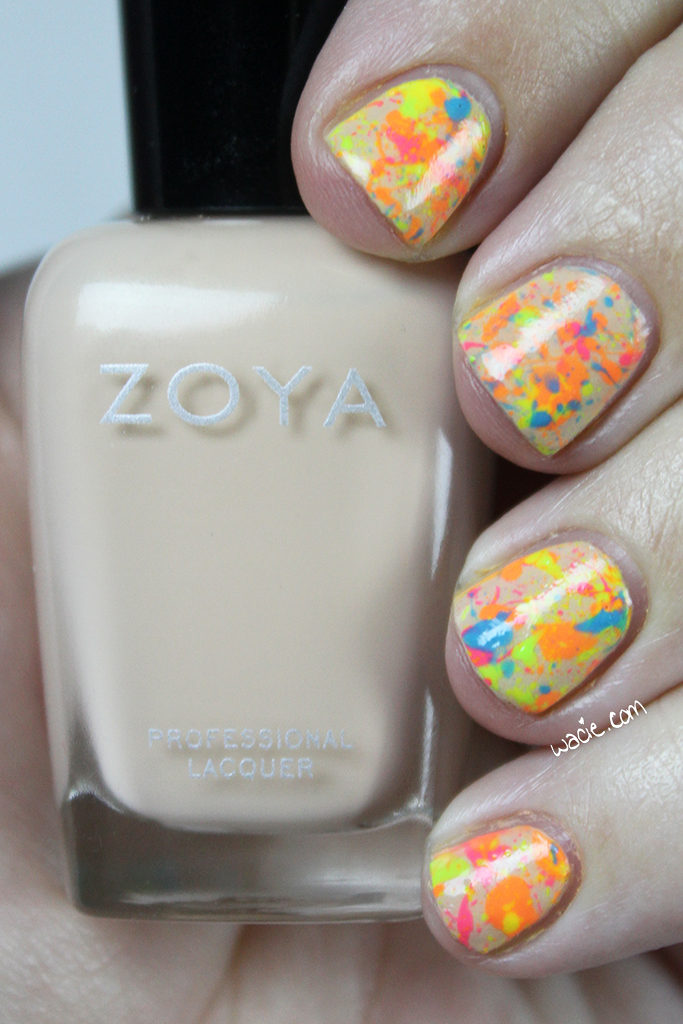
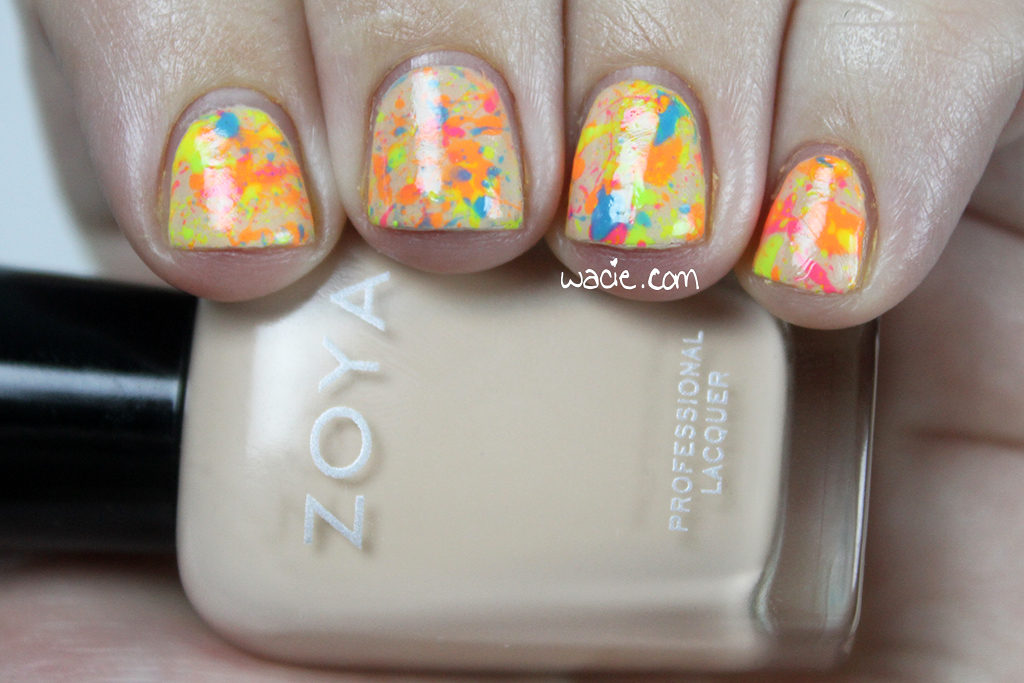
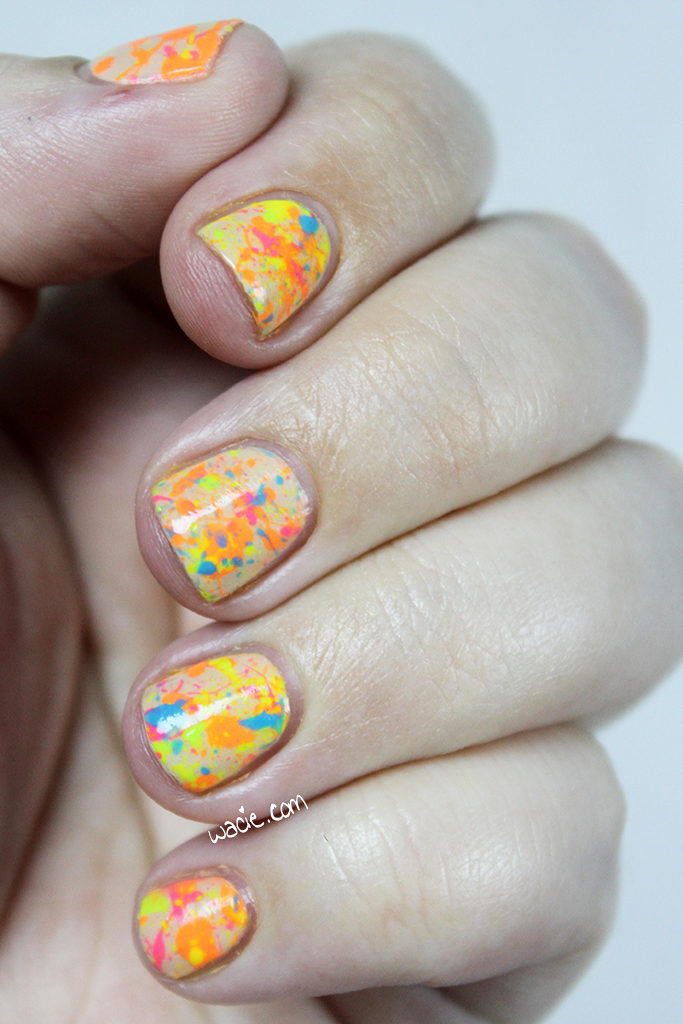
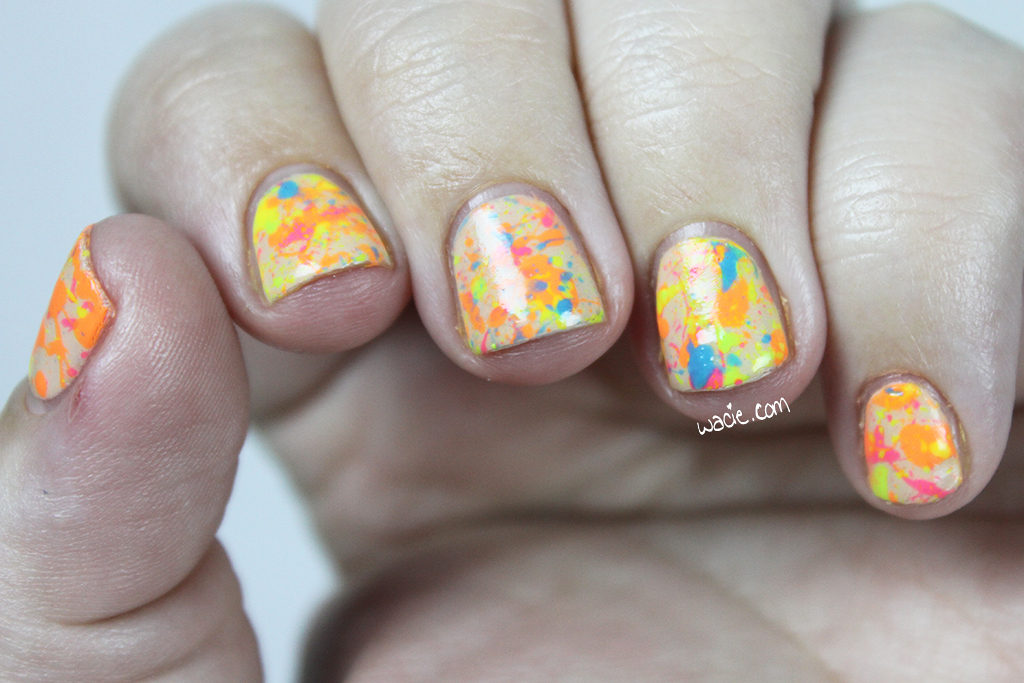
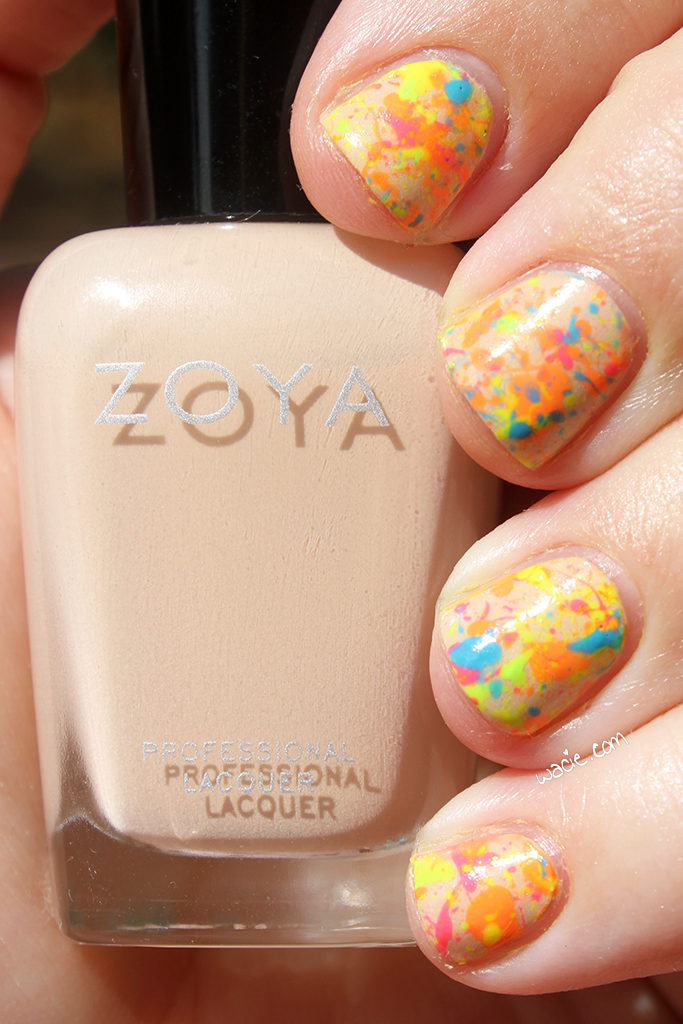
Hello, reader! Today’s post is a special Hobby Polish Bloggers linkup! Every month, the bloggers from the HPB Facebook group get together and do a themed mani; the mani can be as simple or elaborate as we want, so long as it adheres to the theme. The theme for May is neons and neutrals. For this look, I used Zoya’s Chantal and American Apparel’s Moon as the nude base, and American Apparel’s Neon Pink, Neon Coral, Neon Yellow, Neon Green, and Essie’s I’m Addicted as the colors. I actually did this post two weeks ago before I went on vacation, I’m excited to finally show it to you!

IMG_89032

IMG_89092

I really love this month’s theme, and I had a lot of ideas on how to work with it. My first thought was a watermarble, but I did that for last month’s theme, so I skipped it. I also considered the dry brush technique, but ultimately chose the splatter, because I saw an excellent one on Casual Contrast that totally made me want to try it, and also because I’d never done it before. I put my base colors down, got the straws out, and commenced to splattering. I had so much fun with this mani. It reminded me of when we were bored in middle school and we’d dismantle pens to blow the ink out all over stuff. I gotta say though, the cleanup was way worse than I expected. Totally not for the faint of heart.

IMG_89152

IMG_89182

For these HPB manis, and really every challenge mani, I try to use untried polishes, but this is the first one where all the polishes have been used multiple times. When it comes to neons, the American Apparel neons are my go-tos; they’re vivid without having to use a white base, and the product consistency makes them very easy to work with. However, there’s no blue, so that’s where the Essie comes in; I had it sitting out from a previous swatch, and it was just the right blue to work with my other neon shades. I love that the theme calls for nudes, because as cool as this would be with a white base, it means you can’t use just any neons, you’ve got to use some that are worth a crap.

IMG_89232

IMG_89282

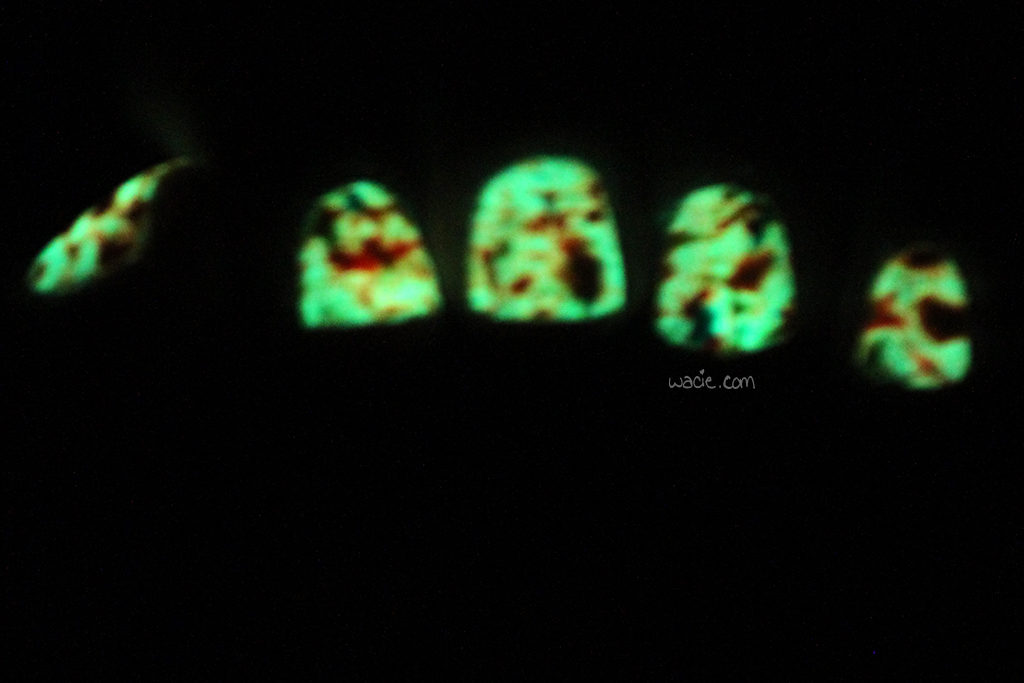
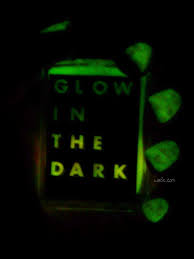
Remember I mentioned Moon used as a base? This is why: super secret glow-in-the-dark action! I put a coat over Chantal, just before adding the splatters. I wasn’t totally satisfied with just nudes and neons, I needed one more element to make this look really special. Between the glow and the neons, this mani is like the ’90s threw up on my nails. These photos were taken in compelete darkness.

IMG_89352

IMG_89392

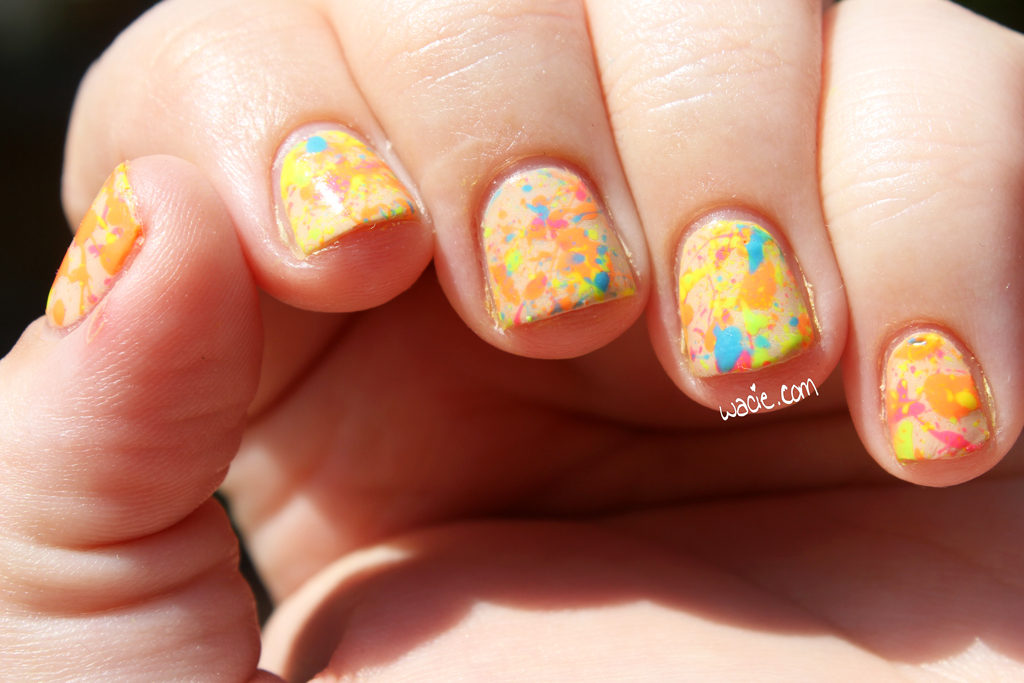
And these photos were taken in direct sunlight! Really harsh sunlight tends to wash neons out, so they’re not as bright out here as they could be.

IMG_88622

IMG_88752

IMG_88672

hpbpnsmc

Chantal and other Zoya polishes are available from Ulta. Essie polishes are sold at Walgreens and other stores nationwide. American Apparel polishes have been discontinued.

I bought these polishes myself.
 Loading InLinkz ...
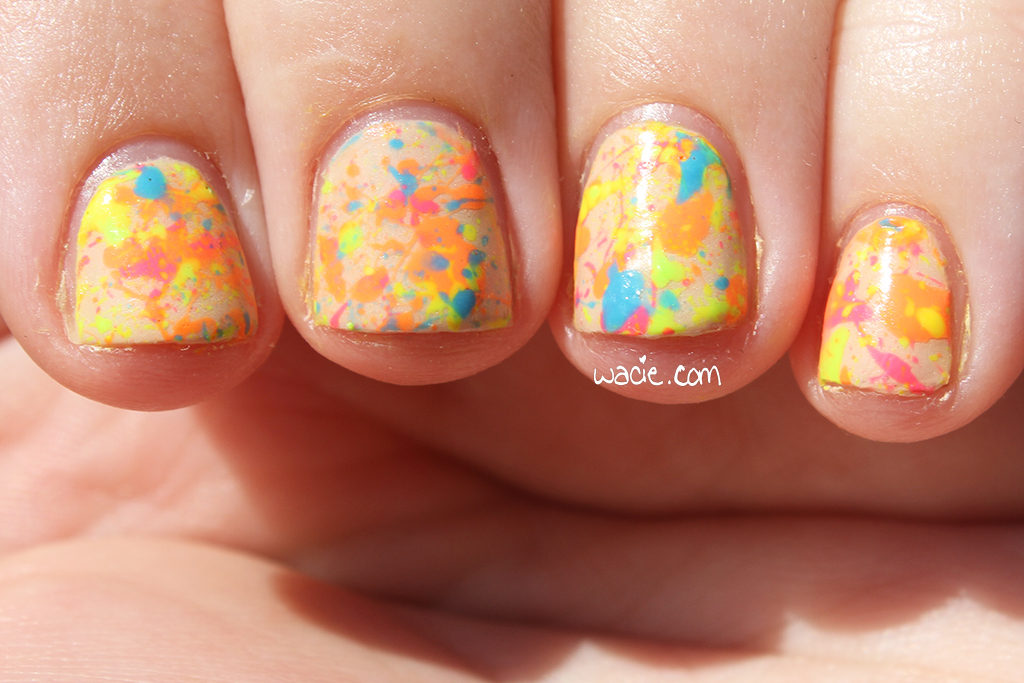
Manicure Monday: Glitter Secret

Happy Monday! This week I did some time-intensive nail art — by my standards at least — and I love it. For this look, I used Butter London’s West End Wonderland with American Apparel’s Moon. I wish I did nail art like this every week!
mmgs

mmgs2

The idea for this mani was to have a negative-space mani with a secret glow-in-the-dark effect. I loved the idea of just having a fun polish paired with “naked” nails, and then having the “negative” parts of the design glow. Obviously, if you look closely, you can tell they’re not totally naked, because Moon has this grainy look in it, but that’s only if you look up close. From a perfectly reasonable distance you wouldn’t be able to tell at all.

mmgs3

mmgs4

This is one of the more intricate designs I’ve ever done, because I rarely do anything with more than two steps. First, I put down a coat of Moon. Next, I did a gradient with Moon and West End Wonderland. I left my thumb and pinky with just the initial gradient. When that was dry, I put strips of striping tape over the gradient in a criss-cross pattern, then sponged West End Wonderland over the entire nail. I finished with Seche Vite top coat. On the accent nail, the one with the studs, I used two coats of Moon and skipped right to the all-over sponging of West End Wonderland. I think it turned out pretty well!

mmgs5

mmgs6

The only thing I would do differently — I do plan to do this again — is to use a polish with greater contast. It’s a little hard to see the negative space because it’s so similar to the glitter polish. I may also consider just using striping tape for greater contrast in the dark, because I did fail to take that into account. You can see in the glow photos where the lines are, but I think it would be cooler if the contrast was higher.

mmgs7

Moon has an amazingly strong glow. If you look closely, you can see the titles of the books on my bookshelf.

mmgs8

Moon has been discontinued by American Apparel. West End Wonderland and other Butter London polishes are available at sephora and Ulta. I got mine in a swap, lucky me! I don’t know where the studs came from.

One of these polishes were purchased by myself. The other was received in a trade.

News: Wacie Nail Co. for Depression Awareness 2015

Hey reader! For once, I have something really exciting to share with you. Julie, the owner of Blue-Eyed Girl Lacquer and Wishes of a Blue-Eyed Girl, is getting ready to start her annual depression awareness fundraiser, and for the second time, Wacie Nail Company has made a special edition one-of-a-kind polish for the cause. This year’s offering is called Glow-Mo; I’m wearing three coats with one coat of Seche Vite top coat.

wncfda

wncfda2

wncfda3

wncfda4

Glow-Mo is a pastel green polish with a green pearl flash, rose pearl flakies, and a slight holo effect. It also glows green in the dark. It’s on the sheer side; it took me all three coats to get to this opacity, and it dries with matte finish.

wncfda5

wncfda6

wncfda7

wncfda8

wncfda9

These photos were taken in direct sunlight. This is where the holo effect is most visible.

wncfda10

wncfda11

These photos were taken in complete darkness to demonstrate the glow-in-the-dark effect. If I may say so myself, the glow is really bright. I wore this to bed last night and I kept waking myself up with my nails. And, for funsies, I included a photo that’s not in complete darkness; it’s really just my hallway with the lights turned off. It glows even there. I feel I should mention that that photo is not altered in any way.

wncfda12

wncfda13

wncfda14

Looks like an ’80s music video!

There is only one bottle of Glow-Mo (other than the one I used for swatching, of course), and it is being auctioned on eBay with tons of other special polishes from other makers. 100% of the proceeds goes to benefit the depression awareness and suicide prevention network I Need A Lighthouse. This is a cause that means a lot to me, so please check out the auction. Last year’s auction raised over 700 dollars, so let’s try to beat that number! The auction begins today, 10/31, at noon EDT; you can find the entire auction here.

Manicure Monday Night/Tuesday Morning: Orange Sherbet Birthday Warm-Up

Happy Monday, reader! Happy Tuesday as well, if applicable. My look today is one I’ve been looking to try for a while: matte glitter sandwich with glow in the dark polish! It doesn’t translate well to photos, and looks a bit weird. I really regret that, but it looks cool in person, so I’ll need you to trust me on that. Also, this is probably the last manicure of my twenties. Yeah. I turn 30 on Saturday, and I’ll do a birthday mani then. Until then, this will carry me through the rest of the week. The last week of my twenties. I already feel as though the sun is setting.

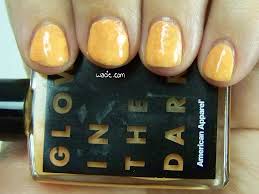
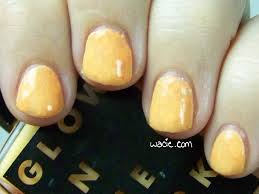
Anyway, the sandwich I have here is made with Formula X for Sephora’s Firecracker and American Apparel’s Jupiter, topped with one coat of Seche Vite top coat.

mmtmosbwu

mmtmosbwu2

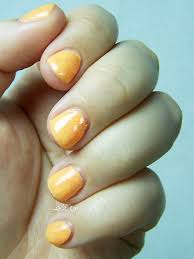
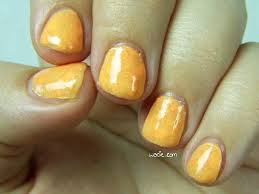
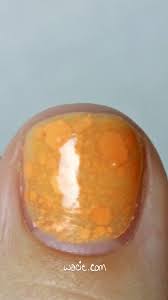
The first thing you’ll notice about this manicure is that’s really orange. The color comes mostly from the glitter. Jupiter has some color of its own, but it’s sheer and not immediately visible. What Jupiter does here, though, is assimilate each individual speck of glitter into one orange entity. Only the large glitters still have definition; the finer glitters look like grit or bubbles in the color, at least in photos. It’s not that bad without the bright studio lights bearing down on it.

mmtmosbwu3

mmtmosbwu4

You may also notice the polish looks quite thick. That’s very accurate. In all, I have seven coats of stuff on my nails. Apart from base coat and top coat, I have two layers of Jupiter, the glitter, which is about as thick as two coats, and two more coats of Jupiter. Firecracker is a pretty chunky glitter, so Jupiter acts as a smoother here as well as a color; my nails are totally smooth to the touch. They are, however, one step away from being gumballs, and I acknowledge that.

mmtmosbwu5

mmtmosbwu6

mmtmosbwu7

One last thing: I tried a real macro shot! I got a new phone with a pretty nice camera, and thought it was worth a shot. If you’re reading this, you’ve scrolled past it, but there it is. You can really see what I mean about the glitter losing its definition. It looks like it’s out of focus because the lines of the glitters are blurry, but it’s really just the sandwich blending it in.

mmtmosbwu8

Firecracker is from Sephora. Jupiter is from American Apparel.

I bought these polishes myself.