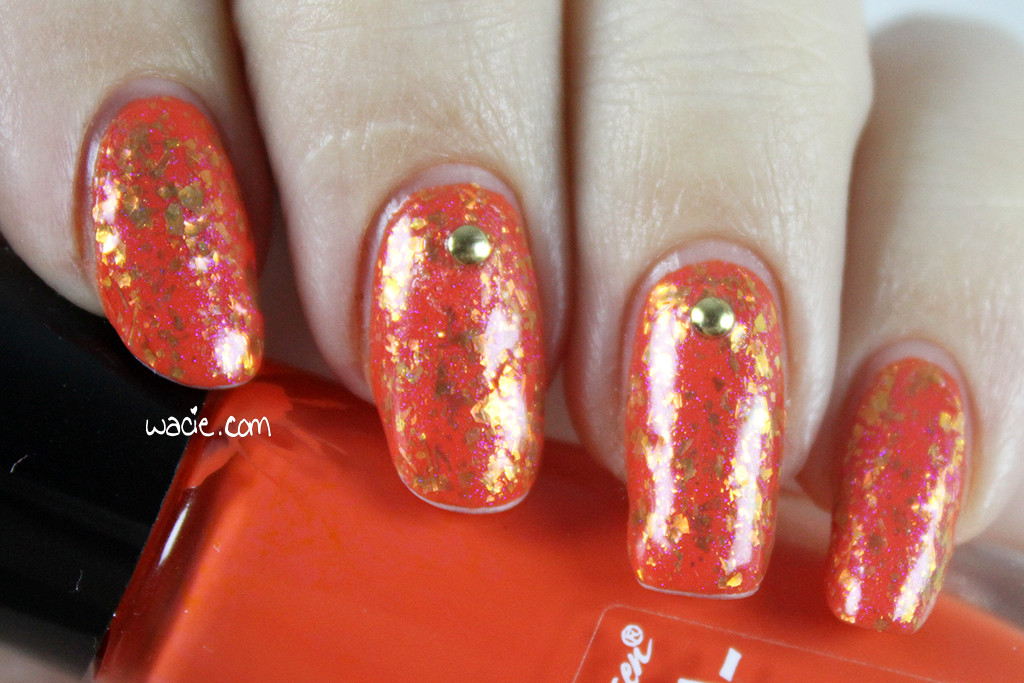
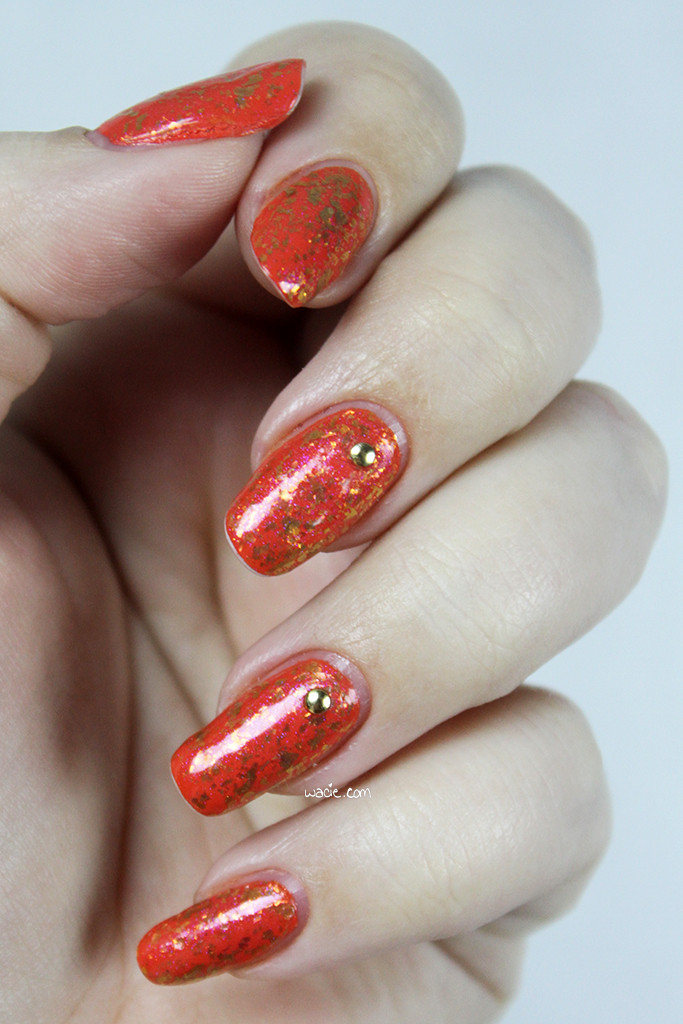
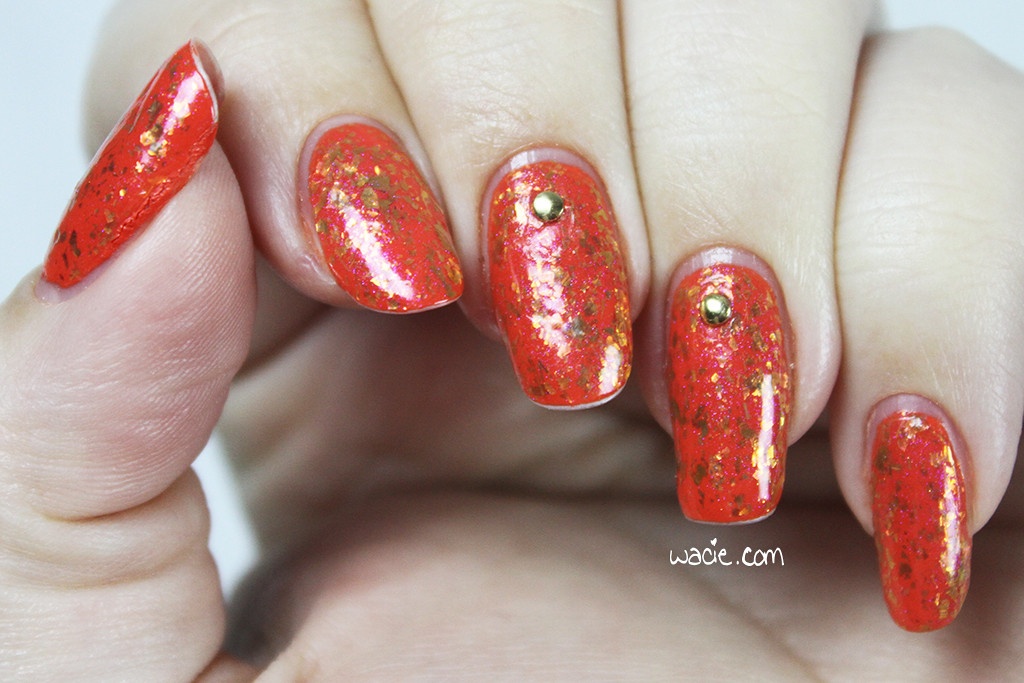
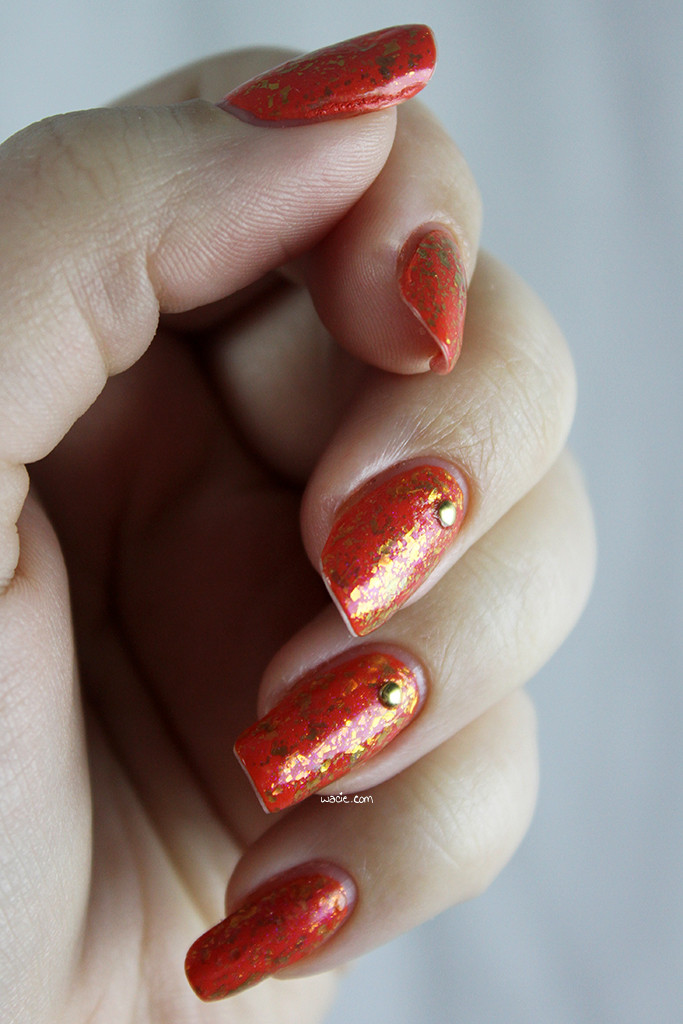
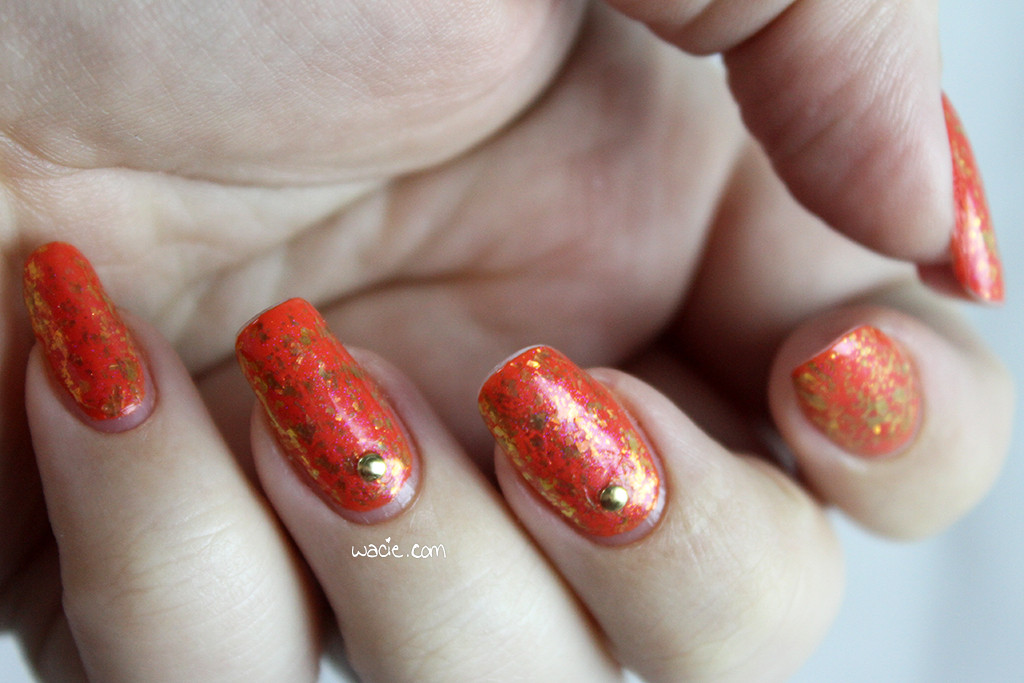
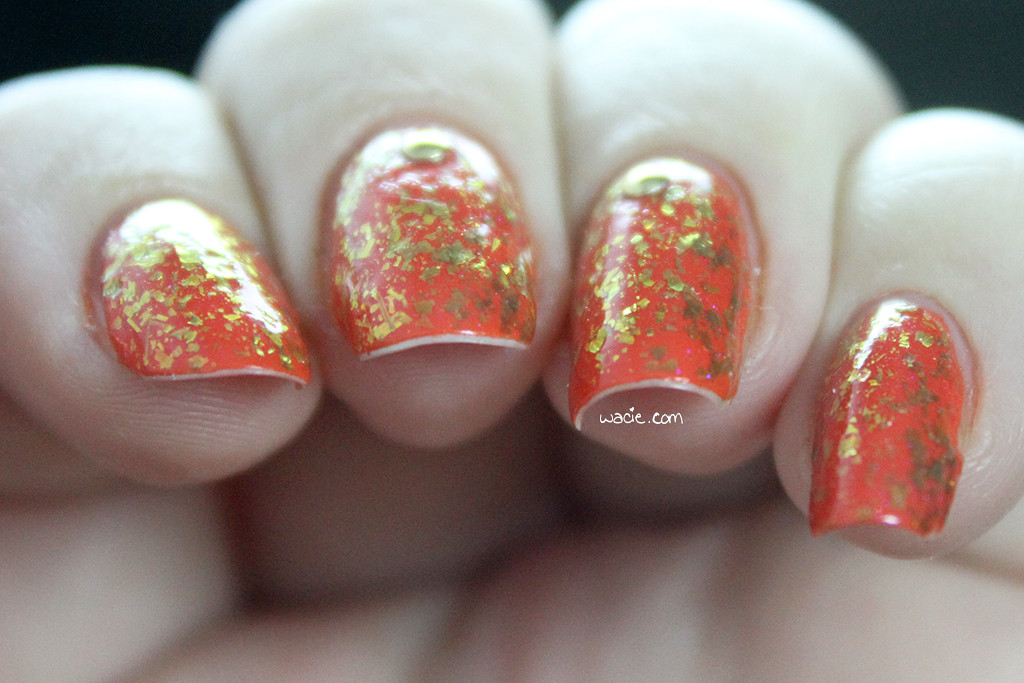
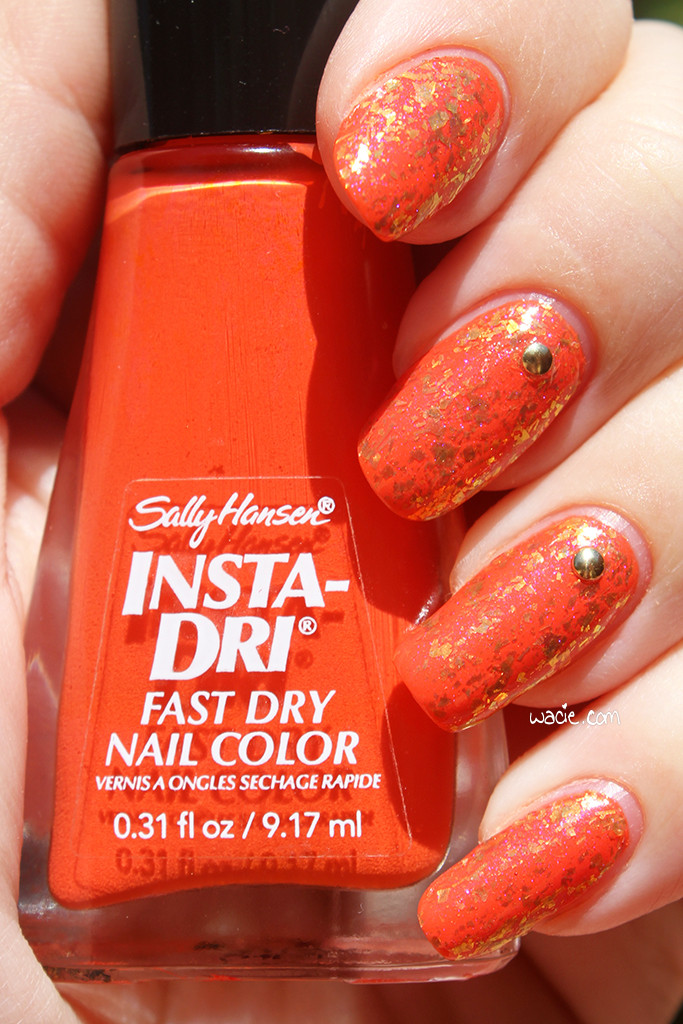
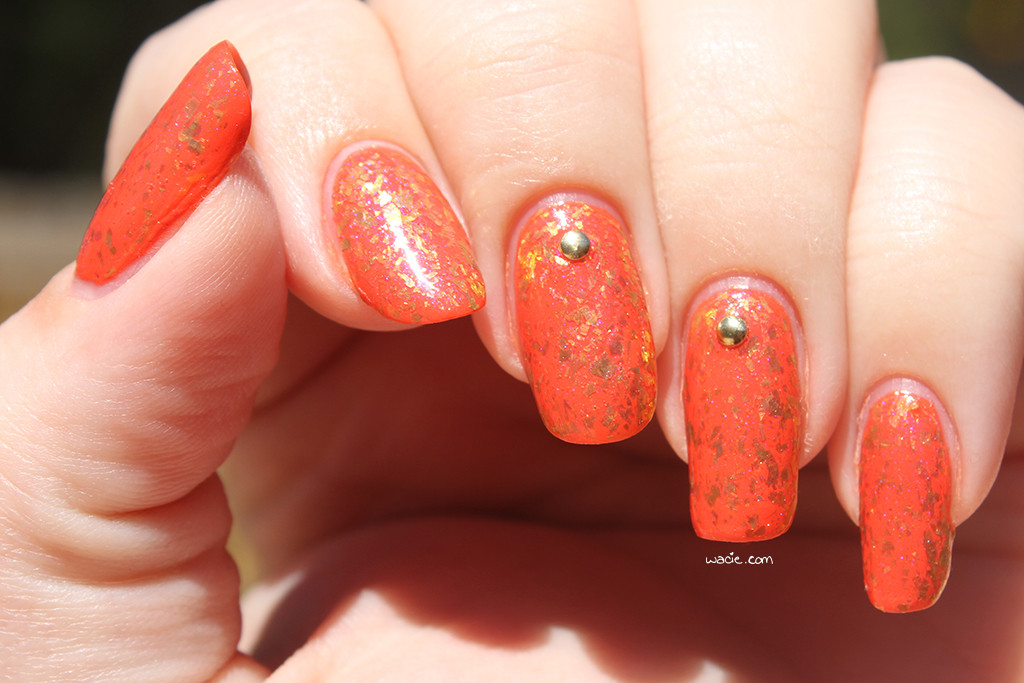
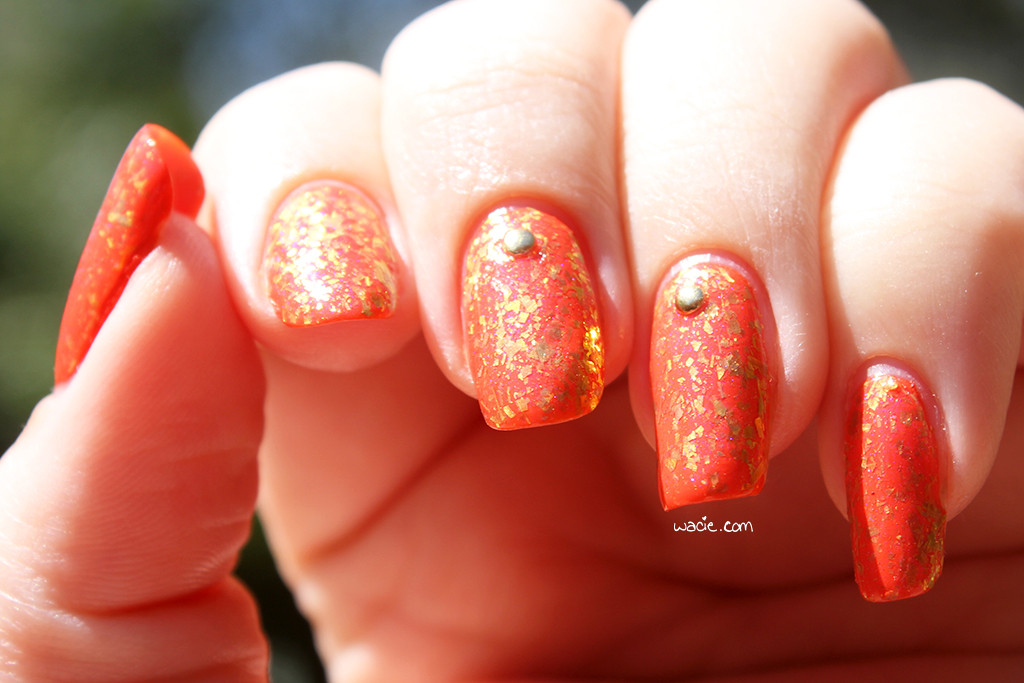
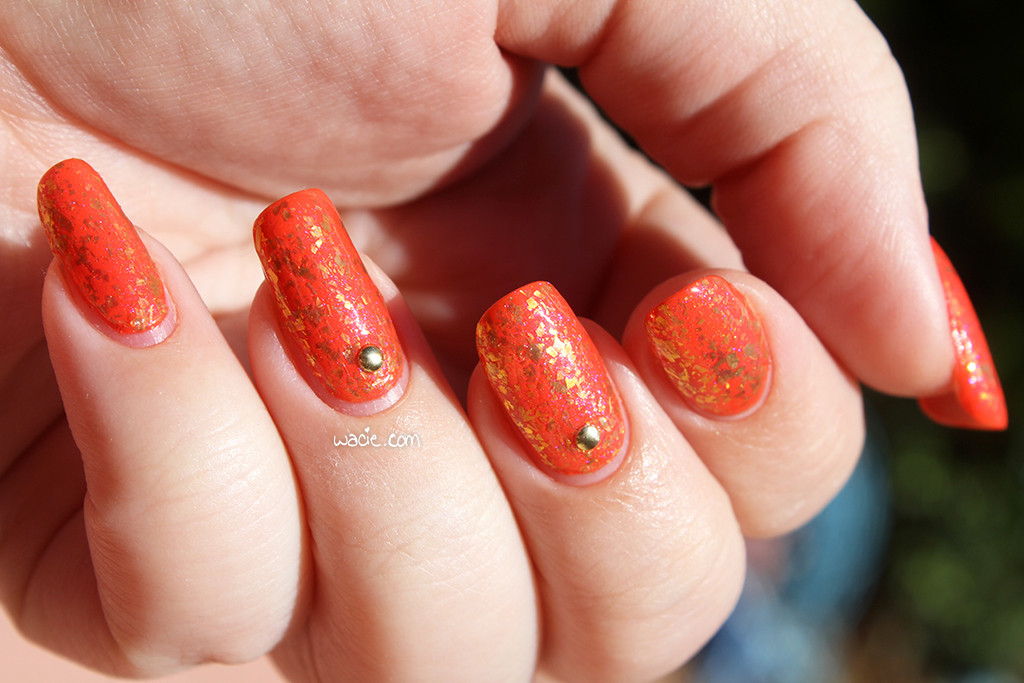
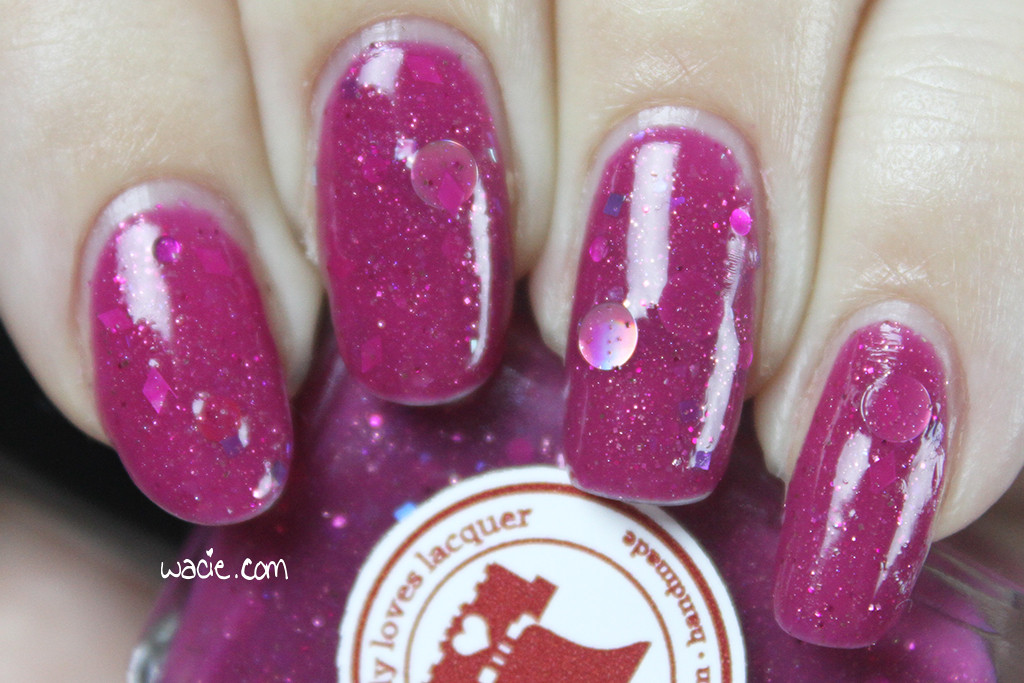
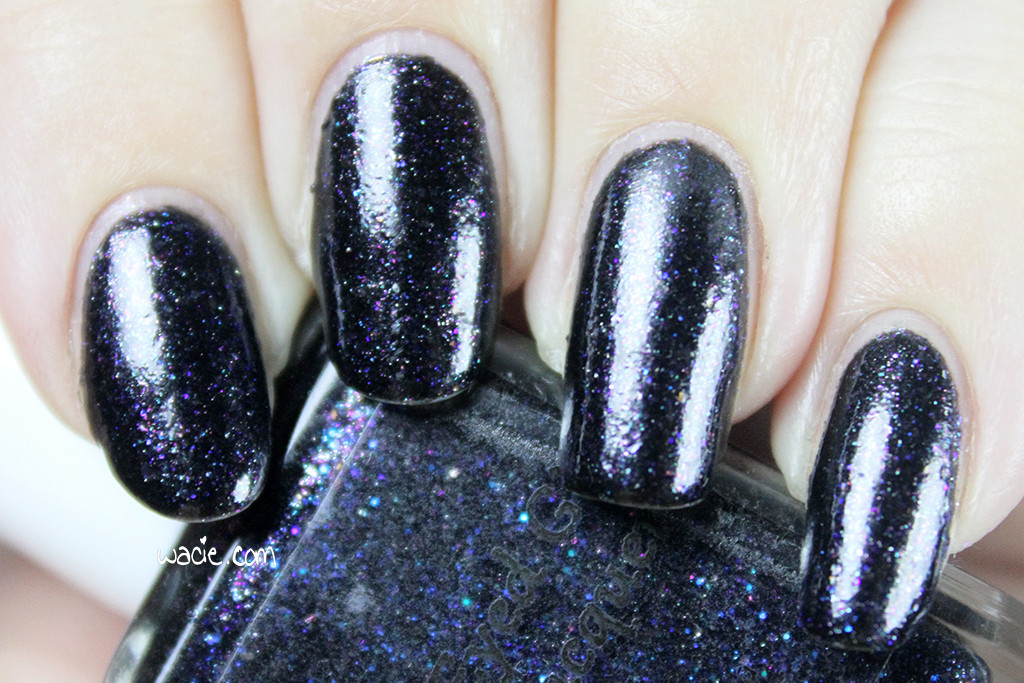
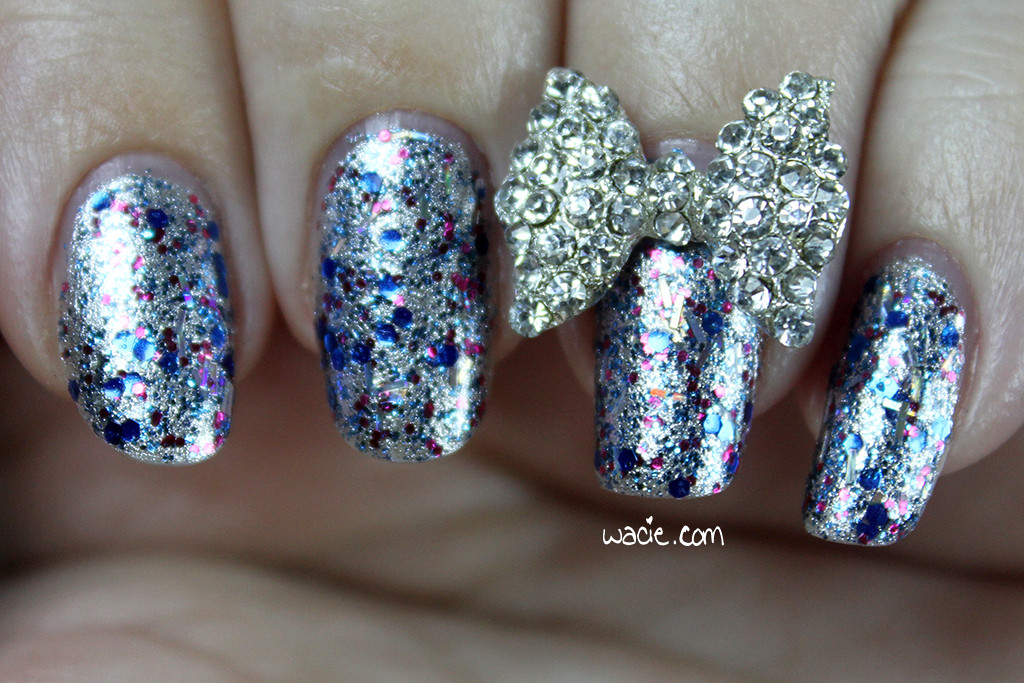
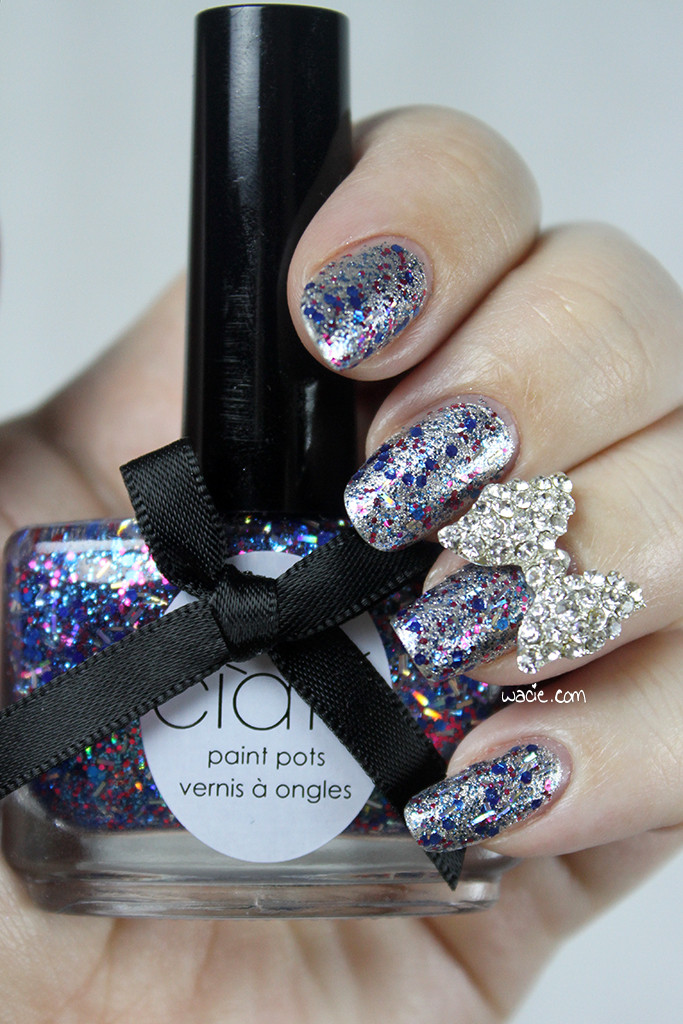
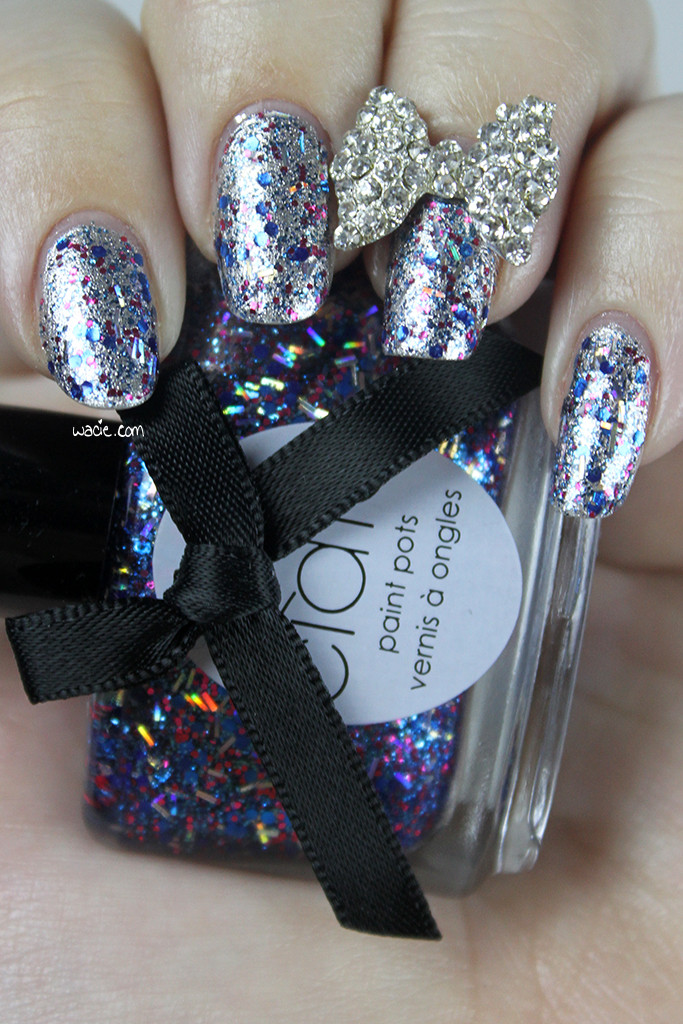
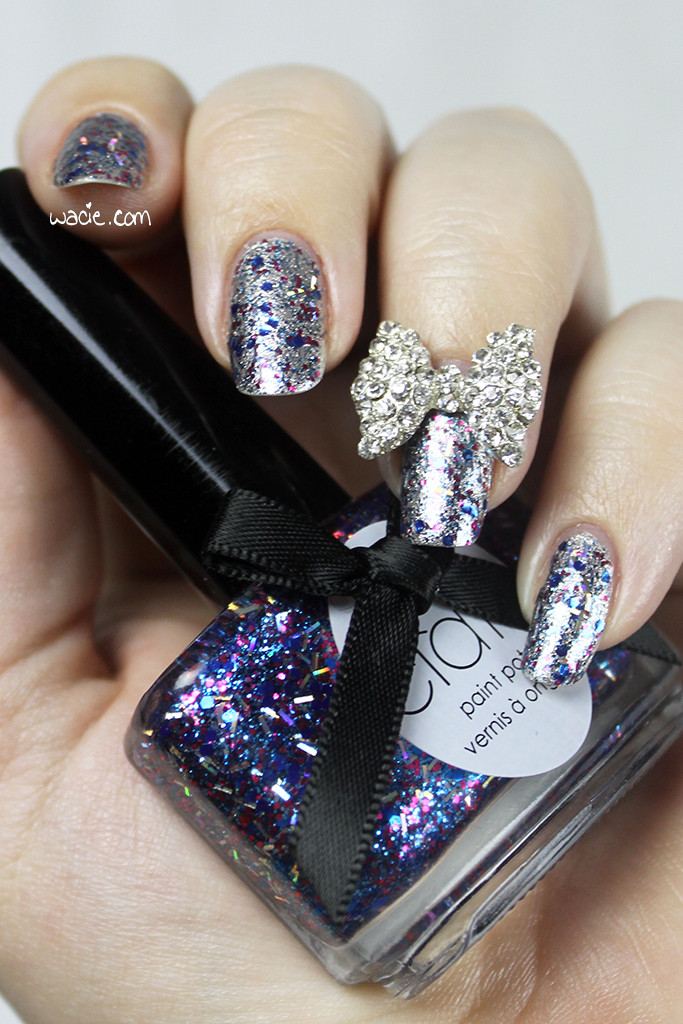
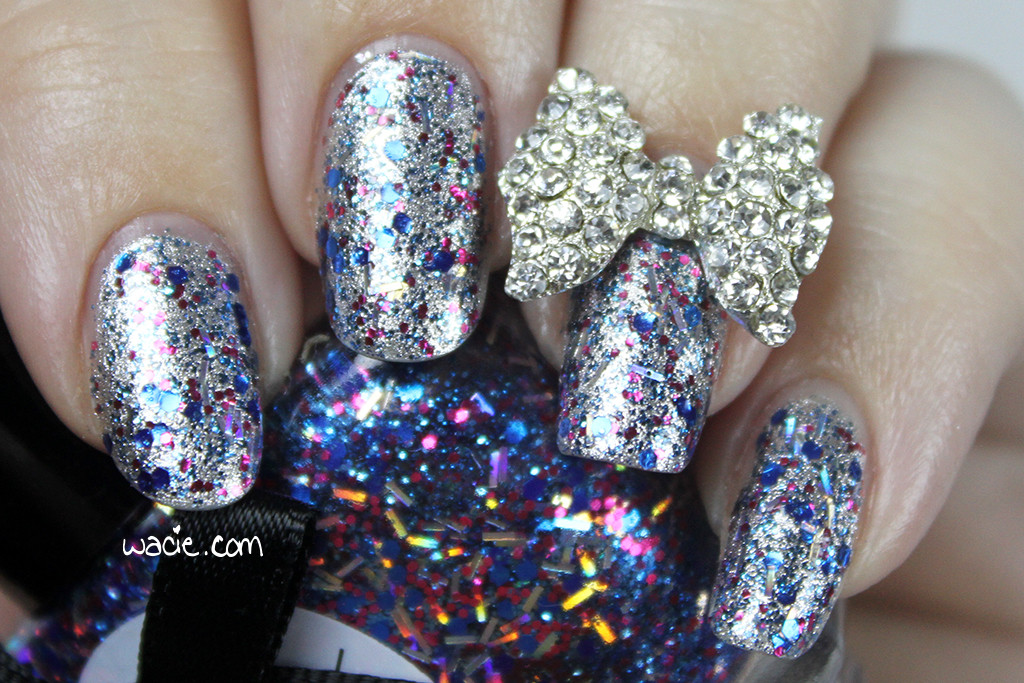
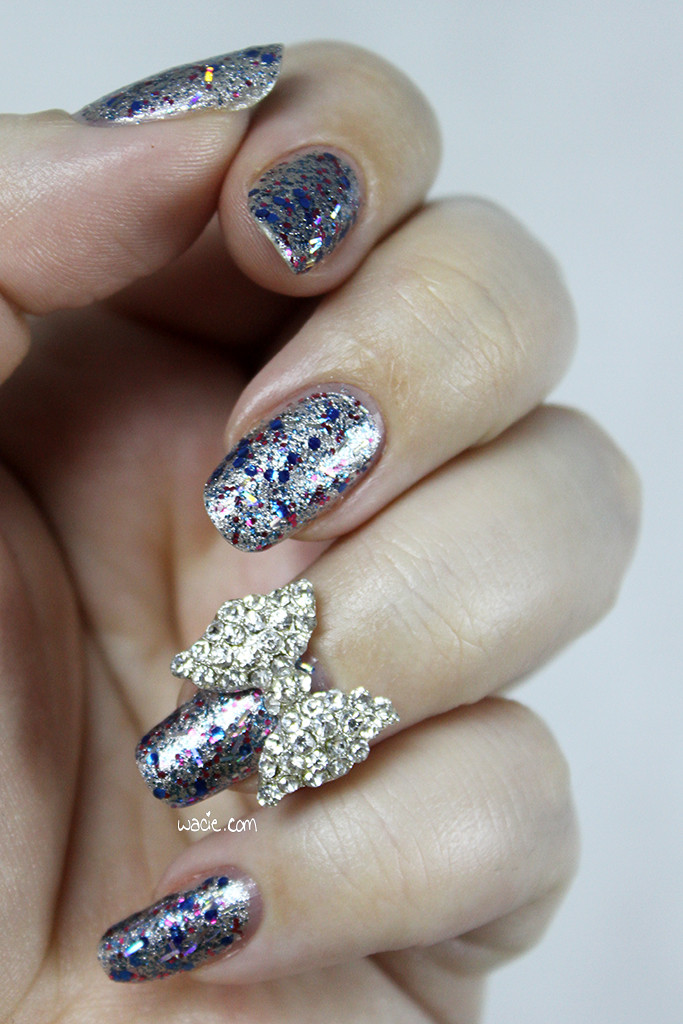
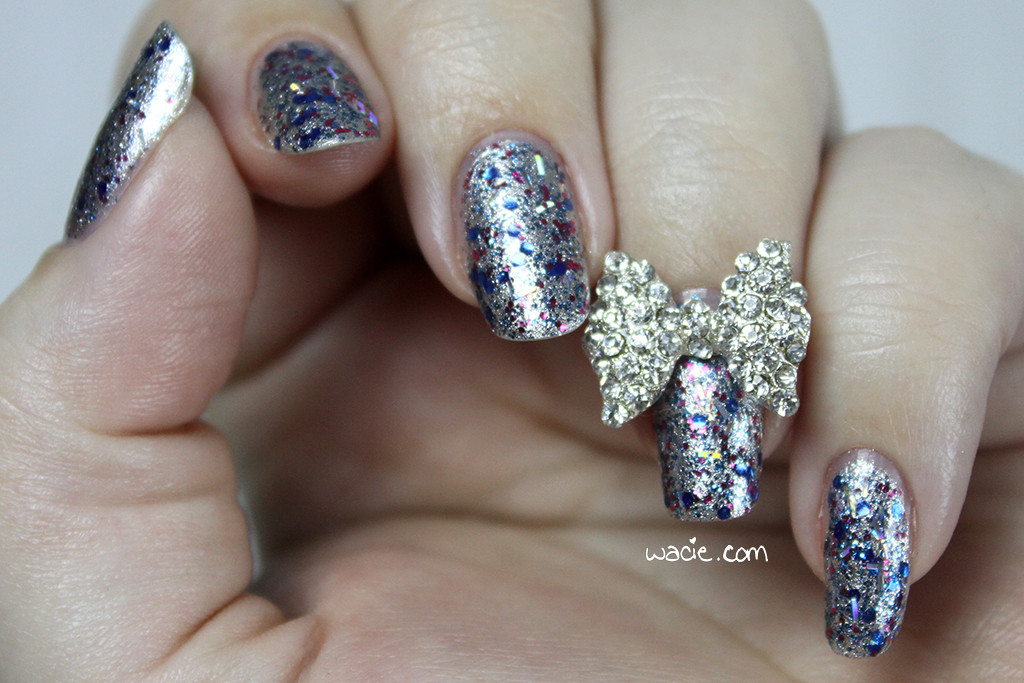
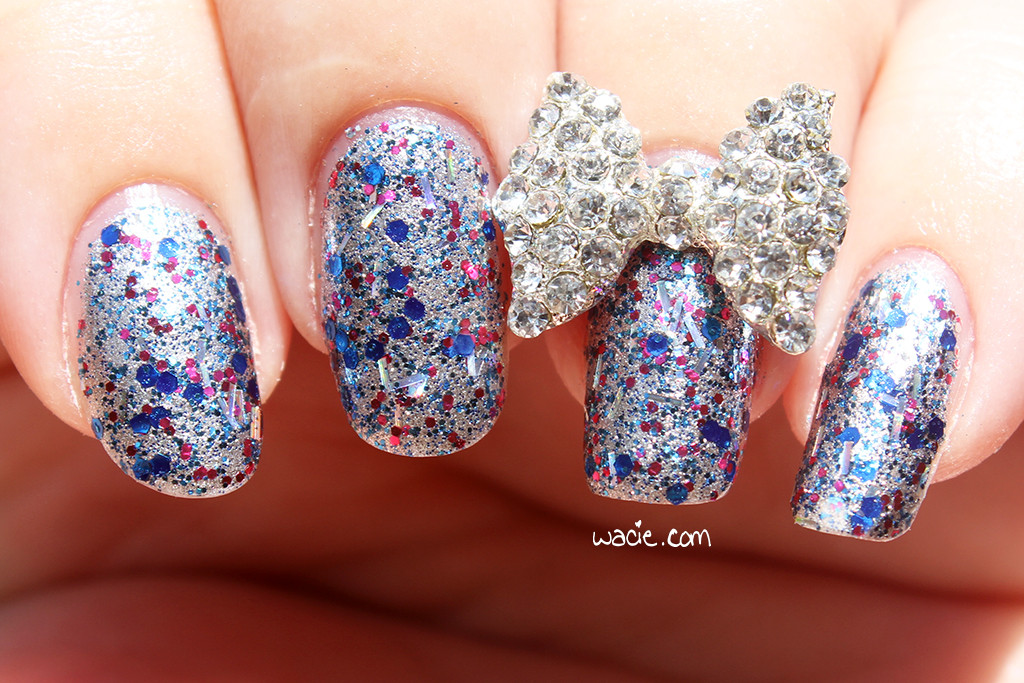
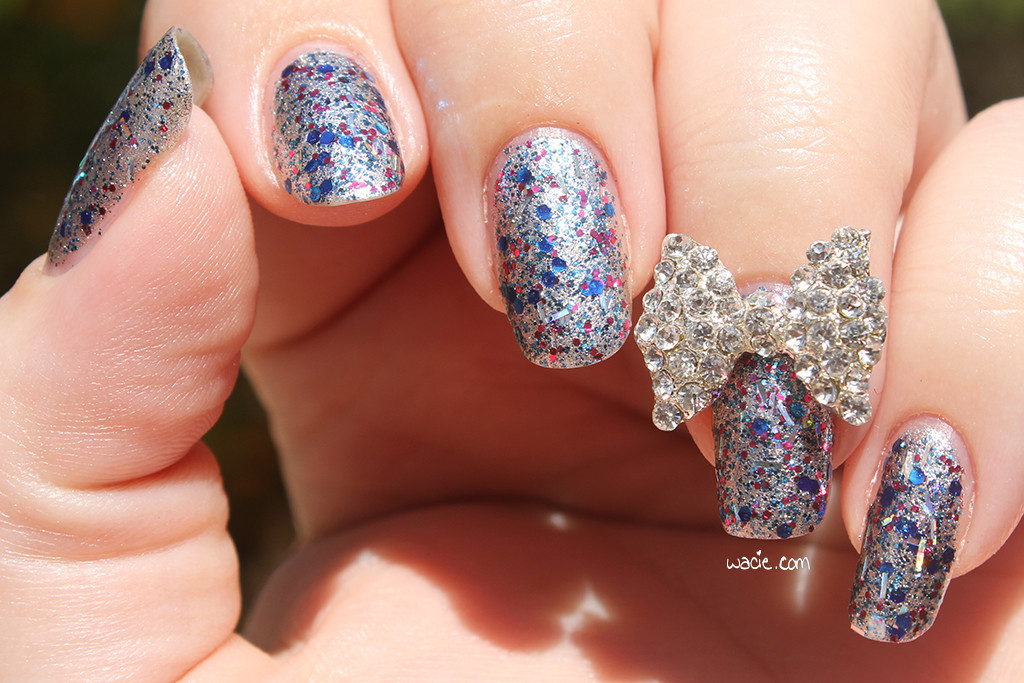
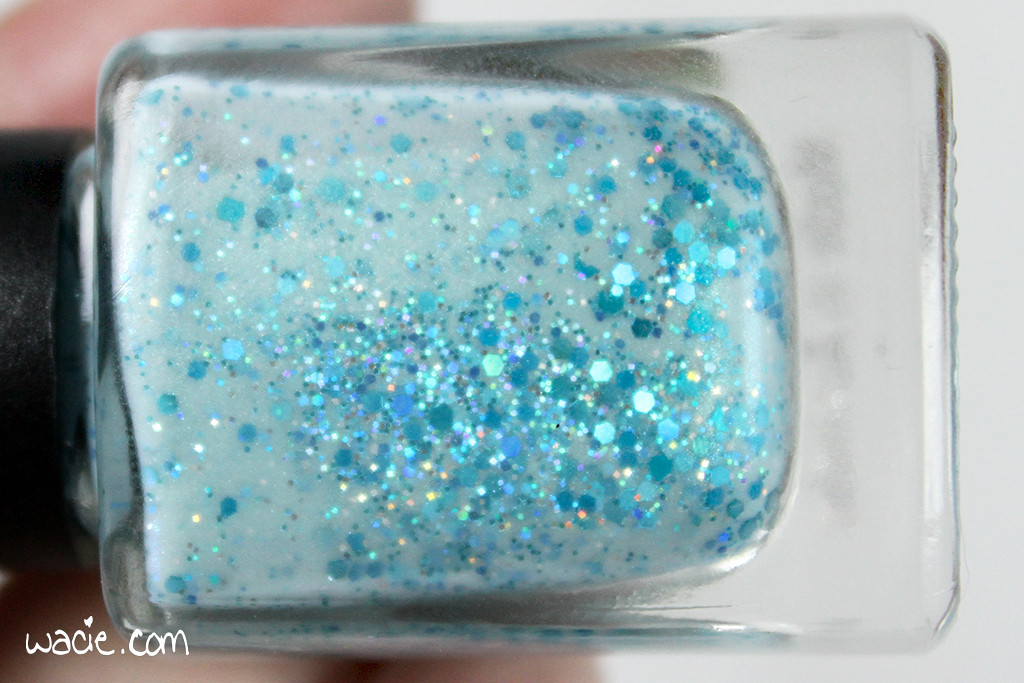
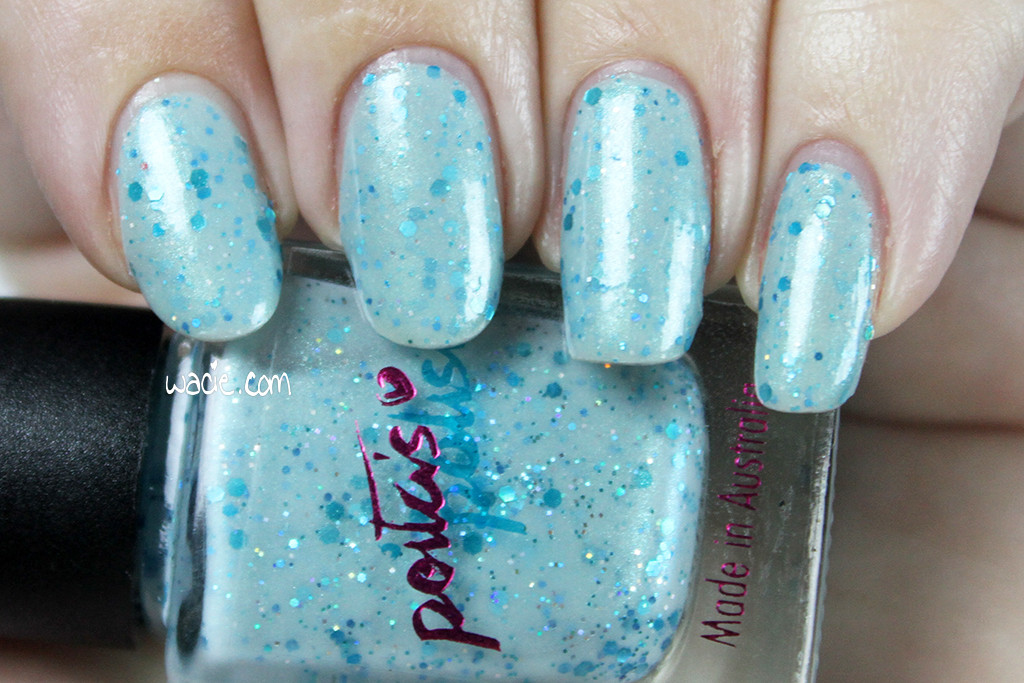
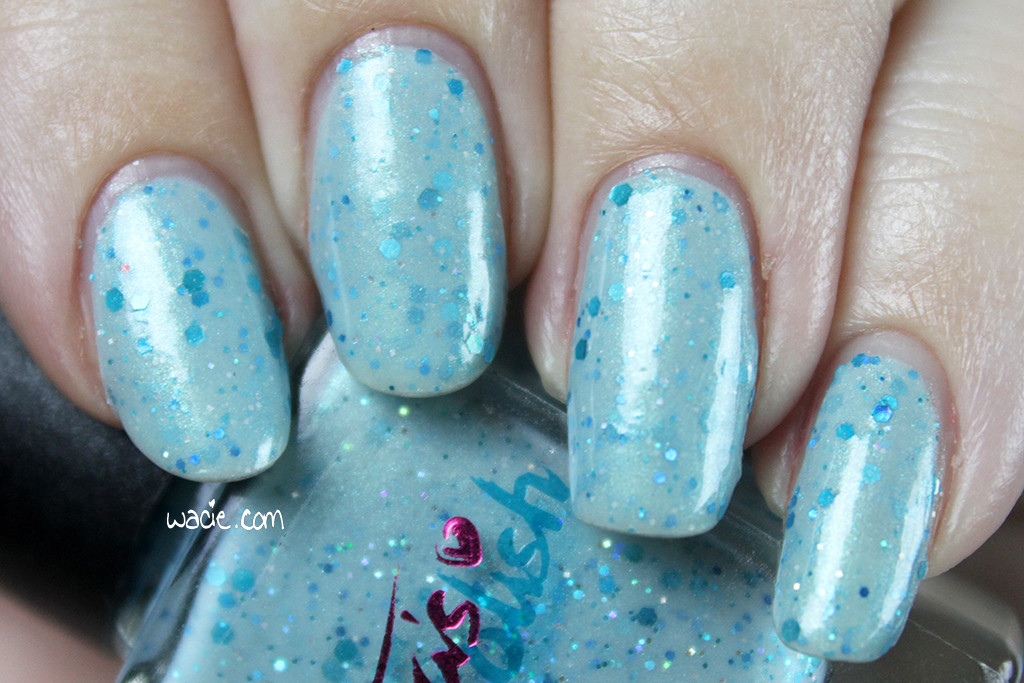
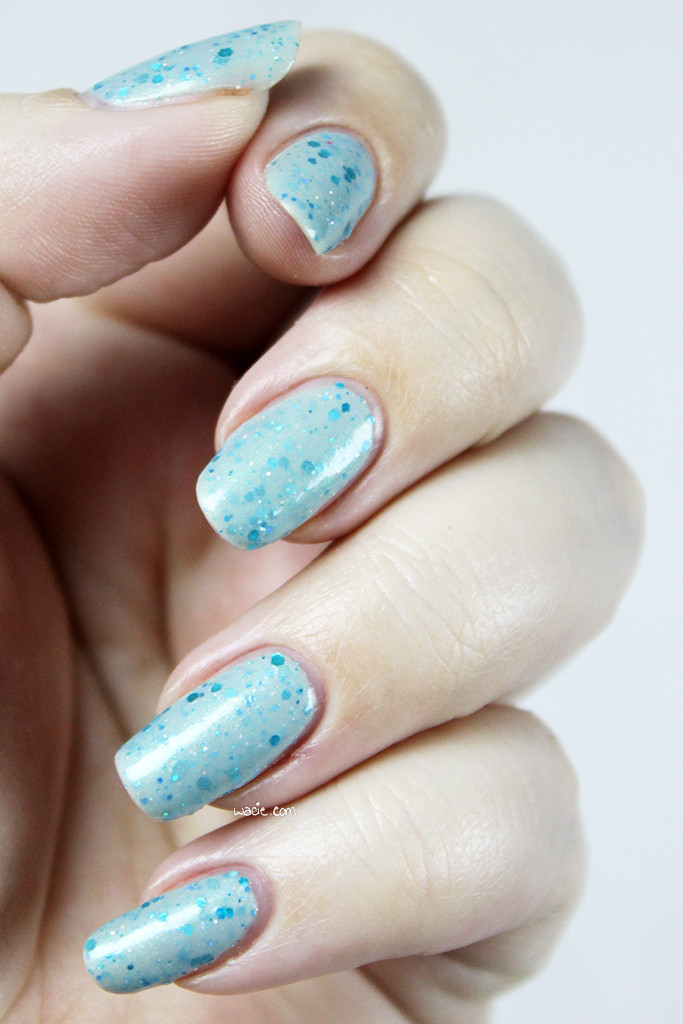
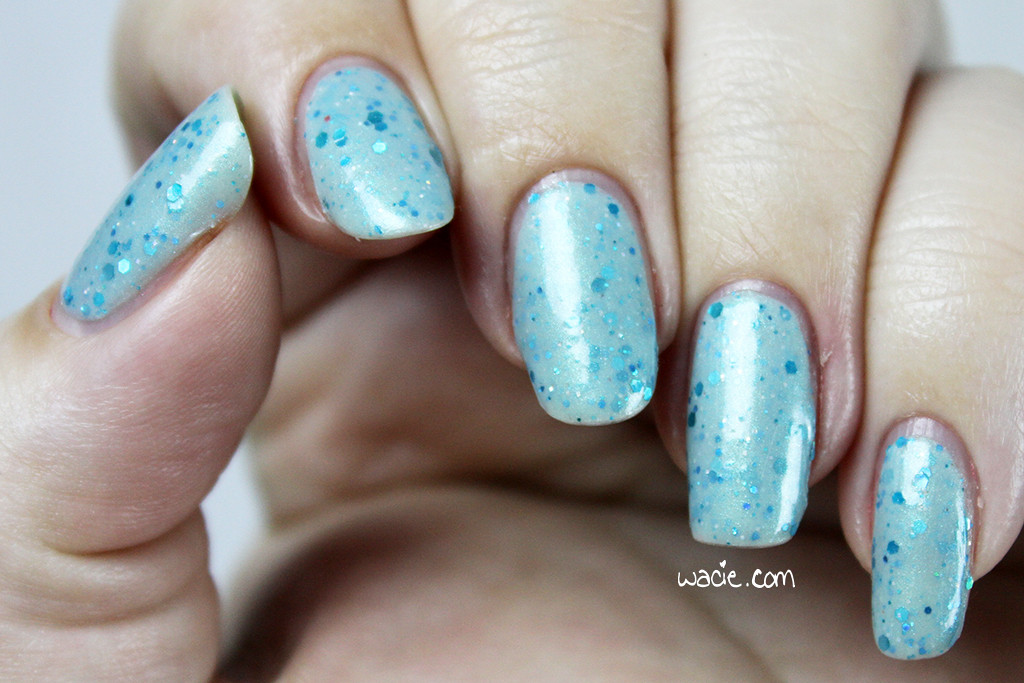
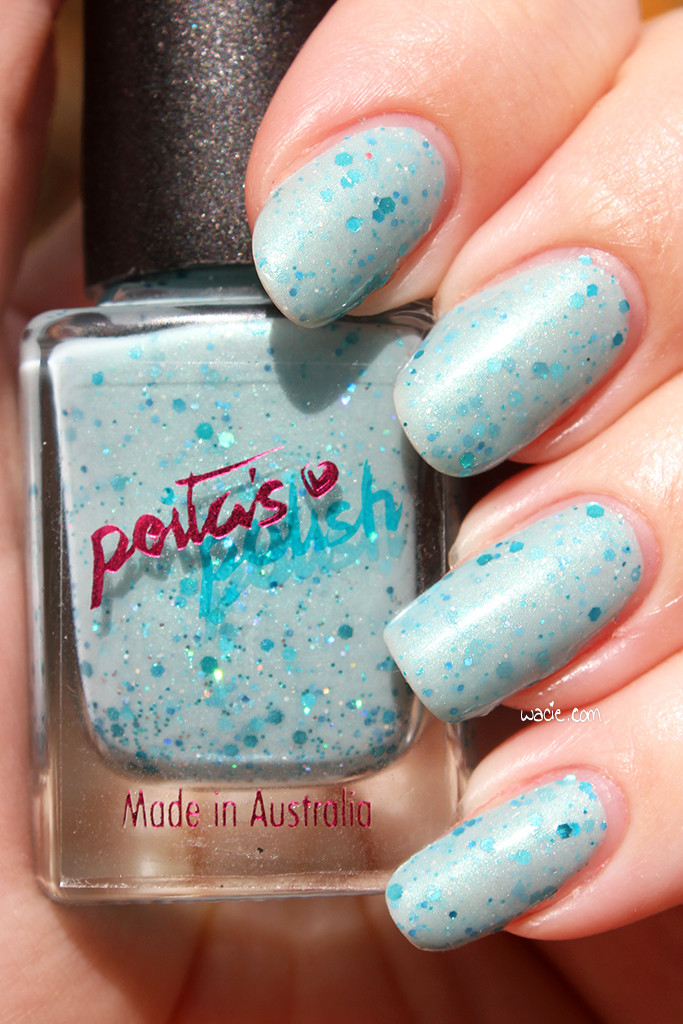
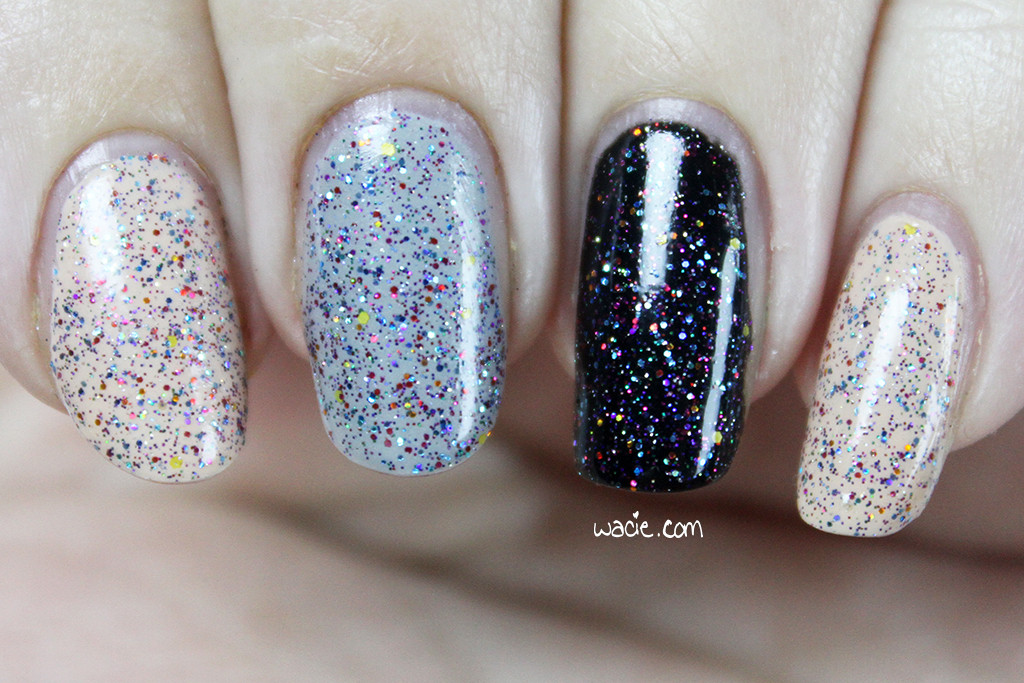
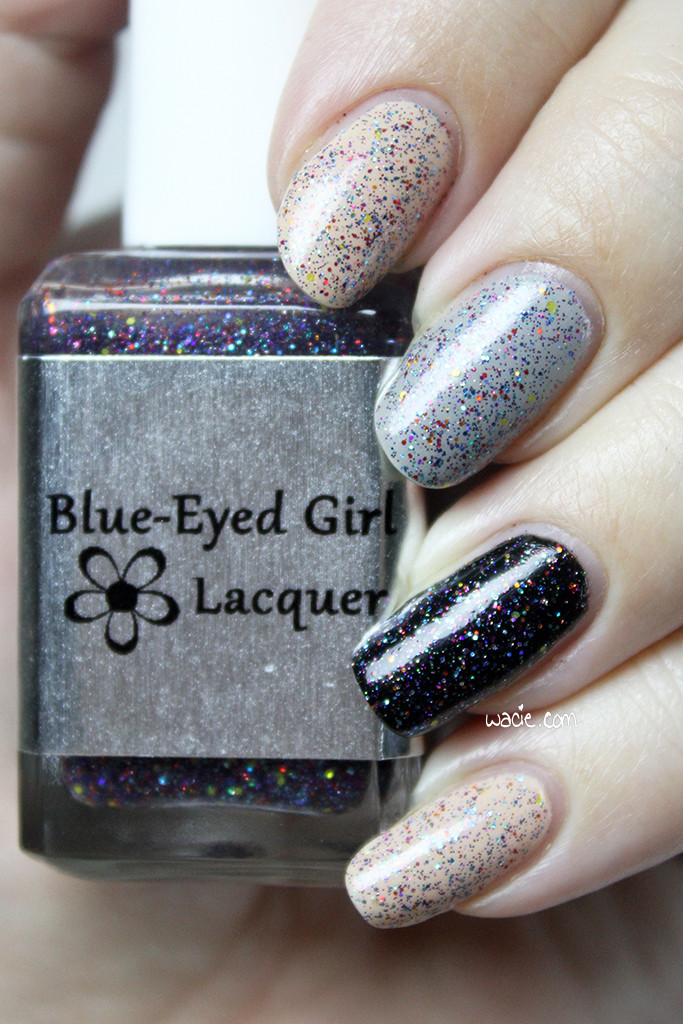
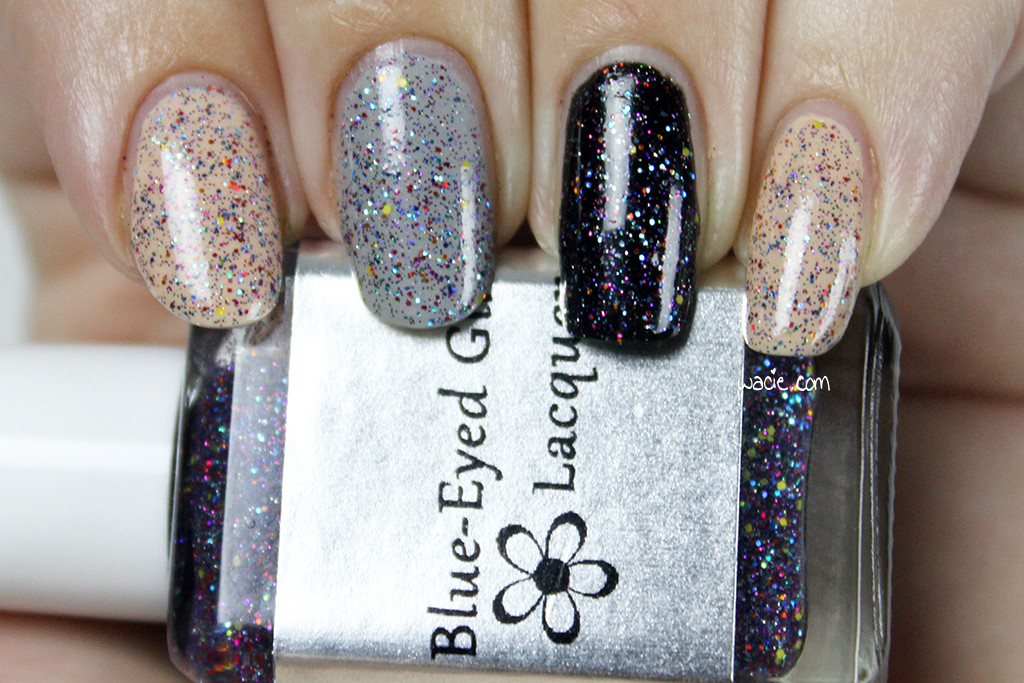
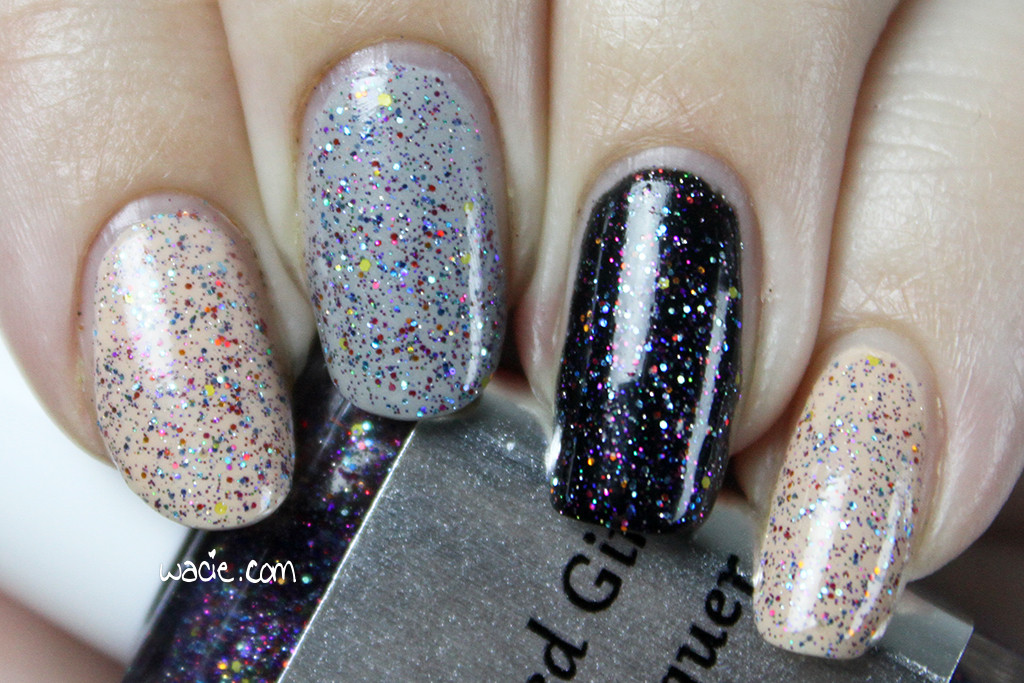
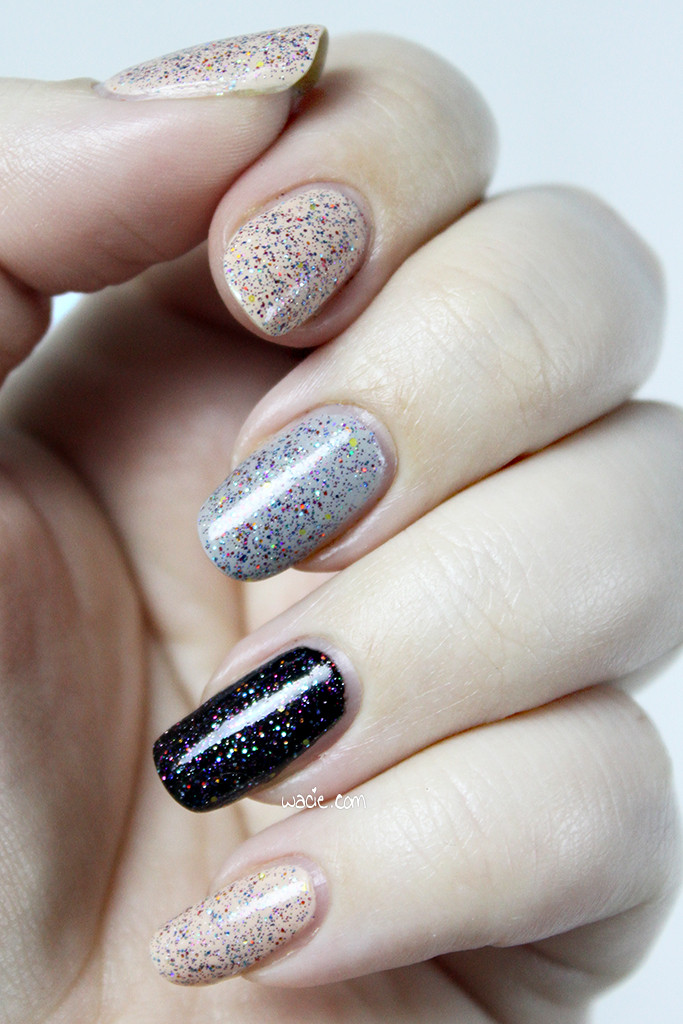
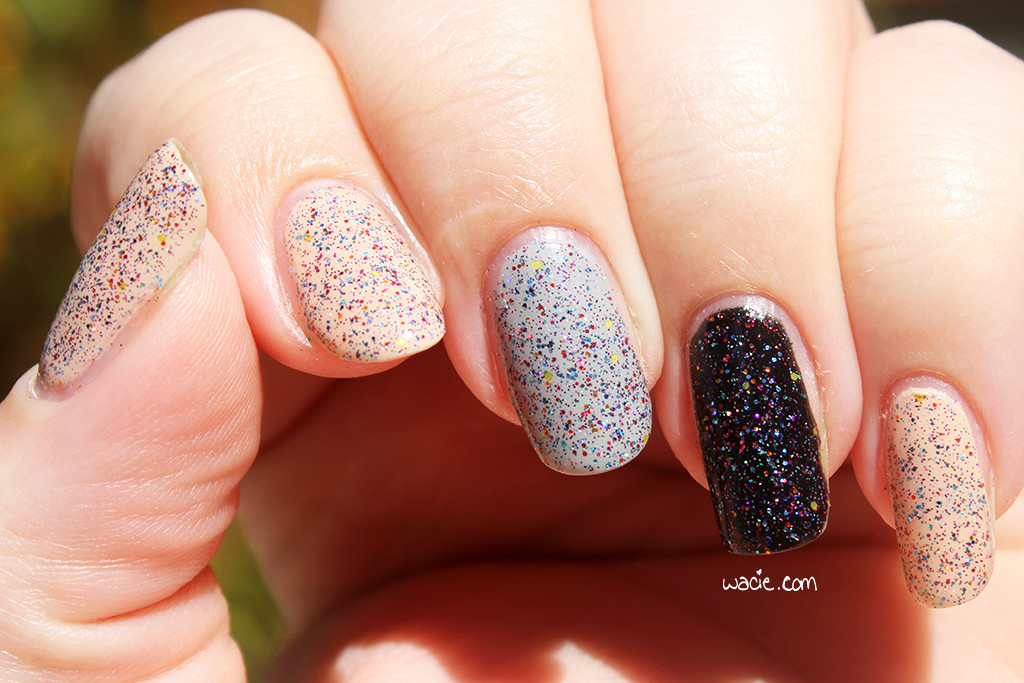
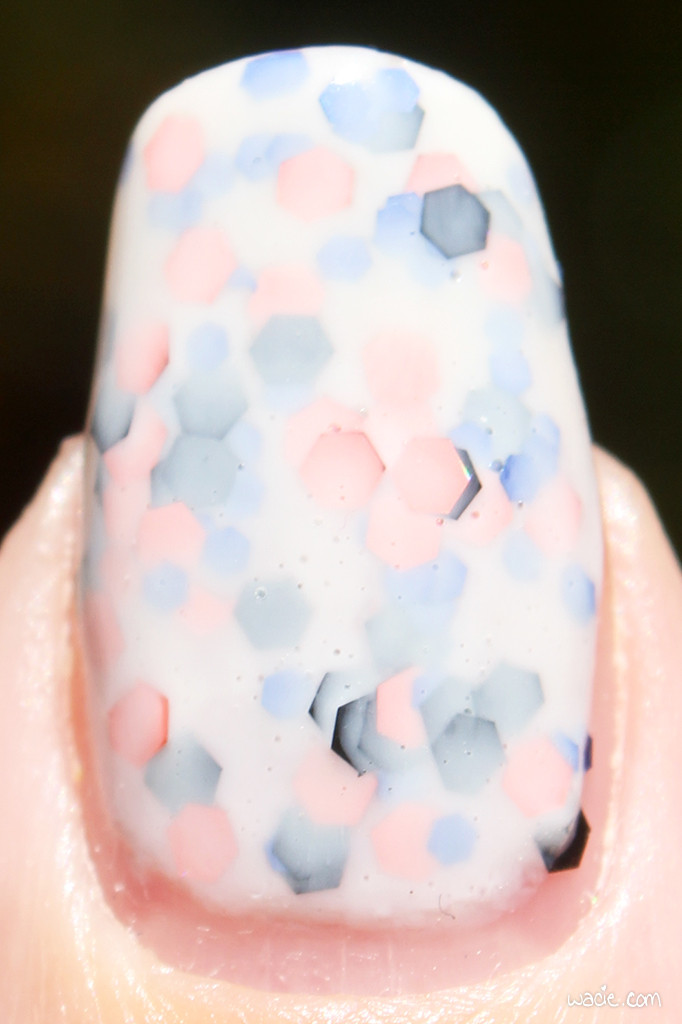
Happy Monday! Today’s look is an experiment with opacity and color. It’s also a lesson in making the best of an unusual polish. For this look, I used China Glaze’s Create a Spark between layers of L’Oreal’s Satin Starlet, topped with Seche Vite top coat.
So I started this mani wondering why a polish like Satin Starlet exists in the first place. It’s this sheer, milky white that doesn’t seem like it’s good for much. It might be okay as the sheer shade in a French manicure, but even then, there are colors much better suited for that purpose than white. It would take a staggering amount of polish to get it opaque, so it’s out as a tip color, too. It’s hard to apply without streaks and bald spots. Even after having this manicure on a while, I still have no idea what I would use this polish for if I didn’t do nail art. I don’t think a person who wears one polish at a time would find this polish useful. I got this polish in a big L’Oreal set from an outlet store; it’s not something I would have purchased alone.
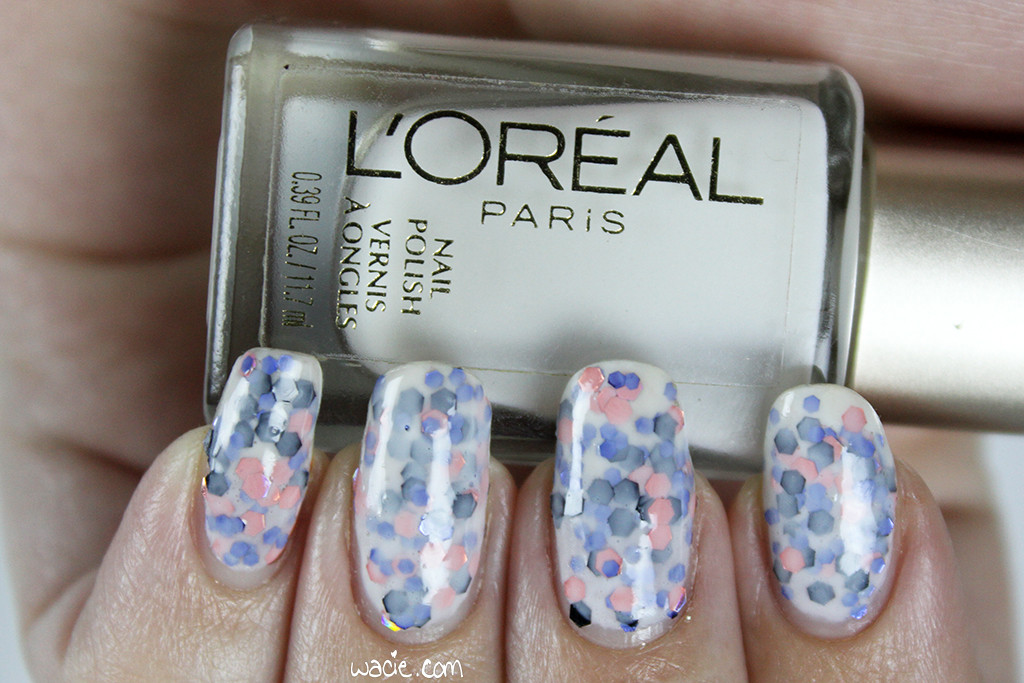
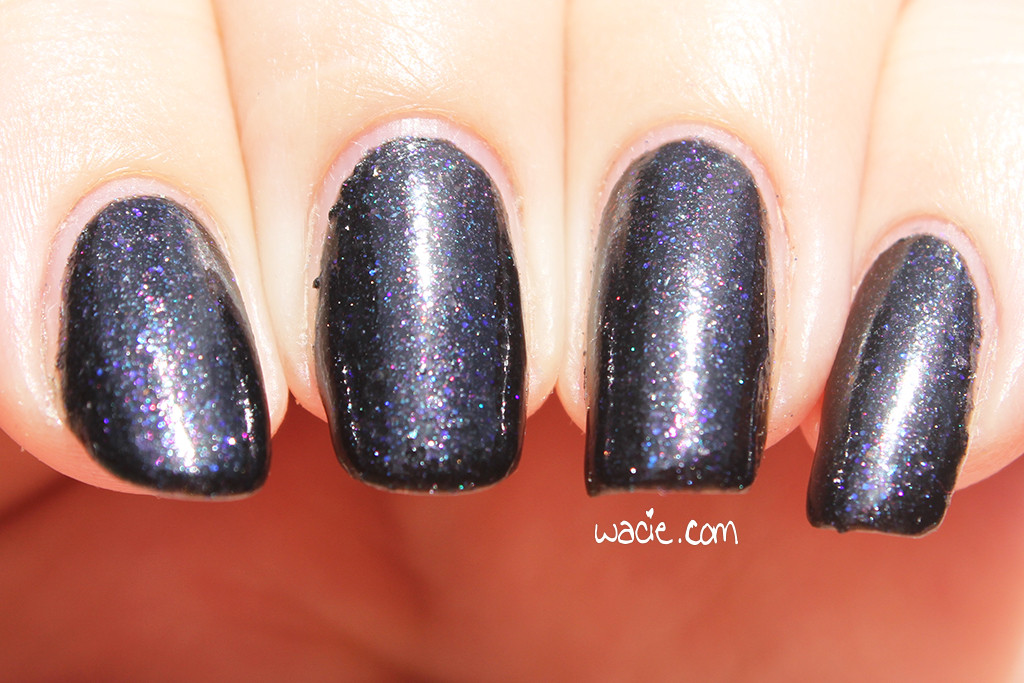
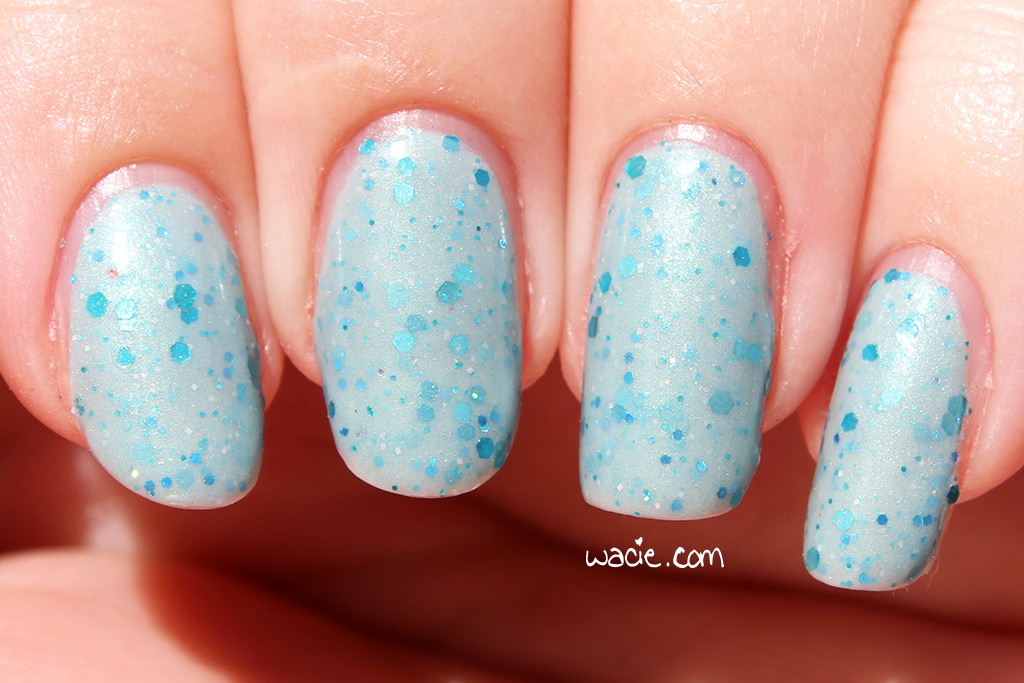
I used one coat of Satin Starlet as a base, sponged the glitter on with an eyeshadow applicator, and finished with two heavy-handed coats of Satin Starlet and top coat.
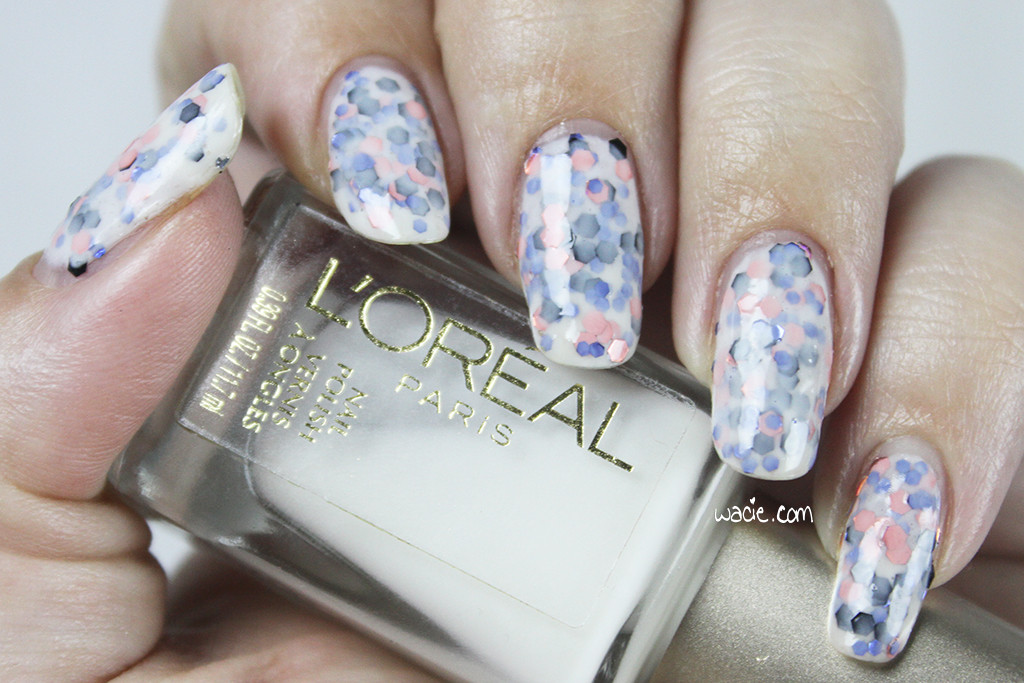
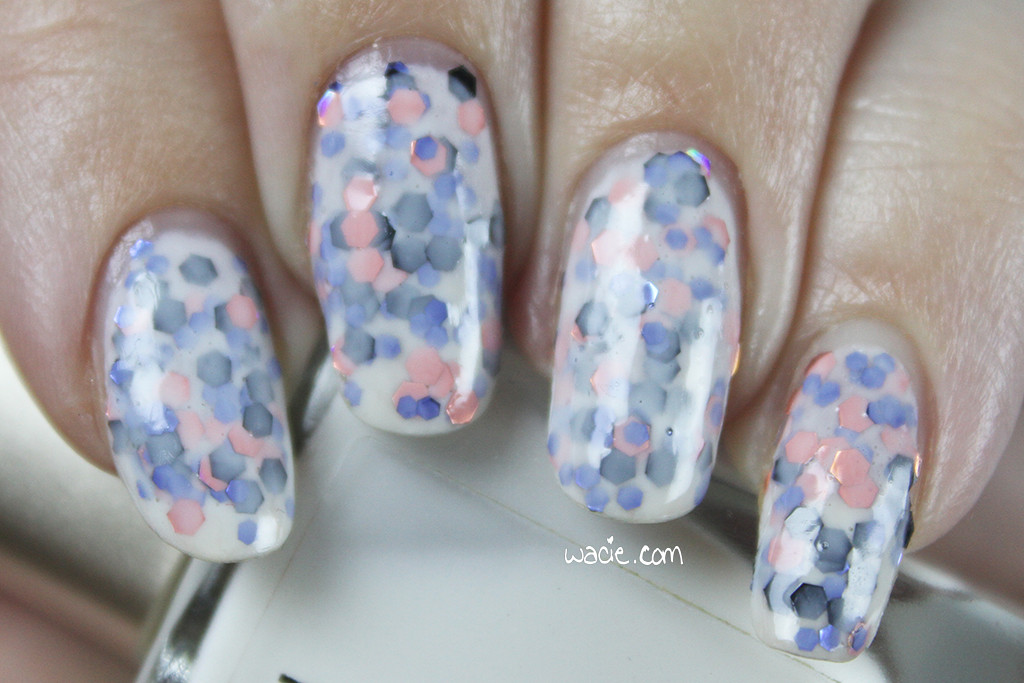
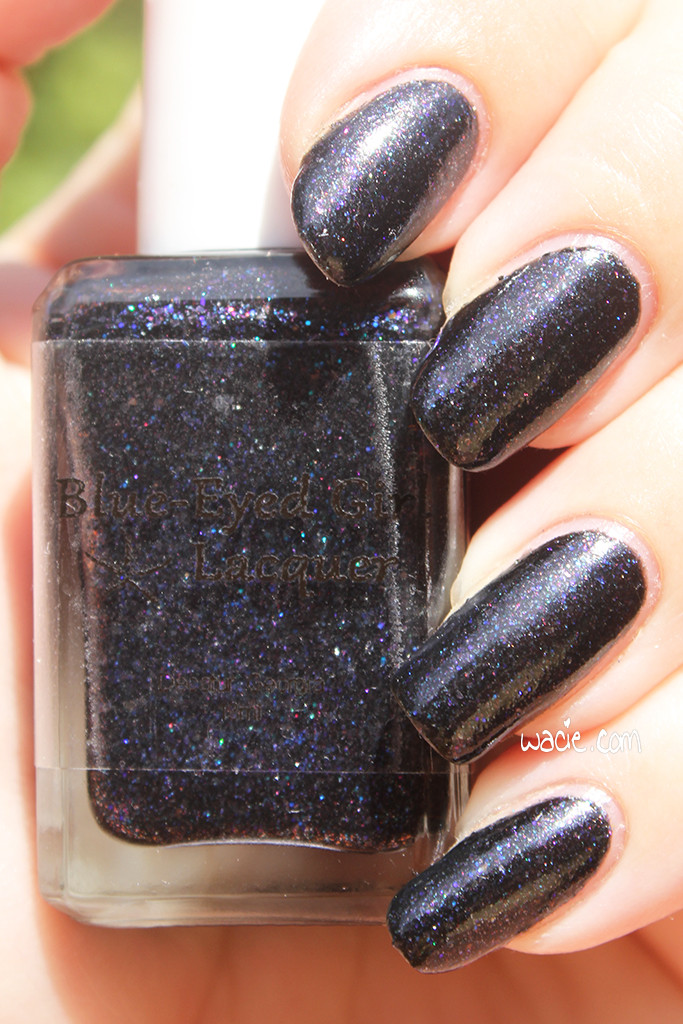
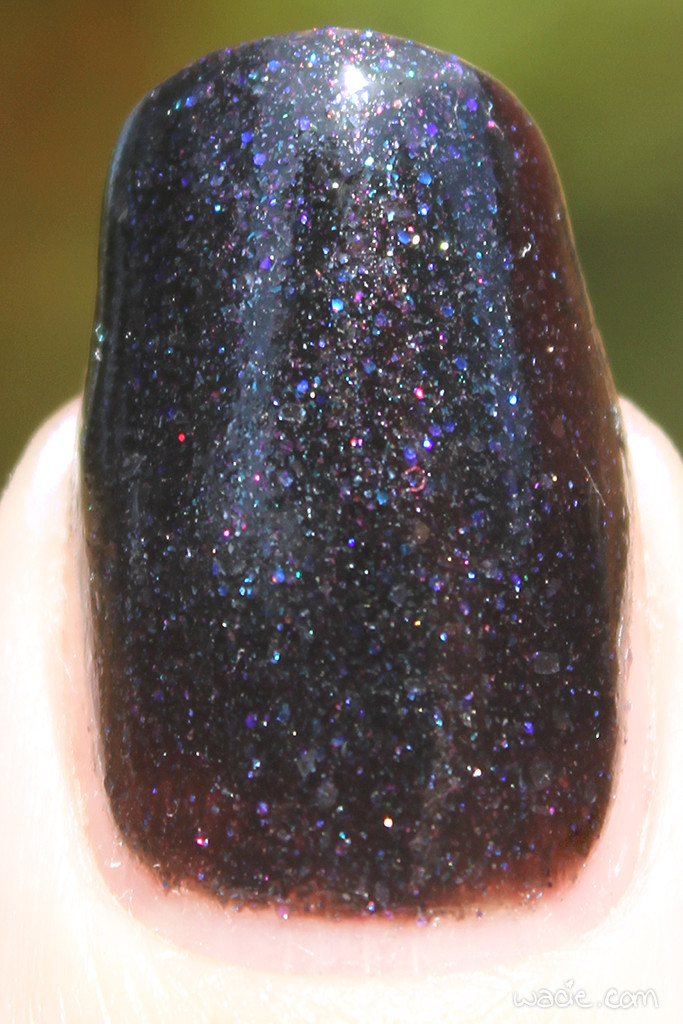
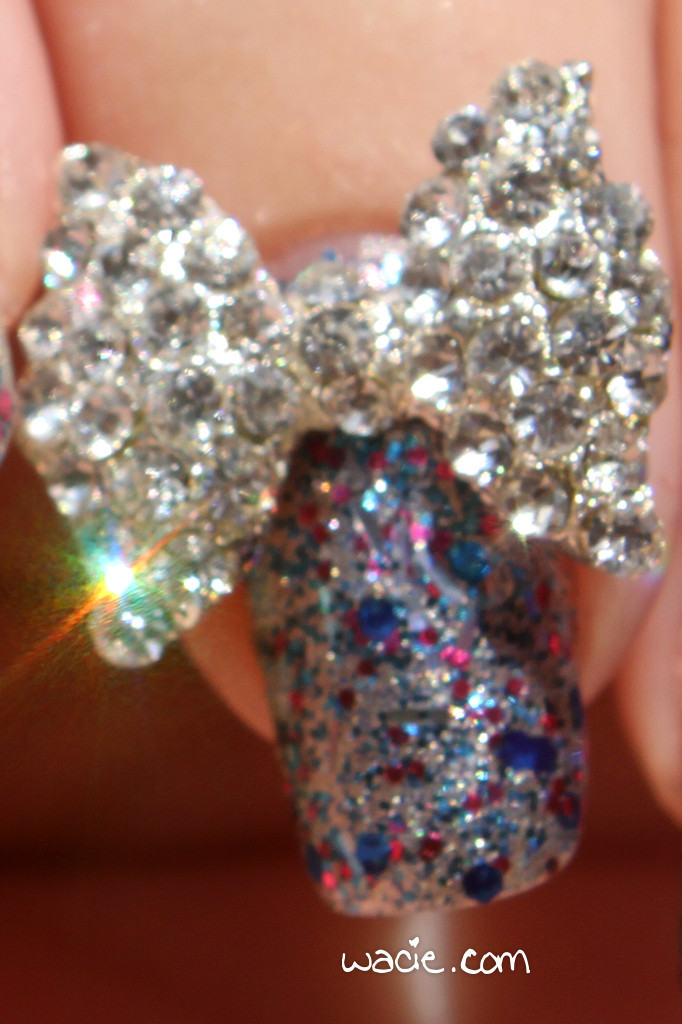
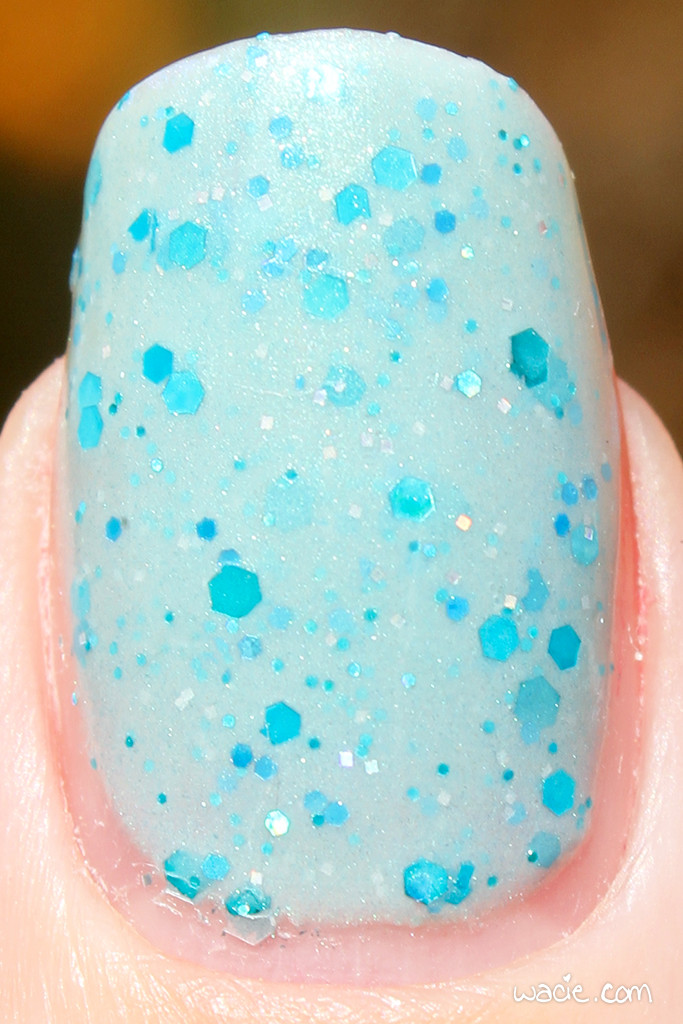
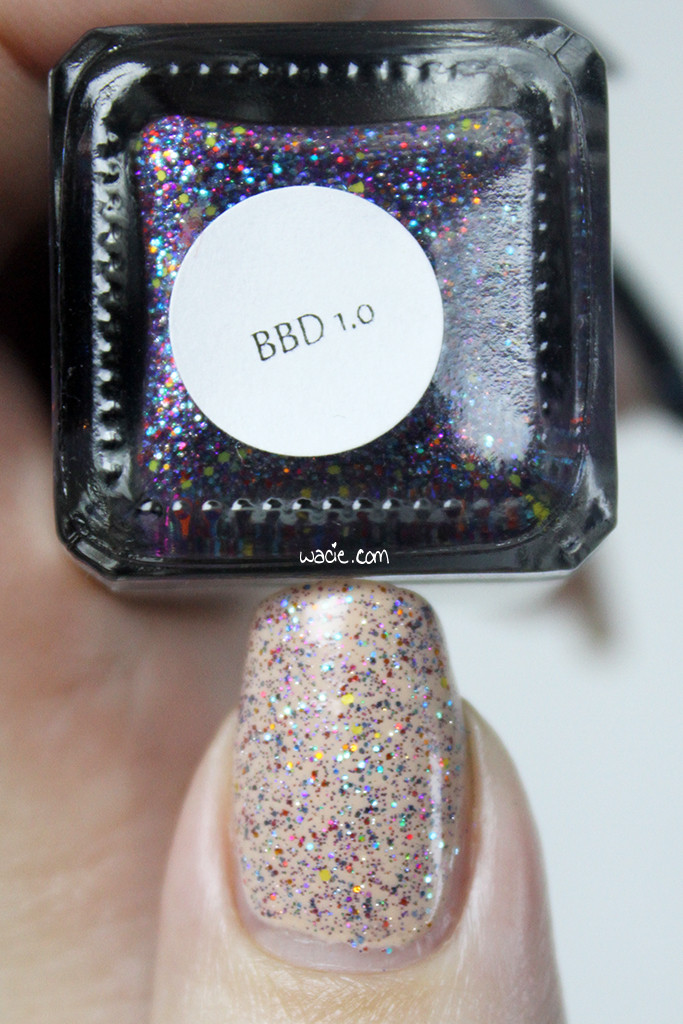
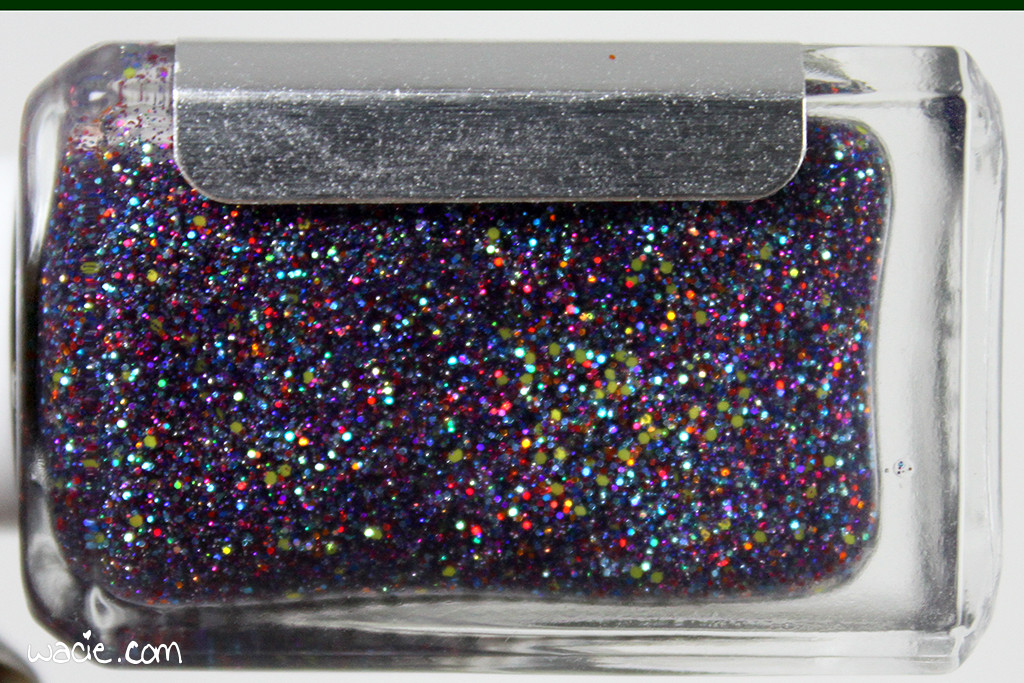
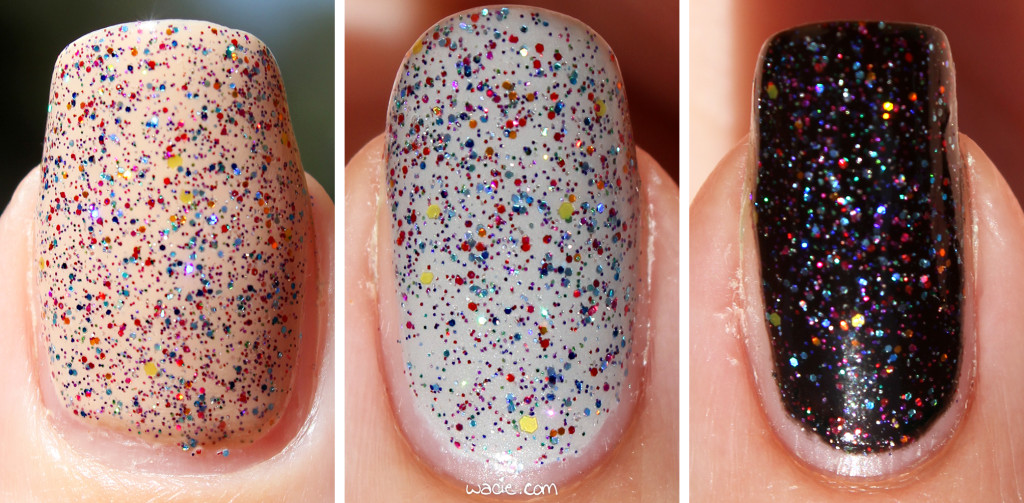
Create a Spark is a clear-based glitter topper with holographic pink and black and blue metallic glitters. This one was a little hard to use, but seems pretty typical of the mainstream chunky glitter topper; there’s so much lacquer in the bottle that the glitter drops right off the brush, and if you try to brush it on, you get like two pieces of glitter and a whole lot of clear polish, which is not ideal. To prevent this, I sponged it on with an eyeshadow applicator; it soaks up all that excess lacquer and helps you position the glitter where you need it. This is my favorite way to get a lot of glitter without having super-thick coats of polish.
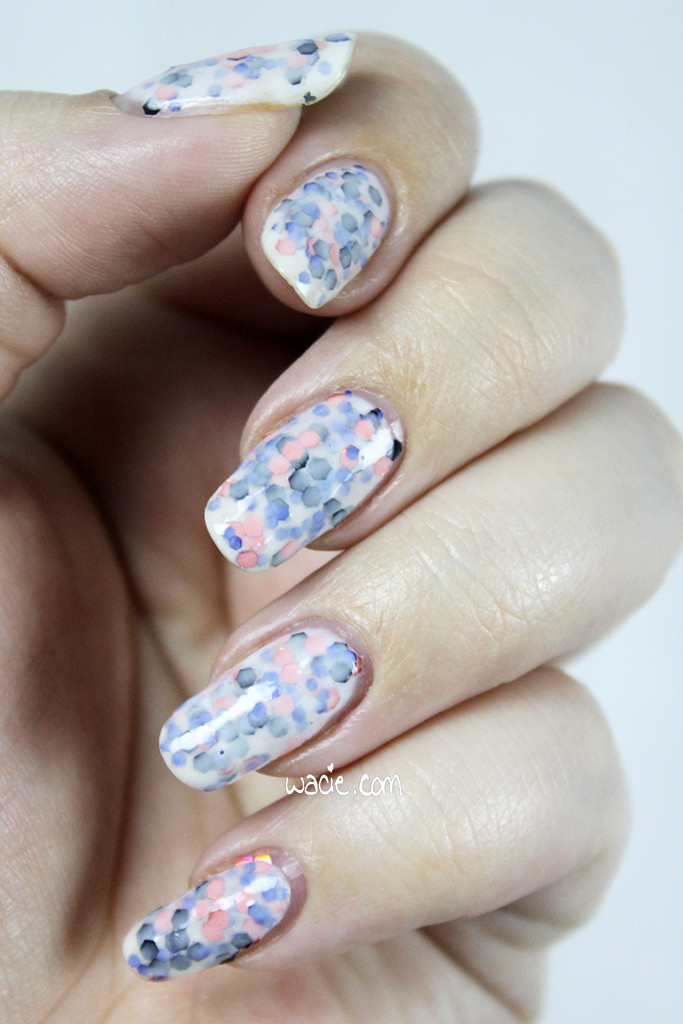
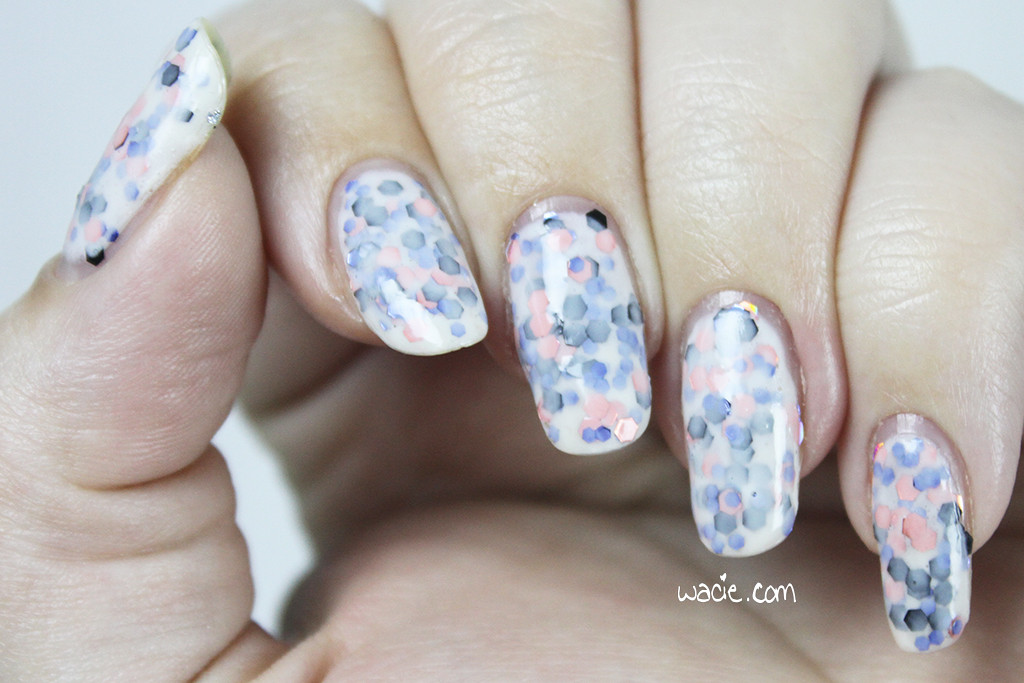
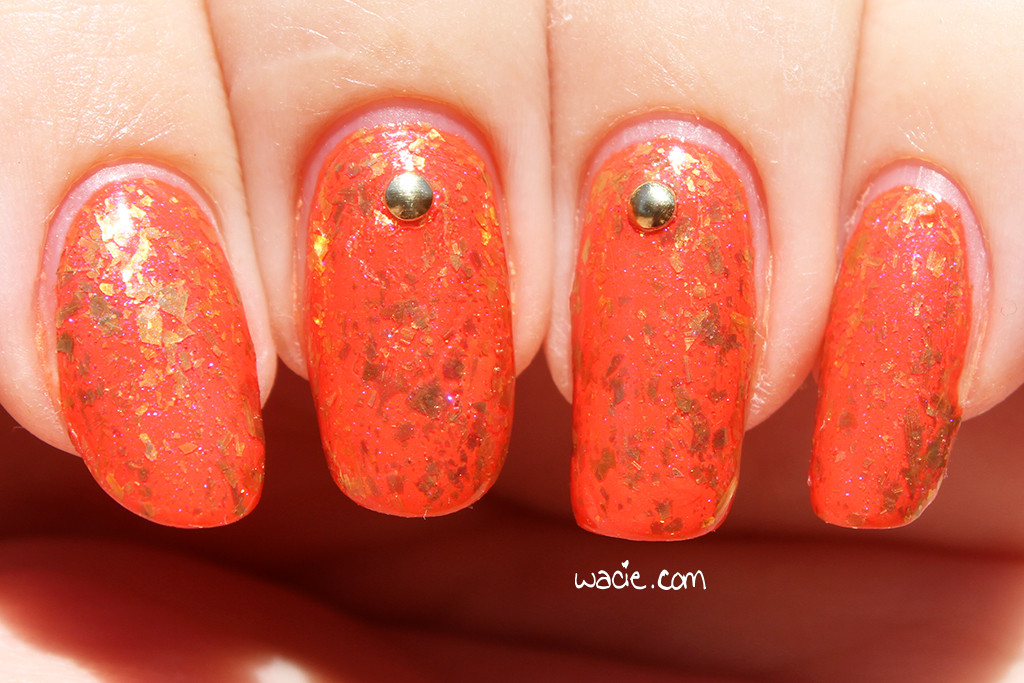
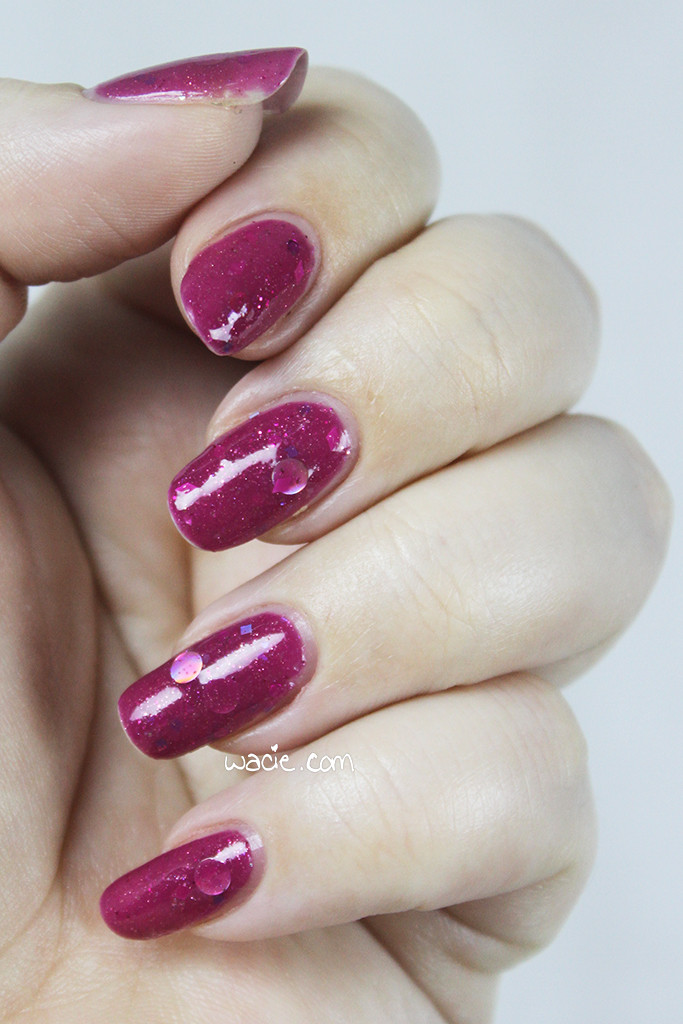
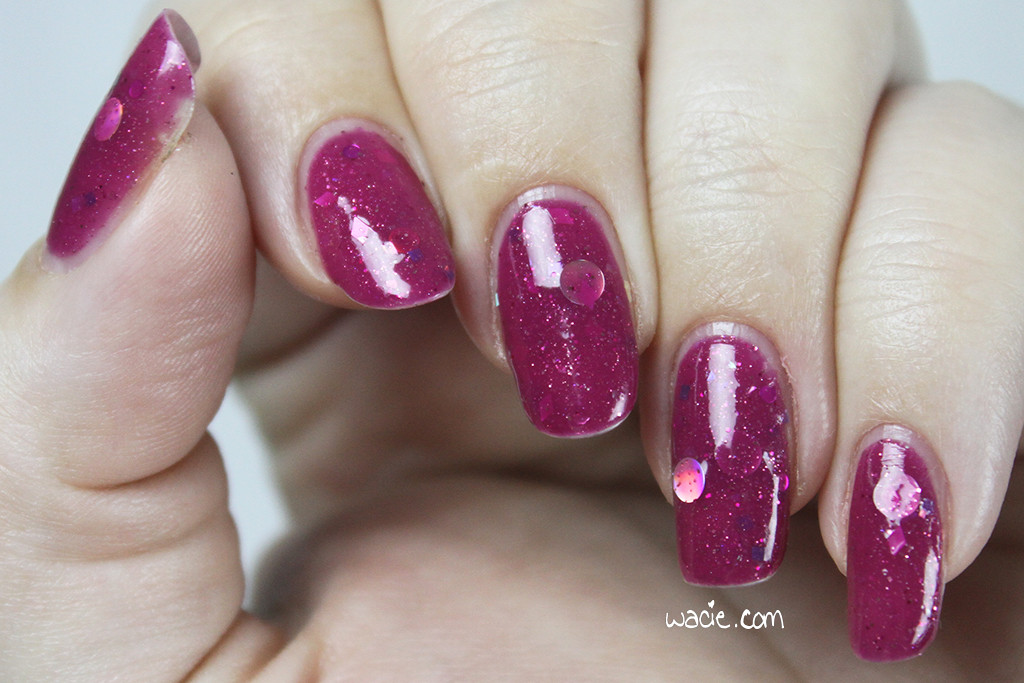
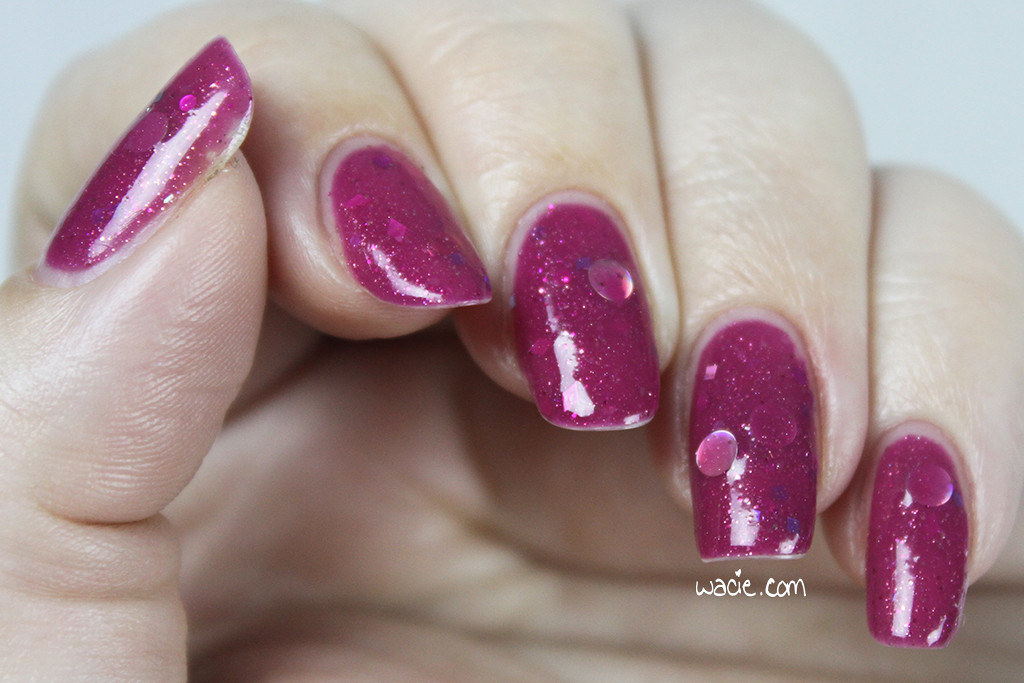
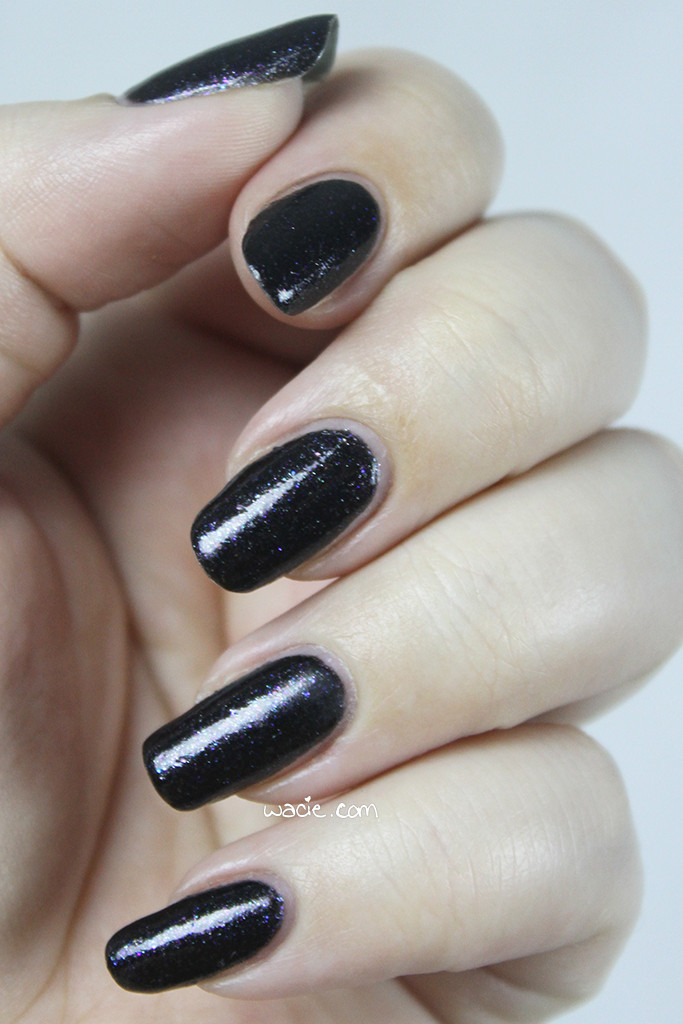
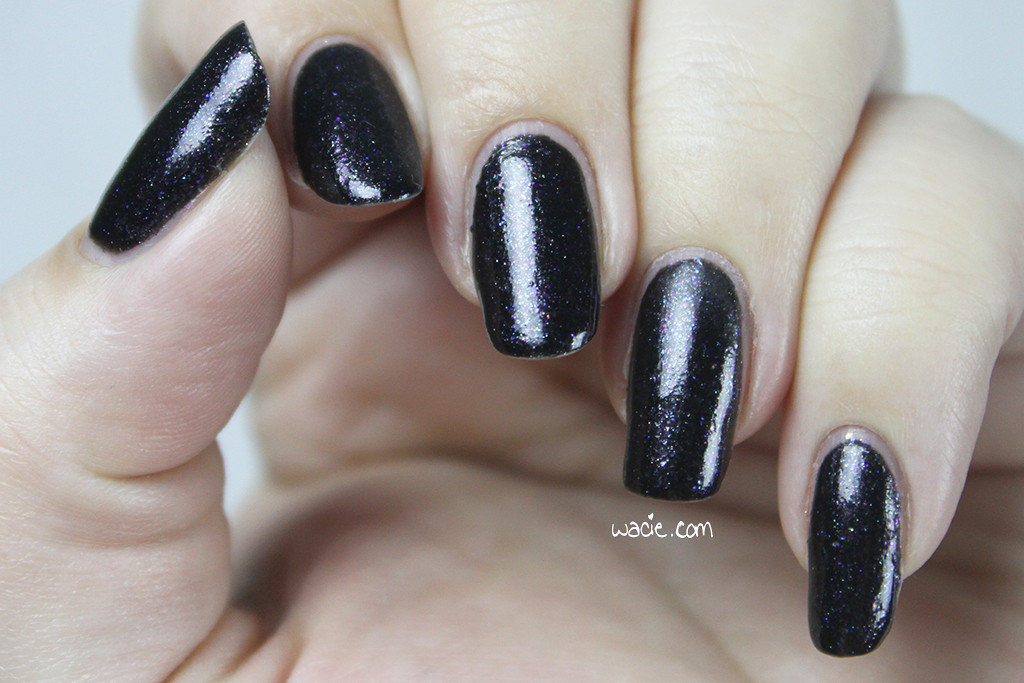
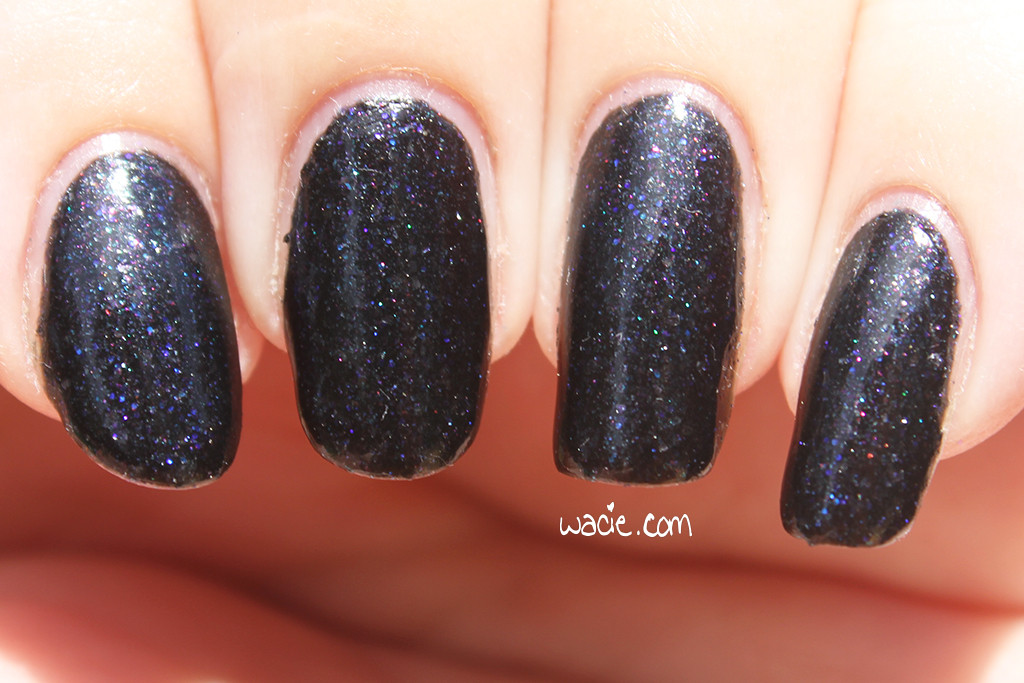
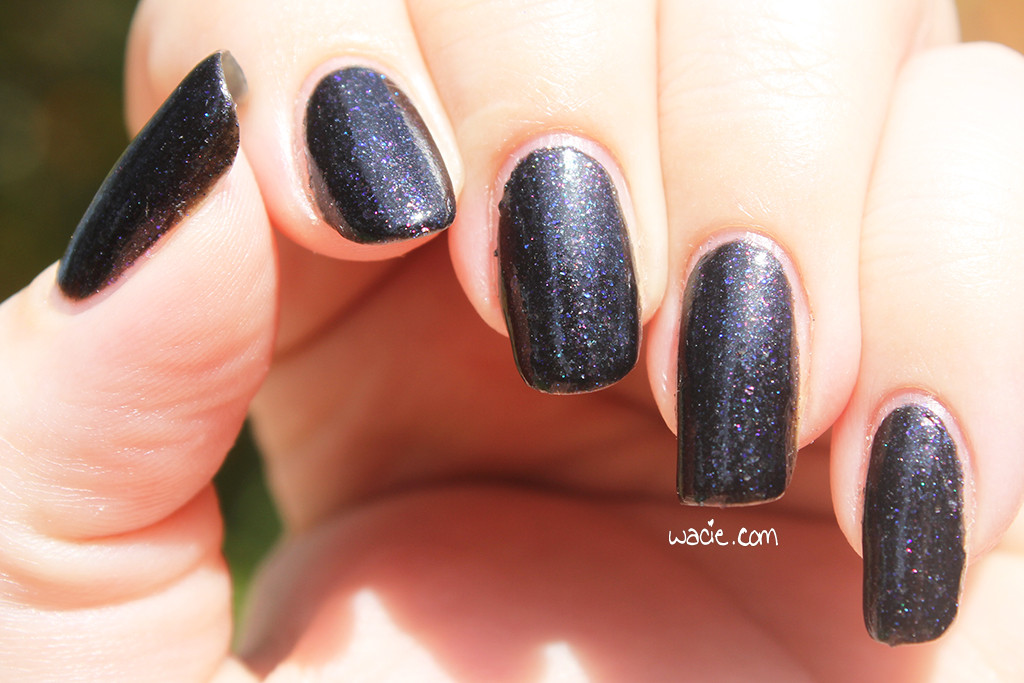
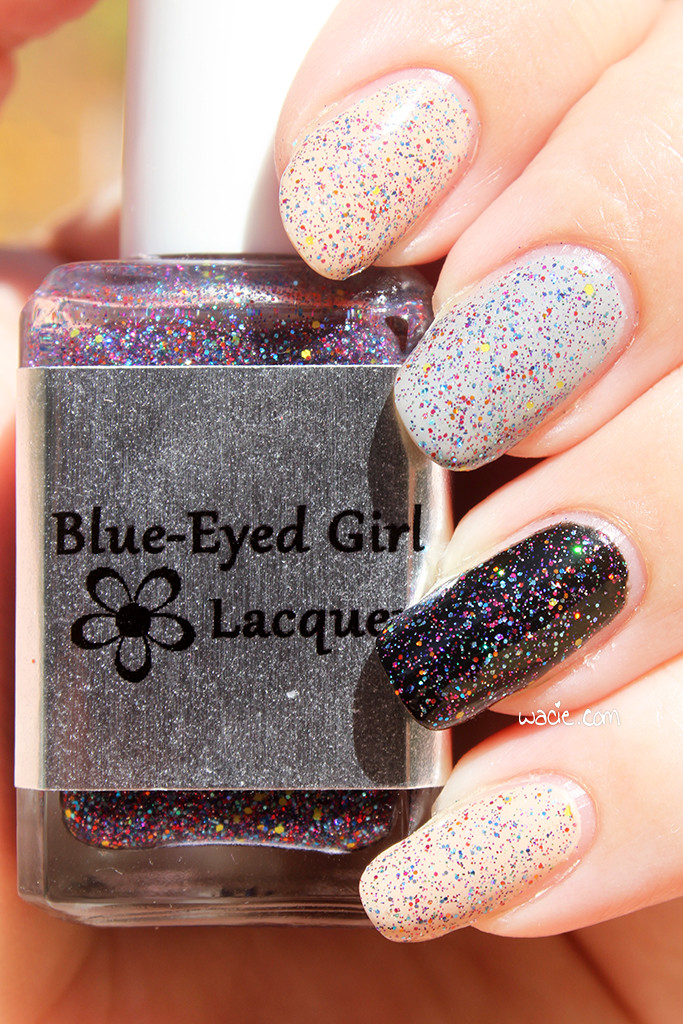
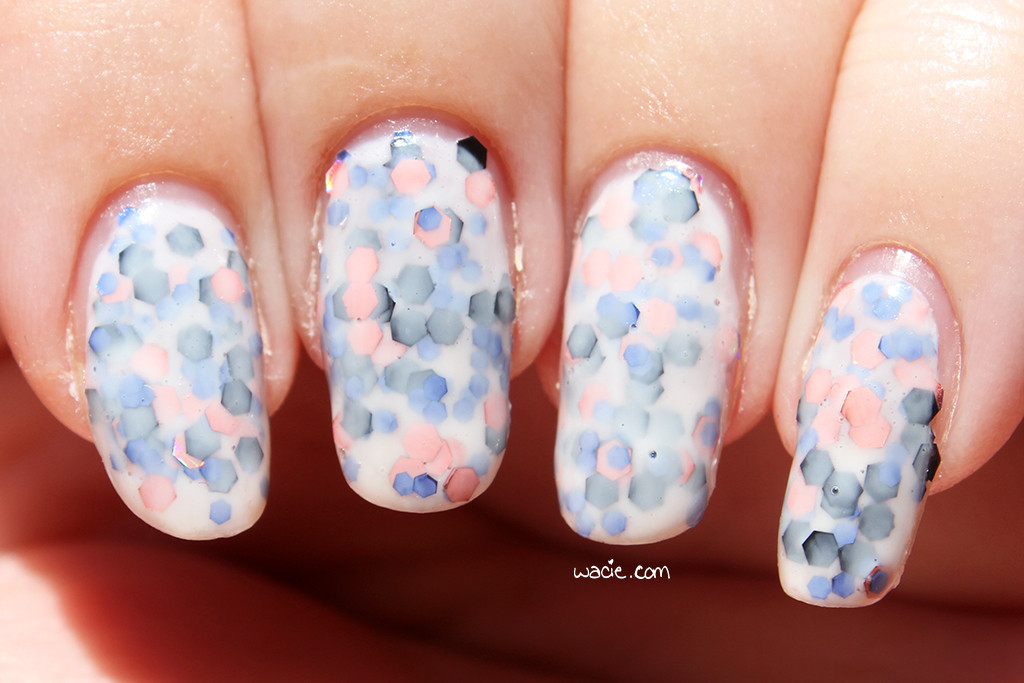
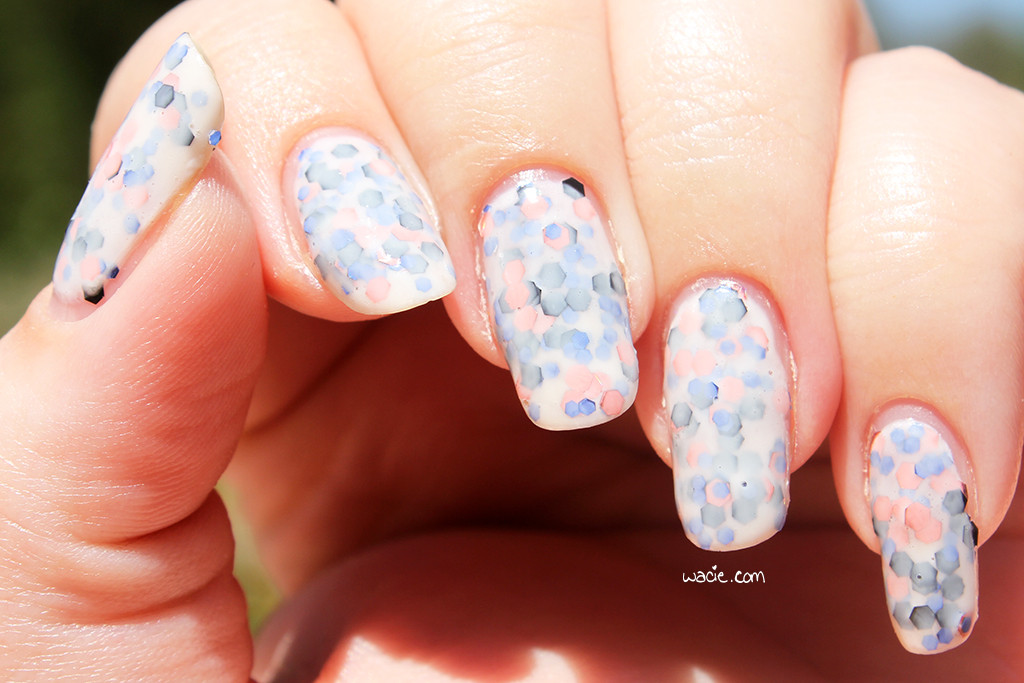
I chose Create a Spark because I thought big glitter and bright colors were best suited to offset the sheer white. Though they pair well, Create a Spark was done no favors in this mani. You can see the shine in some of the edge glitters; the black glitters are dark and shiny, and the pink ones have a really intense holo finish. Satin Starlet kind of sucks the life out of it. Here are some sunlight photos, and this look doesn’t really look much different from in the studio. It just looks like Funfetti. Also, despite everything I said about Satin Starlet, I love the shine it kept. It has a really glossy original finish, and Seche Vite keeps it smooth and shiny. Sometimes it goes on glossy and then dulls, I’m glad that didn’t happen today.
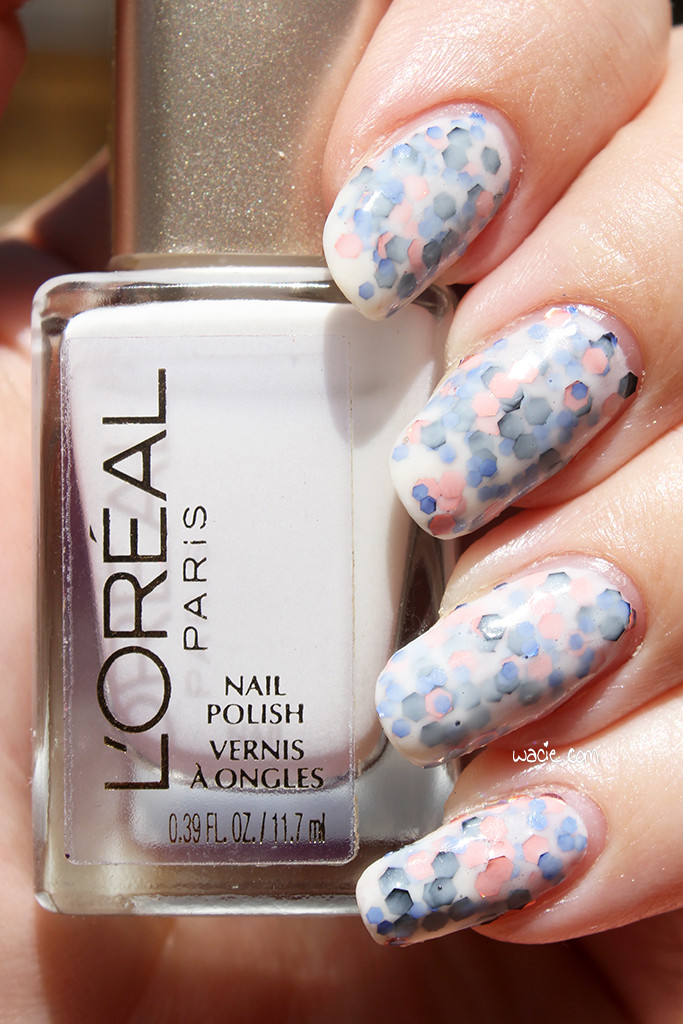
Satin Starlet is discontinued by L’Oreal; other L’Oreal polishes are sold nationwide. I got mine from an outlet store. Create a Spark may be discontinued by China Glaze; other China Glaze polishes are sold in stores. I got mine from Sally Beauty Supply.


 Loading InLinkz ...