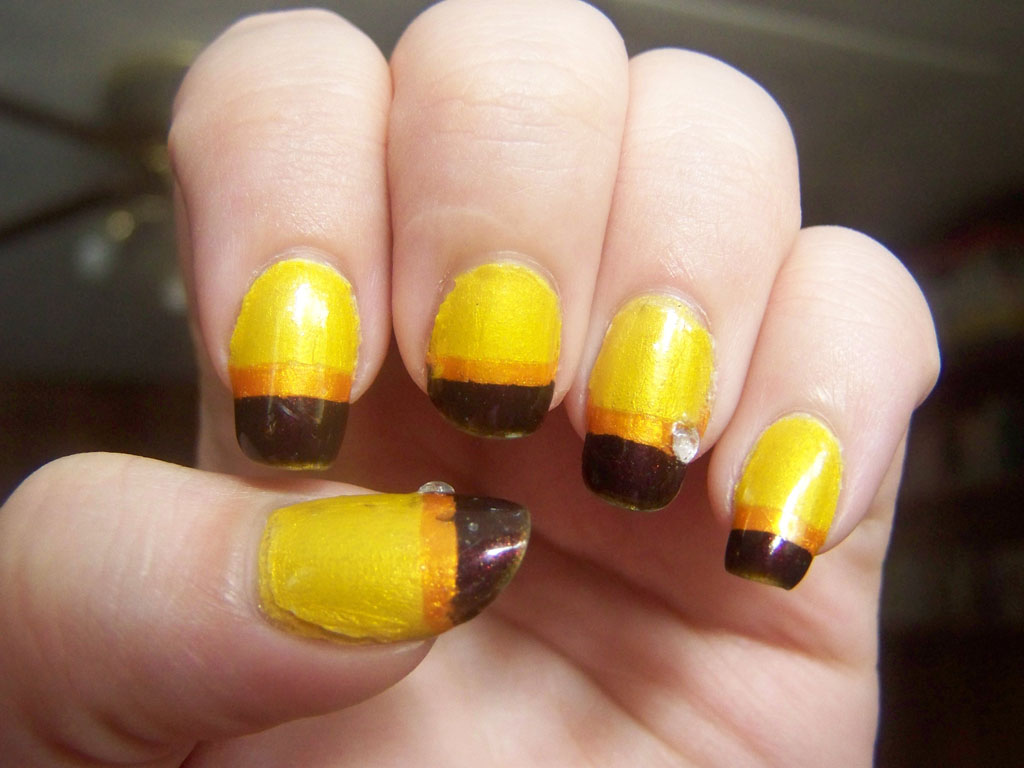
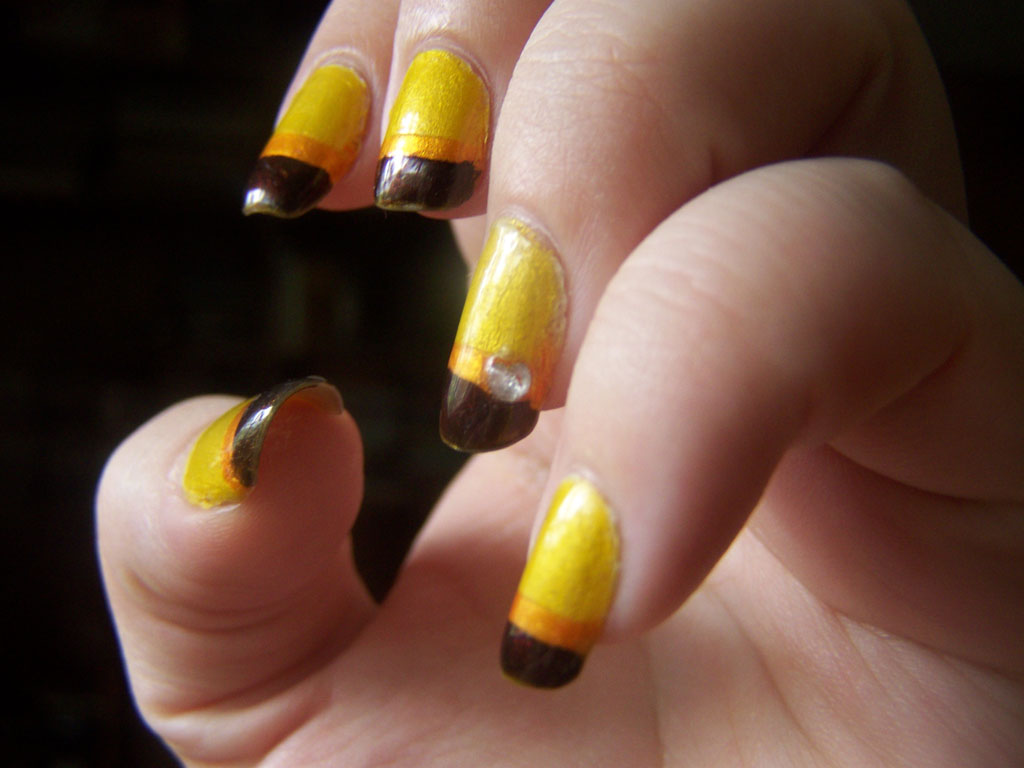
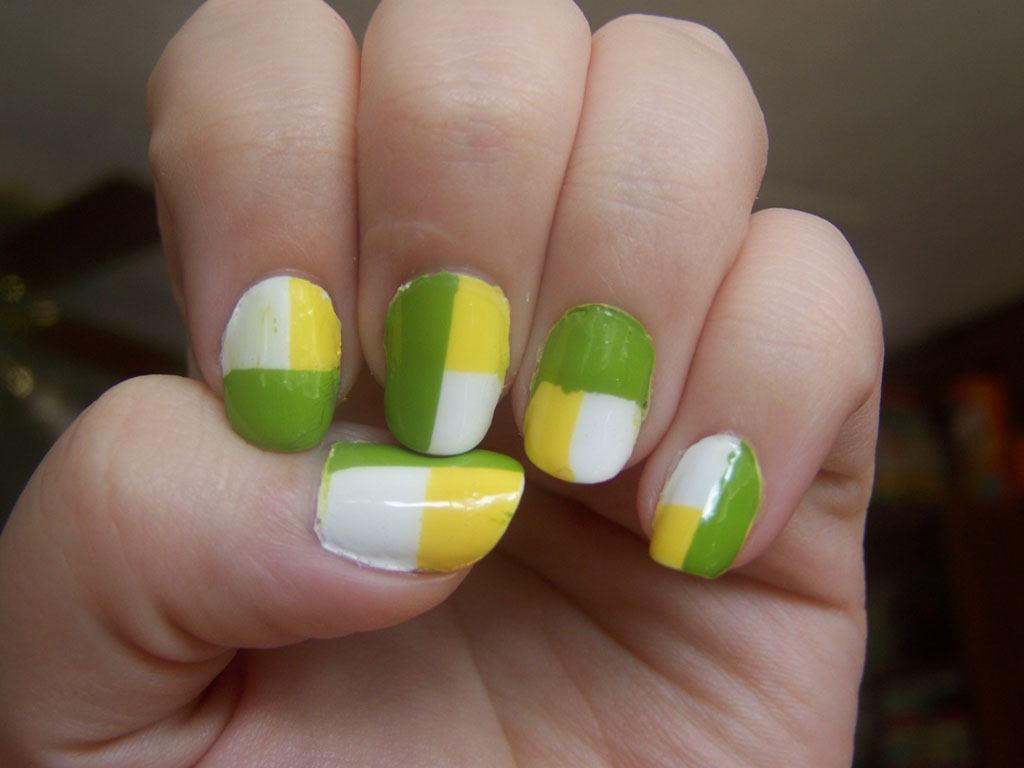
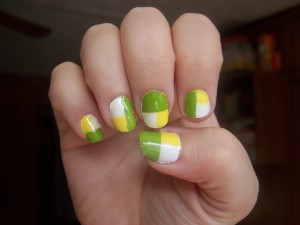
I feel like orange is a color that doesn’t get enough play. I only have a few orange pieces of clothing, and I only have a few bottles of orange polish, even though I have hundreds of bottles of polish. I guess it’s unpopular because it’s so bright and attracts a lot of attention, but that’s exactly why I like it.

This week, I made a starburst thing with orange polish over striping tape, nude, and holographic glitter. It was inspired by a stamp plate I have, with stripes fanning out over the nail. However, in all my test runs, I absolutely could not get the stamped design to cover my nail the way I wanted, so I tried it with the striping tape. I like this look, but I wish I’d used more pieces to make more lines, to make the color and glitter beneath slightly more noticeable.
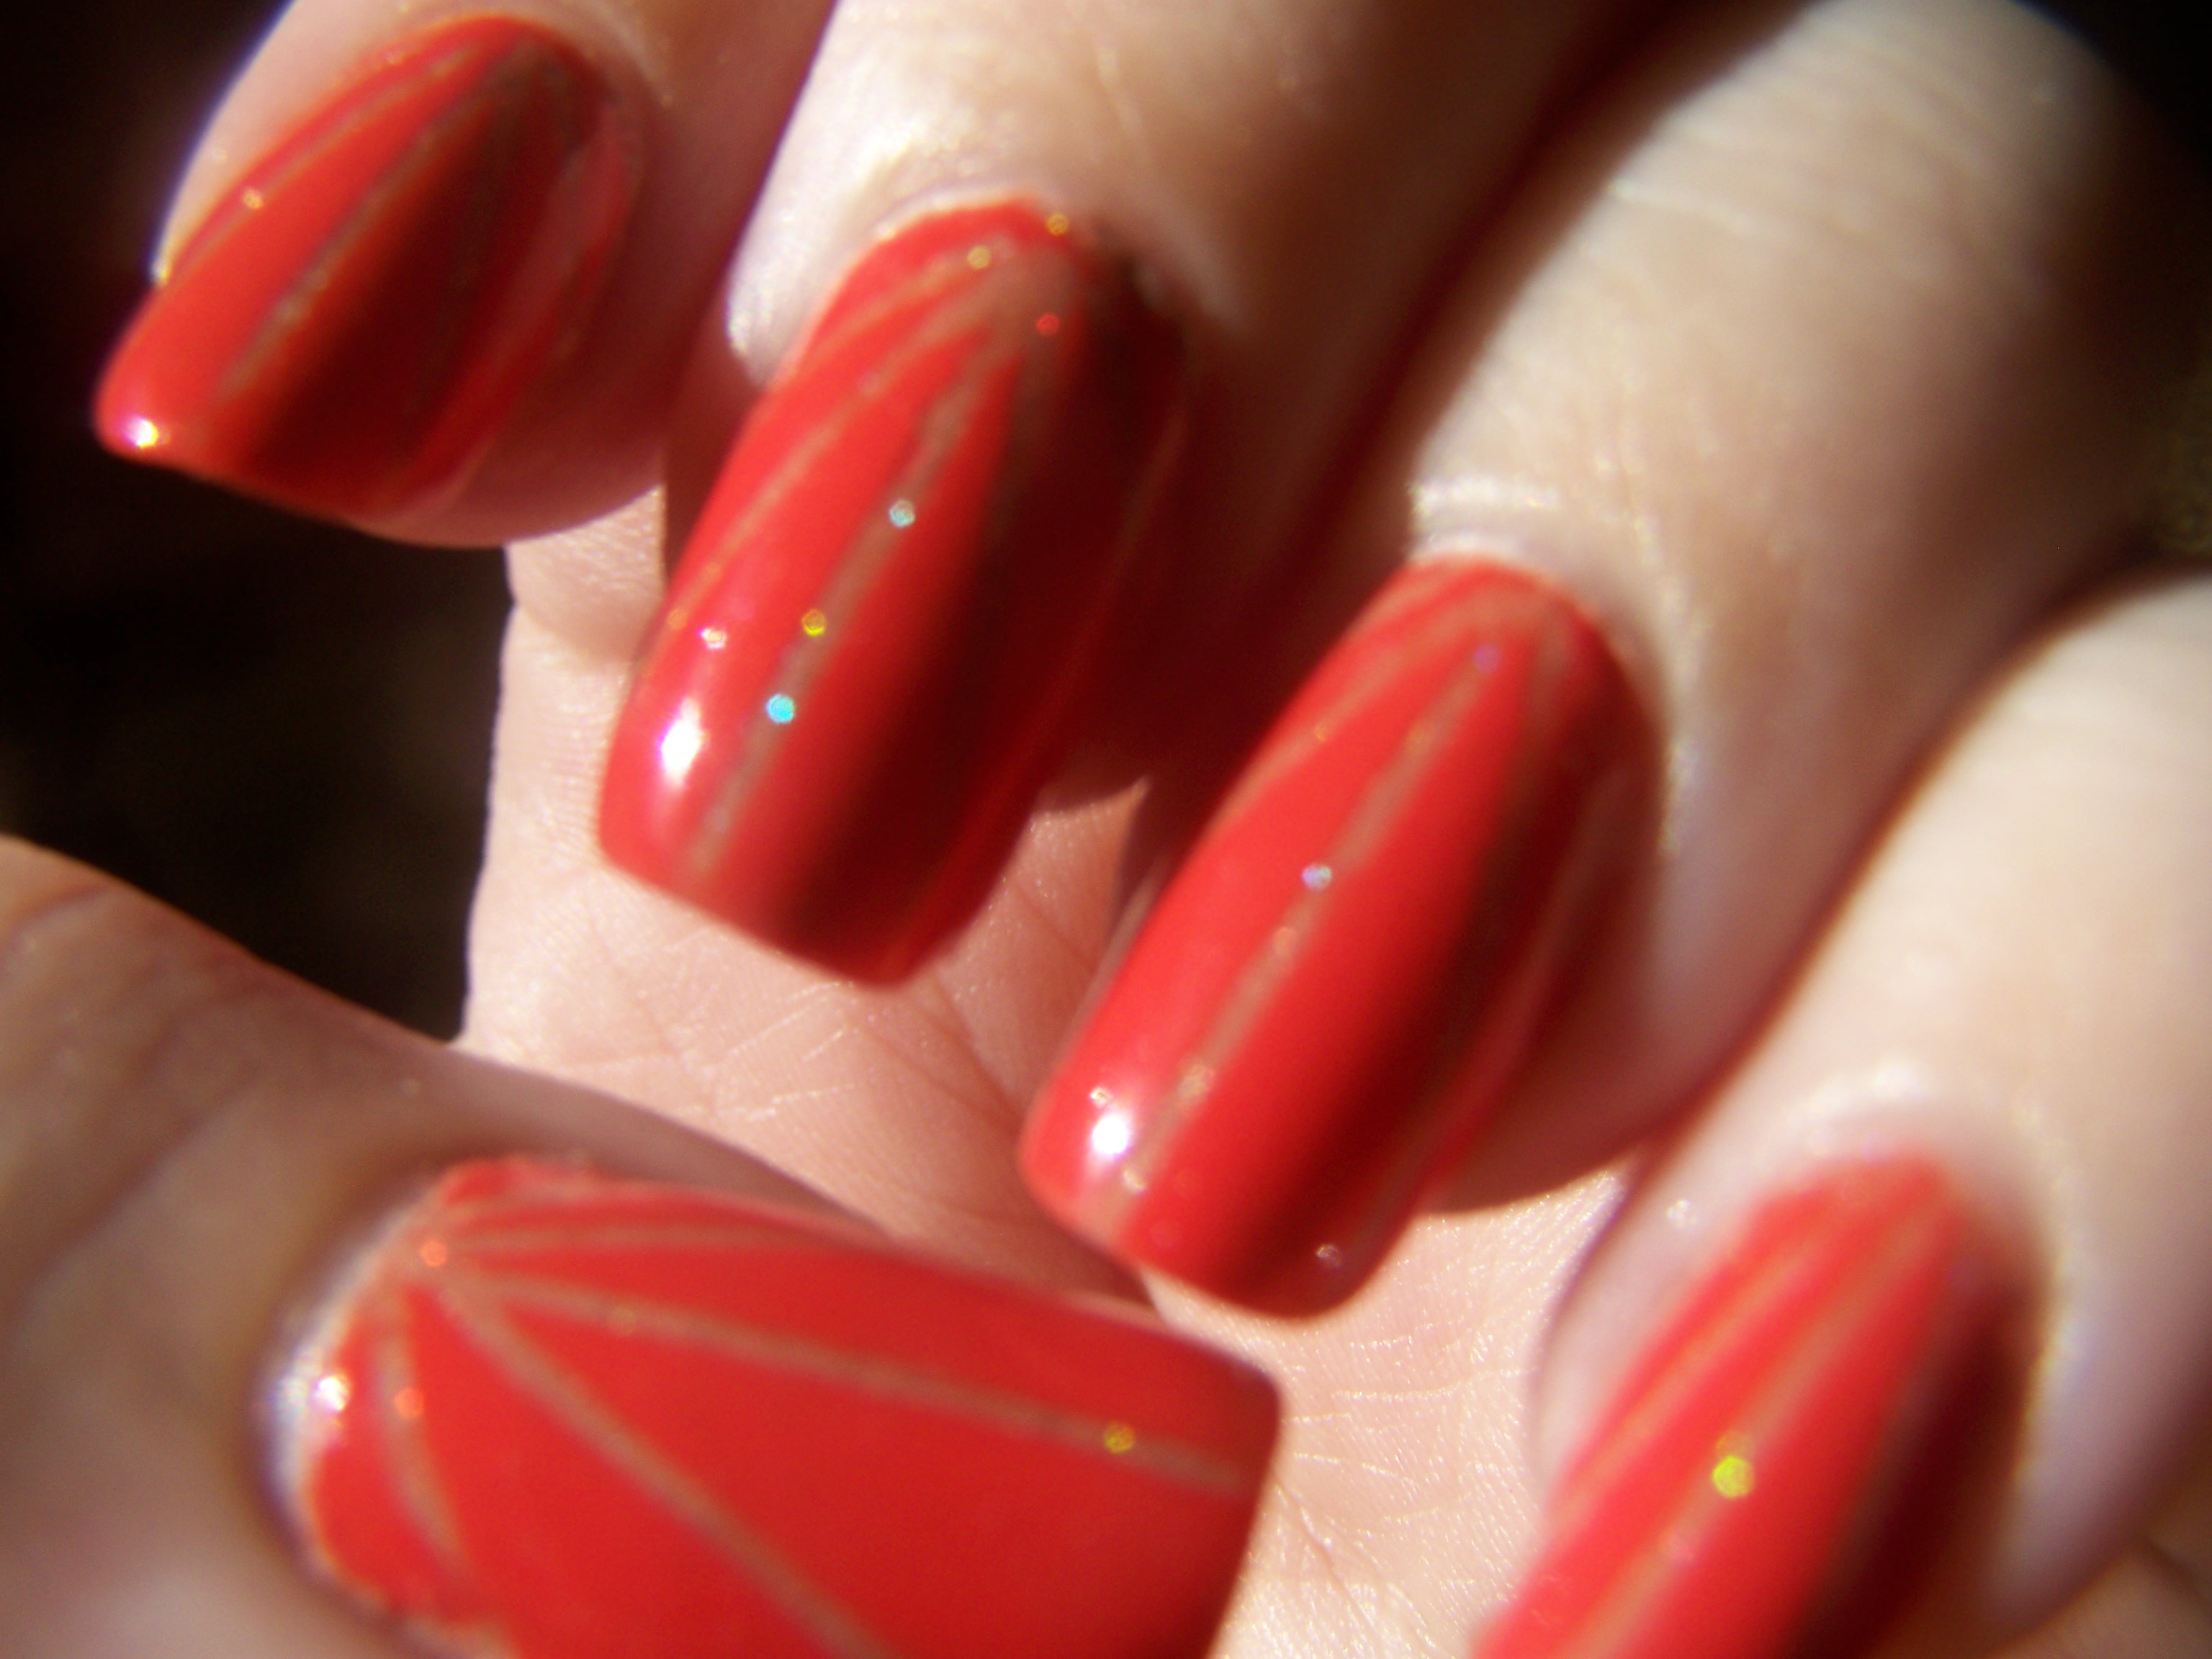
Intentionally blurred to show off the glitter.
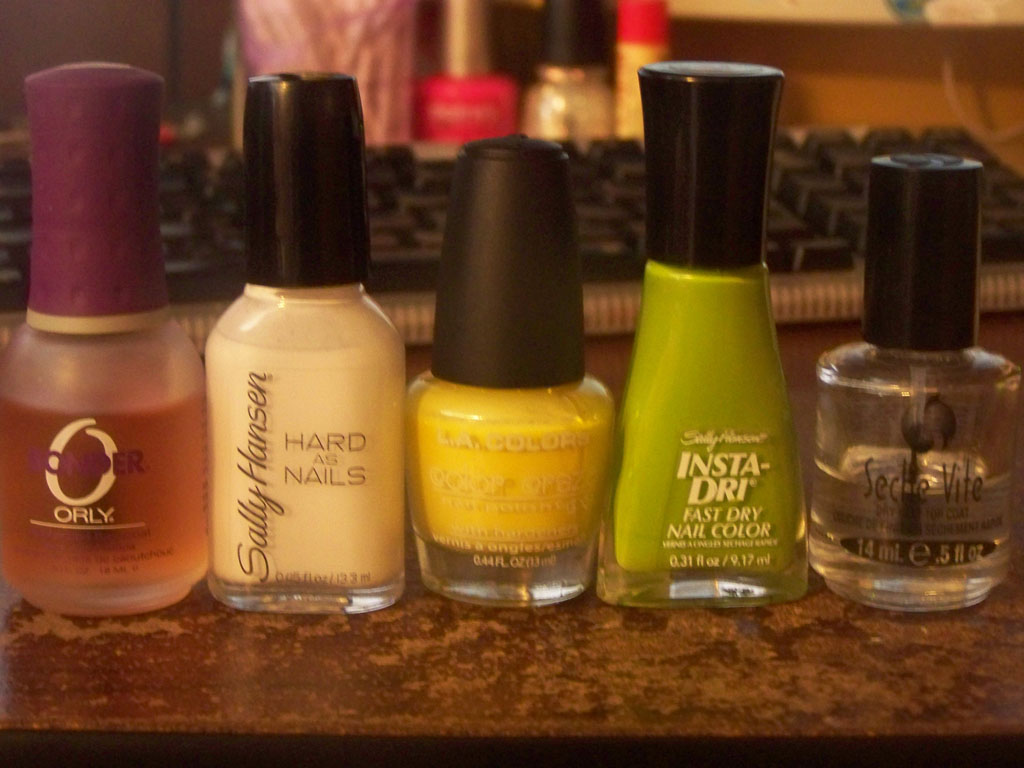
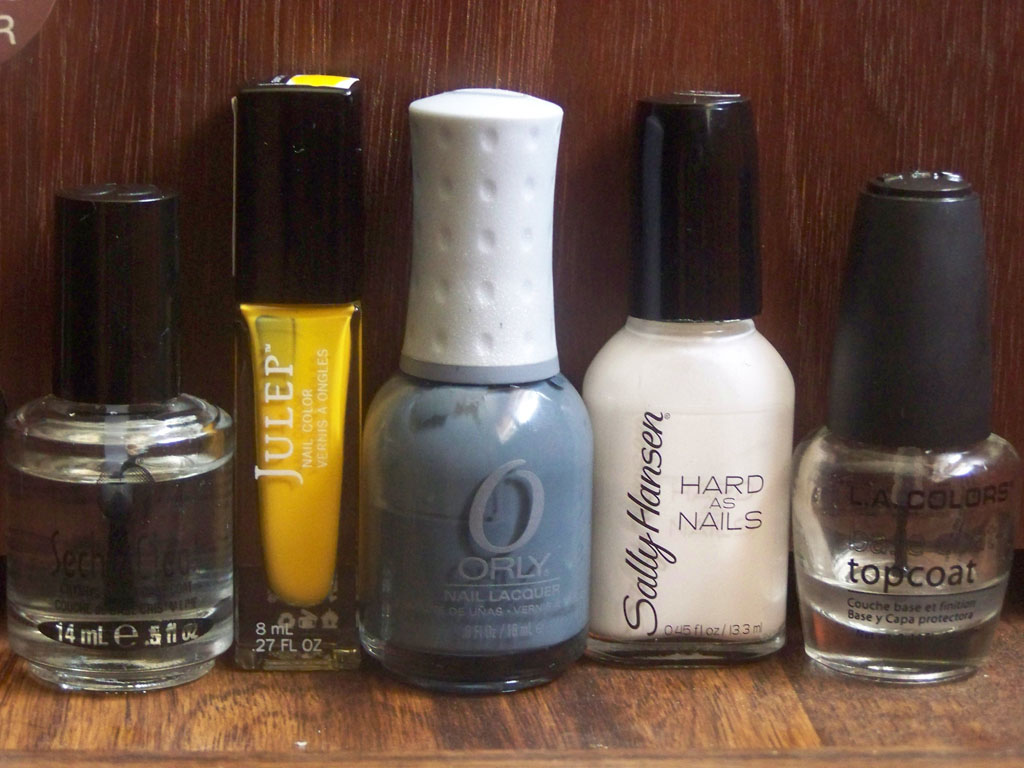
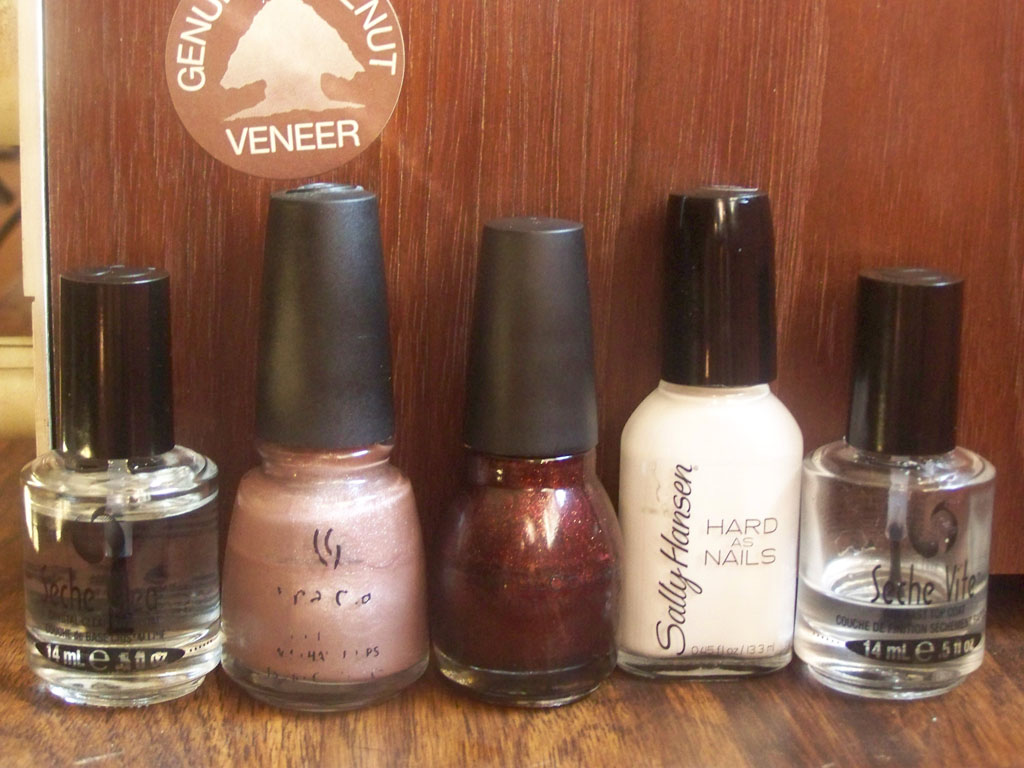
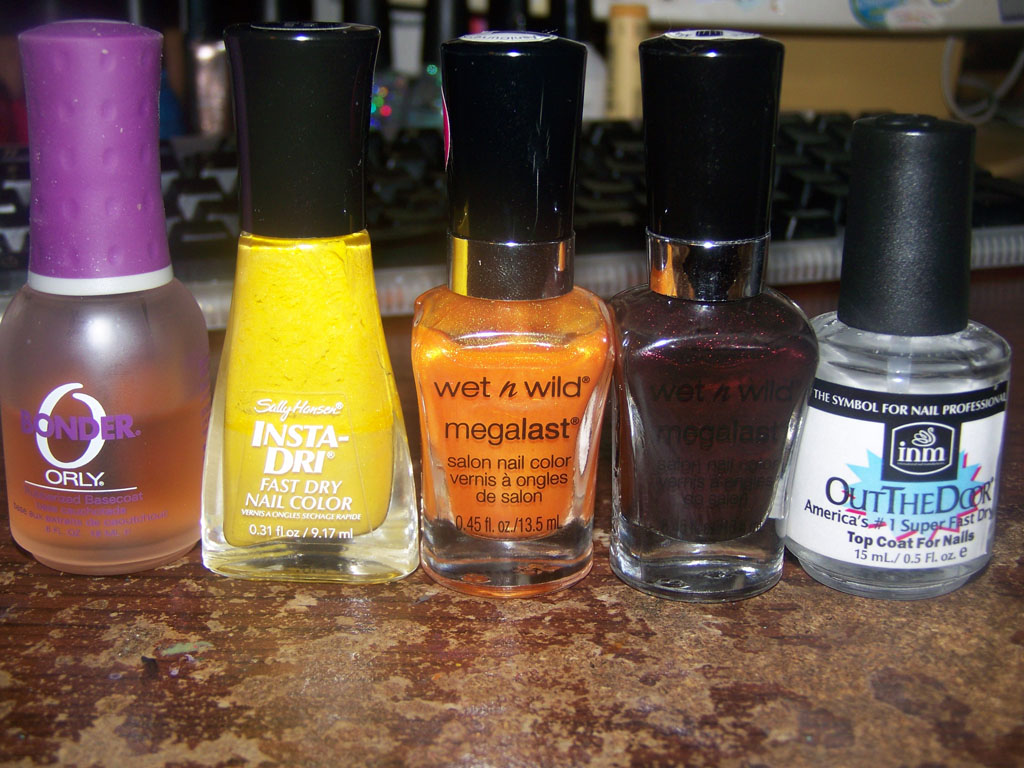
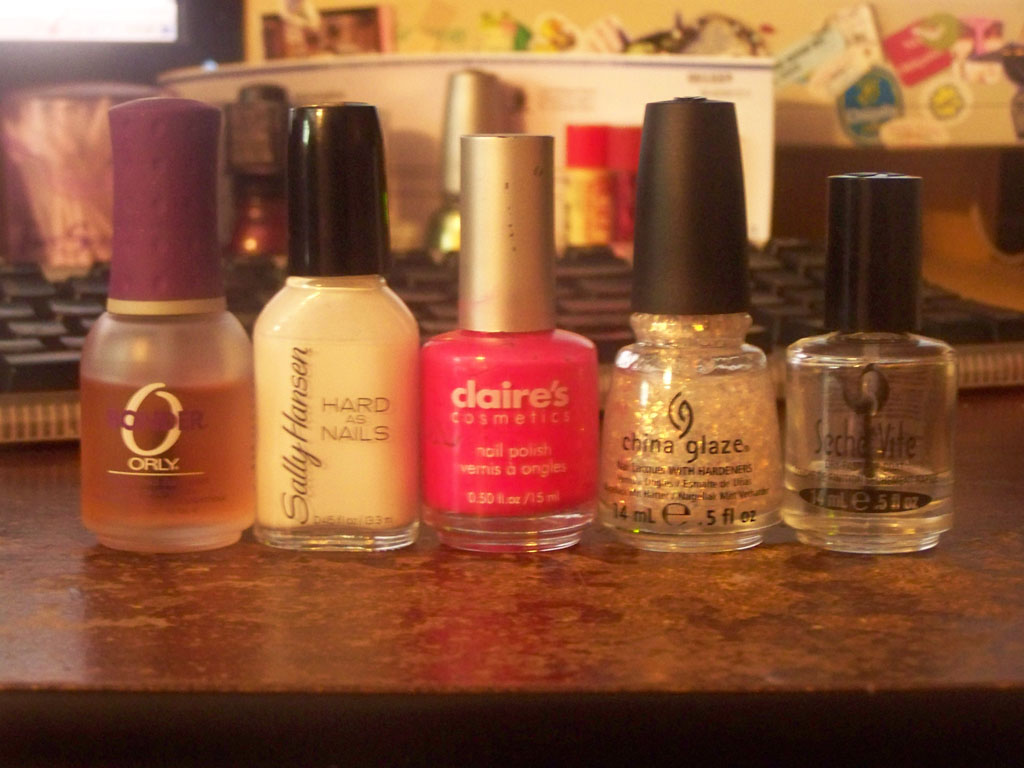
I worked with some great colors with week. The nude is Naked, from Urban Decay’s (now very rare) Naked nail set. I hated neutral nail colors before I got this set. Naked is such a subtle but gorgeous shade that I felt a little bad that I was going to cover up most of it. I added the Fairy Dust glitter on impulse; I thought a soft sparkle would make the nude lines stand out more. The orange is an Insta-Dri color called Heat Flash, and it’s fantastic. I got great coverage in one quick drying coat.
Urban Decay’s Naked, China Glaze’s Fairy Dust, Sally Hansen’s Heat Flash
I love this mani, but there are a few things I’ll do differently next time. First, I want to strike a higher contrast between the colors. I really want the starburst pattern to stand out, so I’ll use black over white or light blue over dark blue. Next, I’ll use more tape and add more lines. Maybe I’ll add rhinestones to the vertices to give it something extra. For now though, I’m pleased.


 Left hand on the top, right hand on the bottom.