Manicure Monday: Whirled Away Over Yellow

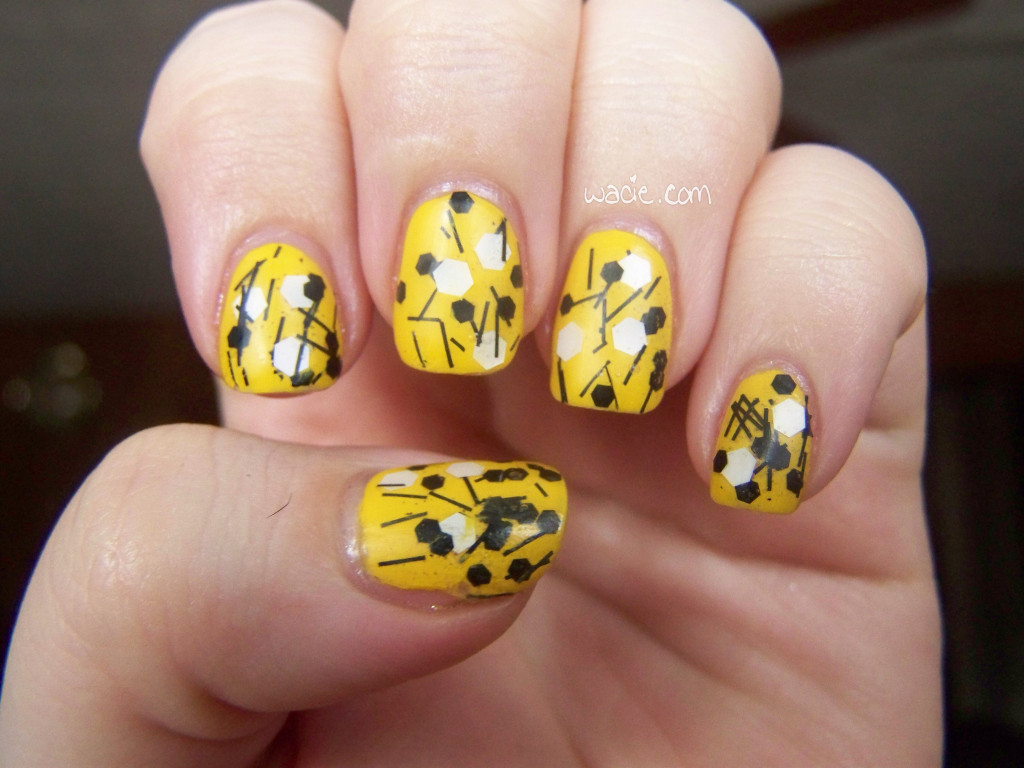
This week, I’m finally arriving to the black and white glitter topper party. Also, I forgot how much I love yellow polish. This is also my first Color Club mani, so that’s exciting too, I guess.

100_33692

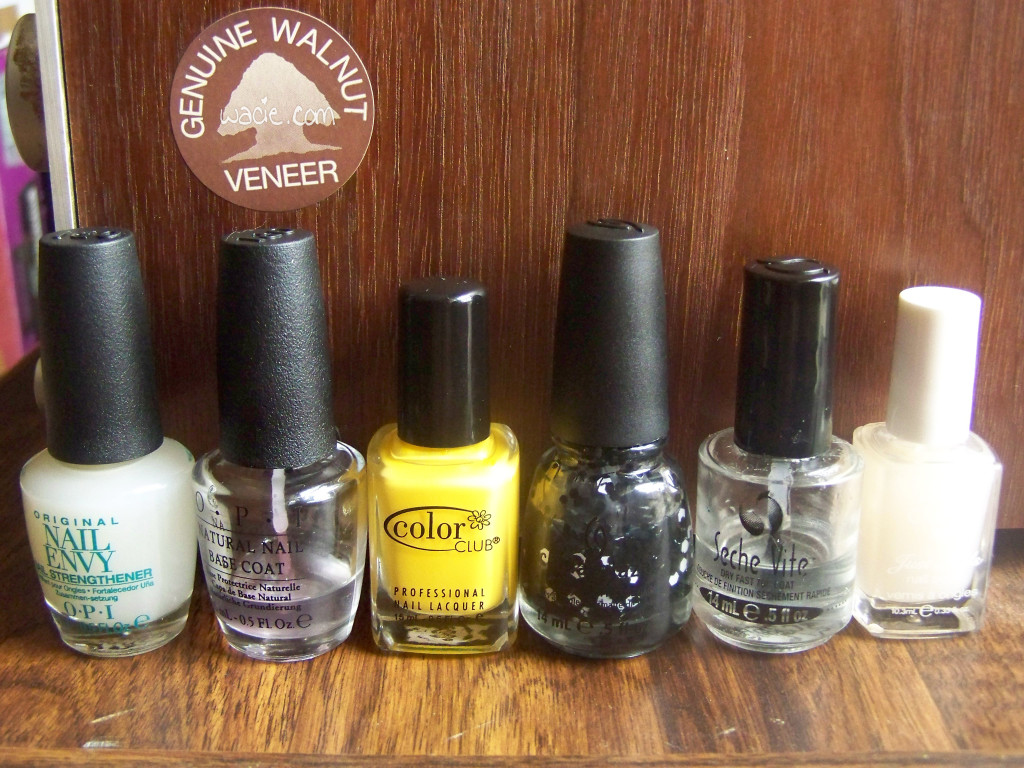
Color Club’s Almost Famous is part of their Poptastic collection, which according to the packaging, are all colors that POP. This one certainly does pop. I really love this one. It went on smoothly and easily and turned opaque in two coats. I’m pretty impressed by the quality. I’ll go ahead and mention I got the whole Poptastic set and the Take Wing set for $8 each at Bealls Outlet. Yeah, it was awesome.

When I saw China Glaze’s Whirled Away, I knew I had to have it. At that point, I’d turned to nail polish to ward off the loneliness of having my boyfriend living in another state, and a certain enabler showed me this one. It was so unlike anything else I’d seen or owned; I fell hard for it and spent my dinner money on it. I regret nothing.

Color Club's Almost Famous and China Glaze's Whirled Away. Also that's Hard Candy's matte top coat on the end.

Color Club’s Almost Famous and China Glaze’s Whirled Away. Also that’s Hard Candy’s matte top coat on the end.

This is a look I like. I had a little application problem with Whirled Away; it picked up some of the yellow, and while it didn’t smudge the color, some of the black glitter has a weird greenish wash over it. This is probably most evident on my thumb. Apart from that, I like the chaos of the glitter over the bright color. Also, the matte coat was an afterthought; I figured that since the glitter was matte, it couldn’t hurt. I’m always afraid I’m going to ruin the mani with a matte finish. I’ve also switched from the Revlon matte to Hard Candy’s matte, and it’s the first Hard Candy product I’ve ever used. Lots of weird firsts this week.

Manicure Monday: Trash Nails and Magnetic Silver

This week on Manicure Monday, we play with magnets, tweezers, and super glue. No, we’re not building a robot, we’re doing our nails! I wish we were building a robot, that would be cool.
100_31492

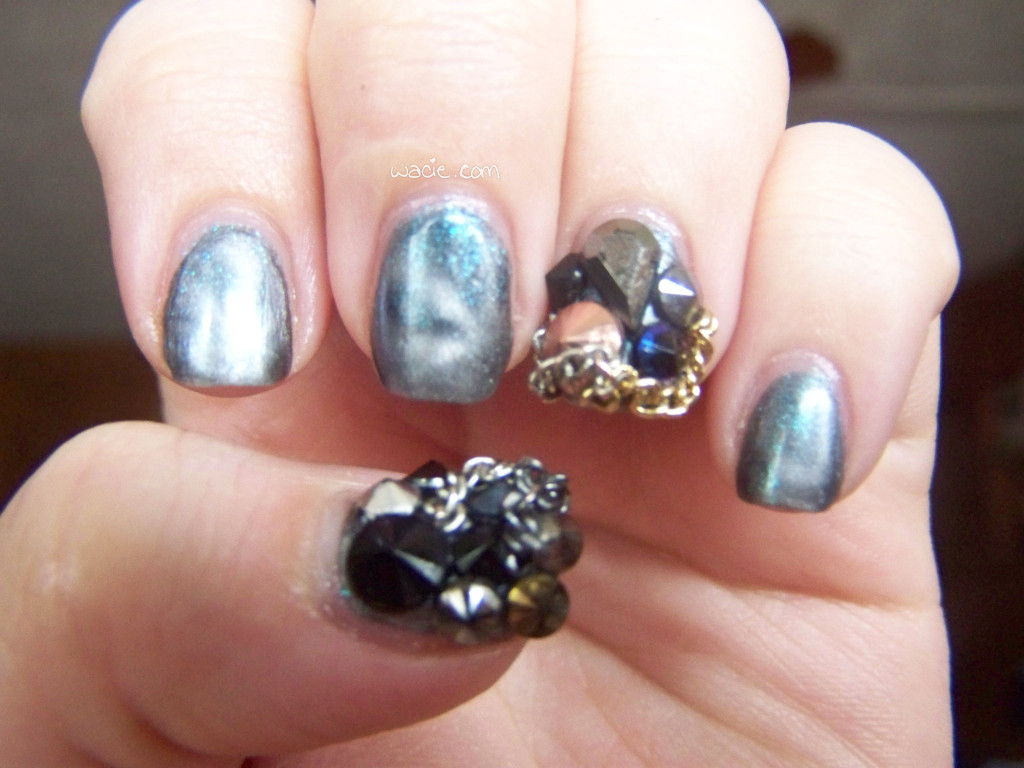
I only used one polish this week: Sinful Colors’ Polar Opposites. I know magnetic polishes are passé and uninteresting now, but I still like the look, even if I couldn’t get mine to come out very well. As was the case with my last magnetic polish, the magnetic design looked fantastic when I pulled the magnet away, but began to fade and distort as it dried. On some nails, the design is completely invisible, whereas some others barely are. It’s too bad; the magnetic effect really brings out the fine blue-to-purple shifting glitter. It’s a shame it’s not more pronounced, it’s really pretty.
100_31592

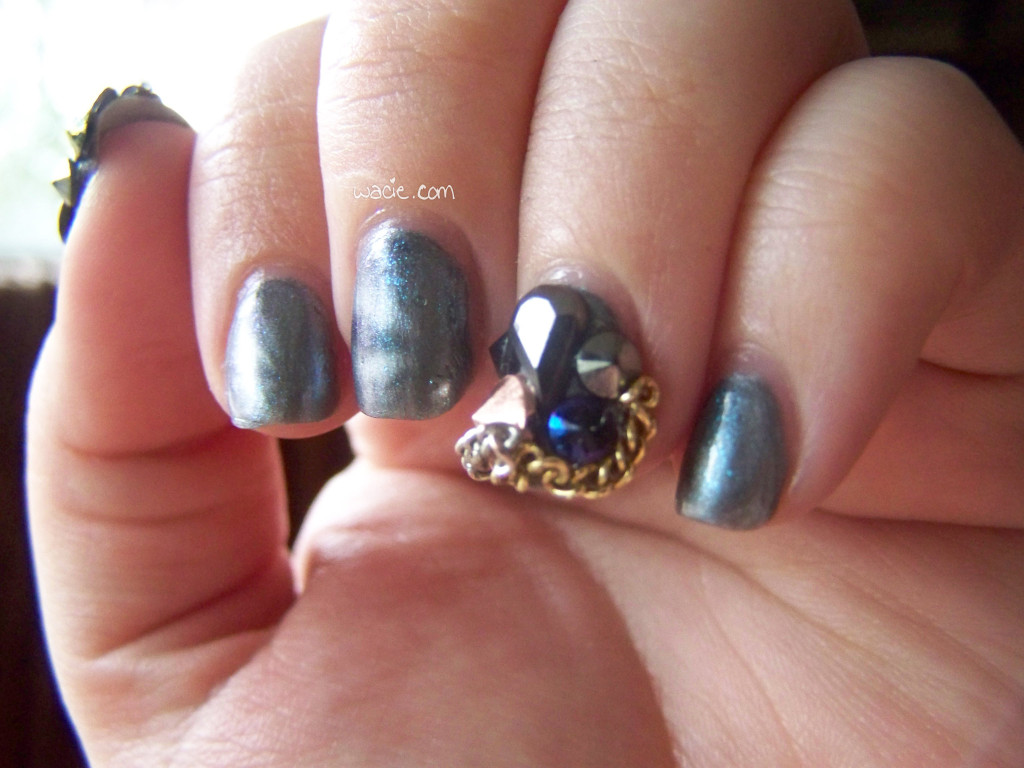
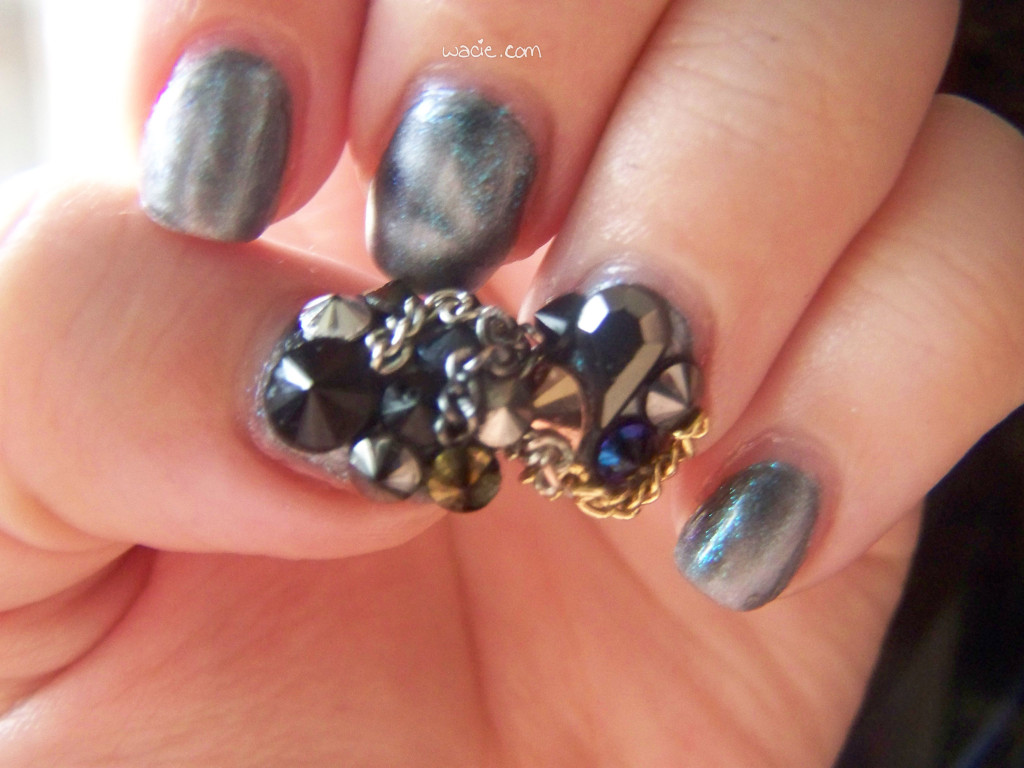
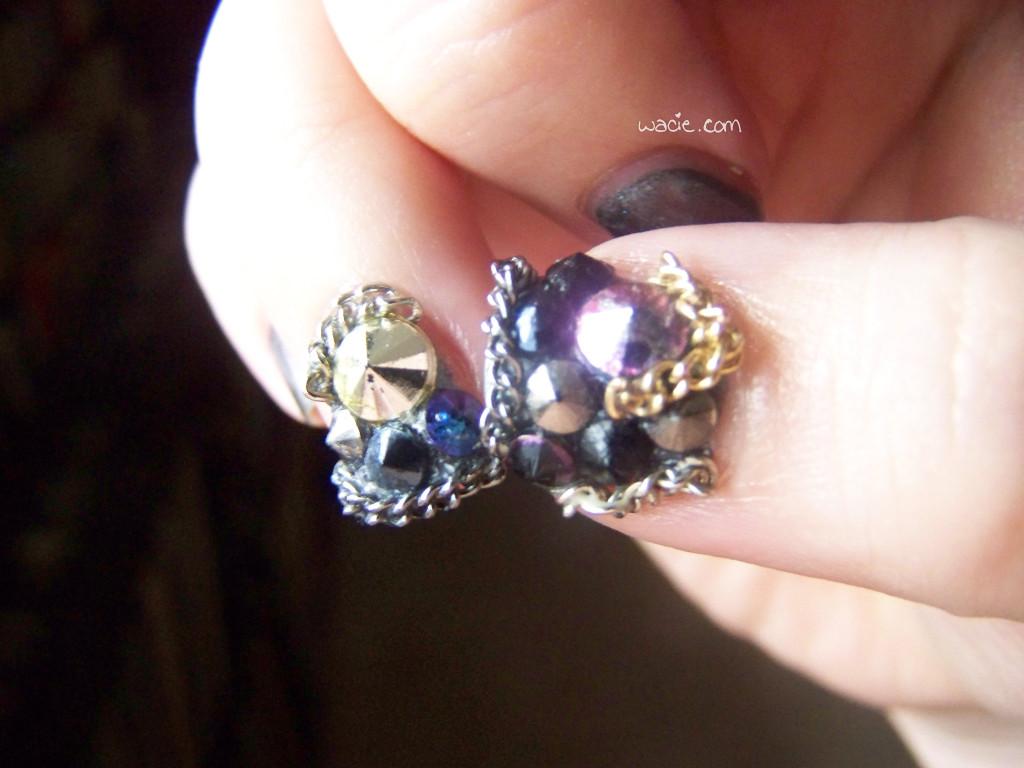
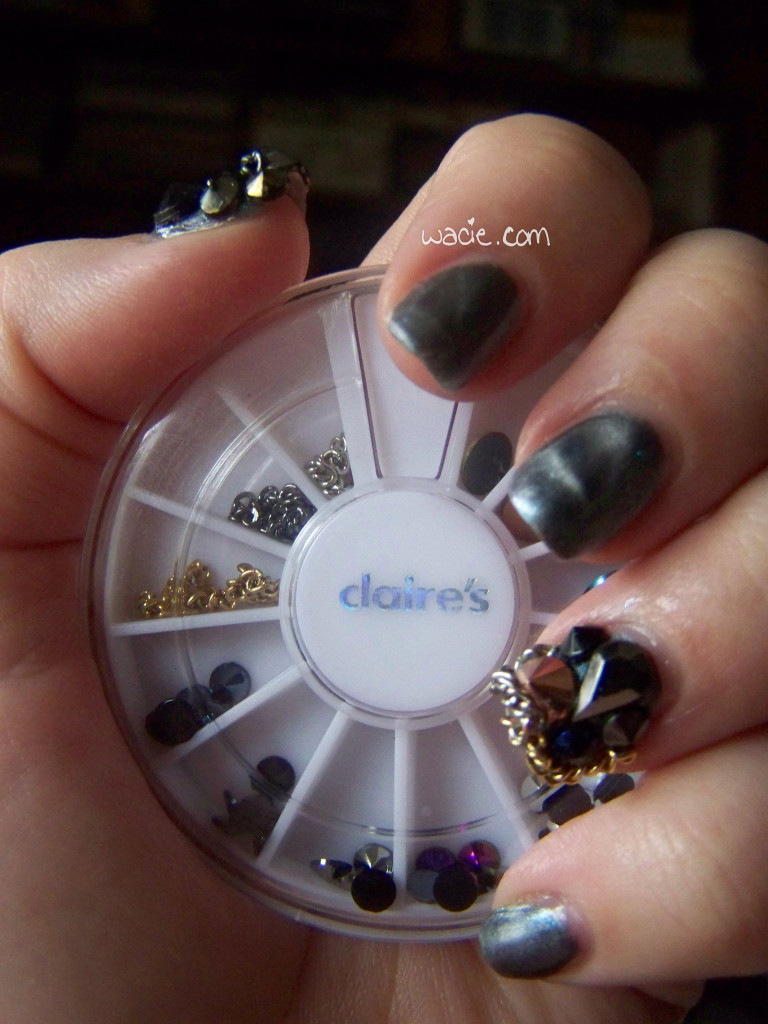
You’re probably wondering what all that crap is doing stuck to my nail. I got this nail art wheel from Claire’s with a bunch of round pyramid studs in it, and I thought that since I was only using one color, I could use a few of these studs. I thought they’d look best paired with a gray or silver polish, and since I was using one, I tried it. These are some of the tackiest, trashiest, most clothes-snagginest nails I’ve ever done. I can’t wait to see what it’s like washing my hair in the morning with these bad guys. There are pyramid studs of various sizes and colors, a teardrop rhinestone, and metal chain segments in a variety of finishes. I know they look like over-the-top hooker nails, but they make me feel kind of badass, like I could cut somebody with them. I might accidentally cut myself.
100_31622

I don't always post my right hand, but when I do, it's tacky as hell.

I don’t always post my right hand, but when I do, it’s tacky as hell.
100_31732

I tried something new this week: the DIY gel manicure. I originally saw a post on Reddit (that I can’t find now, so here’s the tutorial I used), where someone applied layers of Gelous between their color coats to get a durability comparable to a gel manicure. I was in Sally this weekend, I saw the Gelous, and I decided to try it for myself. Application was easy, but took some time; you’re using a few different products in a short amount of time. I didn’t really like this part; I like to let my polish dry for a really long time (like an hour) before I put another down. As a result, when I went to clean up my cuticles, I got some pulling and tugging from where the polish was kind of dry, but not dry enough. I have some weird edges from that. Also, the tutorial skipped base coat altogether and jumped right into the Gelous. I wasn’t okay with that. Having bought my first bottle of Nail Envy this weekend, I started with a base coat of that, then went for my usual OPI base coat (which was probably overkill), and then went into the Gelous tutorial. We’ll see if it holds up. I really hope it does, because now that my boyfriend lives here, I have to wash dishes twice as often, and my manicures don’t hold up the way they used to when I only had to do dishes once a week.
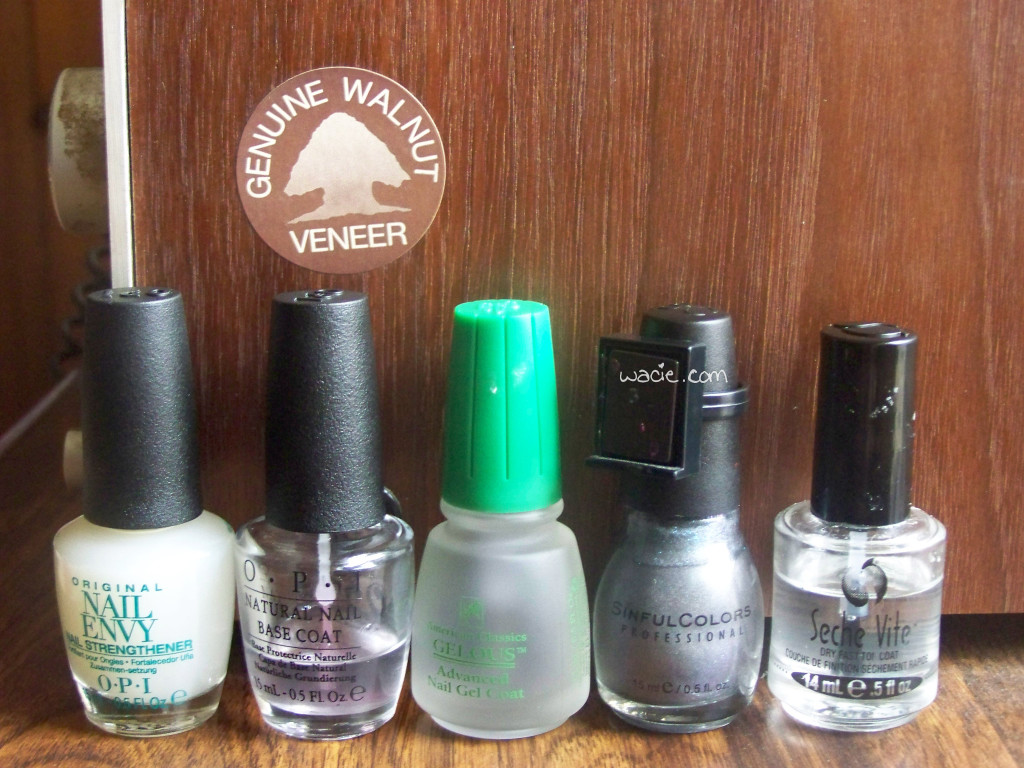
One of these things is not like the others. It's Sinful Colors' Polar Opposites!

One of these things is not like the others. It’s Sinful Colors’ Polar Opposites!

In unrelated news: Wacie Nail Company is a thing that’s really going to happen, and soon. Last week I ordered some supplies for a R&D run, and the last of it will arrive tomorrow. I will probably spend all my free time this week huffing lacquer fumes and inhaling glitter, and hopefully, I’ll have working prototypes by Friday. I’m really excited about making polish, sharing it with everyone, and doing something more constructive with my time than refreshing Reddit. I hope you’re looking forward to it!
Manicure Monday: Barely There Glitter Gradient

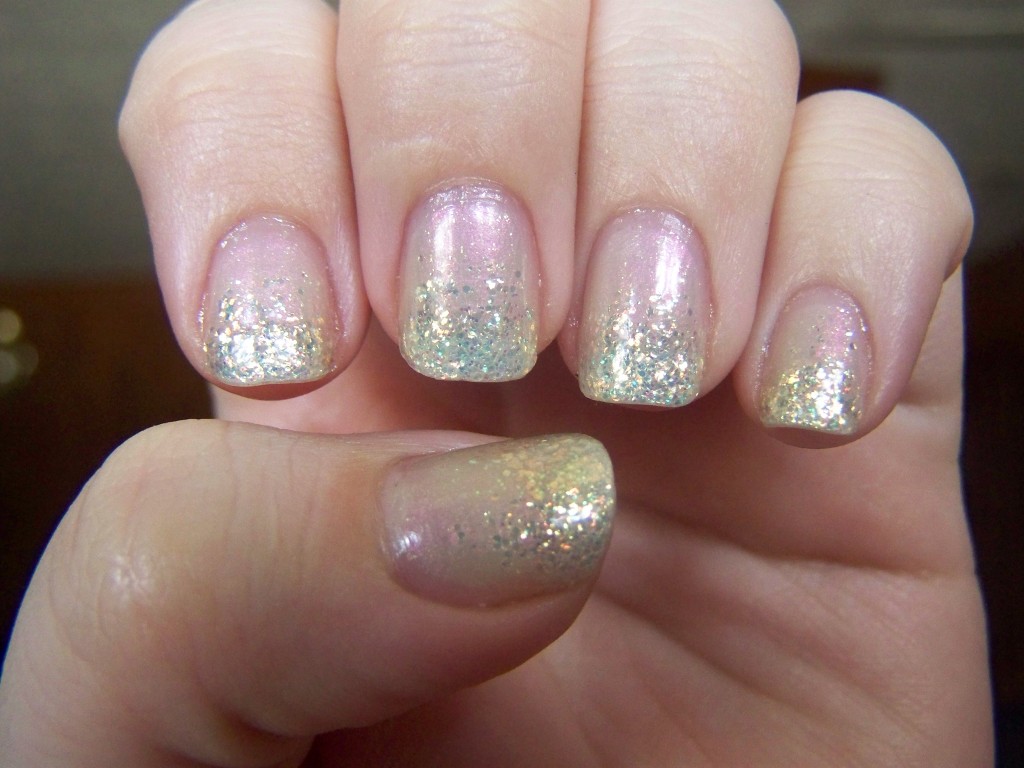
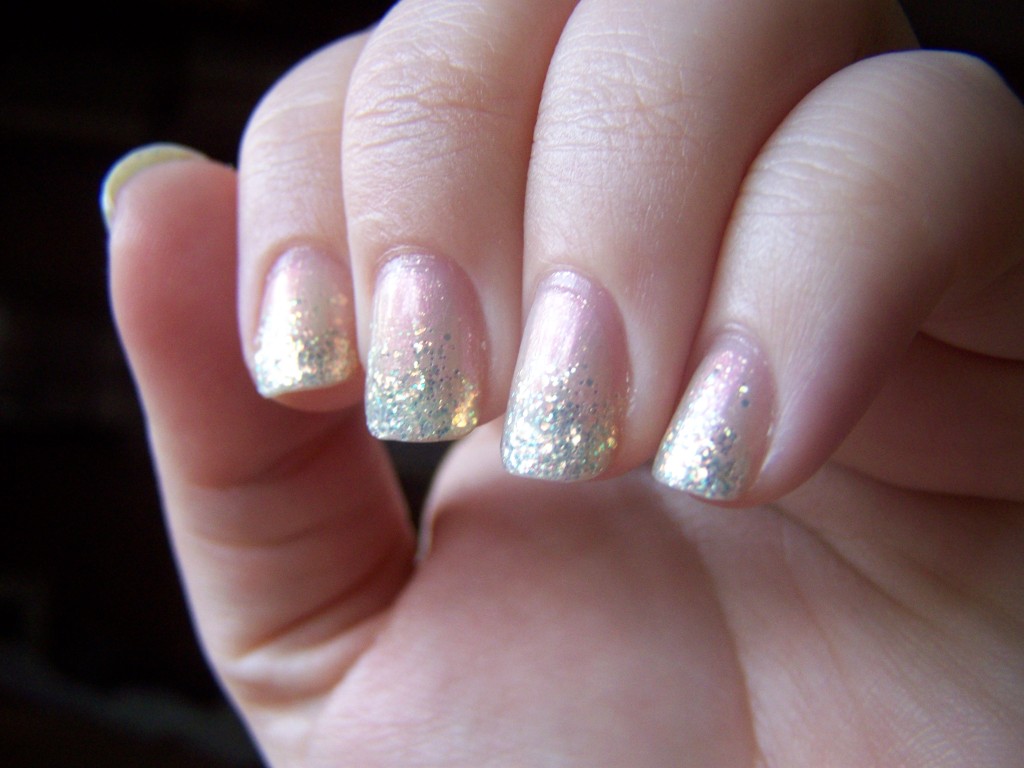
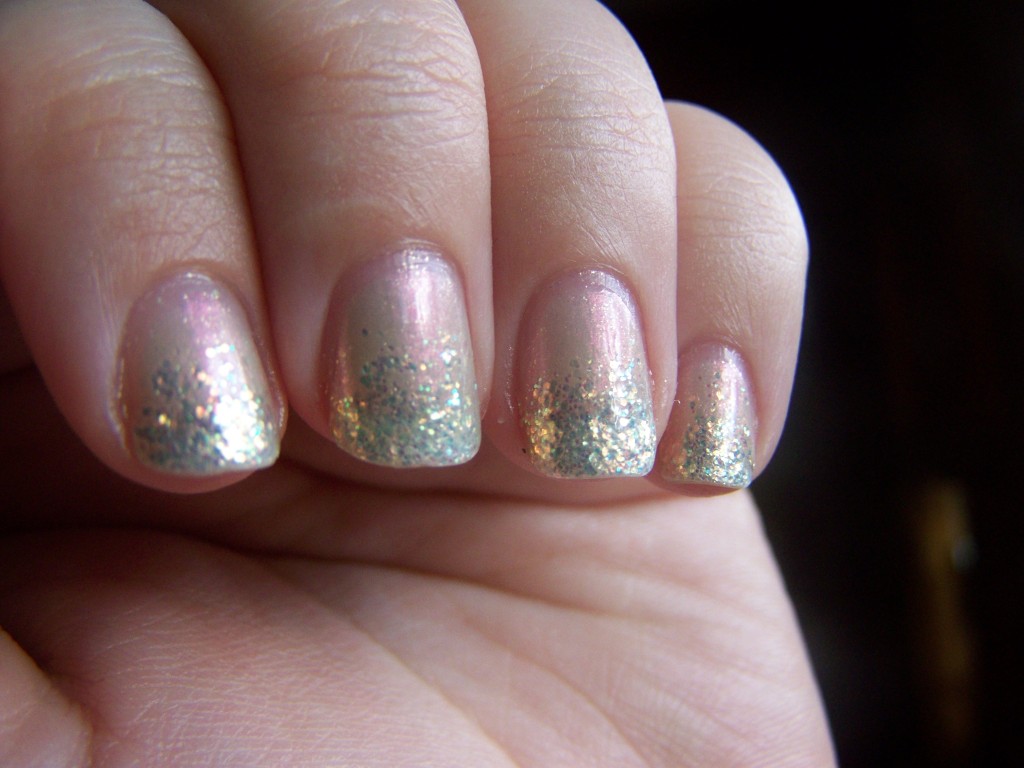
This week we have another subtle, dainty, blink-and-you’ll-miss-it manicure. These soft shades didn’t pair together as well as I thought they would, but I still like the result.

100_3073
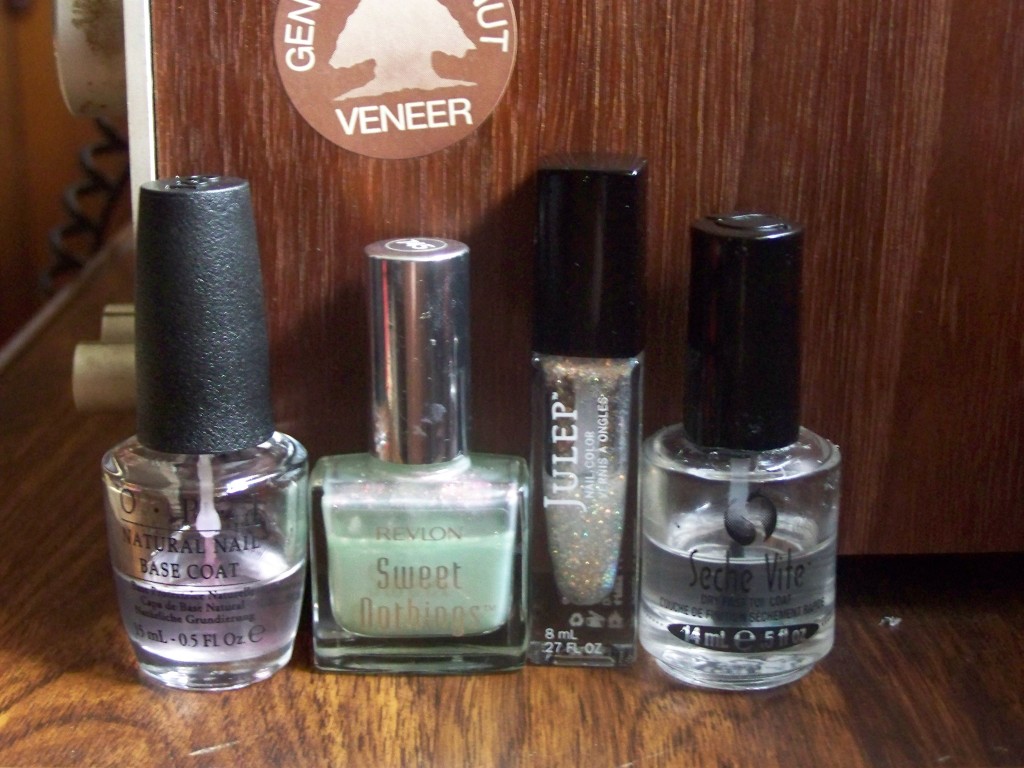
Revlon launched a little duochrome nail line called Sweet Nothings sometime around 2006 or 2007, I forget exactly when. I snapped them up when Walgreens had them on final clearance for $2 each. I’ve had these babies for a long time now, and I’ve gotten so much mileage out of them because they’re so versatile. They’re easy to wear; they look amazing worn over light colors, dark colors, or alone. There were only a few shades in this line, and sadly, I’ve already run out of one. Using the last of a discontinued product is always a hard thing for me to do.

100_3077
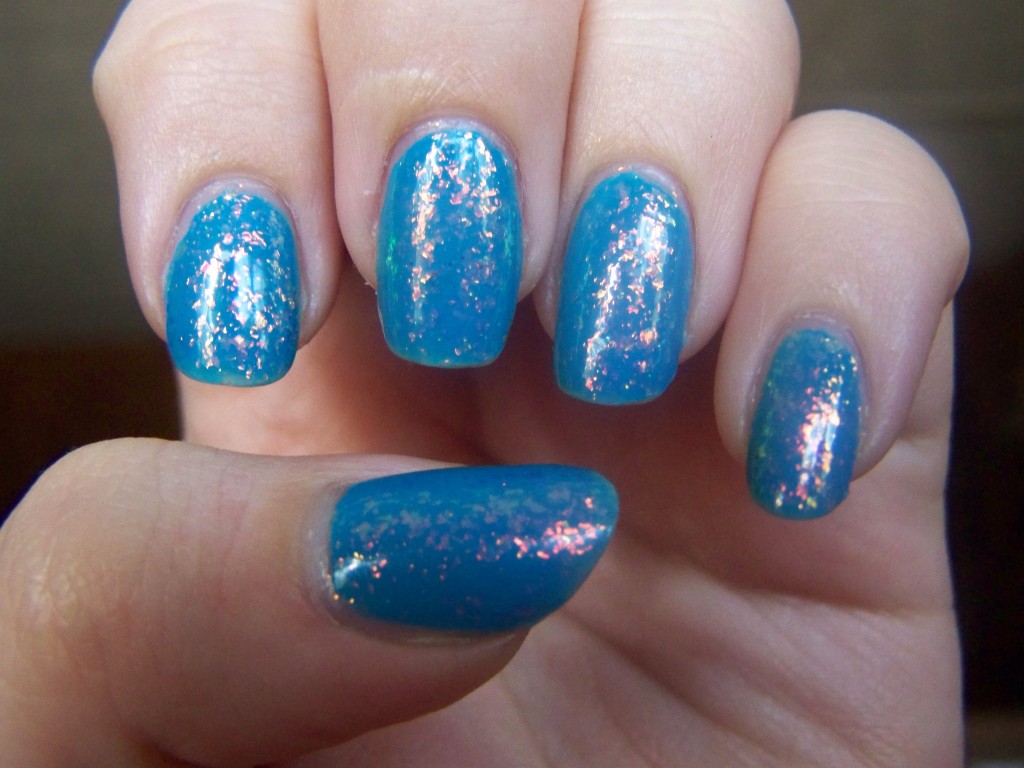
Right, so the polish. Here I’m wearing two coats of Rendez-Blue. It’s a sweet, milky blue with lots of pink shimmer. The blue would probably be more visible on a dark color; here I’m only wearing it over base coat. The pink shift is hard to capture on camera, but I think I did well enough.

100_3092
The glitter I used for the gradient is Julep’s Camille. Camille is a clear base with iridescent glitter that shifts from orange to green. The colors in the glitter are the complete opposite of Rendez-Blue, but I kind of like the contrast. I was afraid the glitter would blend in and it would just look like a bunch of nothing on my nails. Given the subtle colors, it already kind of does, but the glitter helps it stand out.

Revlon's Rendez-Blue, Julep's Camille

Revlon’s Rendez-Blue, Julep’s Camille

So, quick announcement: it turns out that wacie.com is a nail blog after all. Yeah, that wasn’t really my intention, but I felt really inspired and motivated over the weekend and decided to start my own indie polish brand, Wacie Nail Company. Yeah, I’m excited, too! Since wacie.com is already mostly about nails, I decided just to use wacie.com for my nail shop and blog, and move my writerly pursuits somewhere else. If you’re interested in reading my bad fiction and fail stories, please hop on over to my new blog. Thanks for reading!

Manicure Monday: Dainty Glitter Crackle

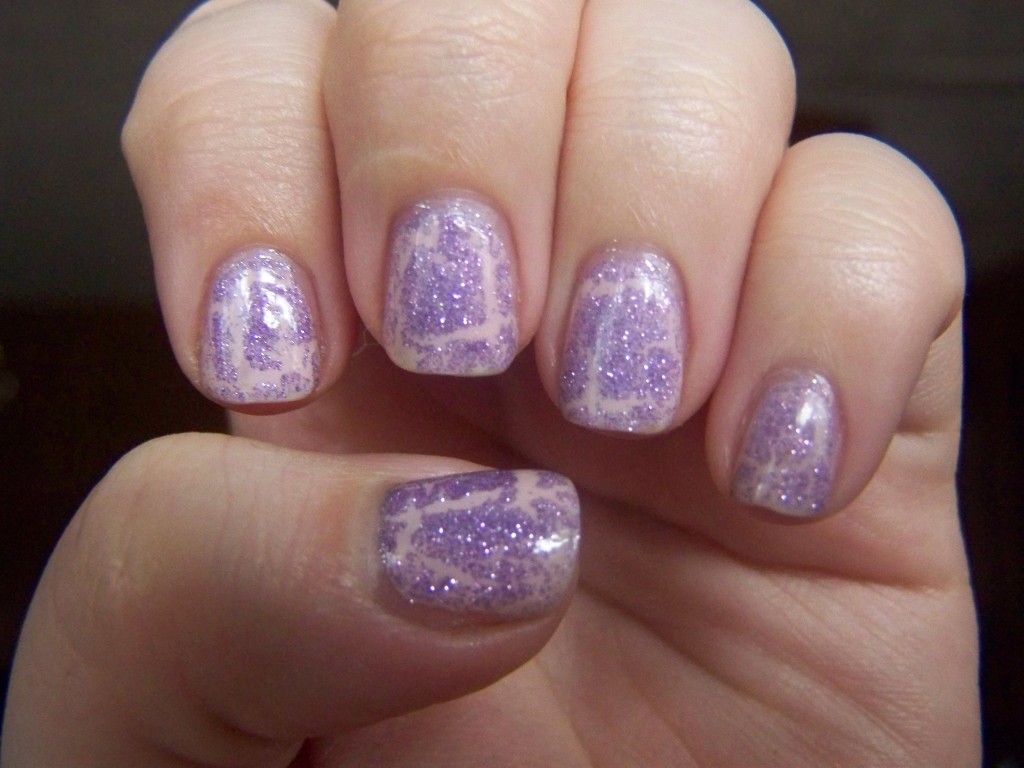
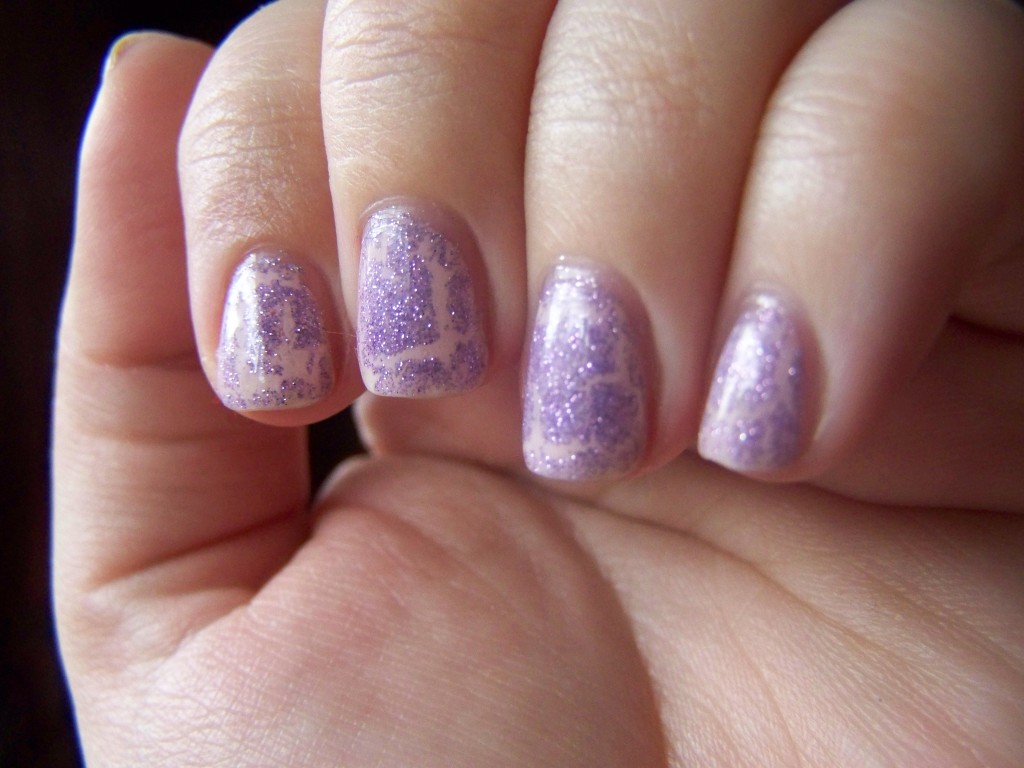
I’m always afraid of manicures like this. They never turn out the way I want them. Those light, girlish pinks are never opaque enough, and in my experience, crackle polishes won’t crackle if you look at them sideways. Thankfully, this one turned out quite well.

I have no clue what that string is hanging off my nail. I swear it wasn't there when I took the photos.

I have no clue what that string is hanging off my nail. I swear it wasn’t there when I took the photos.

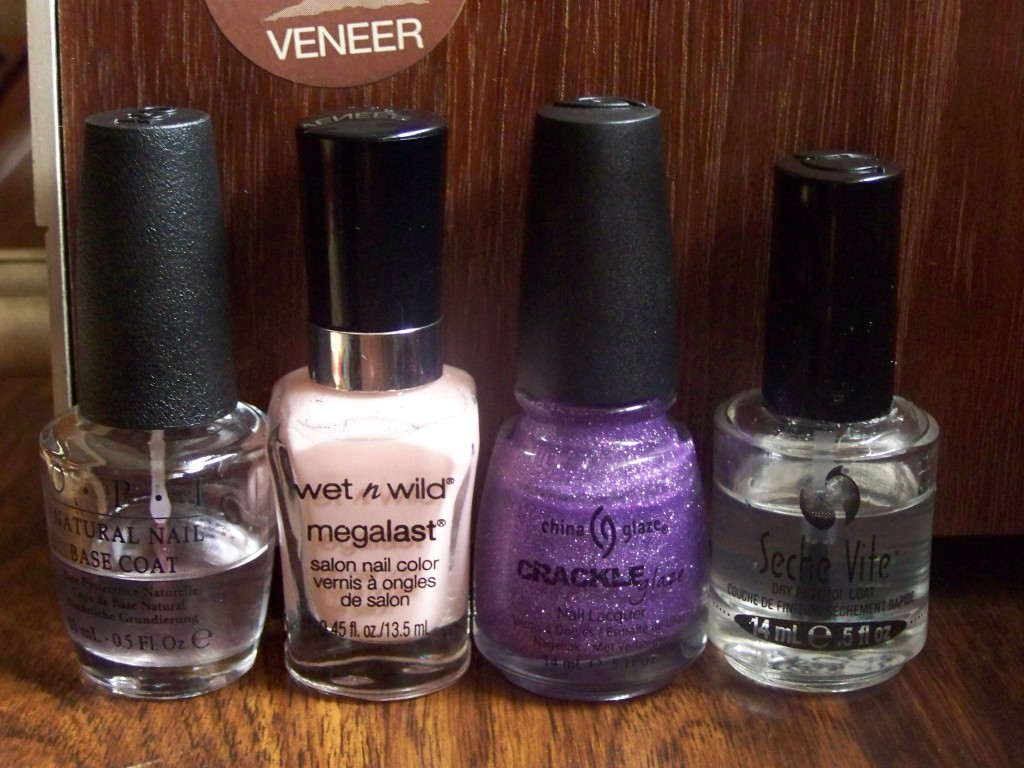
The light pink I used this week is Wet ‘n Wild’s Sugar Coat. After three coats, I still had a visible nail line, but it was very shiny and pretty regardless. The crackle, China Glaze’s Luminous Lavender, is more subtle than I expected. It wasn’t the glitterbomb the bottle makes it look like. It dries matte is somewhat gritty, so it takes a good top coat to bring out the shine in the glitter. Overall, I like this look. These soft, dainty manicures always make me feel different, like less really is more. I feel like I’ve gone on that tirade before in another post. I’m not a less is more sort of person, but manicures like these make me feel like it’s true, like it’s not so bad being feminine and sweet, like I could be that person in the future. Whether I actually want to be that person remains to be seen. Also, you can even really tell I nicked the polish off my middle finger nail while I was chopping vegetables for dinner last night.

100_3012
I tried something different this week: using a brush instead of the pointed cotton swabs to clean up my cuticles. After buying four packs of them and blowing through them in two weeks, I decided that investing in a good brush was really a more efficient and less wasteful solution. I settled on an angled eyebrow brush from Nyx. It was thin, flat, and would give me just the right amount of space between my polish and my cuticle. The brush didn’t make it past the first cleanup phase. I like to clean up after every step, and so I was cleaning up the three coats of pink before I put on the crackle when it started shedding. Fibers were coming out in the acetone, on my polish, all over the place. I ended up making an emergency trip to Walgreens to find the pointed cotton swabs, only they were out. I bought an eyeliner brush that’s a little thicker than the one I had, but it got the job done, for now. I’ll probably have to go to the art supplies store to grab a paintbrush that can handle the acetone.

Wet 'n Wild's Sugar Coat, China Glaze's Luminous Lavender

Wet ‘n Wild’s Sugar Coat, China Glaze’s Luminous Lavender

Manicure Monday: Matte Pink Glitter

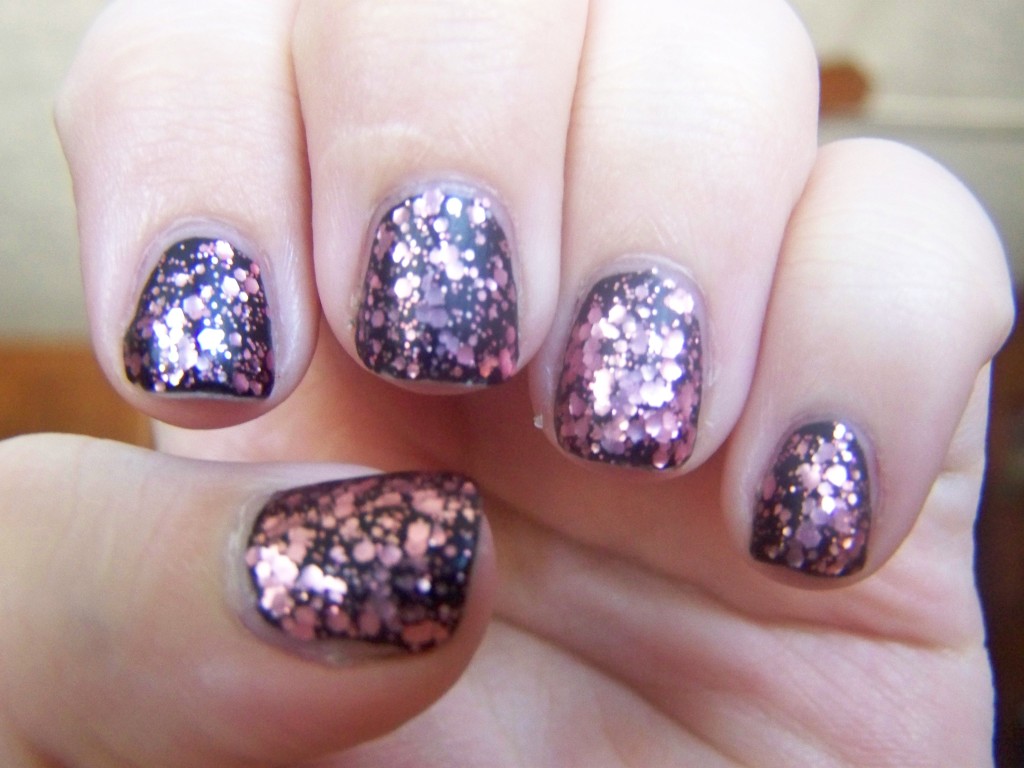
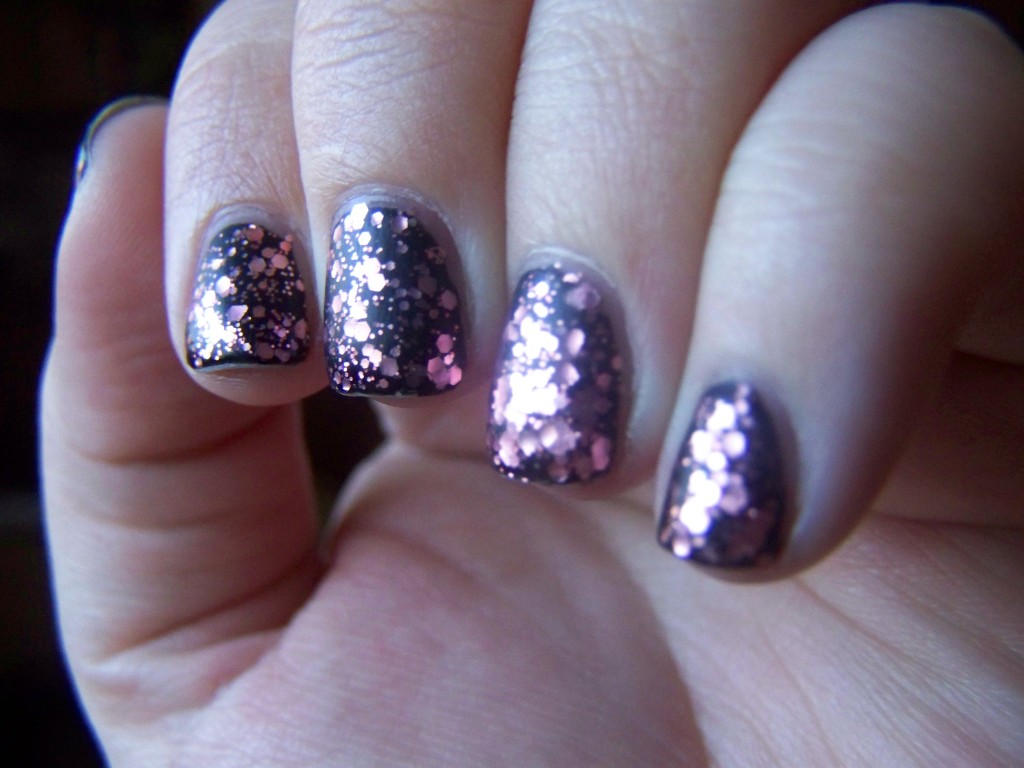
New year, new glitter! Here’s my first manicure of 2014. I’ve decided to try out a matte coat over glitter, and I’m not sure how much I like the result, but here it is.

100_2957

A Cut Above is a fantastic glitter topper made up of various sizes of pink glitter. It applies evenly with the brush, which means I didn’t have to flood my cuticles and waste a lot of polish to get this look. It went on very easily. When I put the matte top coat on, I felt like I was taking something away from it, but maybe I got something in return. The glitter still shines, but has a softer quality. It’s pretty and it’s interesting, but I’m not sure if I’ll do it again. I want my glitter to shine.

100_2963

Also, I seem to have this problem with matte topcoats; the tips wear down more easily. Do you see those exposed tips? I just did these, and somewhere between applying the topcoat and taking the photos, the tips are worn down. That’s embarrassing. I feel dirty posting them, they’re so bad. Maybe it’s just this topcoat, but every time I use it, I have the same problem. I hate it.

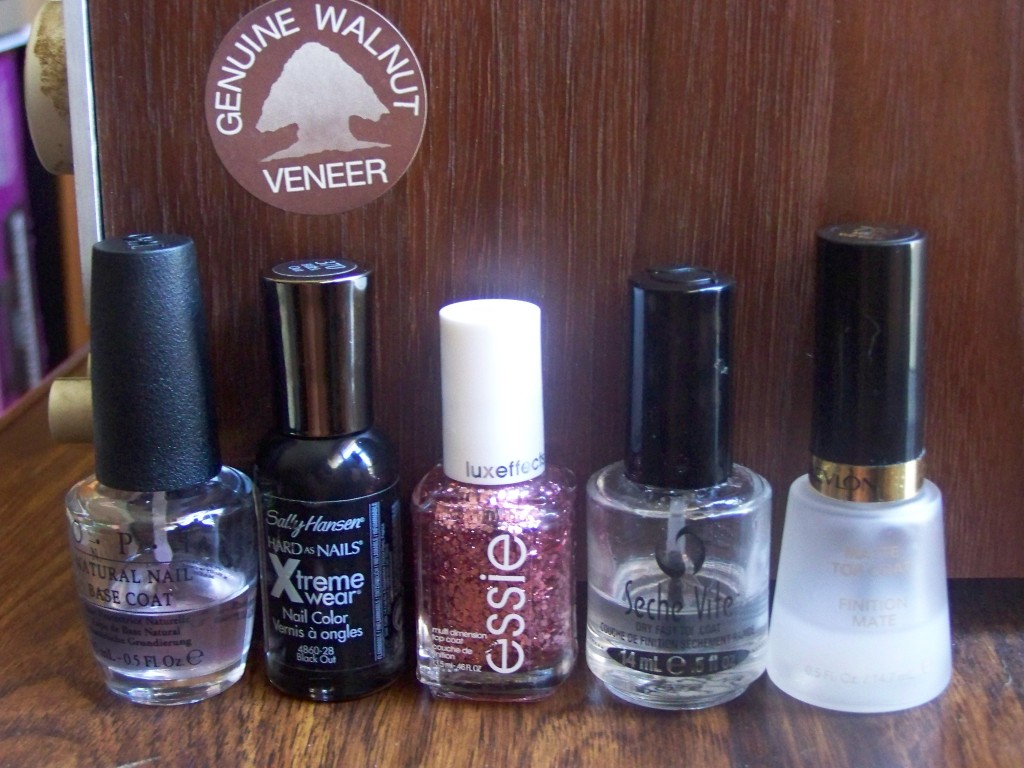
Sally Hansen's Black Out, Essie's A Cut Above

Sally Hansen’s Black Out, Essie’s A Cut Above

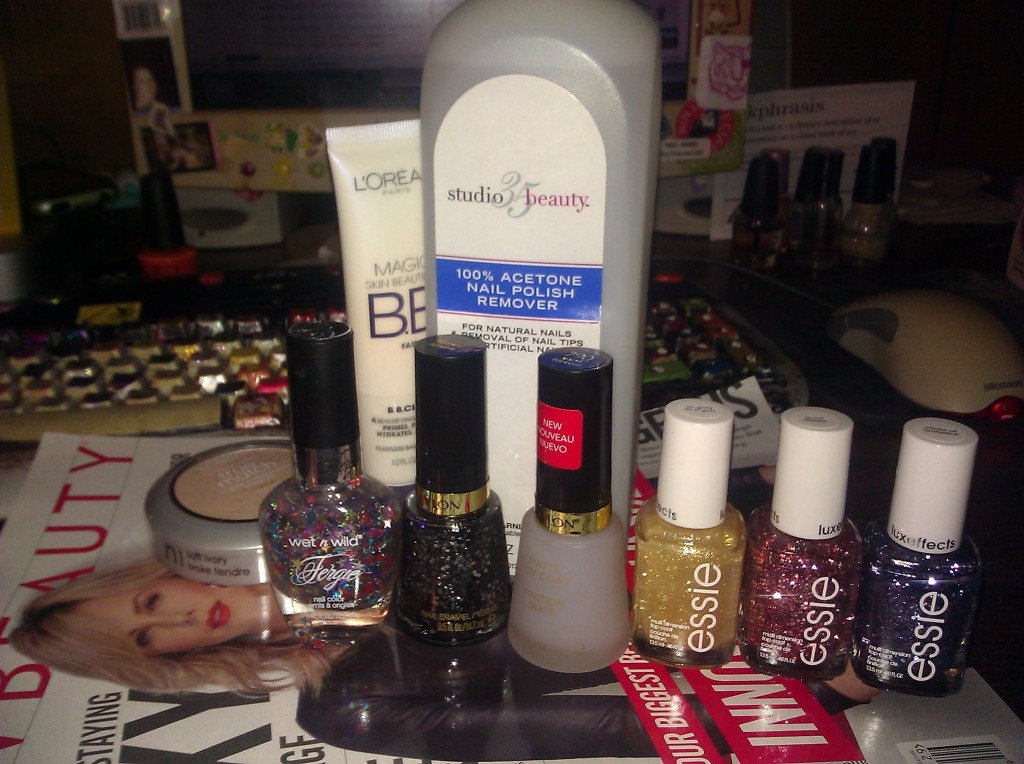
I’ll mention this on the side: About a year ago, when I was living alone, I needed acetone. The store nearest me, which was about a half mile away, was perpetually out of acetone, so I sucked it up and went the extra mile (literally) to Walgreens. Meanwhile, I had some Christmas money burning a hole in my pocket, and I didn’t yet own any Essie polishes, so I knew I’d leave with a few of those, too. It took me ages to find the acetone; it ended up being on some hidden aisle endcap outside of the cosmetics department. As I walked around looking for it, I’d found tons of other things to buy, and I spent literally every cent I had on my wallet. I felt a little guilty (and a little relieved I didn’t have to put things back), but I did what I went to do. I bought acetone (at least I didn’t forget that) and I got my first Essies. Also, I walked three miles just to buy them, which says quite a lot about my dedication and/or insanity.

The haul from that fateful day.

The haul from that fateful day.

Manicure Monday: Last Mani of 2013 Green Gradient Celebration

Happy almost-New Year! I accidentally have sparkly nails for New Year’s Eve!

100_2884
I used three polishes to get this look. LA Colors’s La Creme is the pale nude you see at the bottom of the gradient there. Man, was it impossible. It was very sheer; the first coat was horribly streaky, and the second coat didn’t even anything out. The lacquer itself was very thin and tended to pool in my cuticles. It was only until I started sponging on the gradient that the color began to even out. Because this foundation coat was so uneven, the gradient took more time and more polish to get right. Usually I can get away with two rounds of sponging; some of these nails took four. The glitter here, the real star of the manicure, is Sinful Colors’s Call You Later. I prefer those big in-your-face glitters to these fine ones, but as long as it sparkles, it’s good in my book.

100_2891

LA Colors’s La Creme, Revlon’s Posh, Sinful Colors’s Call You Later

Stay tuned for a New Year’s Eve post tonight or tomorrow. Spoilers: my New Year’s resolution is to blog about more than nail polish.

Manicure Monday On the Road: Bah Humbug Nublets

I never do holiday-themed nails. Sometimes I want to. I saw them pop up this year right around November, and I love the candy cane nails, the snowfall nails, etc. They’re so friggin’ cute. I love them on other people but I feel weird doing it myself because a) it doesn’t snow in Florida, b) I don’t really celebrate Christmas, and c) I’d already picked out these polishes like months in advance because I’m obsessive and crazy over this stuff.

IMG_20131224_143654

This week I used Black Mesh from China Glaze, which is the black crackle you see here. I had to use really thin coats of this stuff for it to crackle; I put thicker coats on some nails and it didn’t crackle at all. I had to redo them. I’m wearing Black Mesh over Julep’s Bunny, which was also somewhat of a disappointment. In the bottle, it has this gold shimmer that totally didn’t translate to my nails. I saw it on the pointed cotton swab I’d used to clean up my cuticles, so I know it’s there. It just doesn’t show up on the nail at all. I could have gotten the same look from a white creme polish.

It’s the day before Christmas Eve, and I’m spending it with my mother. Whenever we meet up for the holidays, we always just end up painting our nails together. Here’s an obligatory photo of her chickens.

IMG_20131224_143634

Manicure Monday: Bronze Glitter Gradient

It’s like I dipped my nails in shiny chocolate. It’s not chocolate, though. It’s glitter!

100_2802

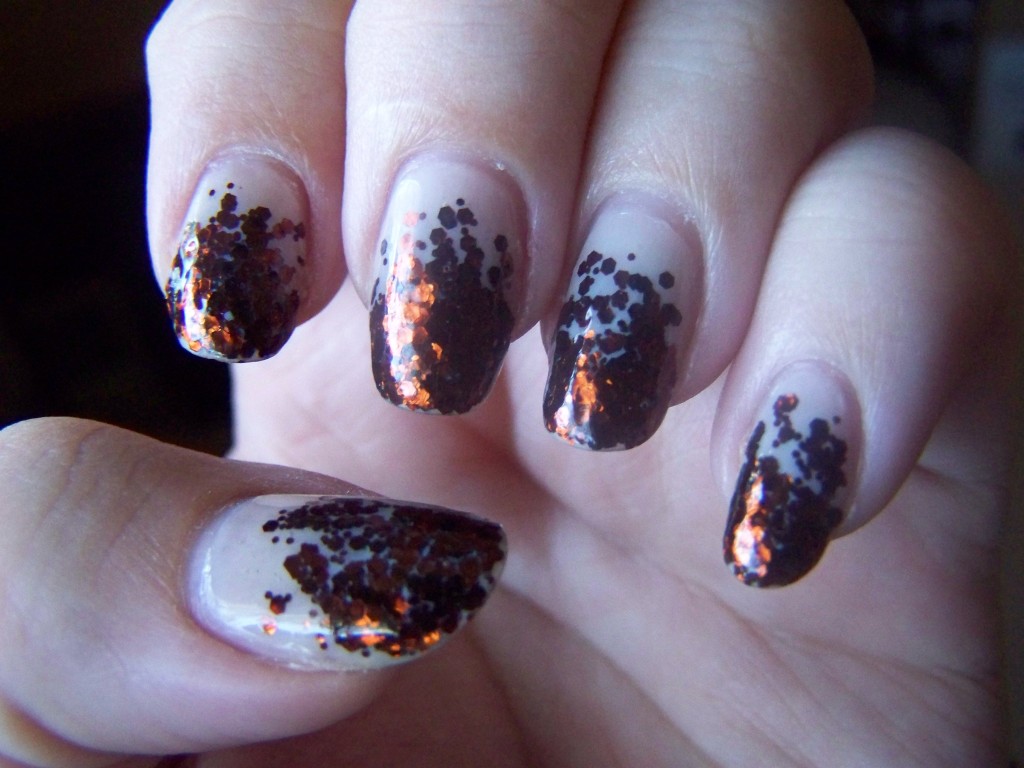
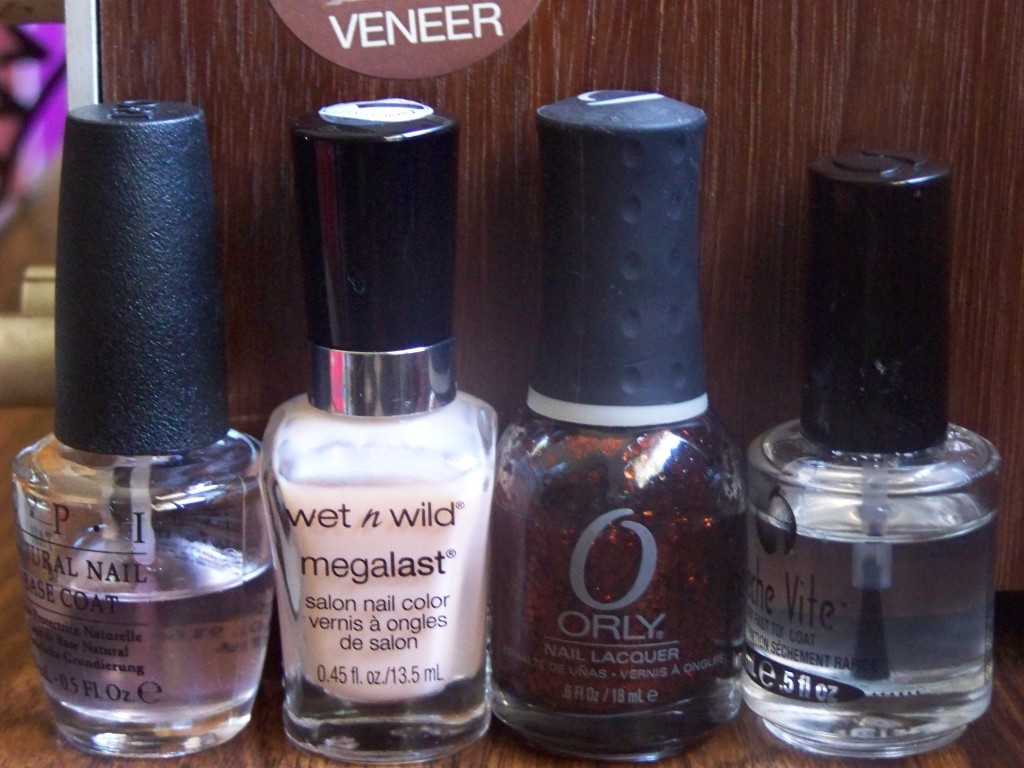
As you can see, I used two polishes this week. Wet ‘n Wild’s 2% Milk is a very pale, very sheer pink. The first coat was so sheer that it was nearly invisible. The second coat was less so, but was still very transparent and natural-looking. I’ve never gotten the point of these sheer pinks that don’t cover anything. I guess they’re useful for French manicures, but I never got the point of those either.  Orly’s So Go-Diva is a bronze glitter suspended in a clear base, and I had some trouble with this one. Before I started working with it, there was this layer of clear polish hovering over the glitter, and so when I pulled the brush out, I’d have maybe five pieces of glitter on an otherwise bare nail. I got this look by applying it with an eyeshadow sponge; the sponge soaked up the extra lacquer and still let me place the glitter where I wanted it.

100_2807

I could have done a better job with the gradient, probably. Since 2% Milk was so sheer, I felt I needed a thick layer of glitter to cover the nail line, and so that’s why it goes down so far. I tried to exercise some control, I honestly did. This is actually the second attempt at this manicure today; my gradient work was awesome, but I tried a jelly sandwich thing with the pink, but I ended up hating it and took it off. I’m not especially happy with this gradient, but I like it enough to keep it on. However, it has crossed my mind to just sponge the glitter onto the whole nail and keep the sheer pink out of it.

100_2810

This is a good festive manicure, I think. I never do themed or holiday nails, but I love when they happen by accident.

Wet 'n Wild's 2% Milk, Orly's So Go-Diva

Wet ‘n Wild’s 2% Milk, Orly’s So Go-Diva

You’ll see that layer of clear is gone from the Orly bottle. Out of curiosity, I tested it to see if the glitter spreads any better, and it does. I think I’m just going to pour out that extra bit of lacquer from every bottle from now on.

Manicure Monday: Shine of the Times

Oh my holy crap. I’m really excited about this week because I got to use a polish that is well-loved and sought after by basically everyone. Yep, Shine of the freaking Times!

100_2756

100_2766

This is one of my favorite purchases. I mean, it’s obviously a gorgeous polish, but I scored it on Amazon, and only paid $1.41 because I had a gift card to cover the rest. I think this was also my 200th polish, so it’s significant to me for that reason, too. Yeah, I care about that stuff for some reason.

100_2767
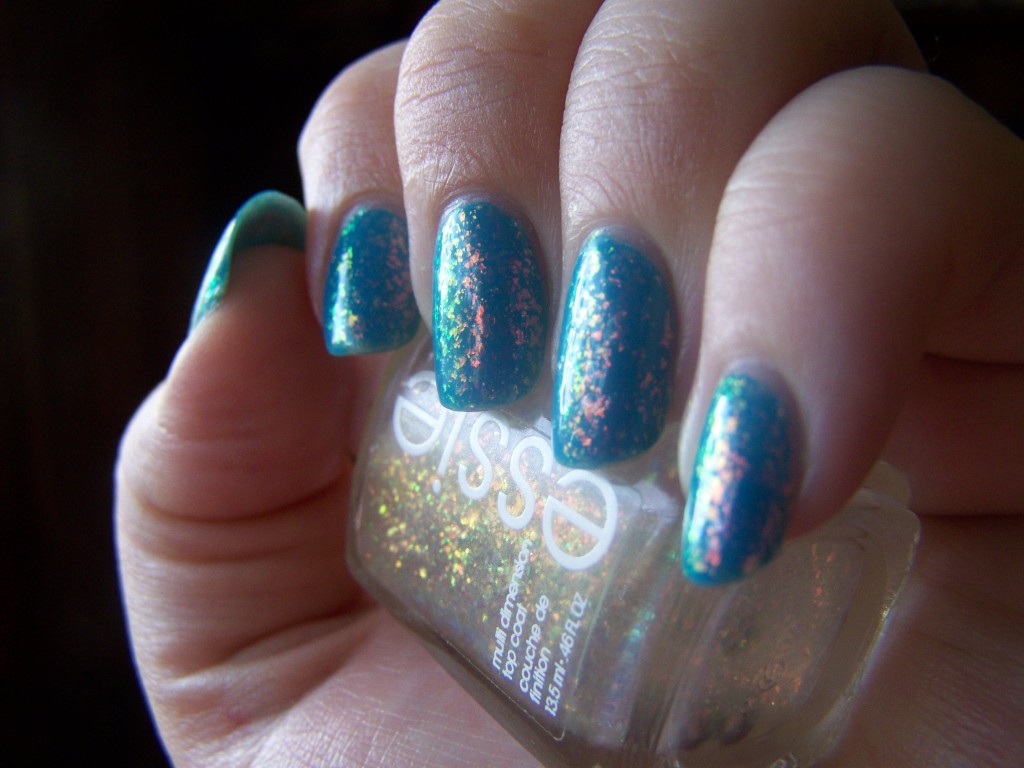
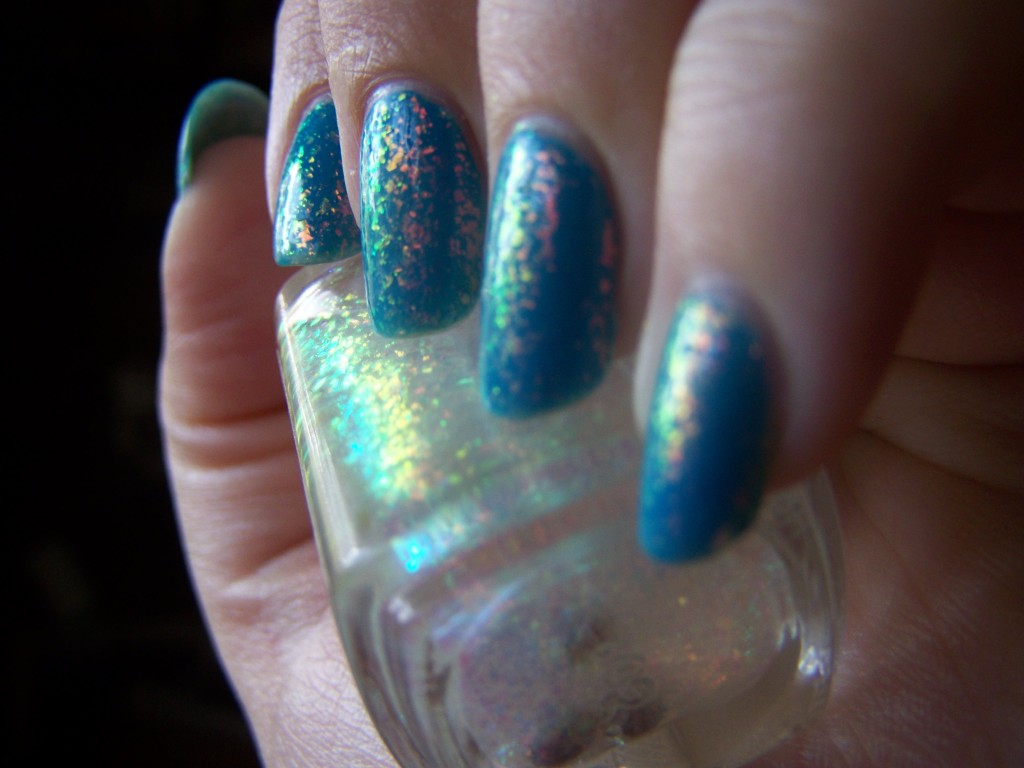
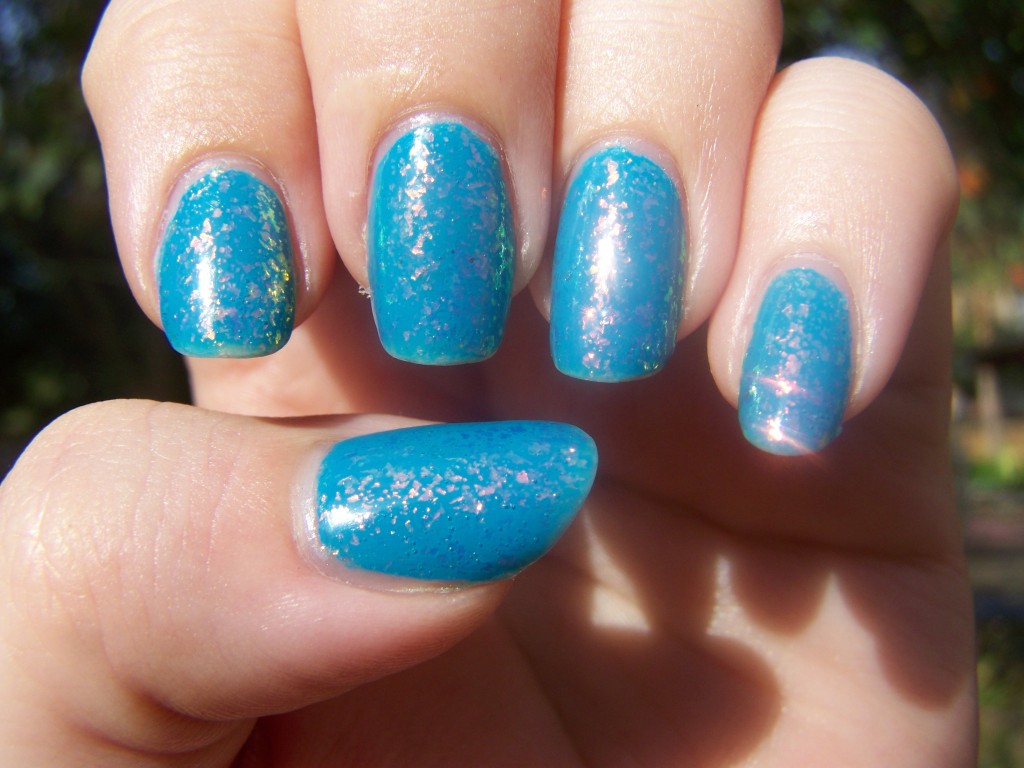
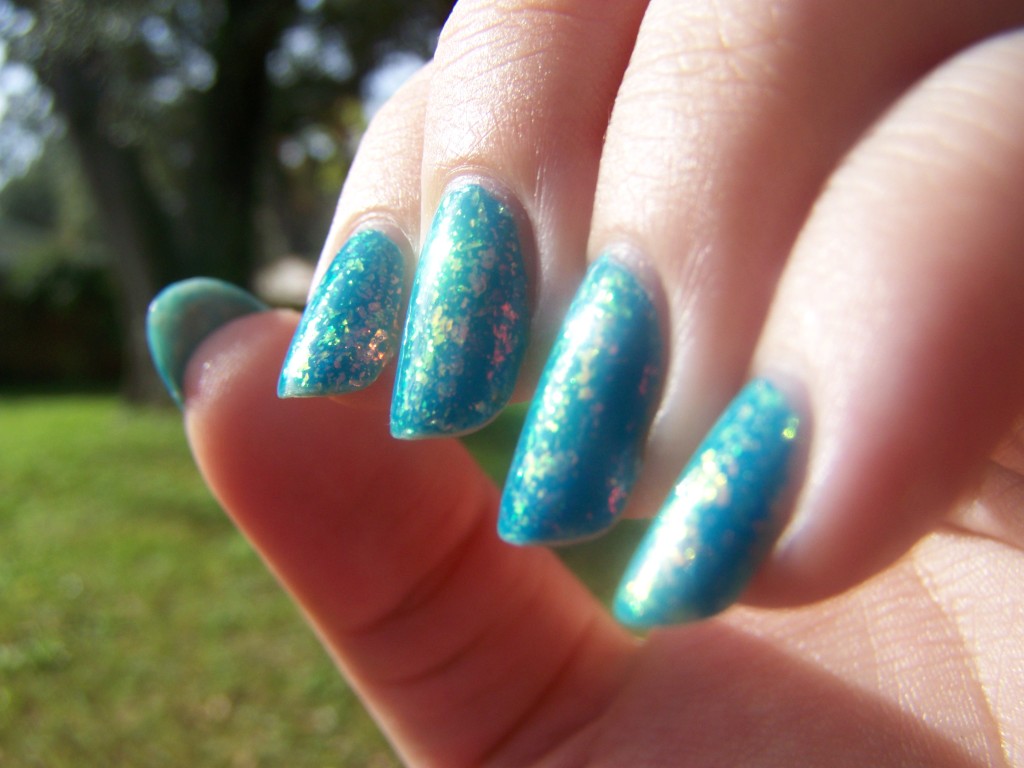
The iridescent flakies shift from red to green, and even though it’s easy to see with the naked eye, but a little more difficult to capture with a camera indoors. I managed to get a few that do, but I also went outside to see if I could get better results (not really). It didn’t occur to me until just now to try to use the flash, but I think what I got is good enough.

100_2772

100_2770
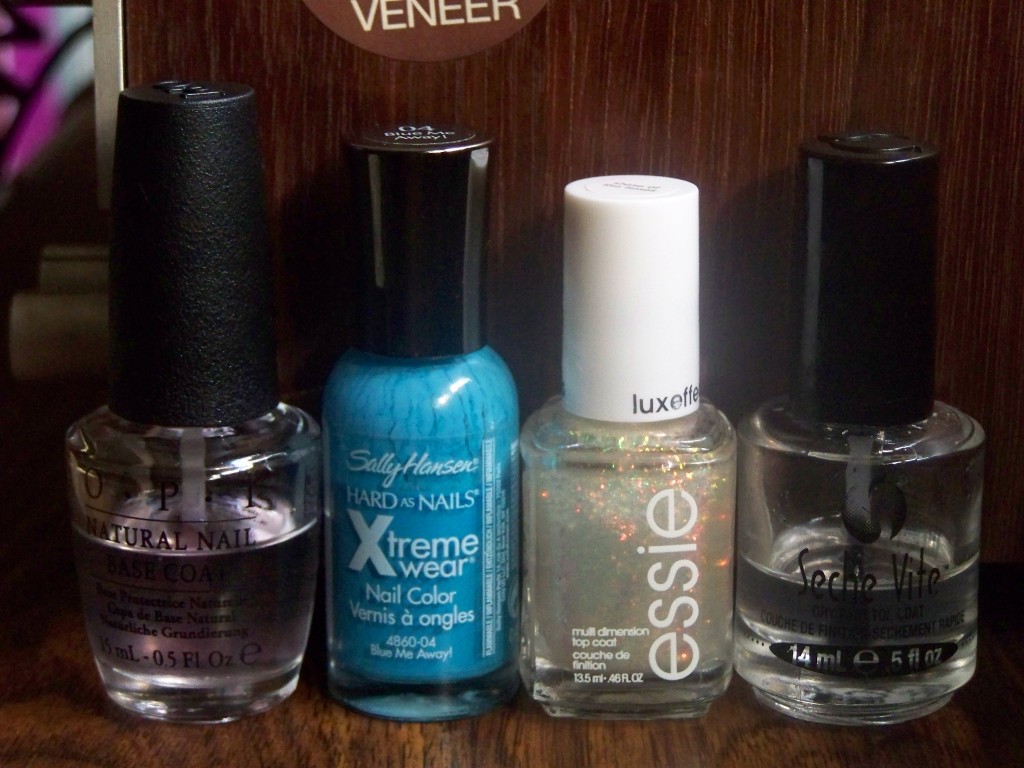
The blue I used this week is Blue Me Away from Sally Hansen. I’ve used this before (you can see the bottle is already about 1/3 empty), and while it’s semi-opaque after one coat and ready to go after two, it stains my nails blue every time. I used a double dose of base coat under it this week, so hopefully that takes care of that.

Sally Hansen's Blue Me Away, Essie's Shine of the Times

Sally Hansen’s Blue Me Away, Essie’s Shine of the Times

I can already tell this is going to be one of those manicures I’m going to stare at all week. I can’t even tell you how excited I am.

Manicure Monday: Neon Orange Dotticure

Nothing says December like neon orange!

100_2689

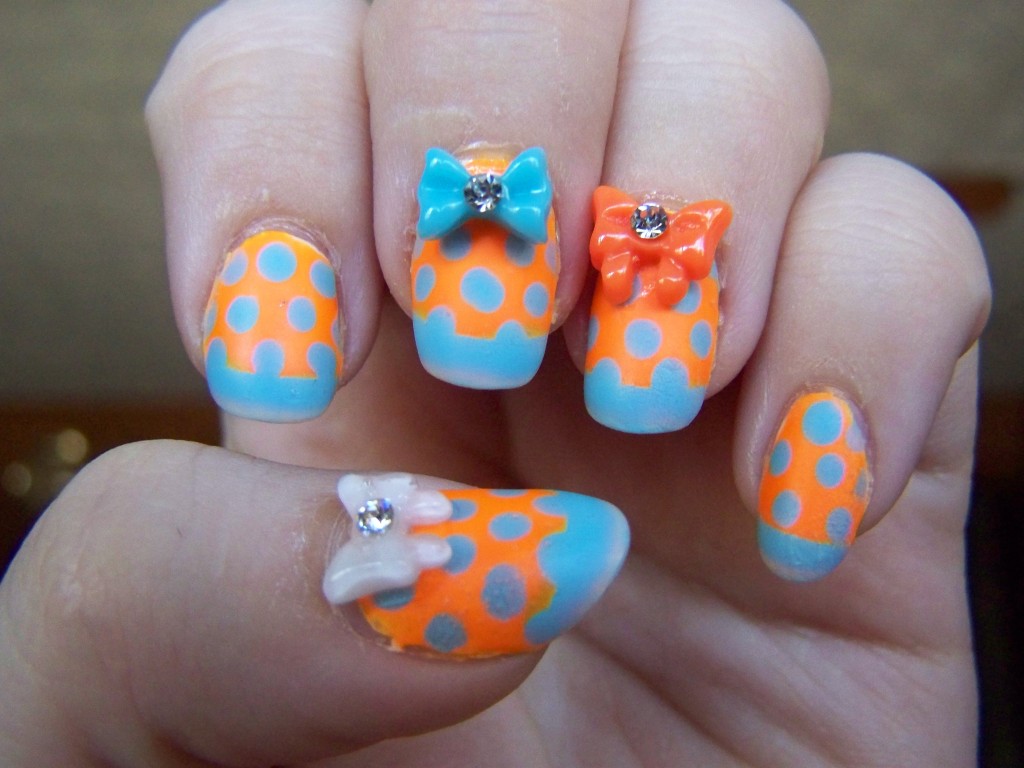
Those bows are freaking cute.

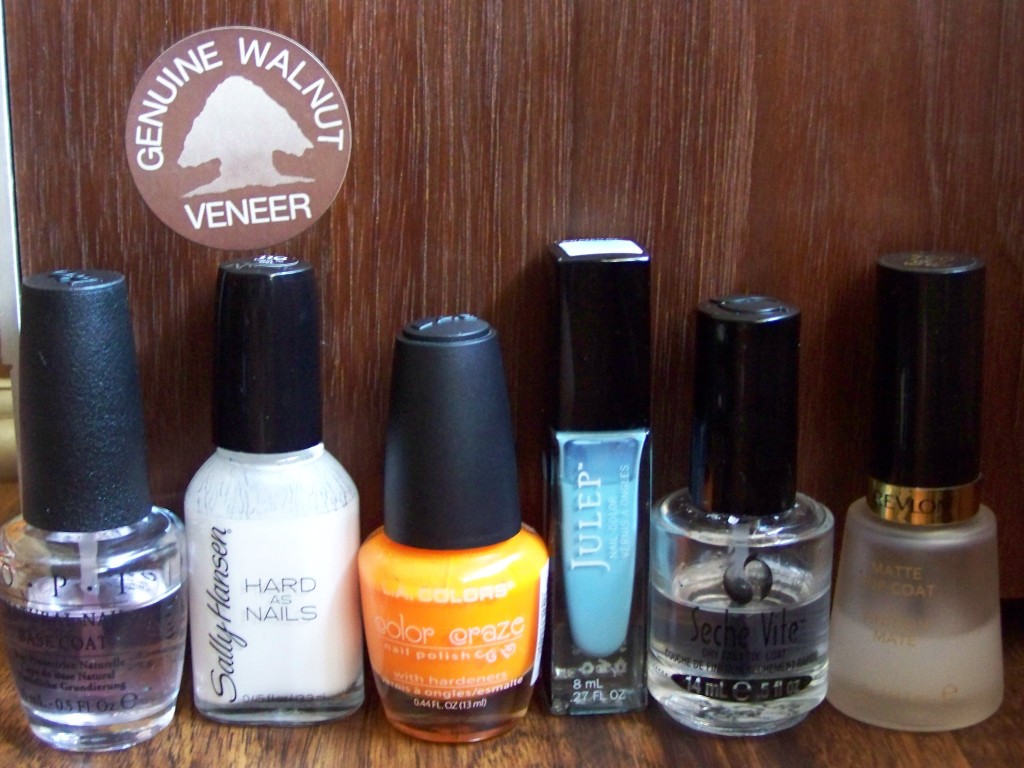
I had a lot of fun doing these. It was a lot of work; first I needed three coats of white polish to make a underwear layer without any bald spots (I still had some), then I needed three coats of the orange to make that color solid. Adding the dots was tough; left hand looks awesome, right hand not so much, my toes are even worse (no, you don’t get to see them). I then put on three coats of Seche Vite for rigidity, a matte coat for a finish, then applied the bows with a healthy dot of super glue. Yeah. I didn’t finish these nails until like eight o’clock last night. I started them at noon. Overall, I like the look I got. And I thought a dotticure would be boring.

Sally Hansen's Hard to Get, LA Colors's Spat!, Julep's Bess

Sally Hansen’s Hard to Get, LA Colors’s Spat!, Julep’s Bess

The orange is LA Colors’s Spat!, which is an awesome orange so long as you have the appropriate white coat beneath. The formula is so watery and thin that it would be pretty tough to get the neon effect without it. The blue is Julep’s Bess, which dotted better than I thought it would. I thought it was going to be watery and thin, too, but this one held up quite well. I got the bows from Claire’s, and they made it through the night and this morning’s shower. I wonder how long they’ll hang on before they get snagged on something and come off.