Swatch Saturday: Blue-Eyed Girl Lacquer’s Blood on the Moon

Happy Saturday! I’m excited to bring you a weekend swatch again, because I feel guilty for taking so many weekends off from blogging. This Saturday we’re taking a look at Blue-Eyed Girl Lacquer‘s Blood on the Moon; I’m wearing three coats with one coat of Seche Vite. Photos this week were taken indoors under LED lighting, because of course it’s cloudy today.

IMG_75672

IMG_75732

IMG_75782

ssbeglbotmbsc

Blood on the Moon is a red-orange holo polish with purple shimmers. Application was very easy; the product consistency was very smooth and buttery. The first coat was just translucent enough to warrant a second coat. The holo effect is very visible under LED lights. It dried quickly and with a satin finish; I used top coat for shine.

IMG_75942

IMG_76002

This polish is the first in a BEGL Halloween collection based on the film Practical Magic. BEGL Halloween collections — and holiday collections in general, really — are wonderful because they aren’t obviously tied to the holiday, and I love that. I’m wearing Halloween polish in April, and nobody would know it unless I told them. This polish is a deep and beautiful orange, perfect for any season and not just autumn.

IMG_76022

IMG_76102

IMG_76132

Blood on the Moon has been discontinued by Blue-Eyed Girl Lacquer; other BEGL polishes are available in their online shop.

I bought this polish myself.

Review: Bite Beauty’s Amuse Bouche Lipsticks

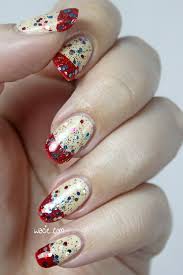
Today’s post is a huge departure from the usual wacie.com fare. I’ve never written about makeup on this blog, and I’ve never posted my face here, though I’m sure by now you know what I look like. I’m both excited and nervous to share it with you. Please do note that these are press samples, I received them for free from Bite Beauty and Influenster, and I wasn’t compensated for this post. All opinions contained herein are my own and were not influenced in any way.

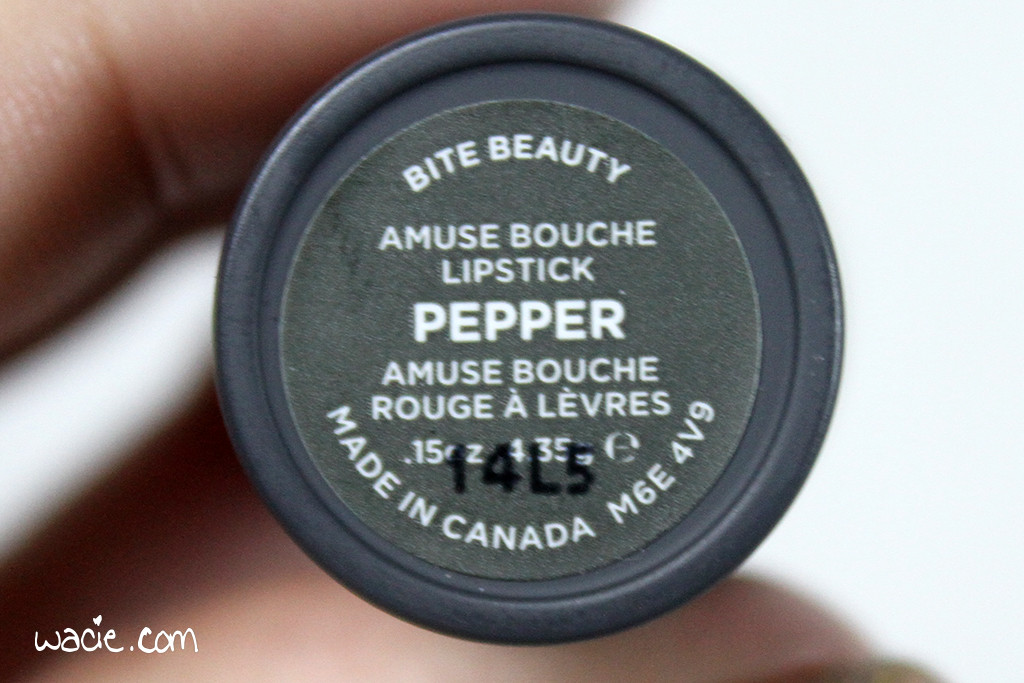
A little while ago, I was notified by Influenster that I would be receiving an Amuse Bouche Voxbox from Bite Beauty. Of course, I was ecstatic, because who doesn’t love lipstick? I am a huge fan of lip products, and though I own upwards of a hundred lipsticks, I don’t own any from Bite. I’ve heard great things from the makeup community, of course; I’ve had Sephora employees tell me about the great list of natural ingredients they use, and I’ve read about the custom lipstick creation process at the Bite Beauty Lip Lab, so I’m finally excited to try them out for myself.

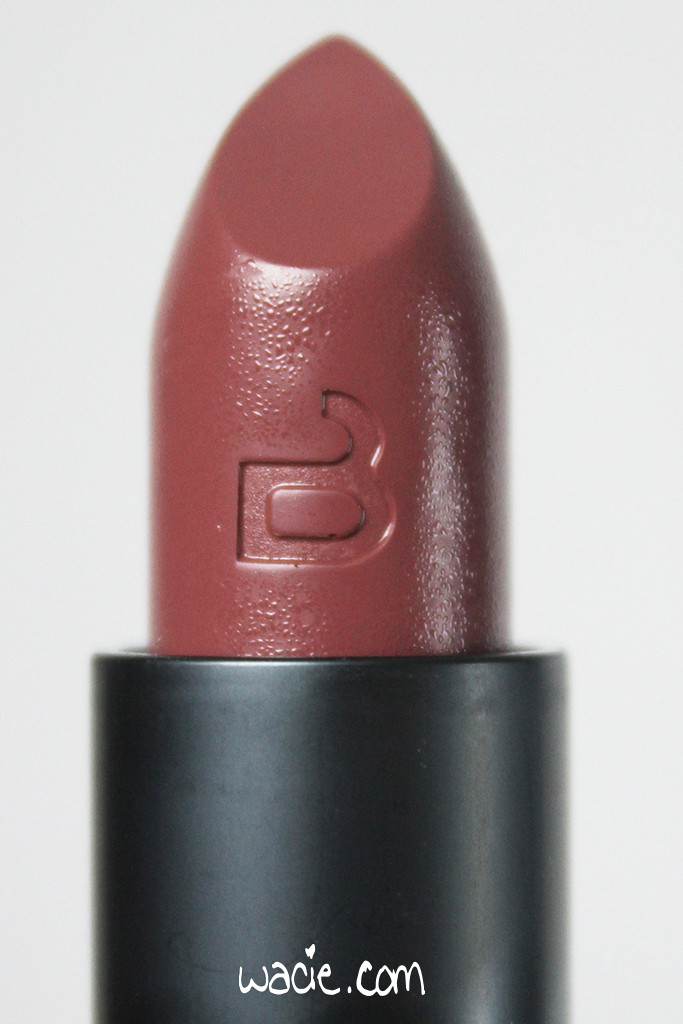
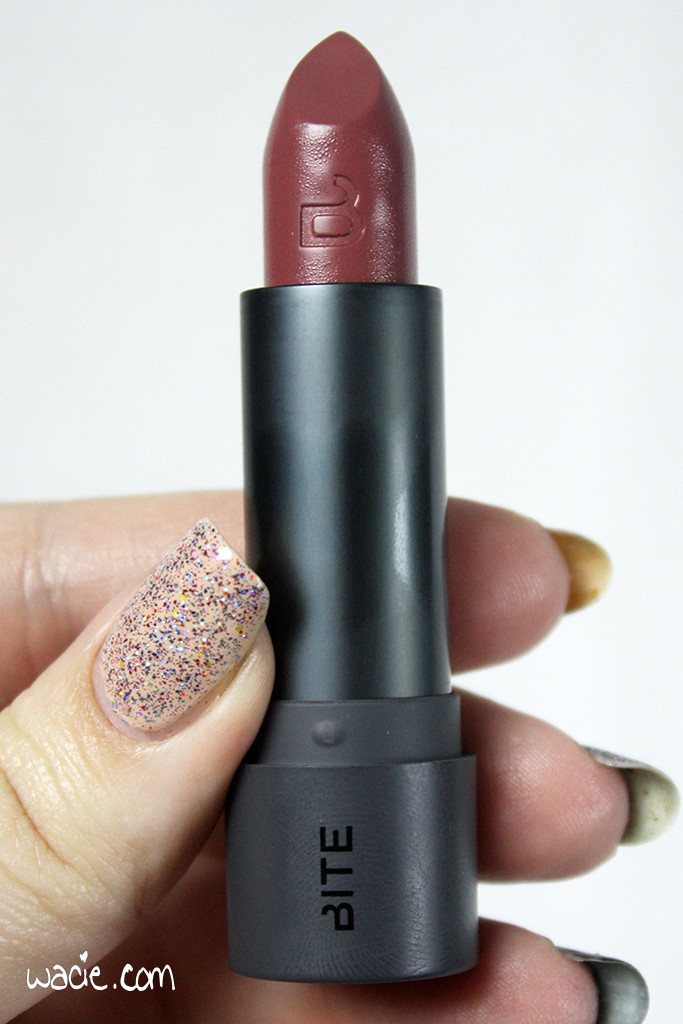
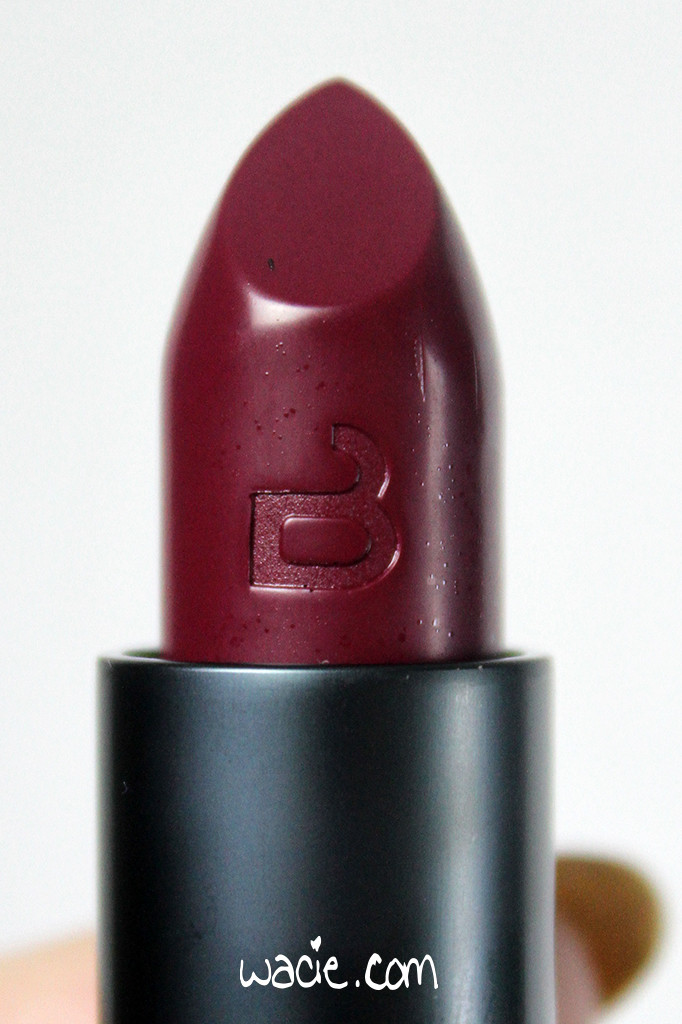
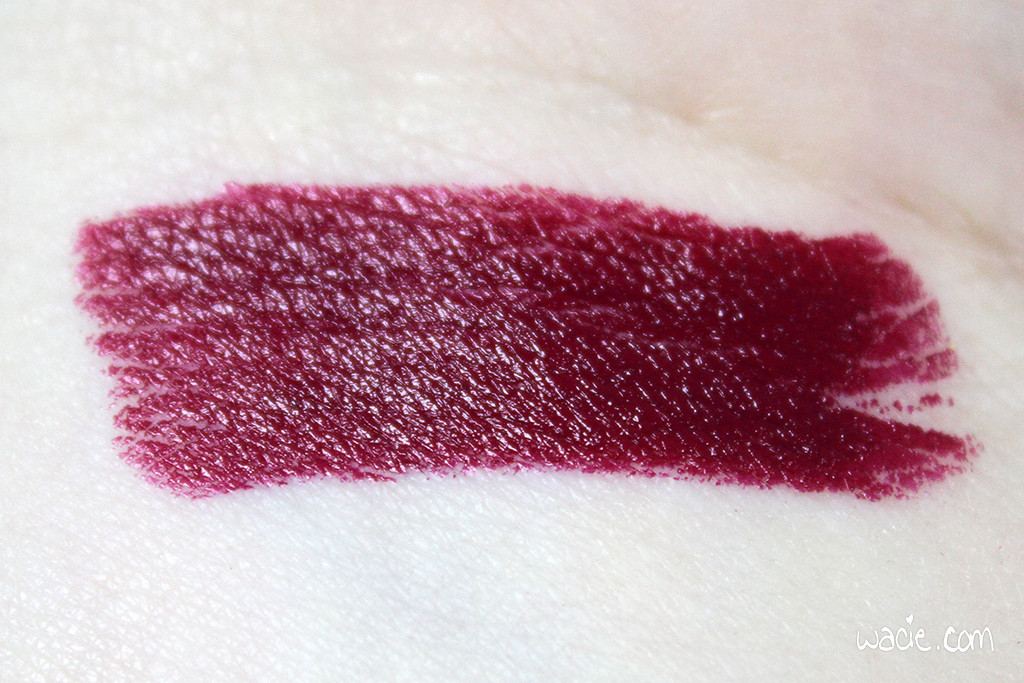
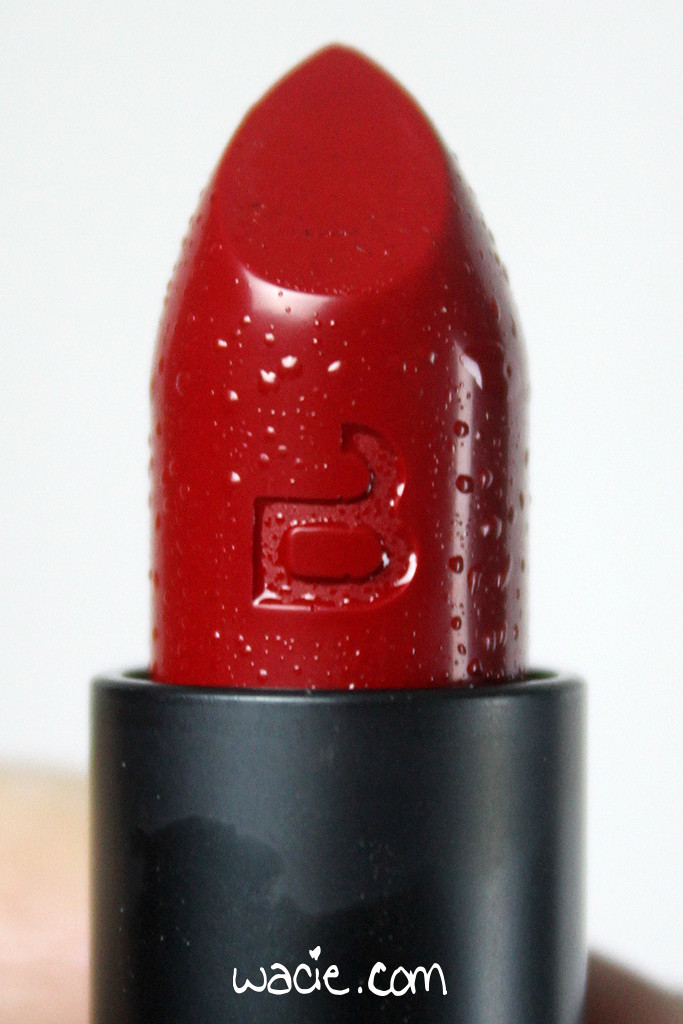
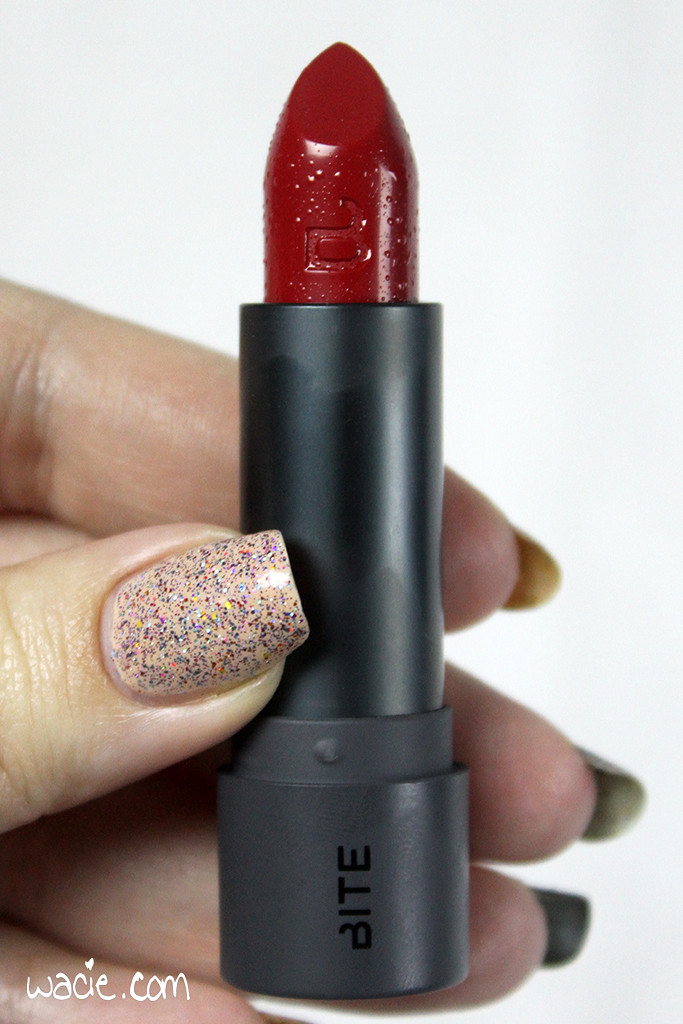
These lipsticks made a great first impression on me, and I’m not exaggerating (much) when I say it was love at first swipe. The product just glides on effortlessly with tons of color and creamy, dewy shine. It has a very lightweight feel, so light I even forgot I was wearing it. The one concern I did have at first was the appearance of the lipstick bullet; in the photos below, you’ll see they have a bumpy and/or greasy look to them. They didn’t smell off — the scent was actually a pleasant citrus — so I just figured it was just sweaty from being in a mailbox in Florida. The product itself didn’t seem altered by it in any way.

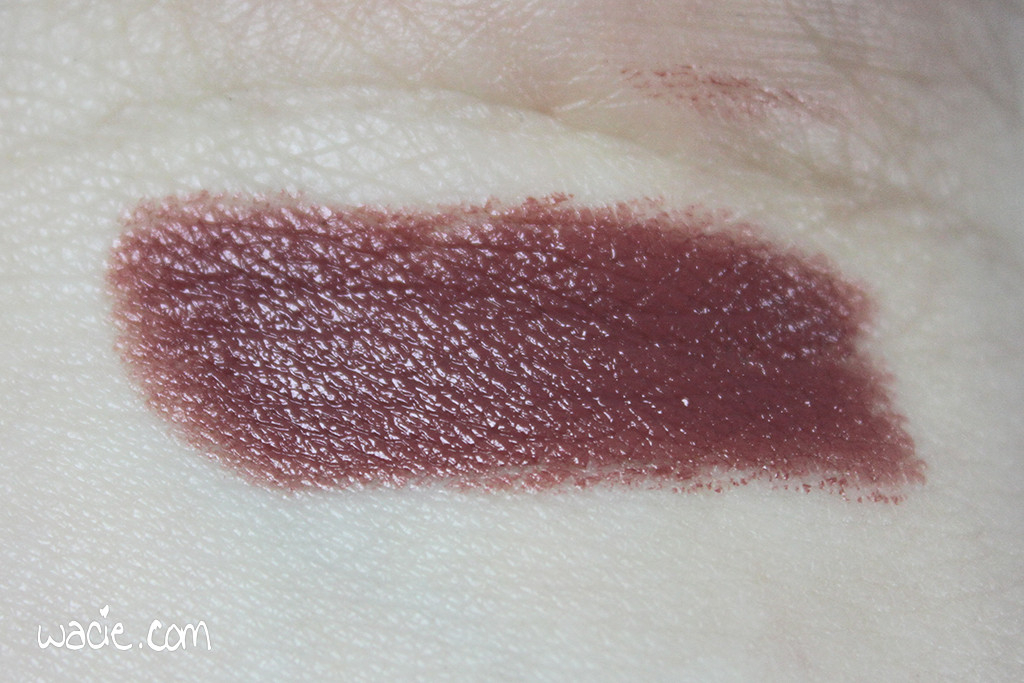
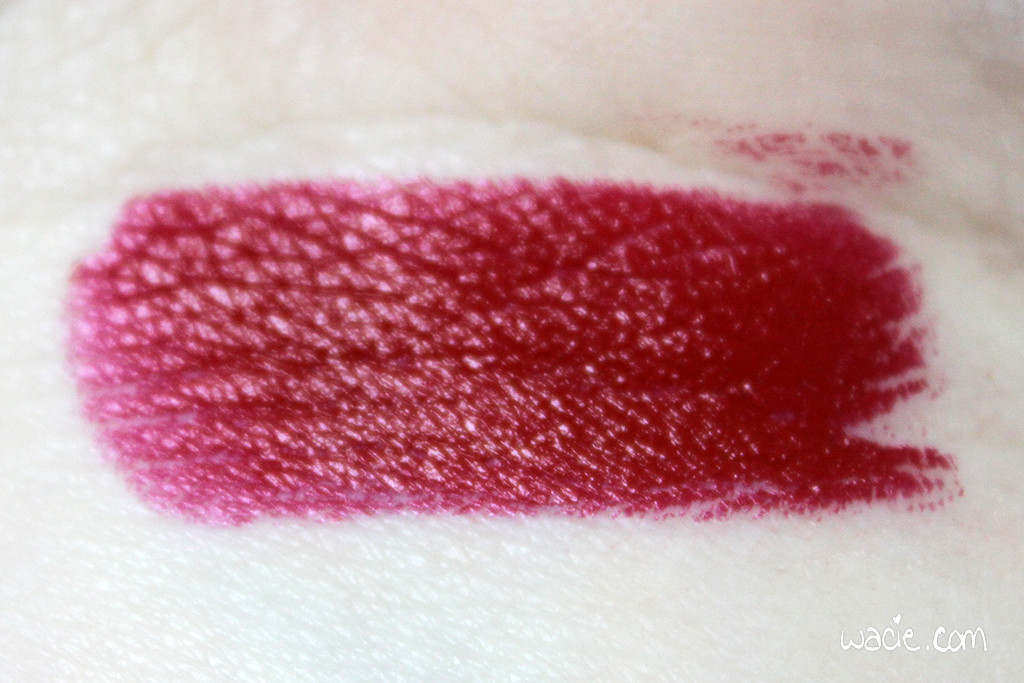
The photo below shows each shade at one swipe, as well as an attempt at removal with makeup remover — Neutrogena’s Oil-Free Eye Makeup Remover, in this case — and as you can see, it left quite a lot of color behind. This may be remedied with a lip color primer underneath the color.

From top to bottom: Pepper, Gazpacho, Beetroot

From top to bottom: Pepper, Gazpacho, Beetroot

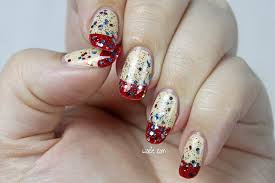
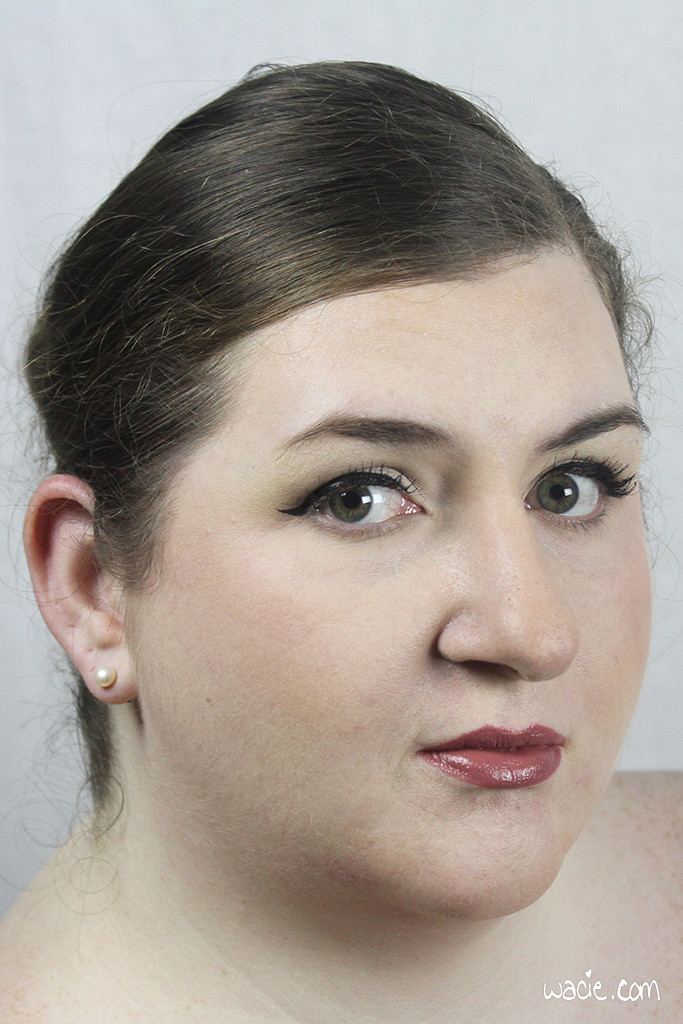
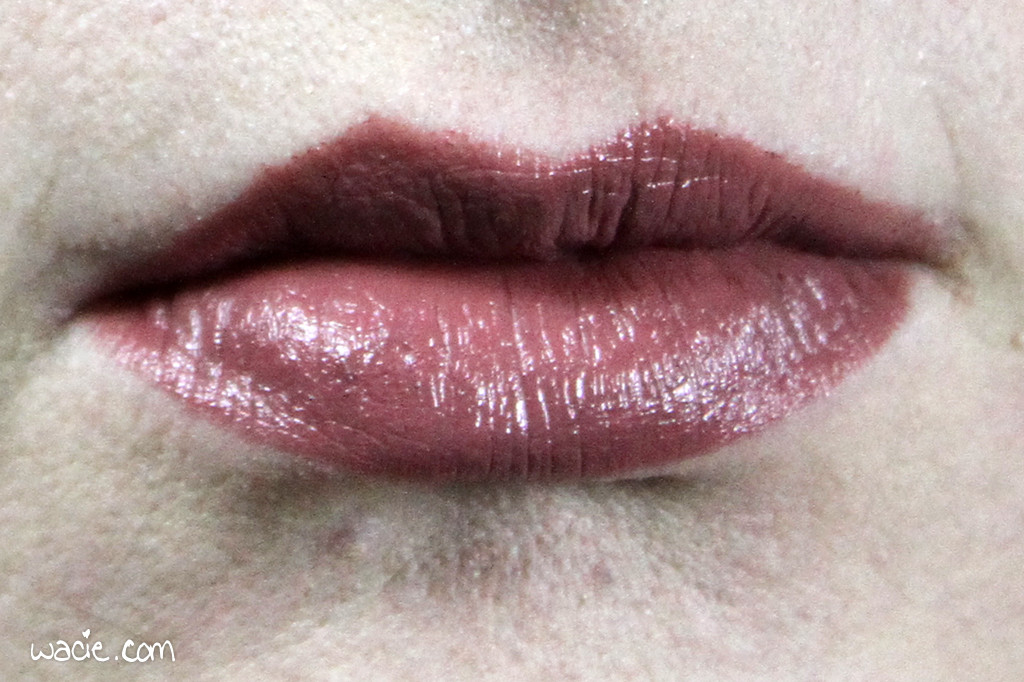
This first shade is called Pepper. This is probably the most universally flattering shade of the three I received, as well as the most suited for everyday wear. I also think it’s the most flattering one for my skintone. Sephora’s website calls Pepper a dusty rose; for me, it’s a neutral my-lips-but-better shade.

IMG_63582

IMG_63652

IMG_63602

IMG_63762

IMG_64682

IMG_64662

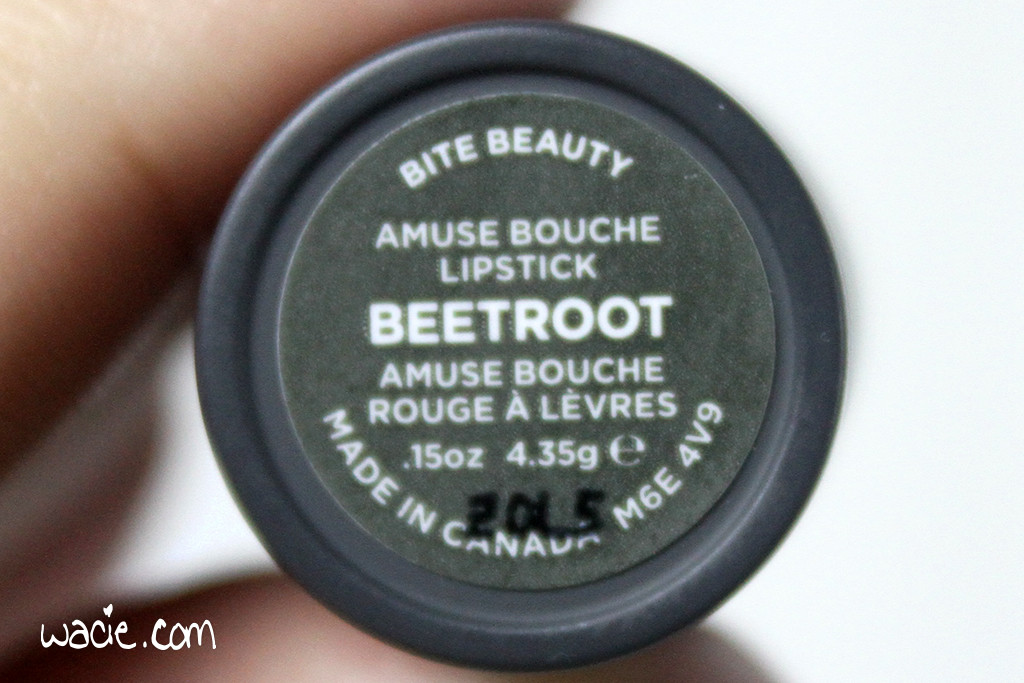
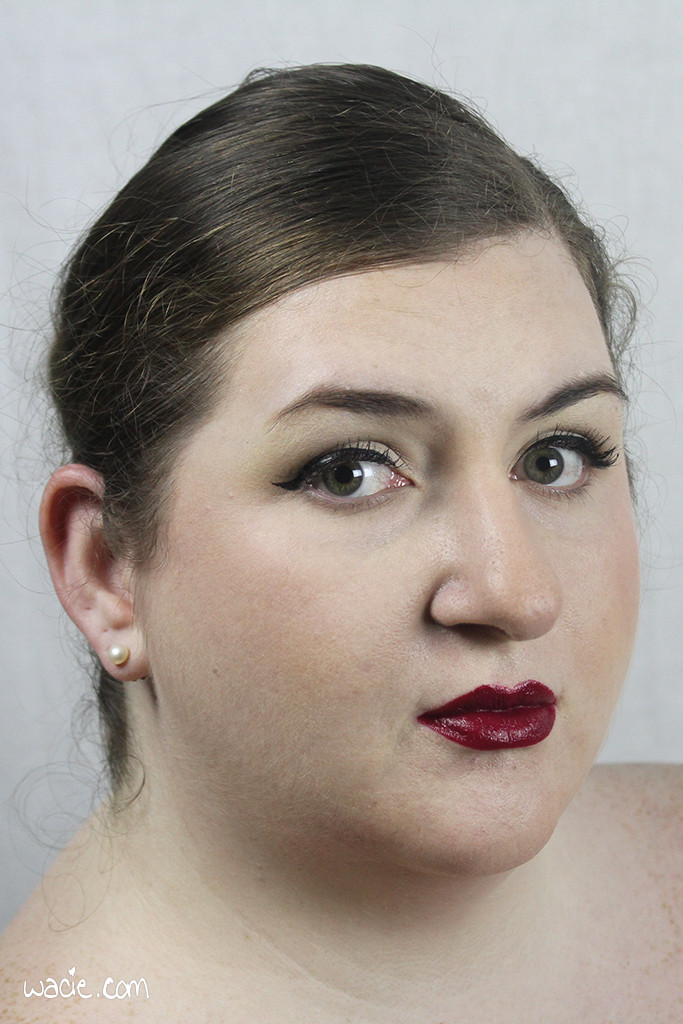
Next is Beetroot, which is a deep, bold berry. I feel like this one is a bit harsh on me, but I like how it looks anyway. I think I’d like it better paired with a dramatic smoky eye.

IMG_64042

IMG_64132

IMG_64182

IMG_64722

IMG_64712

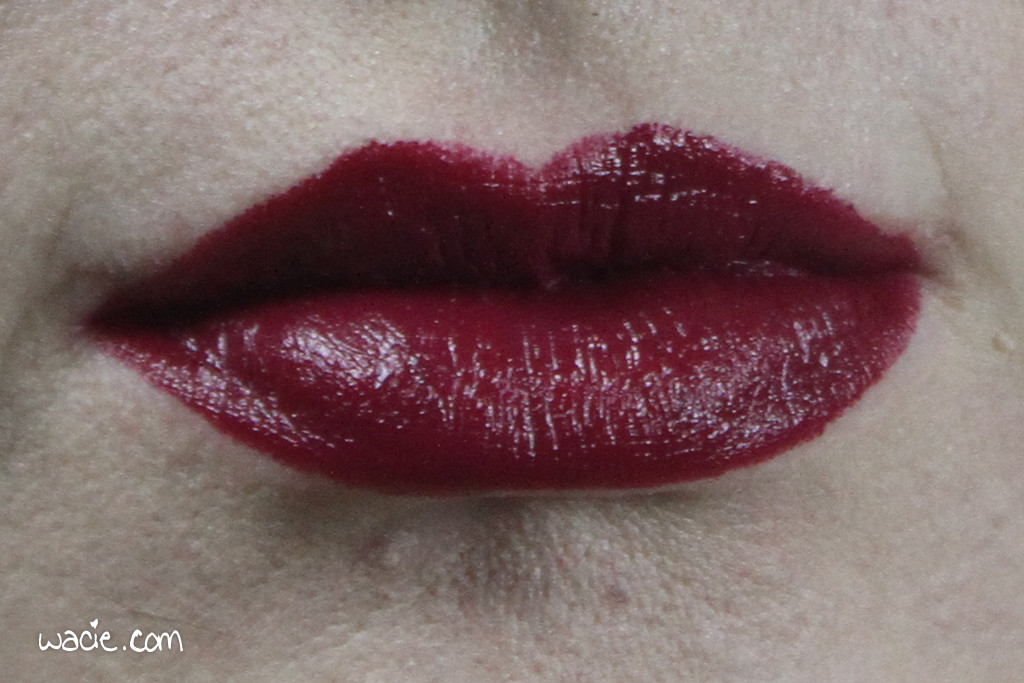
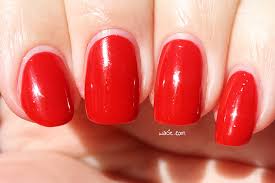
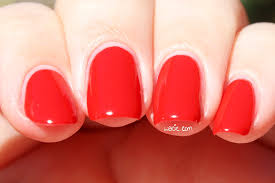
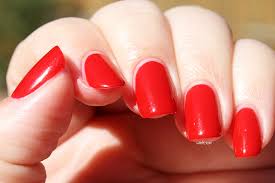
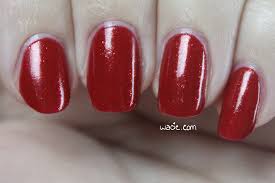
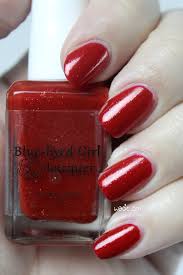
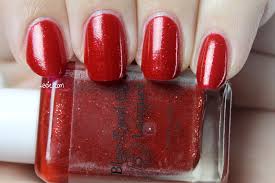
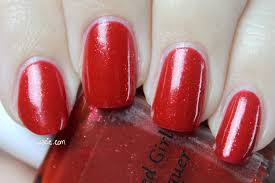
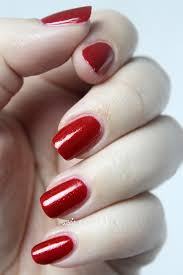
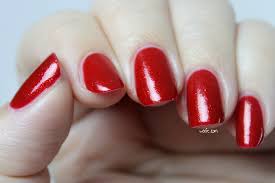
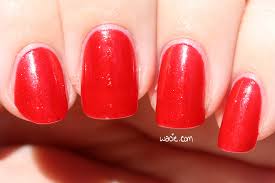
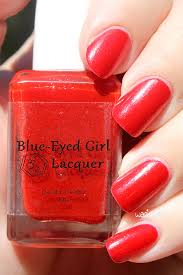
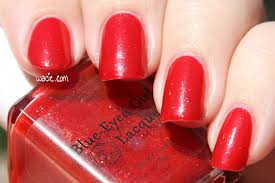
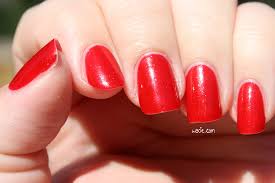
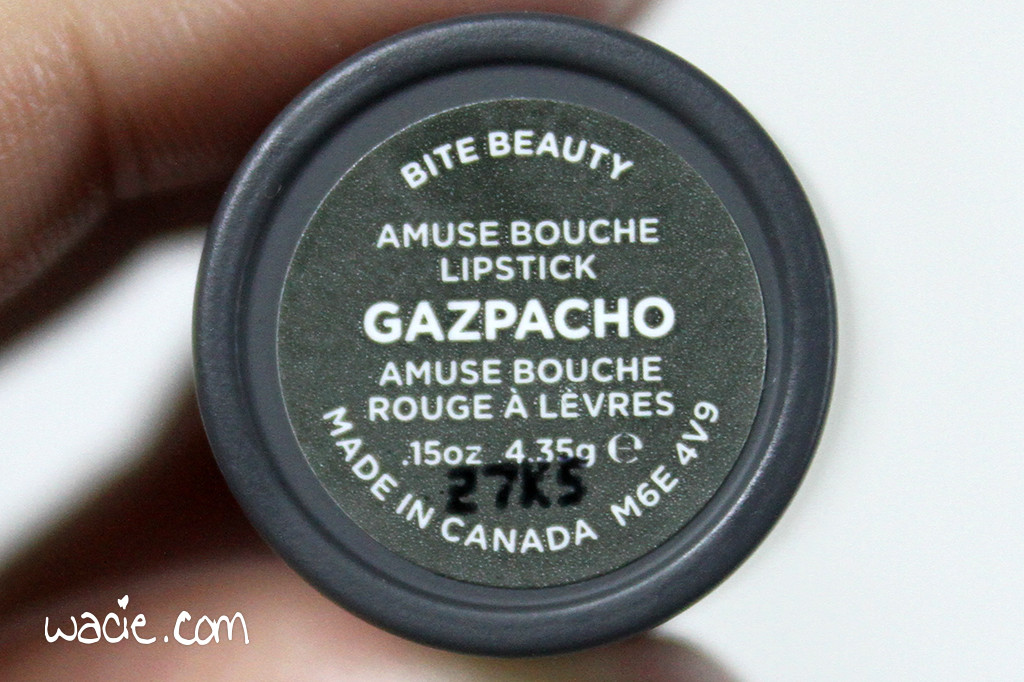
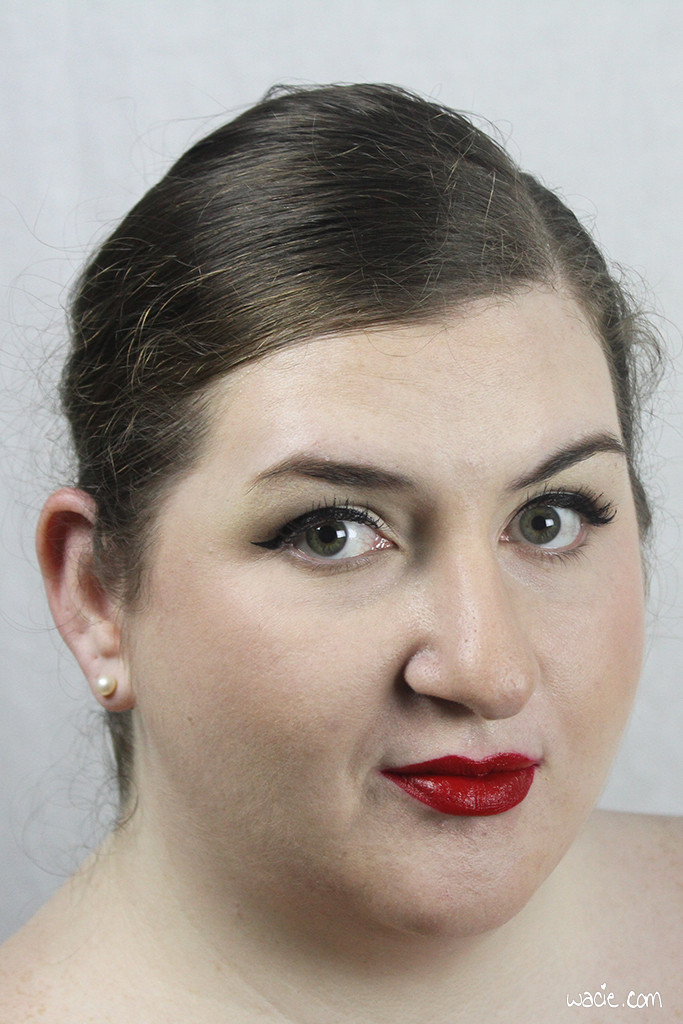
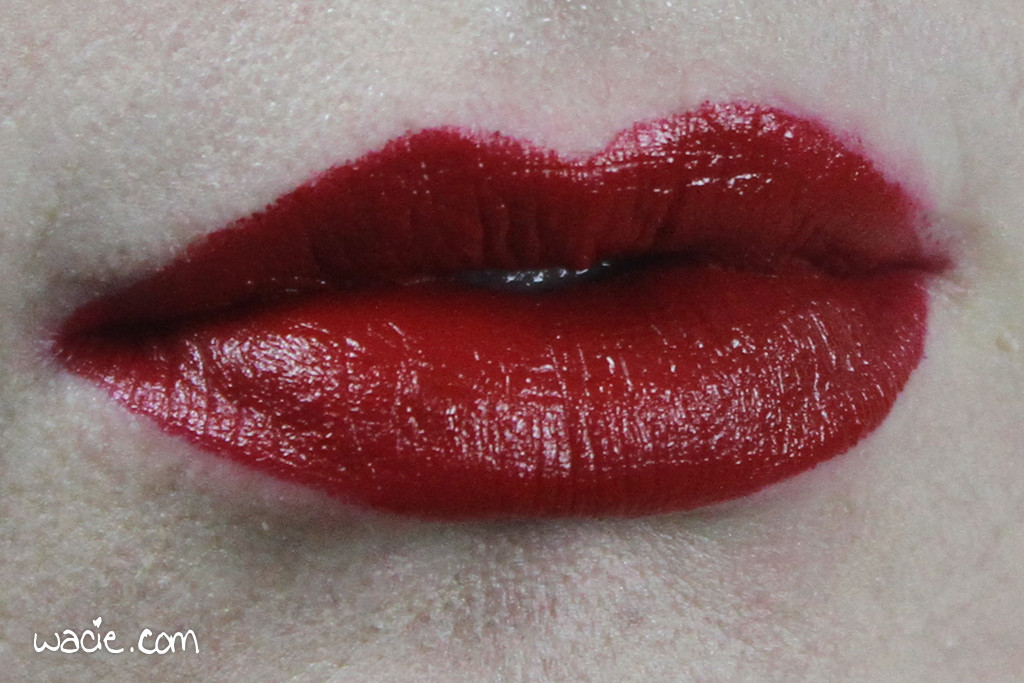
I saved my favorite for last! I write about how much I love red on the blog all the time; it’s my favorite color for lips as well as nails. It makes my eyes look their greenest. Gazpacho is a true blue-red, and it’s probably the one of the three I’ll be reaching for the most.

IMG_63832

IMG_63902

IMG_63852

IMG_63962

IMG_64752

IMG_64742

I have to say, I love these lipsticks. The color payoff and product formula are just unbeatable. If you’re someone looking for an all-natural lipstick made with natural and organic ingredients that has excellent color and wear, Amuse Bouche is going to be your new best friend. This lipstick really is the whole package, but with one caveat: the price. Amuse Bouche retails for $26 each at Sephora, and I’m a bit conflicted. I love the product formula, but color is the biggest factor in whether I buy a lipstick, and I don’t feel like these colors are unique enough to warrant a $26 purchase; I’m more likely to get similar colors and finishes from MAC.

As I mentioned, Amuse Bouche and other Bite Beauty products are available at Sephora.

These products were press samples and were sent by Influenster on behalf of Bite Beauty. I wasn’t compensated for this post. All opinions contained herein are my own and were not influenced in any way.

Swatch Saturday: Blue-Eyed Girl Lacquer Prototype BBD1.0

Happy Saturday! It feels so good to be past our third anniversary. I still can’t believe we’ve passed such an important milestone, it’s crazy! For this week’s Saturday swatch, I’m wearing Blue-Eyed Girl Lacquer Prototype BBD1.0 over Nails Inc.’s Eaton Terrace, China Glaze’s Pelican Gray, and LA Girl’s Black, as well as Seche Vite top coat.

IMG_63092

IMG_63172

IMG_63212

IMG_63272


Prototype BBD1.0 is a clear-based fine glitter topper; the glitter mix is predominantly purple holo glitters, but also contains holo reds and blues and matte lime green glitters. Application was easy; the glitter brushed on without any problems, and the product consistency was very workable. It dried quickly and with a smooth finish. I added top coat for extra shine and protection.

IMG_63312

IMG_63352


This a really fun polish to wear. I used neutrals for this look because I wasn’t sure how the glitter would look over other colors, but the glitter is so fine and so varied in color that it would probably look good over anything. I’m actually impressed by how it looks over black; you get the flashes of color without the speckled effect the lighter colors get. I thought it would be boring over black, but I think it’s my favorite of all of them. The lime green satin glitters feel a bit out of place, but I don’t dislike them; I think it breaks up an otherwise monotonous (but still quite pretty) glitter mix.

IMG_63432

IMG_63472

Here are some sun shots. The glitter looks amazing outside; you can really see the variety of colors in the glitters here. The following photos were taken in direct sunlight.

IMG_62802

IMG_62842

IMG_62872

ssbeglpbbdmc


Prototype BBD1.0 is a one-off prototype, and I have the only bottle. Other Blue-Eyed Girl Lacquer polishes can be purchased from their online shop.

I bought these polishes myself.

wacie.com Third Year Anniversary Post!

Happy Friday, reader! I don’t typically post on Fridays, but today is a special day: it’s the third anniversary of wacie.com! This is a huge day for us, and I couldn’t be more excited to bring you this post. It’s been quite a ride, and I’m so glad you’ve been a part of it.

On March 11, 2013, I posted my first-ever Manicure Monday post. I think I’d posted a few posts before that, but as wacie.com became more nail-oriented, I took them down and began to focus on nails exclusively. I’d been experimenting with nail art for a couple of years by the time I started the blog, and actually starting the blog helped me get better at it. My nails look and feel healthier, my application skills have gotten better, and I think the quality of the blog has improved, too. Three years is a lot of time for improvement, after all.

100_1933

In honor of the anniversary, I’ve decided to recreate the first manicure I ever posted. Just like last time, here’s a gradient done with Disney Villains’s Cruella de Vil with a Maybelline mystery red, along with a coat of Seche Vite top coat and Ciaté’s Mattenificent matte top coat.

IMG_64792

IMG_64892

When I go back and read about the early version of this manicure, it sounds like I had a hard time with it; my mystery red was thick as molasses and cleanup was a challenge. I had just as much trouble with it this go-around. I’d thinned the mystery polish — polish thinner is something I’ve discovered since I did that manicure — but I still had trouble sponging it on. I didn’t get the contrast I got last time. I ran out of foam eyeshadow sponges I usually use for gradients and had to use the foundation blending sponges, which not only made my hands look like I’d committed a horrible crime, but made cleanup a huge ordeal. On top of that, because I did the mani from memory before I looked at the old post, I see I got the colors in the wrong order. I’m not even mad about that, because meh, close enough.

IMG_64962

IMG_65002

What really gets me is that the matte coat left those white spots on my nails again. The manicure looked great — exactly like the first time should have looked — until I applied the matte top coat. I was so frustrated and upset that I just threw it away. I hate tossing a nearly-full product, but I just can’t let it ruin any more manicures. I thought about redoing them, but decided I’d just leave it, as a sort of humble reminder of where I came from as a blogger. No matter how long I keep this blog, I’ll always have room to improve. Maybe on my fourth anniversary, I’ll finally get it right.

IMG_65062

IMG_65112

Here are some sunlight photos; it rained the last time I did this mani. In the sun, the glitter is a bit invisible, but still manages to sparkle a bit.

IMG_64442

IMG_64502

IMG_64542


On my past anniversaries, I’ve posted graphs and little data tidbits about the blog and what I’ve covered. I’m not going to do that this year, but I will share a few figures:
I’ve done 216 swatches.
Between swatches and Manicure Monday looks, I’ve worn Blue-Eyed Girl Lacquers 108 times. Essie is my most used mainsteam polish brand at 42.
Blue is my most used color.
I now own more than 1,400 bottles of polish.

Thank you so much for making it this far with me. Thank you so much for making this blog more than a hobby, but a means to cultivate friendships, foster creativity, and strengthen a community where we all can grow together. Thank you so much for being a part of the last three years.

One polish was purchased myself. The other was a gift, not sent for consideration or review.

Manicure Monday: Fun With Microglitter

Happy Tuesday, reader! It’s still Monday somewhere, so let’s have a look at this week’s mani. For this mani, I used Blue-Eyed Girl Lacquer Prototype Summer 1.1, Wacie Nail Company‘s Opulence, and Digital Nails‘s Tauping Mechanism. All nails are topped with a coat of Seche Vite top coat.

IMG_62472

IMG_62562

I ended up pairing red and gold again. I can’t help it, they just go so well together! At first I wasn’t going to pair Summer 1.1 with anything, just because it already has so much going on. The colors are so vibrant and varied that it looks excellent on its own. When I started thinking about what nail art I would do, if any, I started looking at other options. I found Opulence in the polish box and went for it.

IMG_62612

IMG_62662

The dotting was something I explored later on. I was pleased to discover microglitters actually do dot. In these photos, because of the macro, it looks weird because you can see the individual pieces of glitter and it makes it look less like a dot. My dots didn’t really line up the way I wanted them; they’re more linear than scattered on one nail, and that kind of bugs me. Overall, though, I’m happy with how uniform and neat they are. I try to avoid dotting because I can never keep my hands steady enough, but this came out really well, all things considered.

IMG_62712

IMG_62732

Here are some sunlight photos! You’ll see how the glitter is brighter and shines better than in the studio. Opulence looks best here, too; you can see that’s actually a gold and silver mix and not just gold alone. The glitter really comes to life in this set.

IMG_62102

IMG_62172

Tauping Mechanism was the last selection I made for this look. When I decided to do the dots, I knew I needed a nude as the base, something that would fade gently into the background and not detract from the dotting, and Tauping Mechanism does exactly that. It’s amazing for undies! It’s opaque in one coat and levels itself nicely. It’s also the only polish in this mani I hadn’t used before.

IMG_62132
Macrooo

Macrooo

BEGL Prototype Summer 1.1 was a one-off and no others were for sale; other BEGLs are for sale in their shop. Opulence will be available in the Wacie Nail Company shop shortly. Tauping Mechanism is for sale in the Digital Nails shop.

I bought these polishes myself, except for the one I made.

Swatch Saturday: Blue-Eyed Girl Lacquer’s A Snogging Booth?!

Happy Saturday, reader! This is the final polish in the first phase of Blue-Eyed Girl Lacquer‘s masive Doctor Who collection. After this one, I’ve got a couple prototypes, a couple of special editions, and a Halloween collection that’s weirdly appropriate for spring. This final(ish) polish is called A Snogging Booth?; I’m wearing three coats with one coat of Gelous gel coat.

IMG_59962

IMG_60002

IMG_60062

IMG_60112

A Snogging Booth? is a clear-based microglitter polish containing shades of red and black. Application was easy, and a bit similar to the previous BEGL microglitters I’ve worn on the blog recently; the first coat didn’t cover well, but coverage builds with additional coats. It took me all three coats to achieve this level of opacity. The product consistency was thick as well, which is to be expected with the large amount of glitter in it. The polish dries quickly and with a textured glitter finish. I added top coat for smoothness; you can see where it sank in, there’s still a lot of texture left.

IMG_60172

IMG_60212

My favorite thing about this polish is the black glitter. The word that comes to mind, for me, is pepper; it adds a dark, cool, vampy element to the polish. I don’t like black glitter in everything, I think it looks weird in light jellies, but I really love it in this. The red is already gorgeous on its own, but the black makes it sultry while also grounding it. It’s a really nice combination.

IMG_60252

IMG_60312

In the sun, it warms up quite a lot, and I think that’s just because things tend to look cooler and darker in the studio. The holo effect from the red glitter shows up well here, and that helps it look a bit warmer as well.

IMG_59632

IMG_59872

IMG_59722

IMG_59772

A Snogging Booth? has been discontinued by BEGL, and sadly, the last bottle sold out only recently. Other BEGL polishes are available in their shop.

I bought this polish myself.

Swatch Sunday: Octopus Party Nail Lacquer’s Universal Loner

Happy Sunday! It’s Valentine’s Day, so it’s a great day to wear red! This beauty is Octopus Party Nail Lacquer‘s Universal Loner. The name is kind of appropriate, too, isn’t it? I can’t tell. I’m wearing three coats of Universal Loner with one coat of Seche Vite top coat.

ssopnlul

ssopnlul2

ssopnlul3

Universal Loner is a true red creme polish; it’s meant to be equally balanced between warm and cool. Like a lot of red cremes, the tone changes in lighting; my outdoor photos leaned more warm, and my indoor photos were cooler. The product consistency is very nice; the polish is a bit sheer on the first coat, but works up to full opacity on the second. It dries quickly and with a glossy finish; I used top coat for extra shine and protection.

ssopnlul4

ssopnlul5

This polish was one of the four indie creme offerings in the inaugural Creme a la Mode box. I love this box because some awesome makers — some of my favorites, even — realized that cremes are an overlooked but necessary part of a great indie manicure. Cremes are common in any polish addict’s kit, but it weirds me out sometimes when I’m still using polishes that might not be five-free or cruelty free or what have you. I know these brands and I know their reputations for quality products, and it puts my mind at ease knowing there’s nothing in this polish that’s going to harm me or be ethically questionable. I have a dozen red cremes, but I trust this one.

ssopnlul6

ssopnlul7

Here’s the outdoor shots, where it looks way more tomato than cherry. I still love it. The shine kills me. It’s my favorite thing.

ssopnlul8

ssopnlul9

ssopnlul10

ssopnlul11

And because it’s Valentine’s Day, I used it as a base for a quick-and-dirty Valentine’s mani. The glitter here is Lynnderella‘s Love the Nail Mail. Nail polish is totally my valentine this year.

ssopnlul12

Universal Loner is out of stock; other Octopus Party Nail Lacquers are available in their etsy shop.

I bought this polish myself.

Swatch Saturday: Blue-Eyed Girl Lacquer’s You Just Want to Mate?!

Happy Saturday! Here comes this week’s swatch; it’s Blue-Eyed Girl Lacquer‘s You Just Want to Mate?!; I’m wearing three coats with one coat of Seche Vite top coat.

ssbeglyjwtm

ssbeglyjwtm2

ssbeglyjwtm3

ssbeglyjwtm4

You Just Want to Mate?! is a red polish with red and gold shimmers. Application was easy; it was nearly opaque on the first coat, achieving full opacity in two coats. Product consistency is just right; it’s not too thick or thin, it just goes on. The shimmer is strong, and strongest where the light touches it. It dries quickly and with a semi-glossy finish. I added top coat for extra shine.

ssbeglyjwtm5

ssbeglyjwtm6

I’ve talked at length before about how BEGL shimmer polishes are the best ones they do. This is an aboslutely great example of that. Shimmer is already a beautiful addition to a creme, but BEGL takes a step further and adds it in such a way that it adds complexity and and depth. This is a pretty simple combo; the red shimmers add monochromatic sparkle, but the gold adds warmth and a little something extra. I’ve also talked at length about how much I love red polish, so it’s safe to say this is a winner in my book.

ssbeglyjwtm7

ssbeglyjwtm8

Outdoors, the shimmer is incredible, but the sunlight overwhelmed it while I was trying to photograph it.

ssbeglyjwtm9

ssbeglyjwtm10

ssbeglyjwtm11

ssbeglyjwtm12

Swatch Sunday: My True Love Creations’s Apple Crush

Swatch Sunday, at last! The polish I’m wearing this week is something new and interesting to me; I actually got this little mini as a gift-with-purchase from another blogger’s destash sale. After a little bit of homework, I found out that it’s from a new-to-me brand called My True Love Creations. I’m excited to learn about them! The polish I’m sharing today is called Apple Crush; I’m wearing three coats of Apple Crush with one coat of Seche Vite. All photos are taken outdoors in direct sunlight.

ssmtlac

You may also notice my nails took a trip to Chopsville this weekend. Yep. So sad.

ssmtlac2

ssmtlac3

Apple Crush is a orange-leaning red polish with holographic shimmer. Application was easy: the product consistency is good; it’s a little on the thin side, but doesn’t have any thin-polish problems like flooding or streaking. It is on the sheer side; it took me all three coats to achieve this opacity. It dries quickly and with a semi-glossy finish. I added top coat for extra shine and protection.

ssmtlac4

ssmtlac6

ssmtlac5

I’m pretty impressed with this little polish. I have to confess, I didn’t expect much since I didn’t know too much about it, but I’m really pleasantly surprised. The polish is gorgeous in its sparkly simplicity; while holos these days are these intense sparklers, this one takes a step back and offers just enough. It’s kind of refreshing actually.

ssmtlac7

ssmtlac8

Apple Crush and other My True Love Creations polishes are available from their etsy shop.

I did not buy this polish, but it was not sent by the maker for review.

Manicure Monday: Confetti Dreams

Happy Monday, reader! This week has all the hallmarks of being a holiday mani without actually being one, and might just be the closest I get to one all year. For this look, I used Julep’s Alexandra as the base color, Octopus Party‘s Universal Loner as the tip color, and LA Colors’s Confetti as the glitter topper, all with one coat of Seche Vite. Here we go!

mmcd

mmcd2

I think that, until this mani, I forgot drugstore glitter toppers were a thing. I mean, how could I; after all, they were my gateway to glitter addiction. Even now, I have tubs of them. It’s just that every glitter topper I’ve worn for the past year or so (at least) has been an indie polish, and I’ve gotten used to that sort of polish. Indie glitters just have so much going on: big glitters, small glitters, shimmer, flakies, crazy shapes. This one, though it was a pretty cool polish when I bought it, I’m having a hard time finding a word other than quaint to describe it. I’m not trying to say it’s bad, I’m really not, it’s just that glitter polish has come a long way since this one. This is two coats of glitter, by the way.

mmcd3

mmcd4

I chose Alexandra for the base because it was neutral, and I needed a color that wouldn’t interfere with any of the glitter colors. I ended up adding the red tips as an afterthought, hoping to tie everything together. That, and I already had it out to put on my toes. Both of these polishes performed very well; Alexandria had a bit of streakiness left after two coats, but the glitter hides it well. Universal Loner went on really easily; I didn’t have to deal with any coverage problems. It’s my first OPNL, too, yay.

mmcd5

mmcd6

I think it all came together really nicely. Like I said, red and glitter usually means a holiday mani. I actually plan my manicure combinations out way in advance, so it’s lucky it landed on a day so as to be seasonal as well as pretty.

LA Colors is sold nationwide, as is Julep. Octopus Party Nail Lacquers are sold from their etsy store.

I bought these polishes myself.