Manicure Tuesday: Jade Rainbow

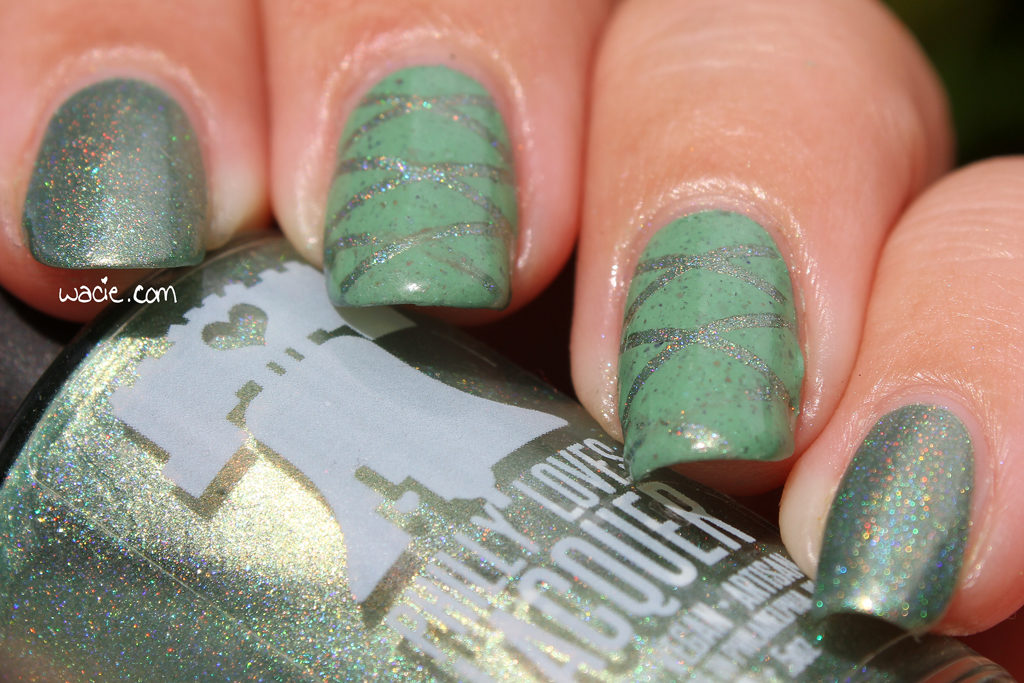
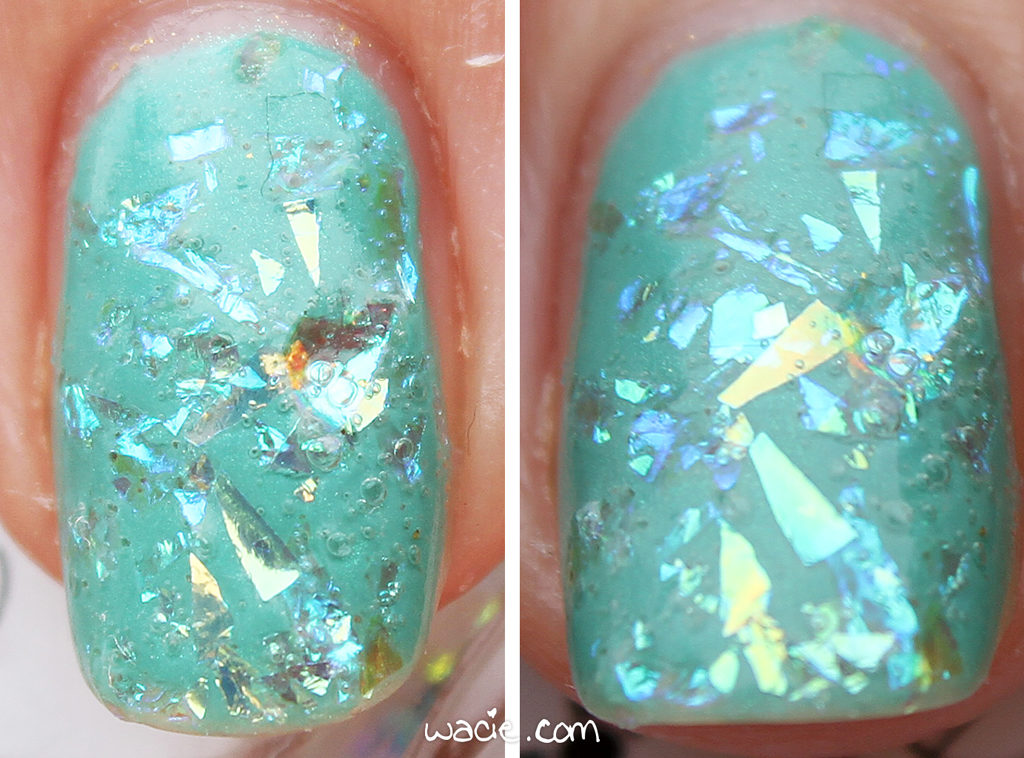
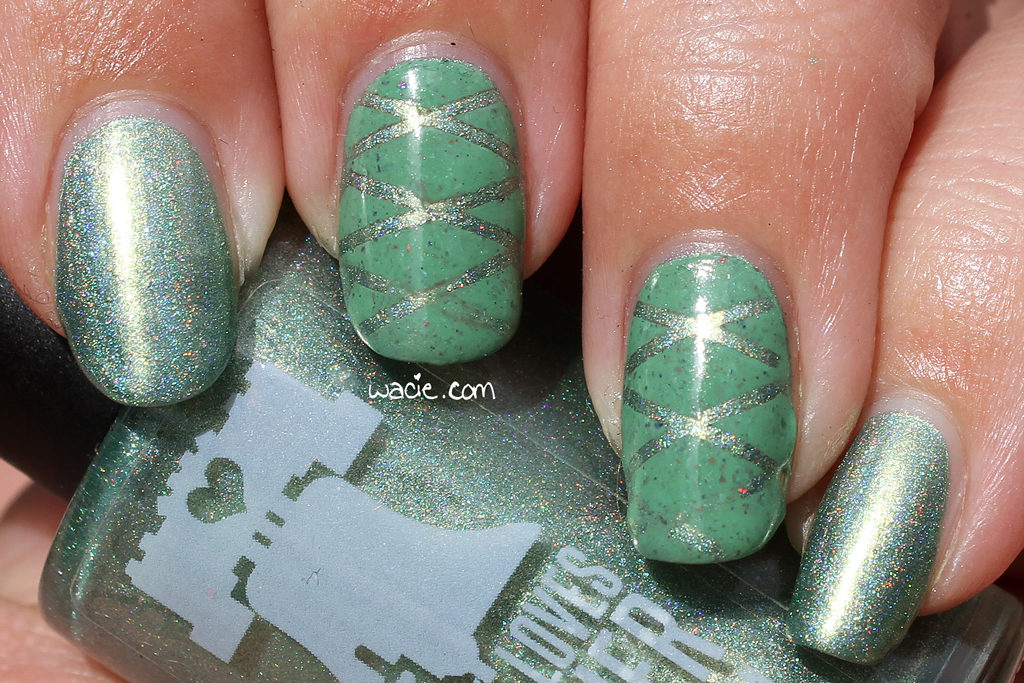
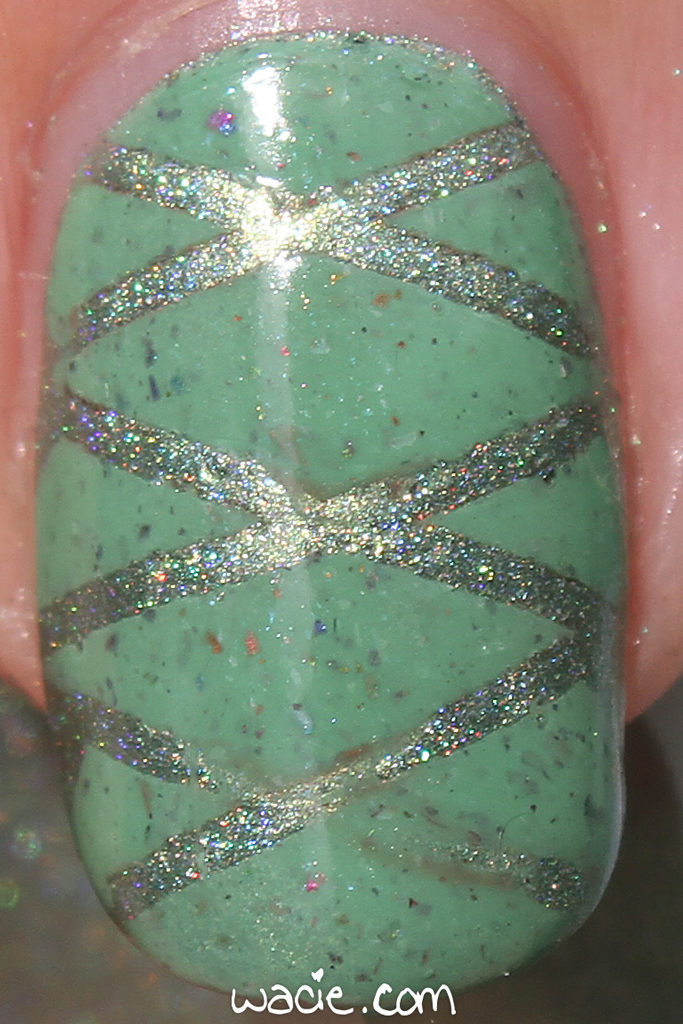
Welcome back! I’ve got a green look to show you this week for Manicure Tuesday. The striping tape wasn’t on my side, but I’m happy with the look I got. I used Philly Loves Lacquer’s Fortunate Rainbow and Elevation Polish‘s Yeti’s Healing Vibes.

I always feel a little sad talking about a brand that’s closed down. When I got into indie polish, PhLL was one of the brands I saw everywhere, and it took me ages to try them; I only have box-exclusive polishes from them, and never bought any of their core releases. That said, it was a huge shock to me when they closed up. I love every PhLL polish I have, and I regret that I didn’t go for more of them.

This Elevation Polish was a limited edition made to benefit the American Himalayan Foundation after the devastating earthquakes in Nepal in 2015. It’s a beautiful creamy jade with fine little rainbow flakies in it. It’s gorgeous! I know Elevation is a controversial brand now, but this is one polish from them I’m really glad I bought.

Both of these polishes are limited editions that have since sold out. Philly Loves Lacquer no longer makes polish. Elevation Polishes are sold in their online store.

I bought these polishes myself.

Manicure Monday: Desert Gradient

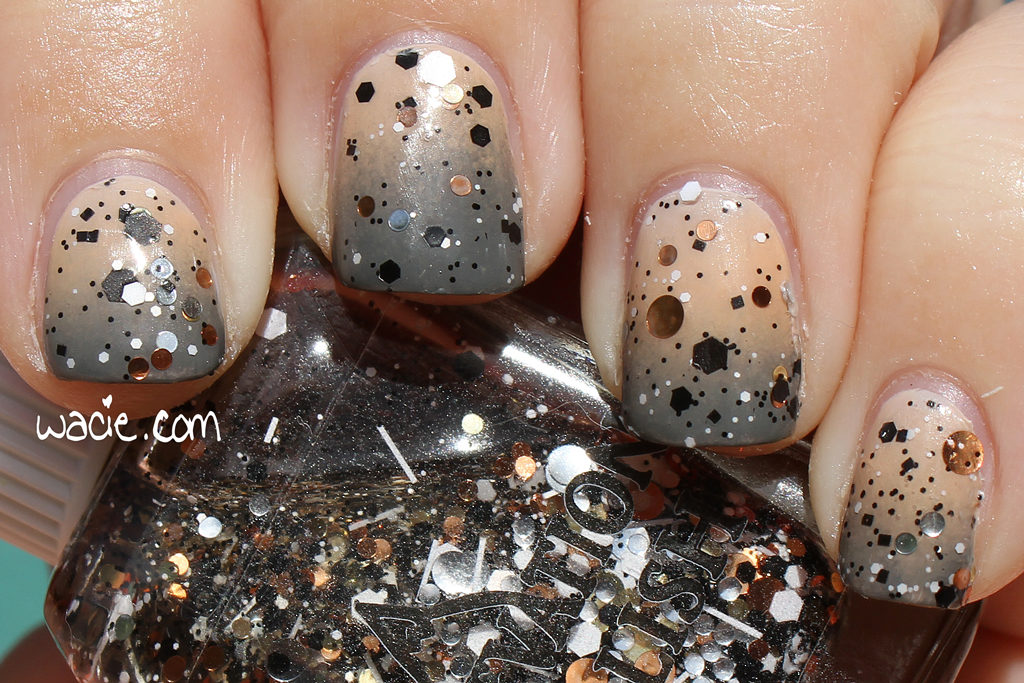
Happy Monday, reader! I’ve been in the mood for nail art, so here’s some nail art! And really I mean that I finally remembered to buy some sponges so I can do some gradients. I’ve missed them! For this look, I used Blue-Eyed Girl Lacquer‘s Thrill Me to the Marrow (pale pink) and Robo-Aggression (gray), Pepper Pot Polish‘s The Big Fuzz (peach), and Elevation Polish‘s Sample JY #26 (glitter).

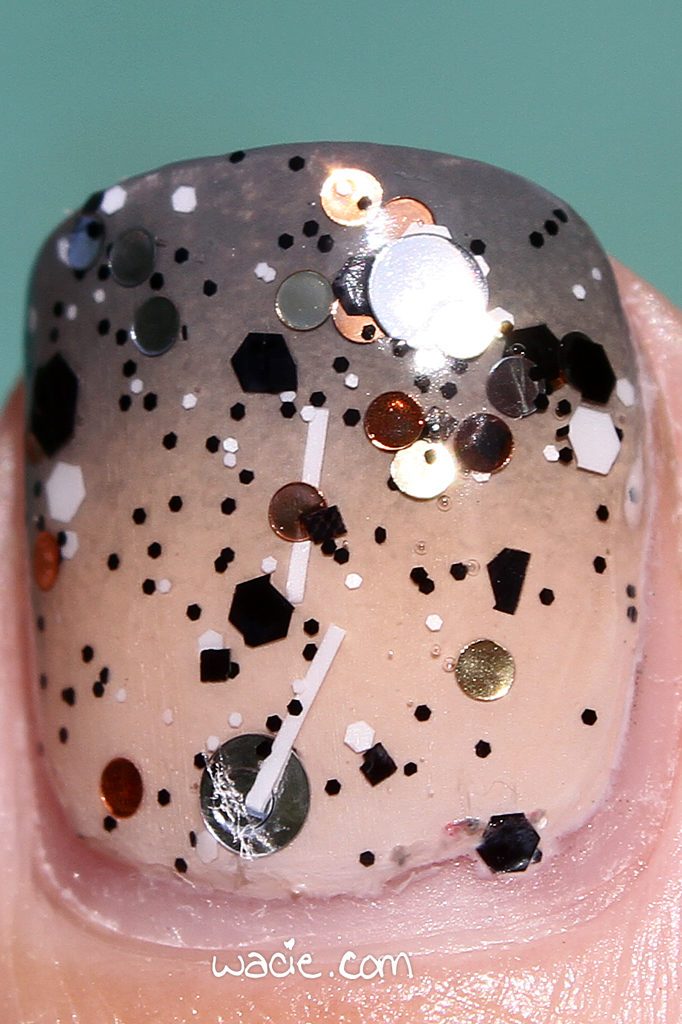
For the gradient, I put down two coats of Thrill Me to the Marrow, then started a three-color gradient, only my nails are too short for three colors to really show up. You can see there’s a faint bit of coolness at the bottom near the cuticle that immediately fades into warmth from The Big Fuzz. In a way, it actually turned into something cool, but I’m still a little sad it didn’t get more visibility. The Big Fuzz and Robo-Aggression worked pretty well here; the peach was a little on the sheer side and I worried about how well it would show up, but it did the job. Robo-Aggression is a gray creme rockstar.

Sample JY #26 is the main polish I wanted to use, and it’s a pretty typical Elevation topper. I’m a huge fan of the metallic round glitters they use; they remind me of coins. The polish has three different colors of them: gold, silver, and copper, as well as black and white hexes and squares. It’s the perfect topper for this gradient.

The BEGL shop is still on hiatus, but plans to return soon. The Big Fuzz was an Indie Shop Atlanta exclusive; other Pepper Pot Polishes can be found in their etsy shop. Sample JY #26 was a prototype; other Elevation polishes are available in their online shop.

I bought these polishes myself.

Manicure Monday: Opal Breeze

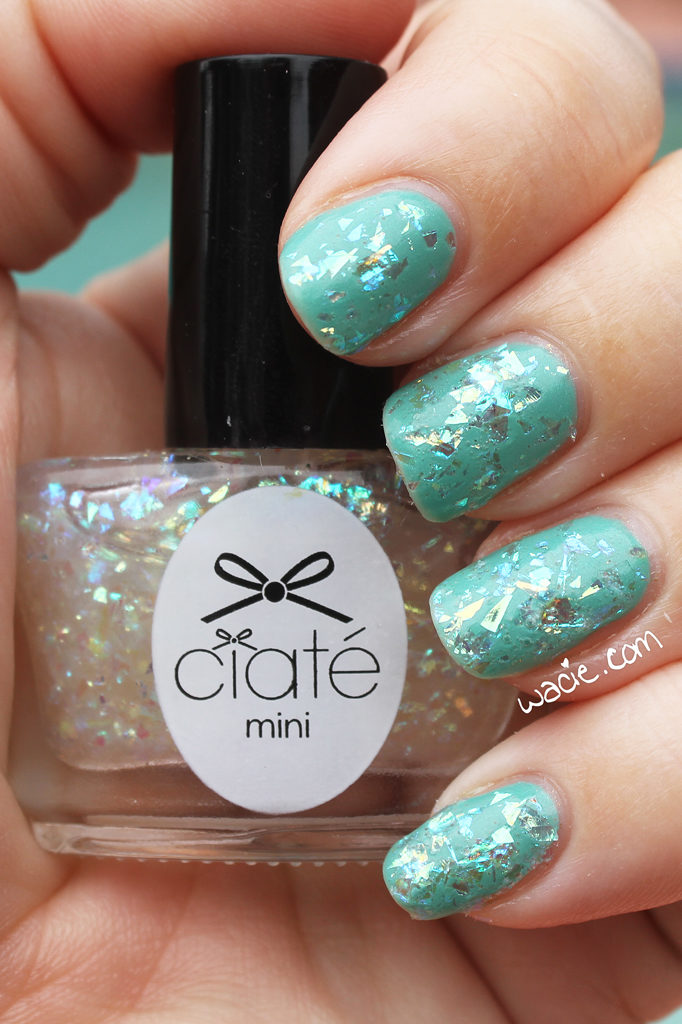
Happy Monday, reader! I have another easy/lazy nail look this week. For this look, I used Elevation Polish‘s The Merchant’s Son under Ciaté’s Snow Globe. It’s opalicious!

Snow Globe was the main polish I wanted to use here. I was such a huge fan of these shredded iridescent toppers when they came out; even now, I still can’t get over that Mylar-esque shine and all those colors. Of course, this is as bumpy as it looks; one coat of Seche Vite wasn’t enough to smooth down all those jagged edges. For this reason alone, I’m glad we moved onto flakies.

The Merchant’s Son, as you see it here, is a former thermal polish. I even dug this one out hoping for the thermal effect to add some complexity to this look, but alas, thermals don’t transition forever. There’s a fine green shimmer in here that got a little covered up, and definitely doesn’t come out on this cloudy day. You’ll have to take my word for it.

Elevation Polishes are sold in their online shop. Ciaté is sold at Sephora.

I bought these polishes myself.

Swatch: Elevation Polish’s Hitsujiyama Park

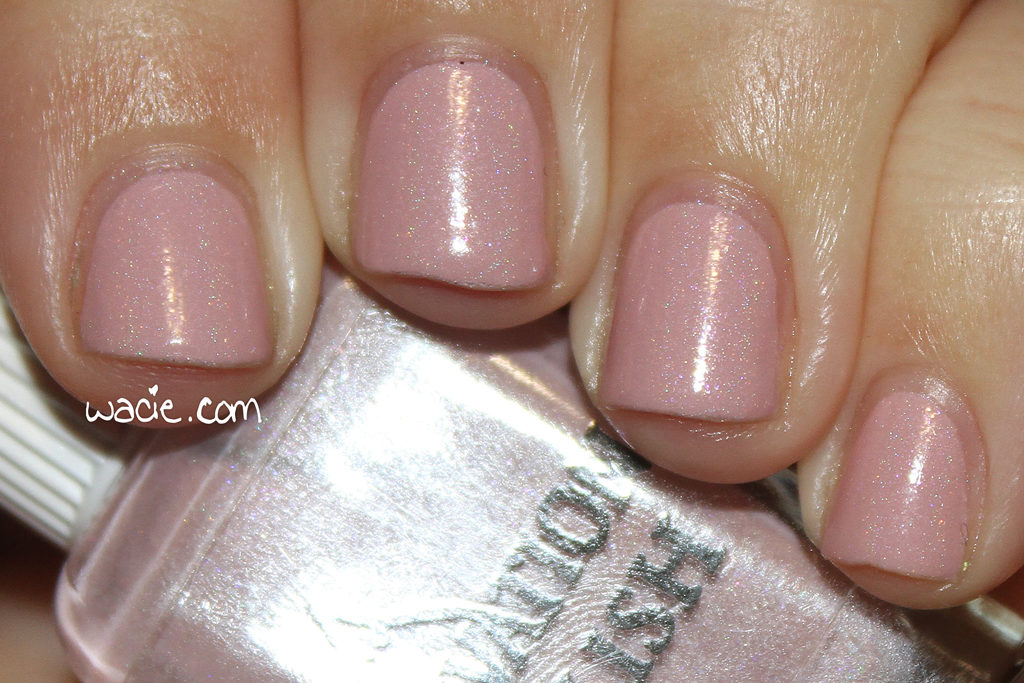
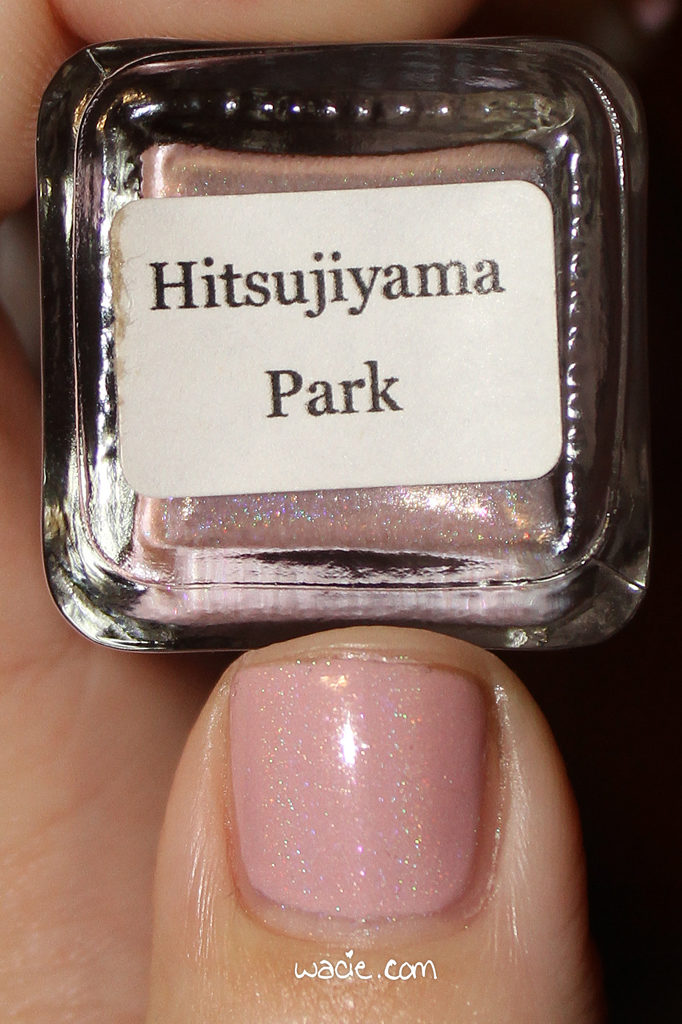
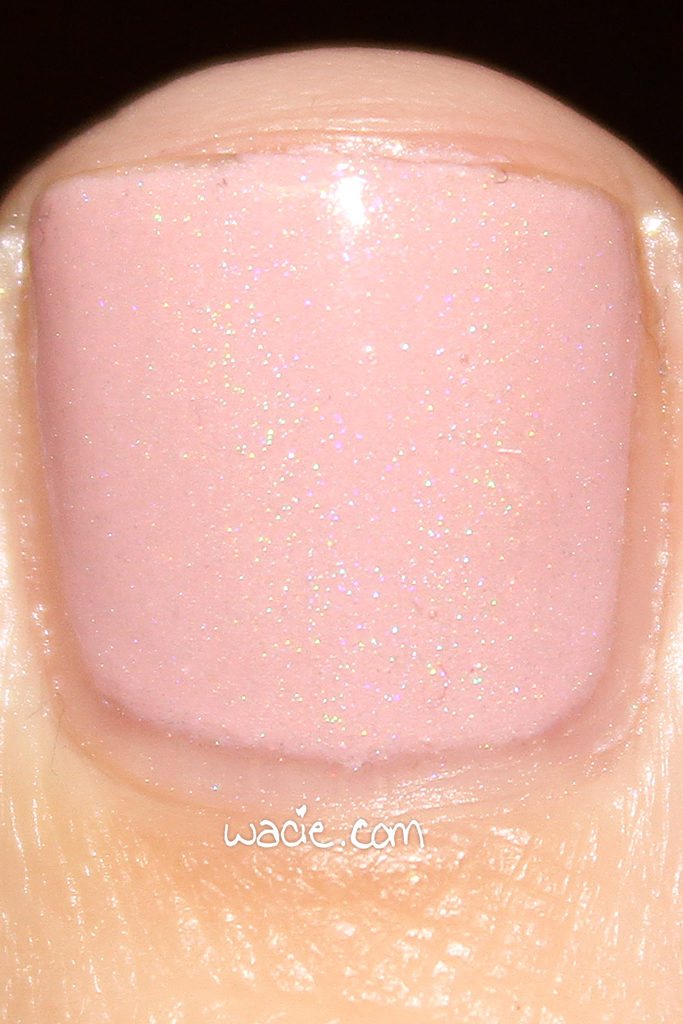
Welcome to another swatch! Today’s swatch is Hitsujiyama Park from Elevation Polish; I’m wearing three coats with one coat of Seche Vite.

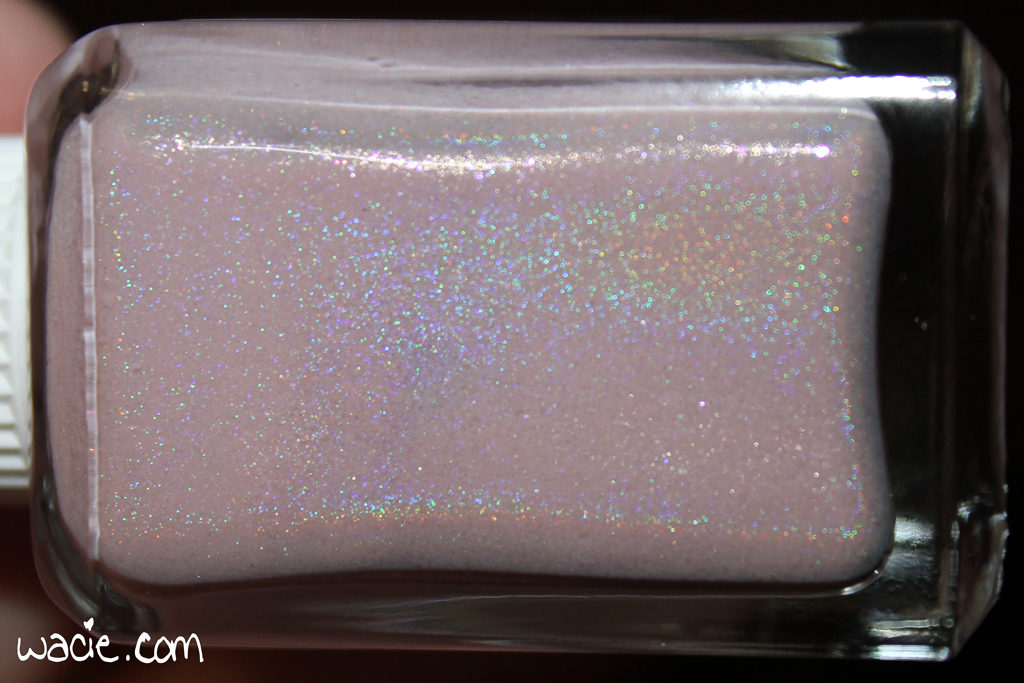
Hitsujiyama Park is a baby pink polish with a faint holo effect and fine pink shimmer. This polish has a Goldilocks consistency, one that applies smoothly but doesn’t flood cuticles. It’s also fairly opaque; I got full opacity on the second coat, but even one generous coat might be enough. The polish dries with a satin finish; I used top coat for shine.

So one thing I want to note is that I used my camera flash in indoor lighting for these photos. Do you ever find yourself delving into a holo-heavy nail art look, only to find that it’s going to be cloudy all week? If I remember correctly, it stormed on the day I took these, and ambient lighting in my house wasn’t adequate, so the camera flash was the best way to get the holo. The holo in this polish is so barely-there, which I love. It’s an afterthought to the delicate pink base. It’s super dainty.

Hitsujiyama Park and other Elevation Polishes are sold in their online shop.

I bought this polish myself.

Manicure Monday: Pink Destination

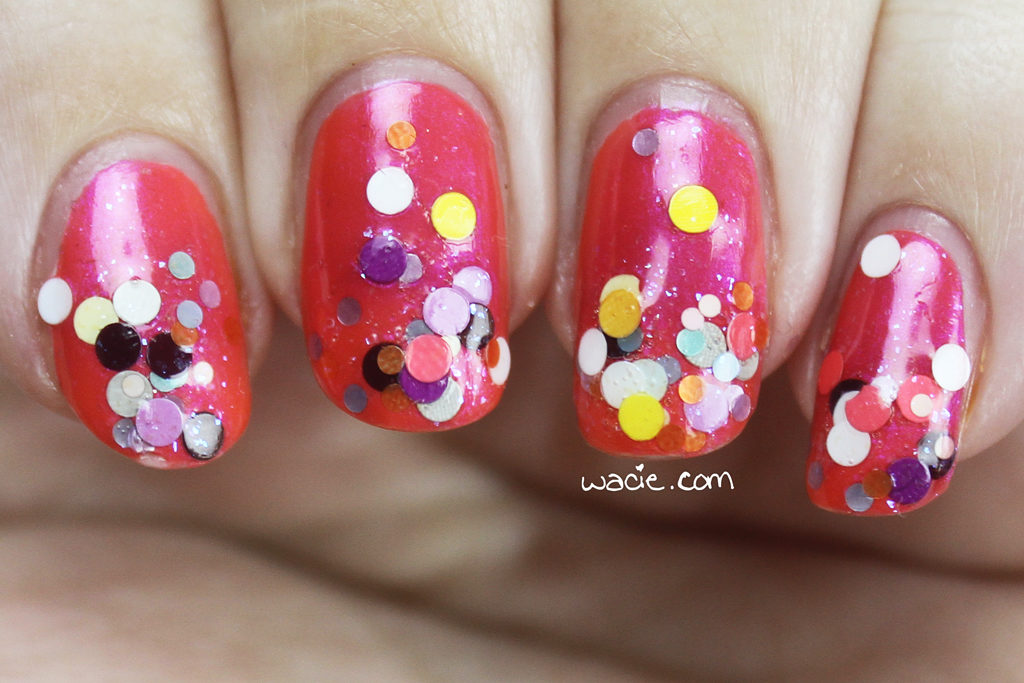
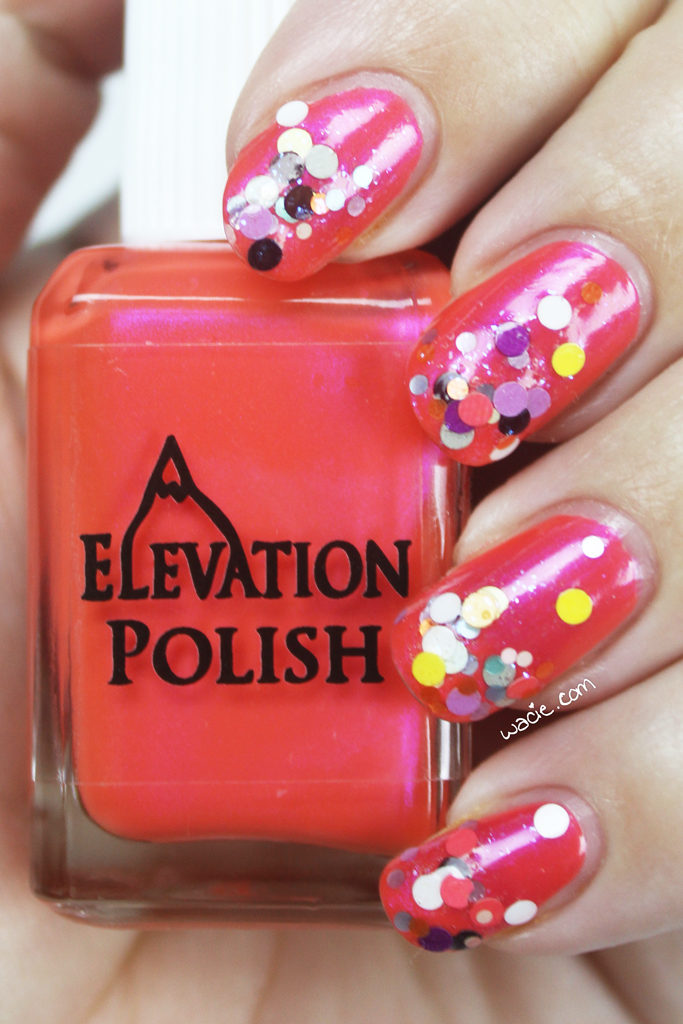
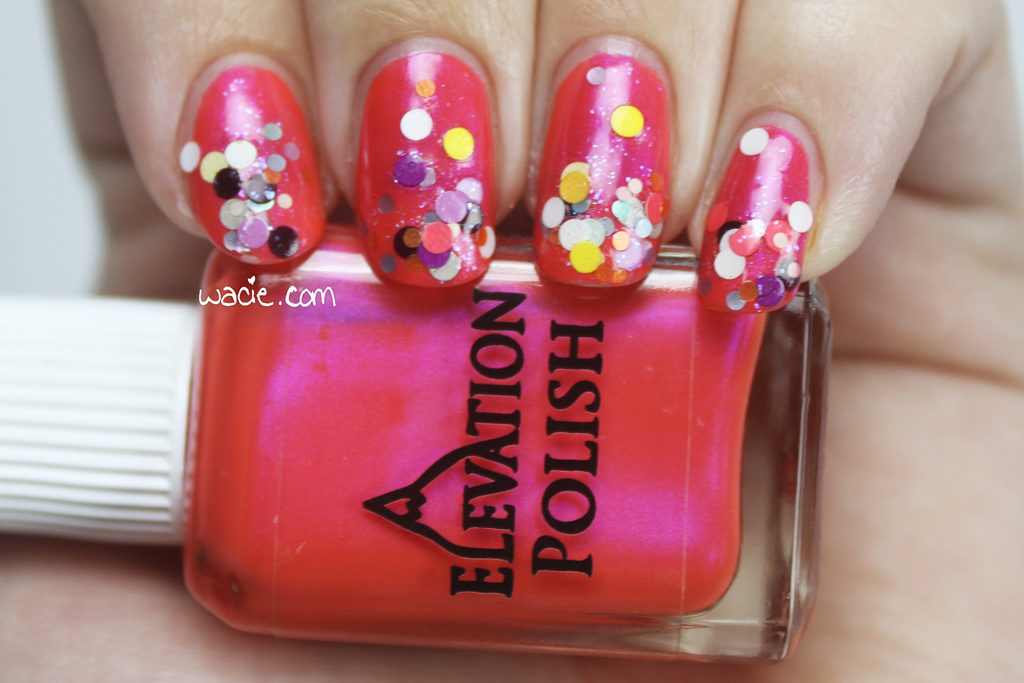
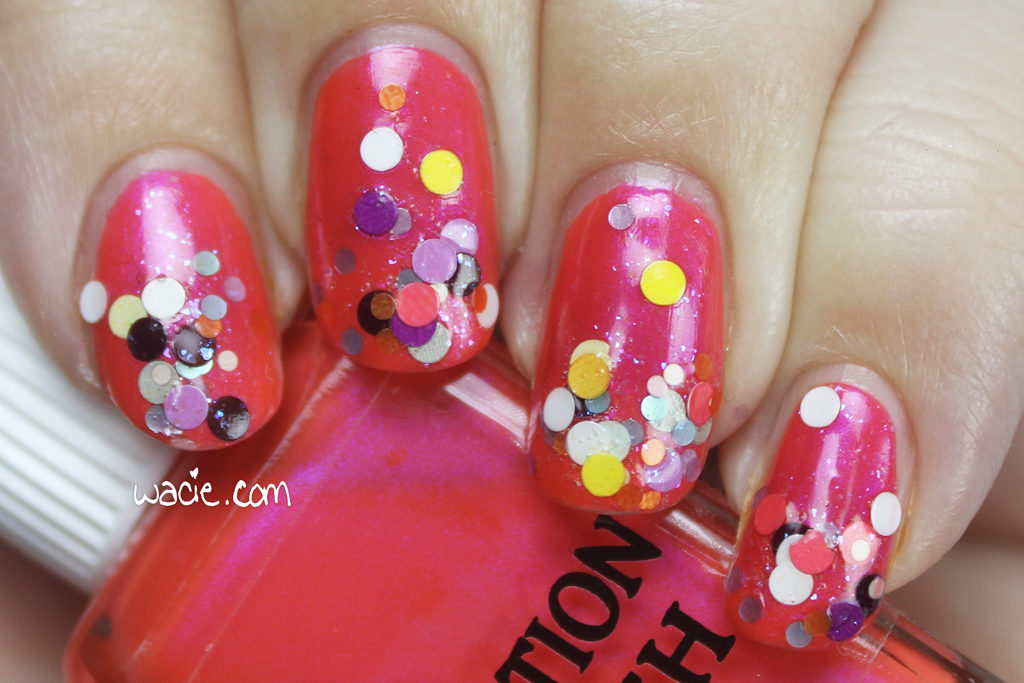
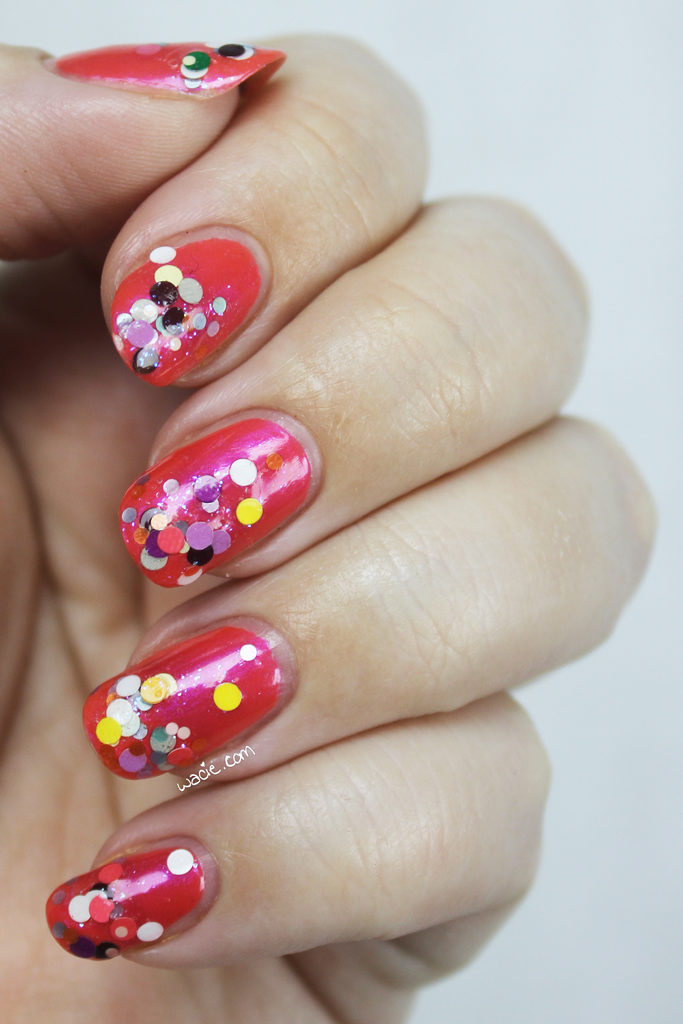
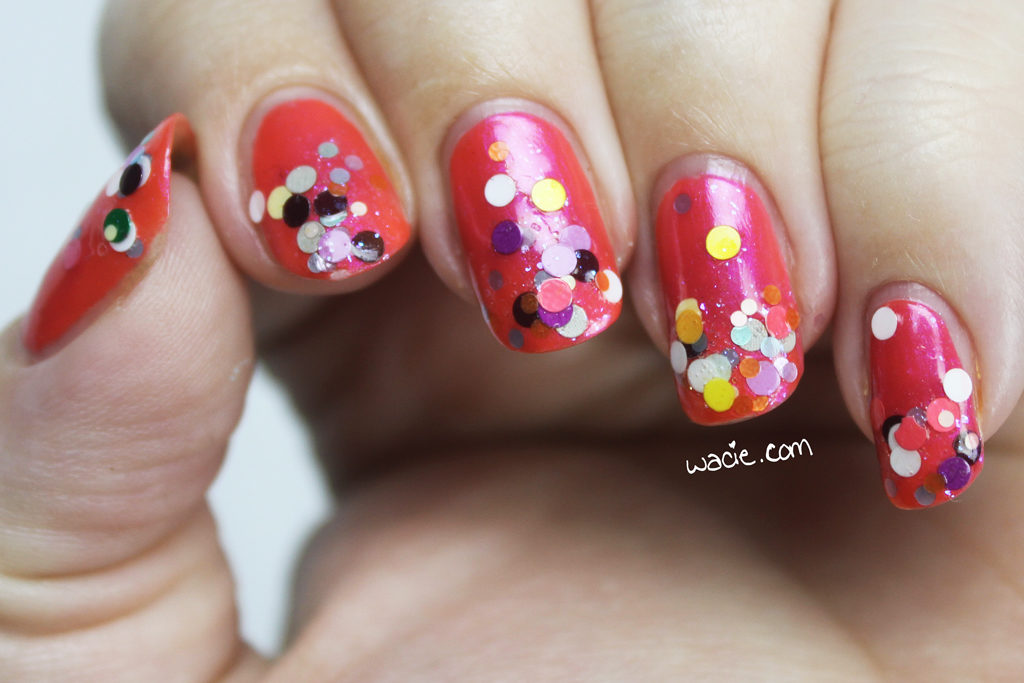
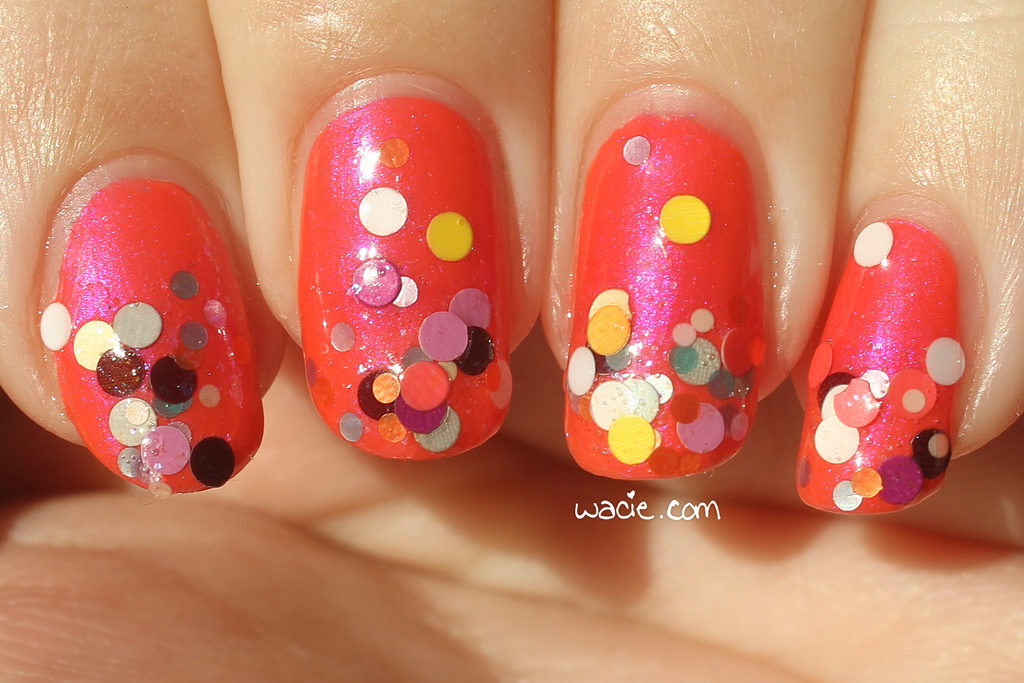
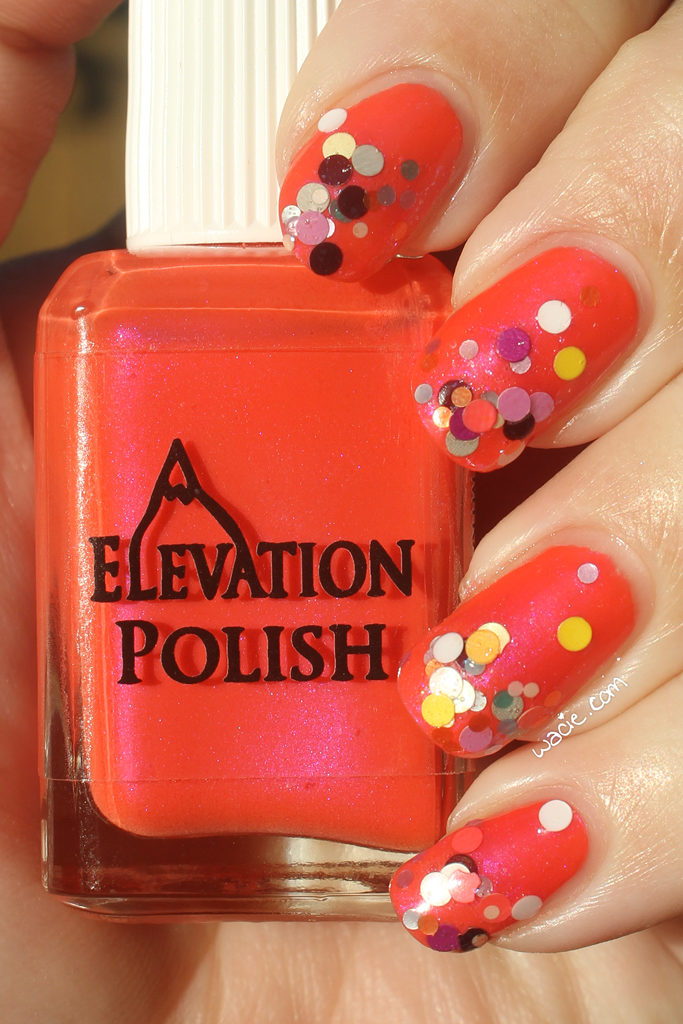
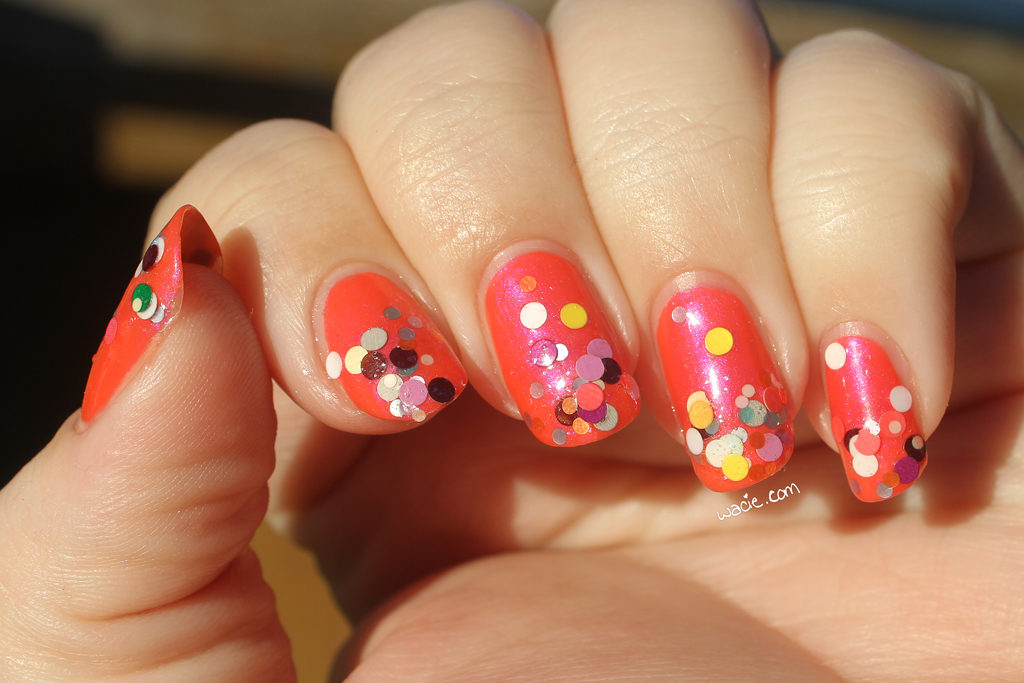
Hello, reader! It’s Monday again! For today’s look, I used Shinjuku Golden Gai and Plumeria from Elevation Polish. It’s so colorful!

When I heard Elevation was doing a collection based on Japanese landmarks, I decided I was going to buy it, even before I knew what it looked like. I couldn’t pass up a polish named after places I’d been in real life, could I? Of course, Shinjuku Golden Gai wasn’t one of them; I was a teen when I was in Japan, and the bars and clubs of this district were beyond my reach. This actually has nothing to do with the nail polish, I’m sorry.

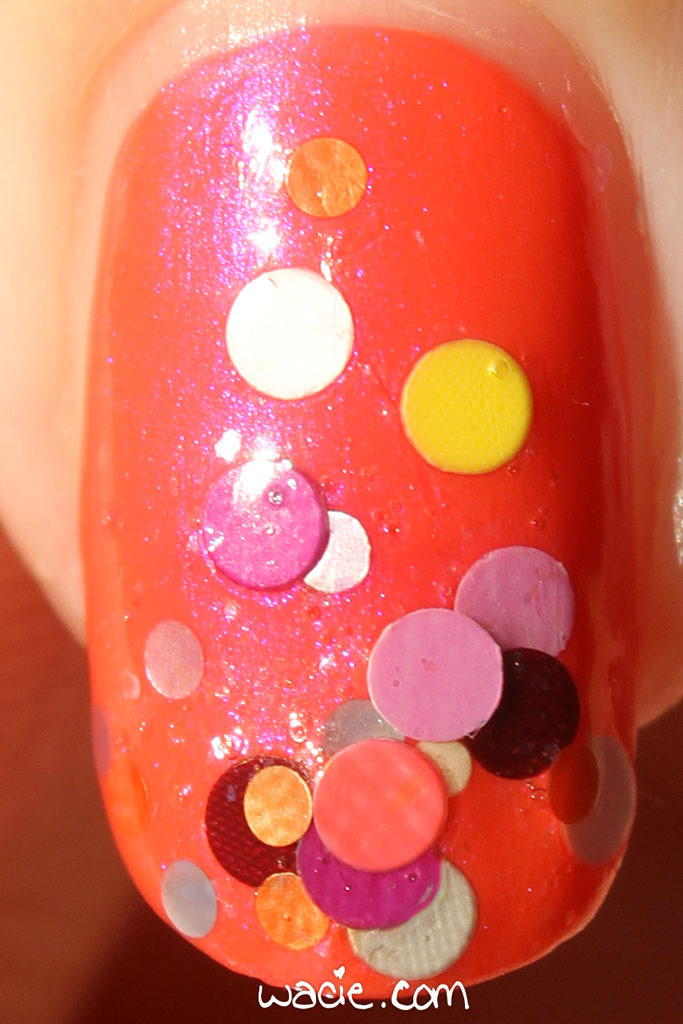
Shinjuku Golden Gai is a gorgeous polish, though. It’s a warm neon pink with a cool neon pink flash, and the two together make such an awesome combination. The formula was so smooth and lovely to work with, also. It has renewed my love for hot pink polish.

I didn’t want to do glitter gradients two weeks in a row, but I also didn’t want to cover up my base polish very much. I pulled out Plumeria and used the lightest hand I could to sponge the polish on. I like the result. This was what I wanted last week’s look with Bridezilla to be, not the chunky mess I ended up with. I really love the round glitters and all the color they add, but you can still see the pink flash in the base polish. These photos were taken in direct sunlight. The warm pink leans orange out here, which I love. You can see the shimmers in Plumeria pretty well out here, as well as the pink shimmer in Shinjuku Golden Gai. I love this mani so much.

Plumeria looks like it might be discontinued, but Shinjuku Golden Gai and other Elevation Polishes are sold in their online shop.

I bought these polishes myself.

A Look Back at 2016

Hello reader! Now that 2016 is behind us, I wanted to look back on some of my blog highlights and share my favorite nail art looks, and maybe share some of my 2017 blogging goals with you. I guess I could have waited to do this on my blog-versary in March, but it feels more appropriate to do it now.

January: Elevated Gradient
February: Neon Satisfaction
You’ll notice these photos are tiny. Why? Because in March, The Great wacie.com Server Crash of 2016 happened! My webhost had a hardware failure, and for whatever reason, several months of posts were lost and had to be pieced back together with images and text cached by Google. It was an extremely frustrating and embarrassing time for me.

March: Spring Hibiscus
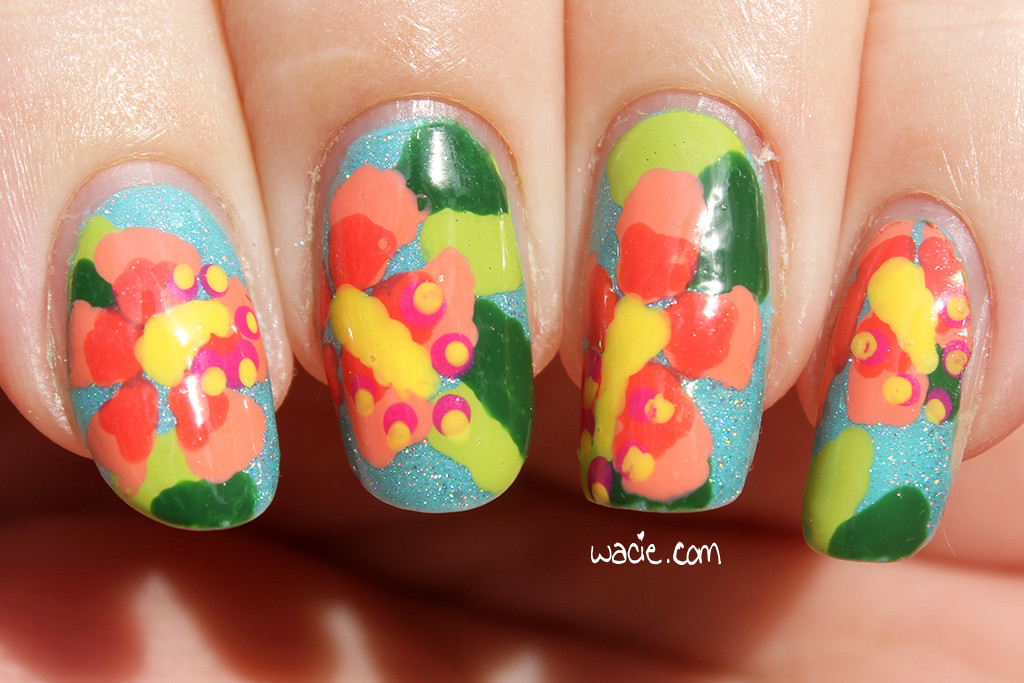
I miss these long nails.

This is probably my favorite look of the year.

Third Anniversary Do-Over

I mentioned earlier that my blog’s anniversary is in March. For last year’s anniversary, I recreated the first-ever mani I posted on my blog. I don’t know yet what I’ll do for my fourth year, but it’ll probably be awesome.

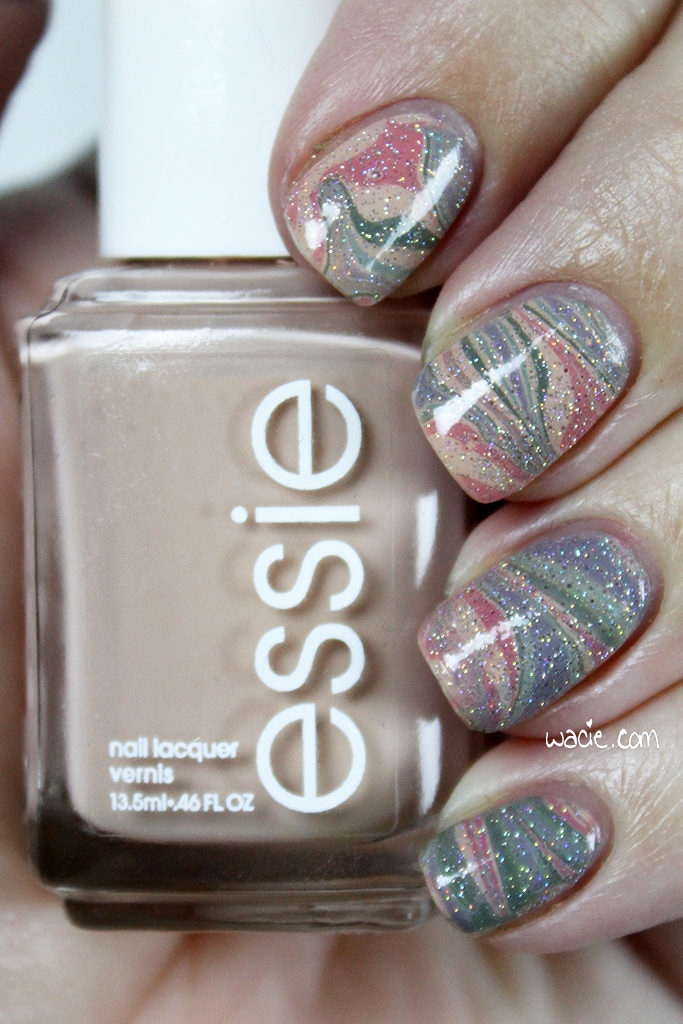
April: Dusty Watermarble
May: Neon Splatter
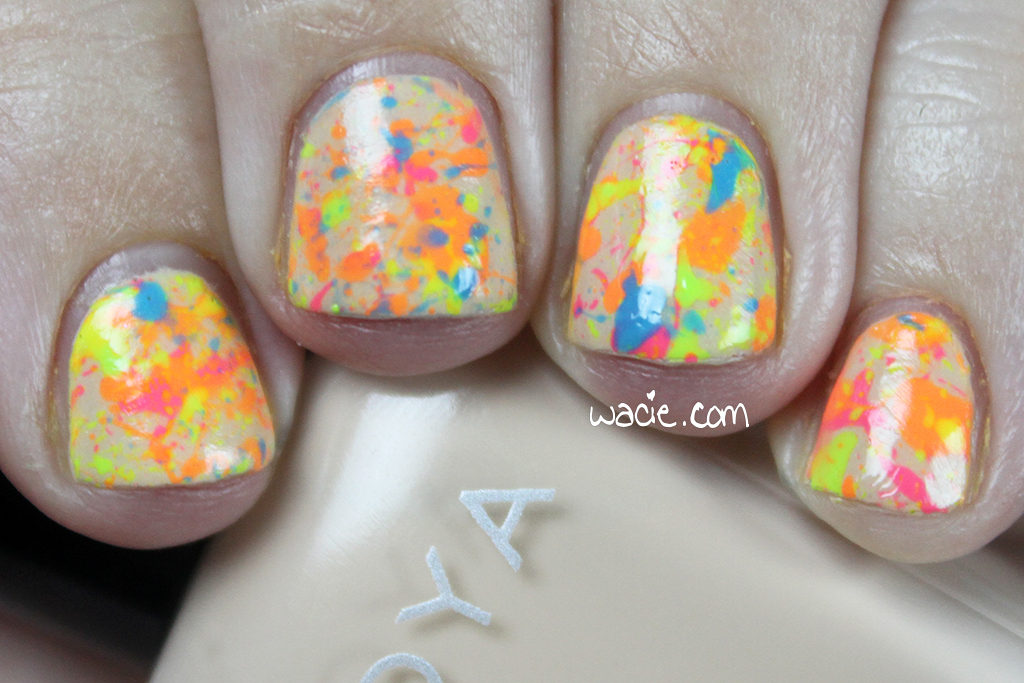
I went to Hawaii in May. As a result, this is my least active month on the blog for the year.

June: Orange Jello Sandwich
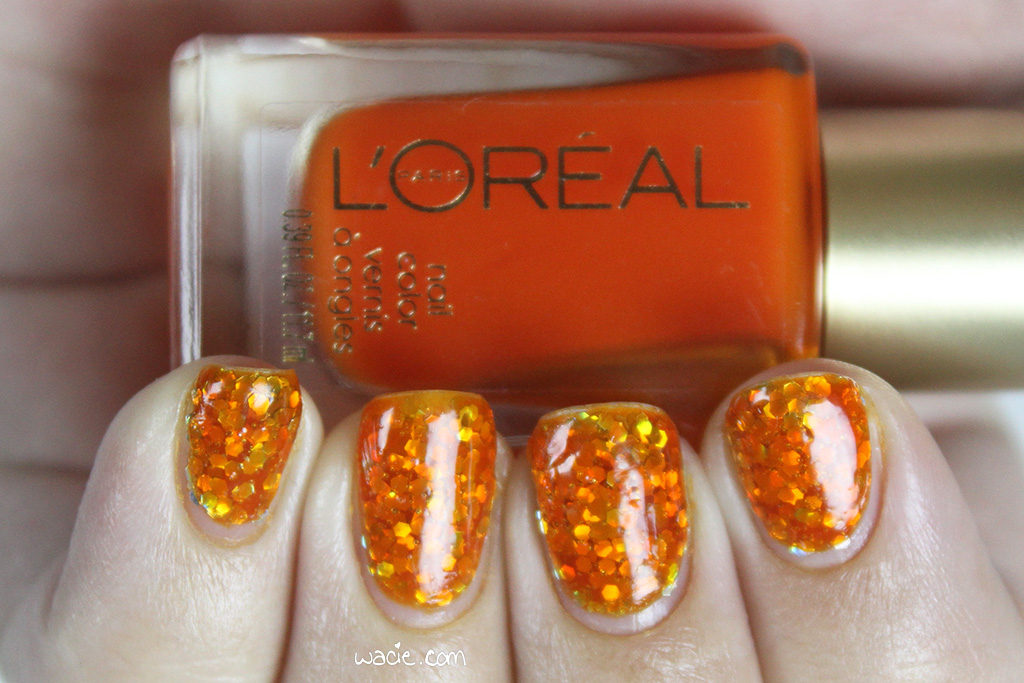
My first Empties Roundup post was also in June.

July: Beyond
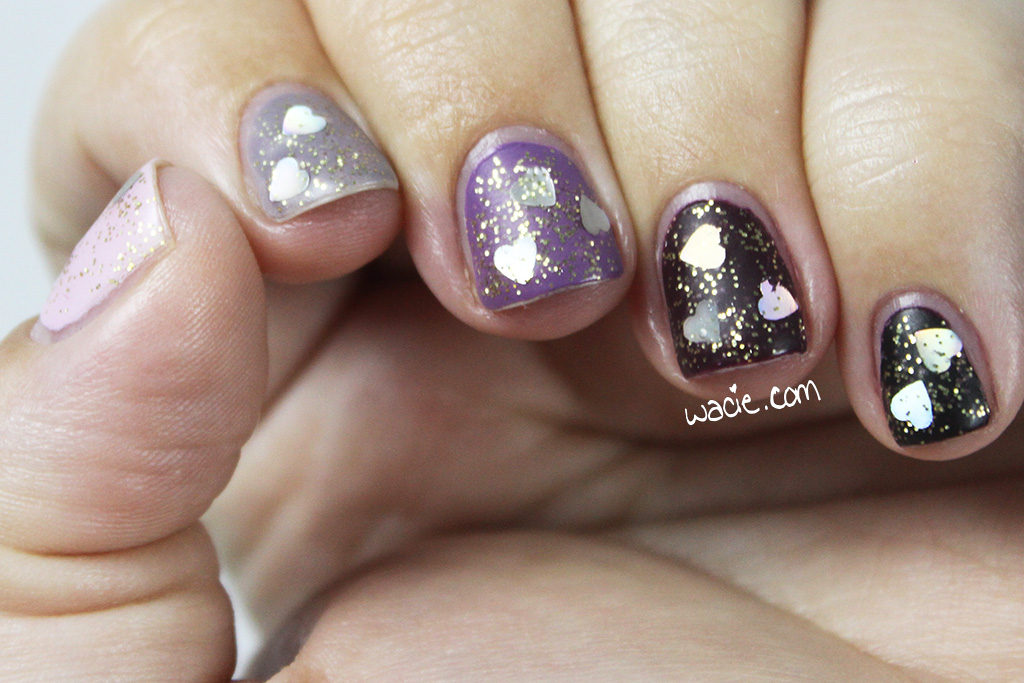
August: Ombre Hearts
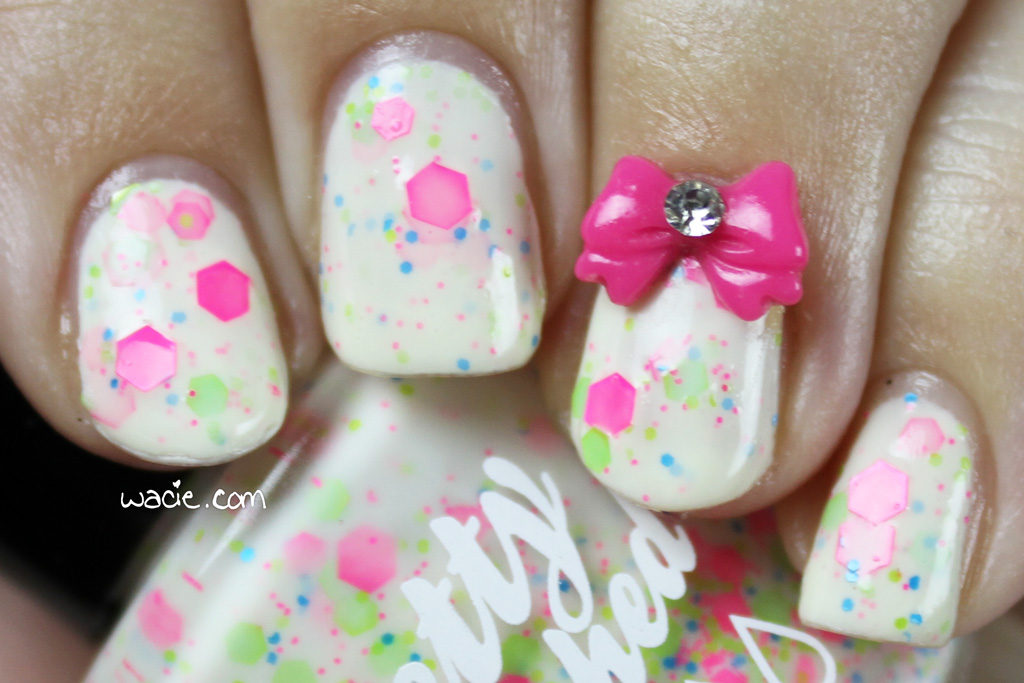
September: Popples
October: Stripey Blue Frosting
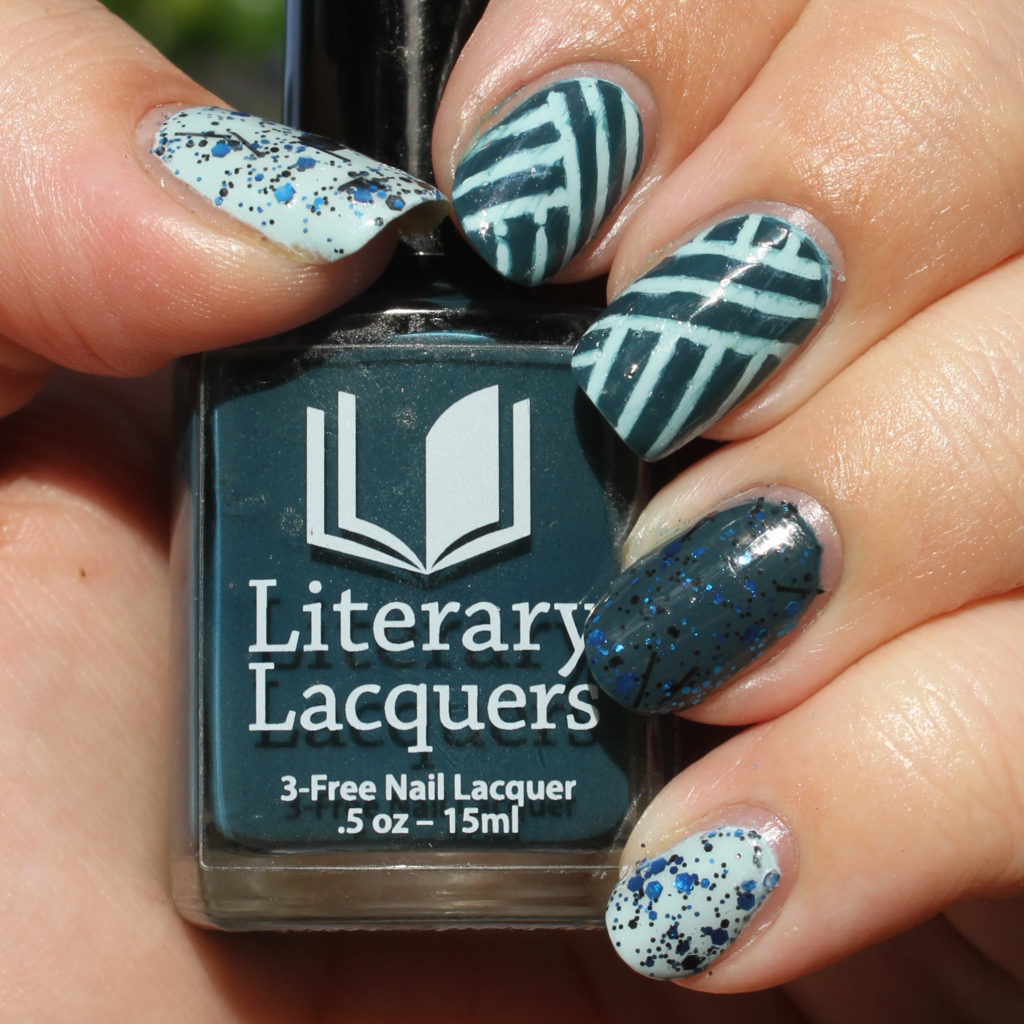
This was a look I did to celebrate my birthday.

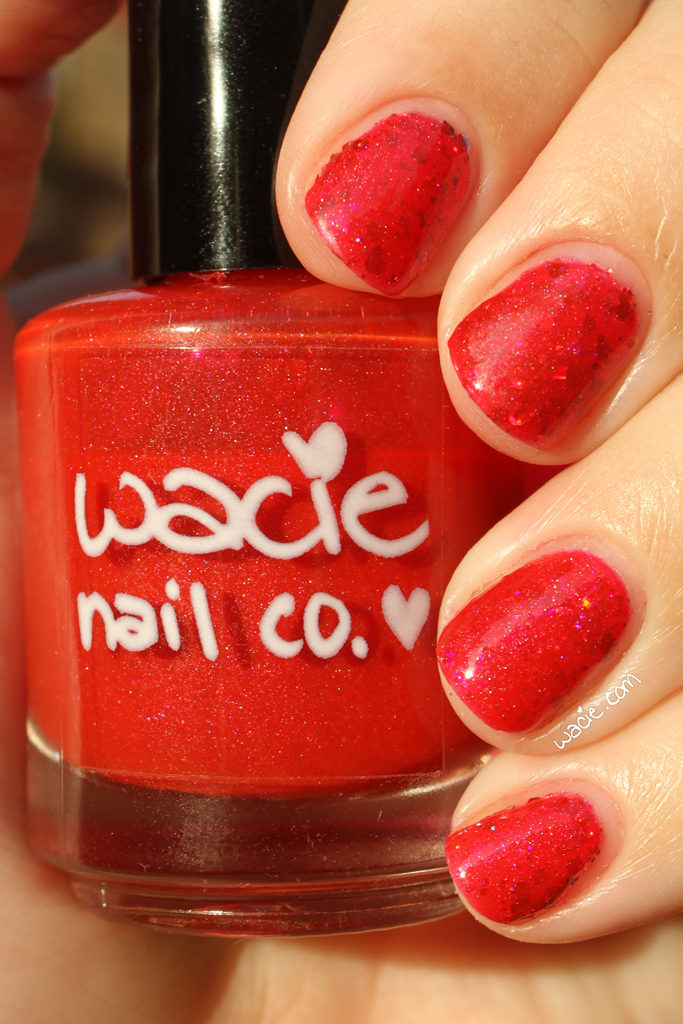
November: Ruby Opal
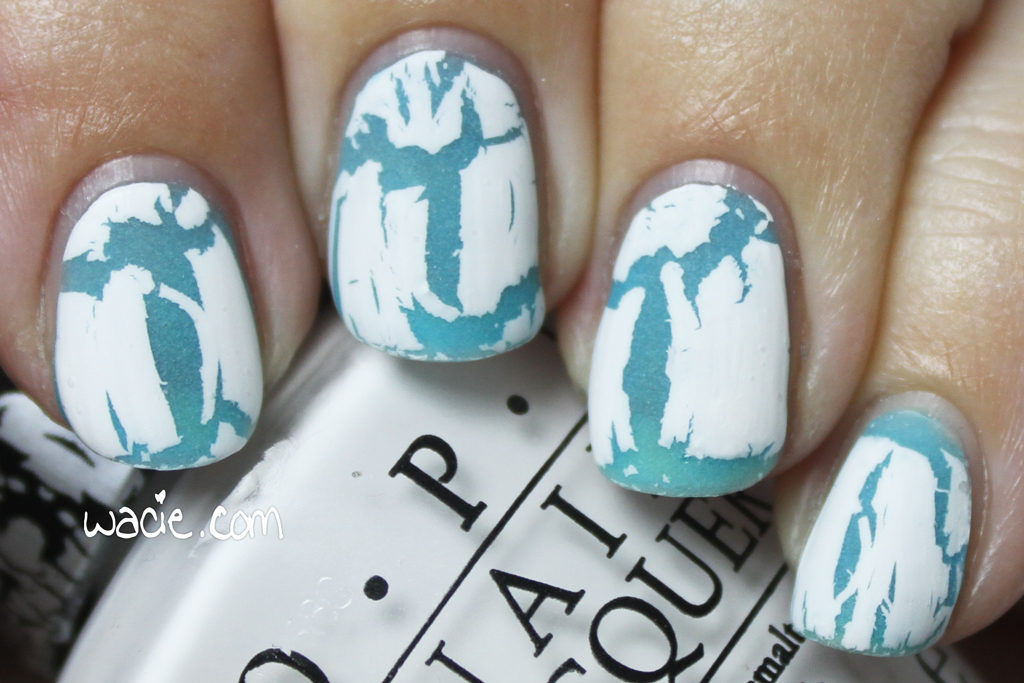
December: White Snow Blue Lava
So there’s my year! This was probably the busiest year for the blog, since I broadened my sujects quite a lot. I did tons of swatches and nail art, but I also ventured into product reviews and makeup talk. I don’t think this will ever become a full lifestyle or beauty blog, but I’m definitely having fun with it in this format. I’m kind of excited to see what it’ll evolve into in 2017. Here are a few beauty goals I have in mind, though.

1. Write more
I wrote 175 posts in 2016, averaging about 14 per month. It doesn’t sound like much to me, like I did way more work than that, especially when it started to feel stressful. That said, I’d like to do at least one more post every week.

1b. Write on my other blog more
I have a second blog that I want to start posting to more. It’s been so long since I’ve bothered with it that I don’t even remember the login credentials. I still want a place to talk about myself and my life, a place to seem like I have a life away from my nails.

2. Build a real skincare routine
I still feel insecure about my skin. I’m frustrated that I’m 31 and I still get acne. I want to take every preventative measure I can against wrinkles and anti-aging. I also want to try a 10-step Asian beauty routine. If you’re over 30 with oily skin and hormonal acne, I want your recommendations.

3. Stop competing
I know one of the big rules of blogging is not to compare your success with others’, but I feel so competitive about it. At the risk of sounding whiny, I always look at other bloggers who’ve been working on their blogs for about as long as I have, and watching their blogs grow faster than mine is kind of frustrating. I don’t want to feel like that anymore.

4. Do more real nail art
I love glitter toppers and I think I use at least one every week, but sometimes it feels lazy. I want to go back to the basics: watermarbling, gradients, dotting. I love my glitters, but it’s starting to feel like a cop-out.

I think that’s it! Anyway, I think 2017 is going to be an exciting year, and I’m looking forward to the good times, the challenges, and the time we spend together. Thanks for reading!
Manicure Monday: Pink Holo Stripes With Sprinkles

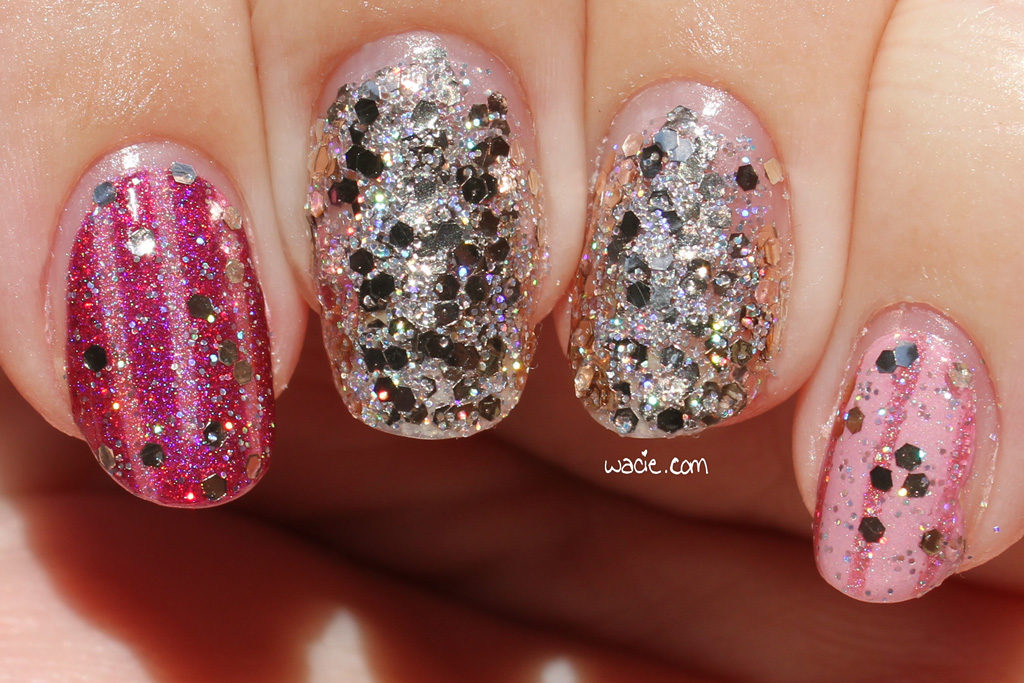
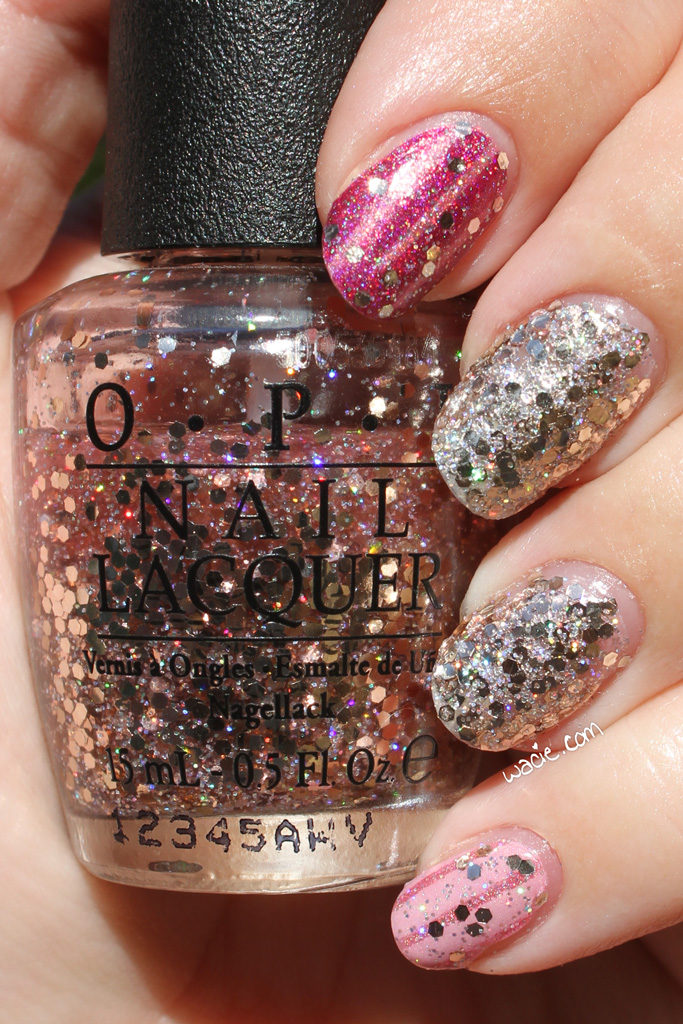
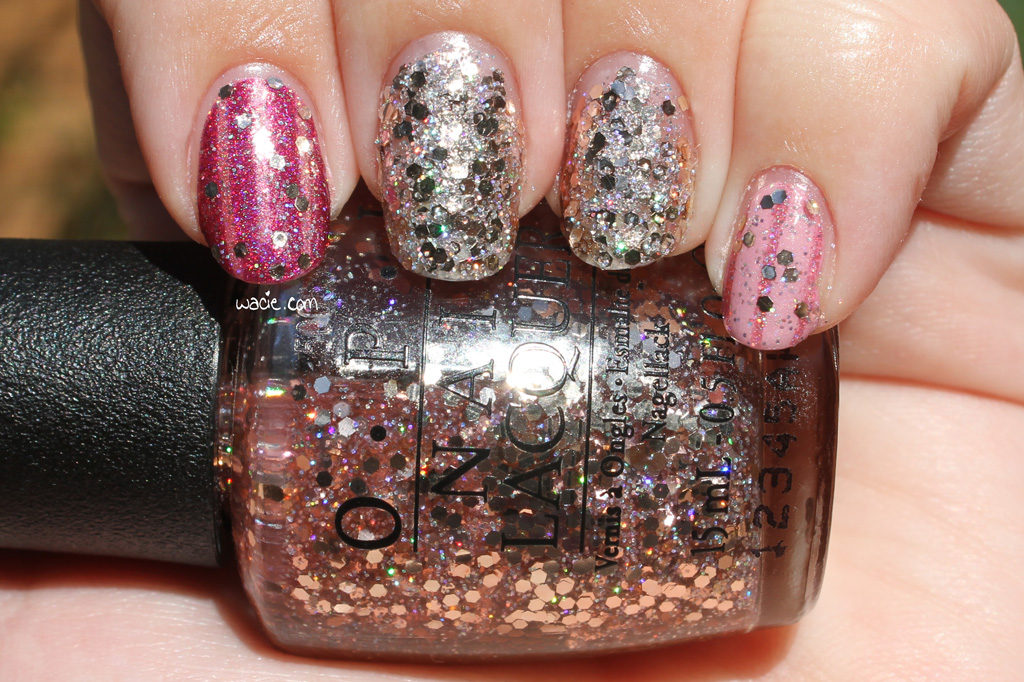
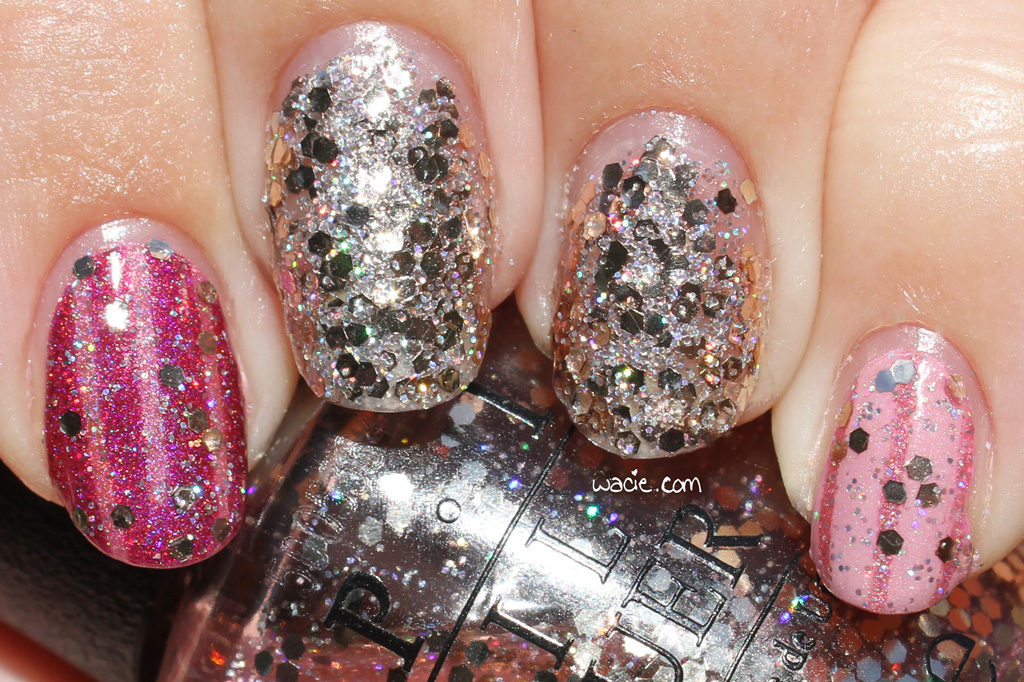
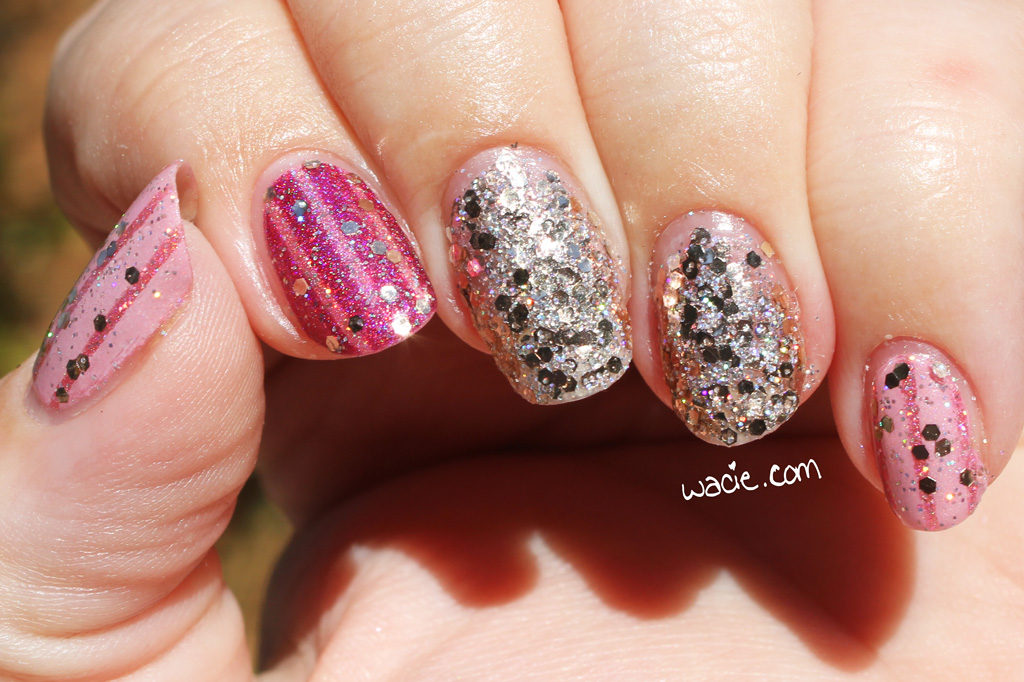
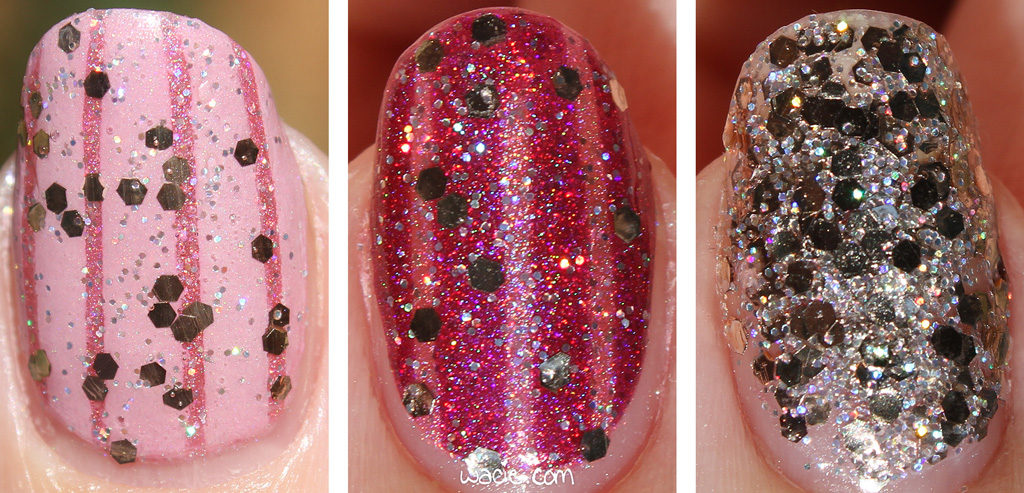
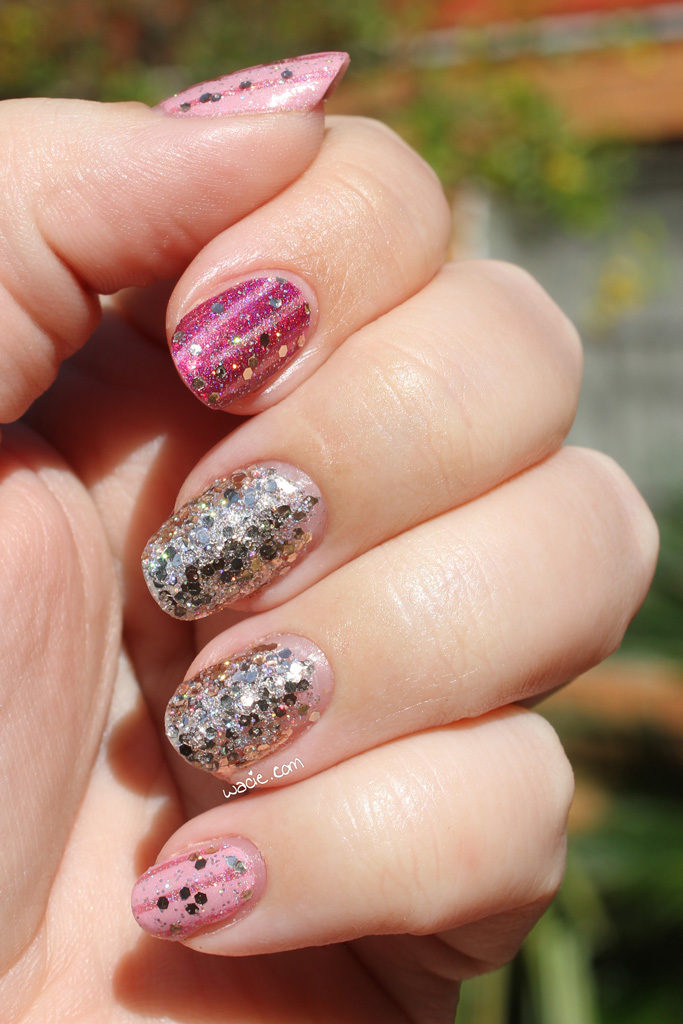
Happy Monday! I dug deep for today’s mani. I didn’t feel satisfied just putting glitter over polish, so I got the holos out and the striping tape. I should do this kind of thing more often. For this look, I used Elevation Polish‘s Hitsujiyama Park (light pink), Literary Lacquers‘s Laughs in Flowers (pink stripes), Model City Polish‘s Pour Me Another (dark pink), and OPI’s Pink Yet Lavender (glitter). All photos were taken outdoors in direct sunlight.
img_61562

img_61622

With this mani, I just wanted something pink and flashy. I chose three pink holos of varying colors and holo strength; Hitsujiyama Park has the least holo and most opacity, Pour Me Another has a strong holo flame but is pretty sheer, and Laughs in Flowers has fine holo glitters mixed in to create a unique finish. These three polishes, when combined, create a distinct and cohesive look. I’m looking forward to pairing them again soon!

img_61702

img_61742

Pink Yet Lavender is a glitter topper, so I brushed it over the striped nails and sponged it on the others. I have to admit, this wasn’t quite what I expected when I started. In the bottle, the glitter looks more rose gold, likely due to the tinted pink base. On the nail, it pulls silver. I don’t mean to say I don’t like it, but I definitely expected more pink glitter, that’s why I chose all pinks for this mani. Pink Yet Lavender, at least, has some holo glitter in it that helps tie it all together. Also, sponging took a significant amount of product. You can see the fll line on the bottle; this is the first time I’ve used this polish and that’s where it is now.

img_61802

img_61852

mmphswsmm

I am having a lot of fun wearing this, all things considered. The stripes add a fun visual, the glitter adds sparkle, and the holo pushes it over the edge. This took a lot longer than the usual Monday mani, but I’m glad I spent the time on it. I used to push myself really hard to do nail art, and I feel like lately all I’ve been doing is wearing glitter over a base, and that feels lazy. I definitely need to get out of my lazy mani zone.

Hitsujiyama Park and other Elevation Polishes are sold in their online shop. Laughs in Flowers was an Addicted to Holos box exclusive from March 2015 and is no longer available; other Literary Lacquers are sold in their etsy shop. Pour Me Another is also a long-gone limited edition; other Model City Polishes are for sale on etsy. Pink Yet Lavender is also discontinued; OPI is sold in stores nationwide.

I bought these polishes myself.

Manicure Monday: Green Glitter Machine

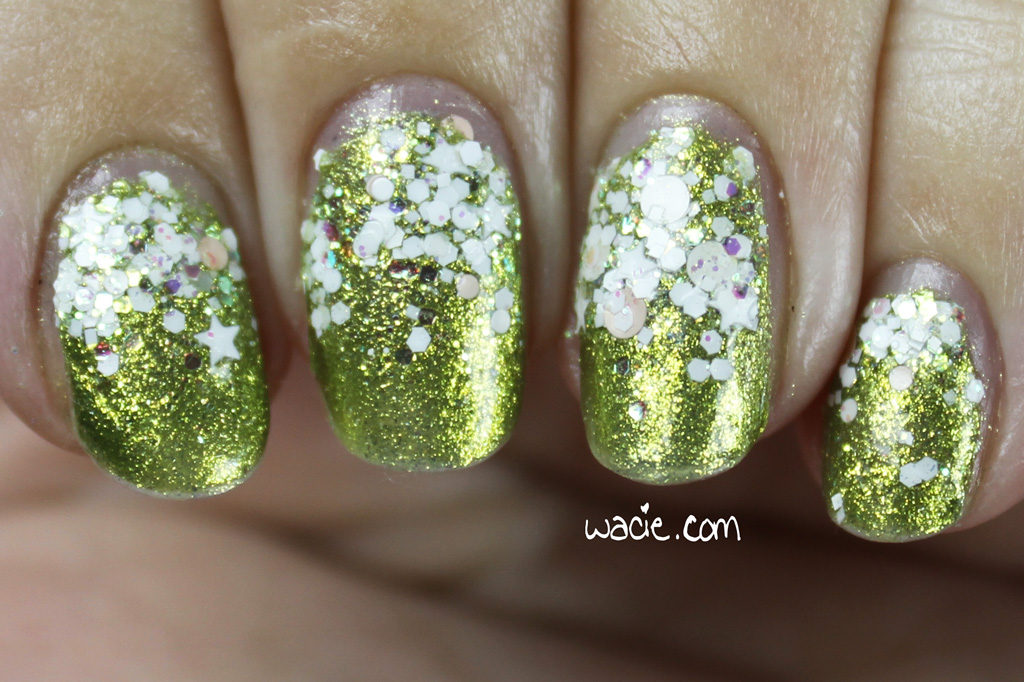
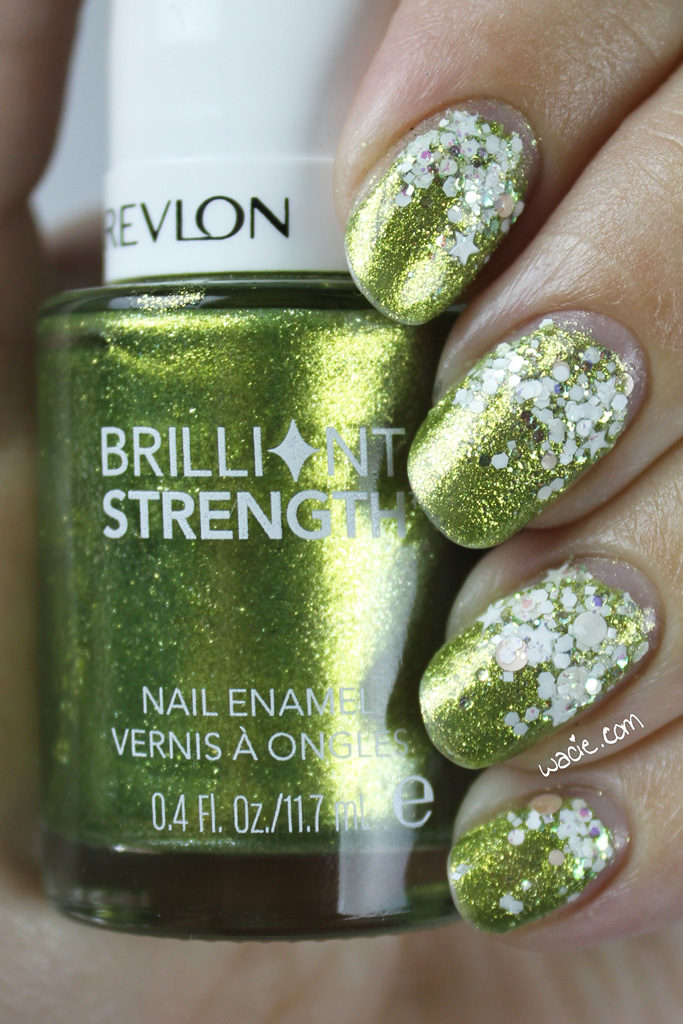
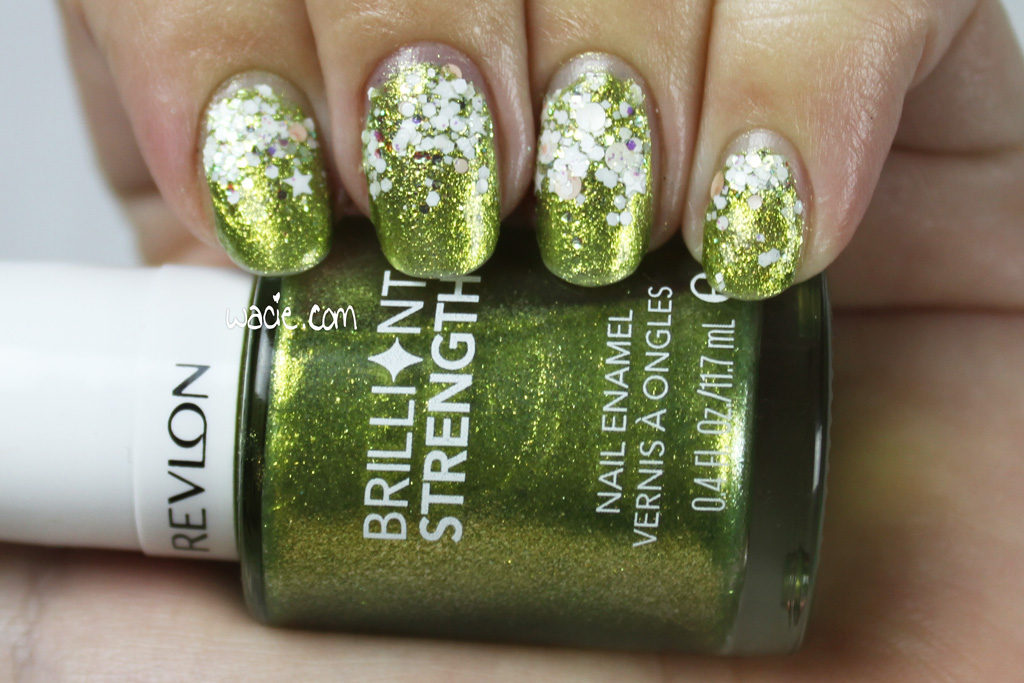
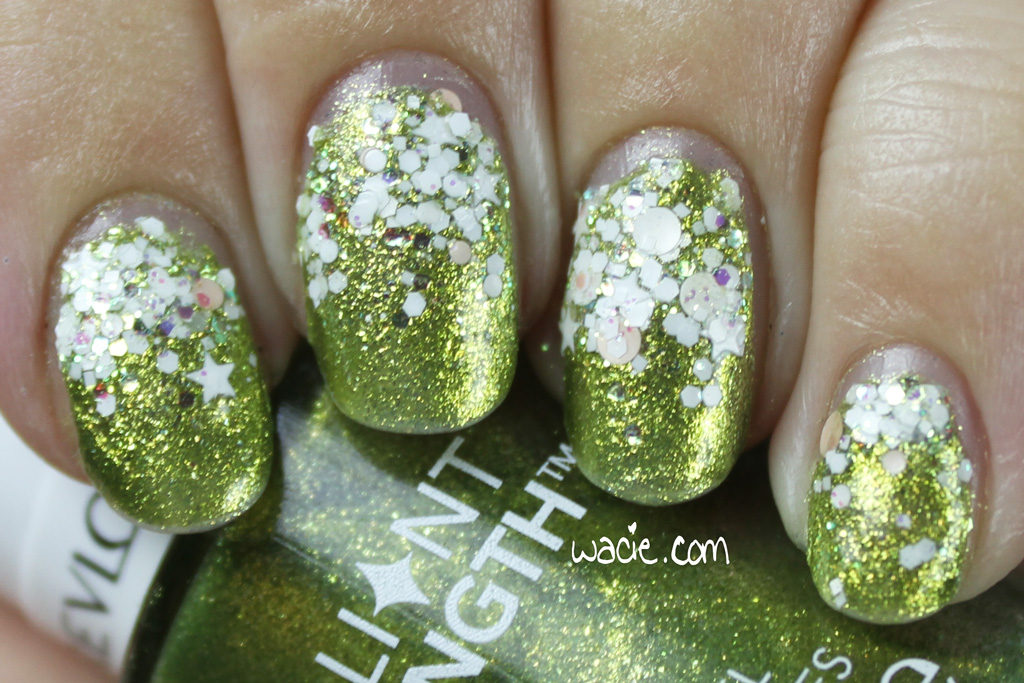
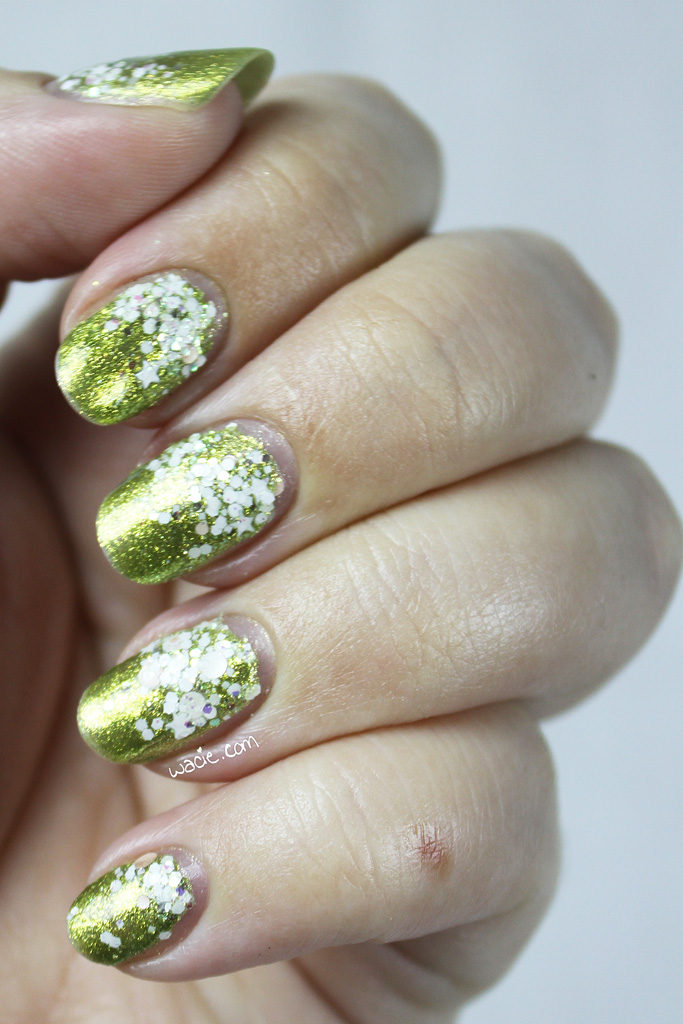
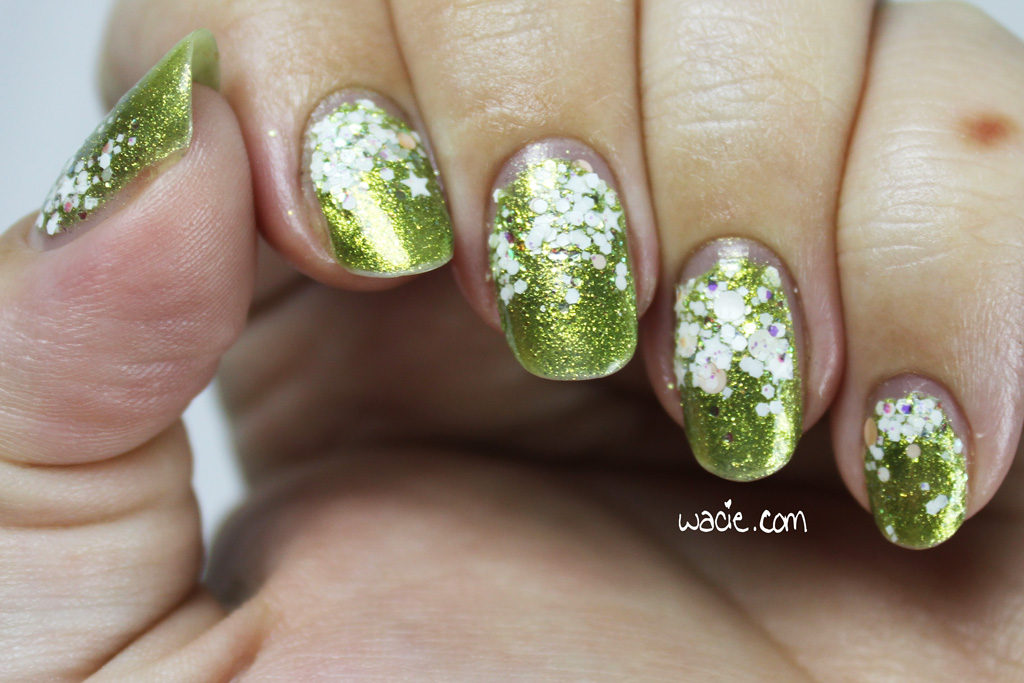
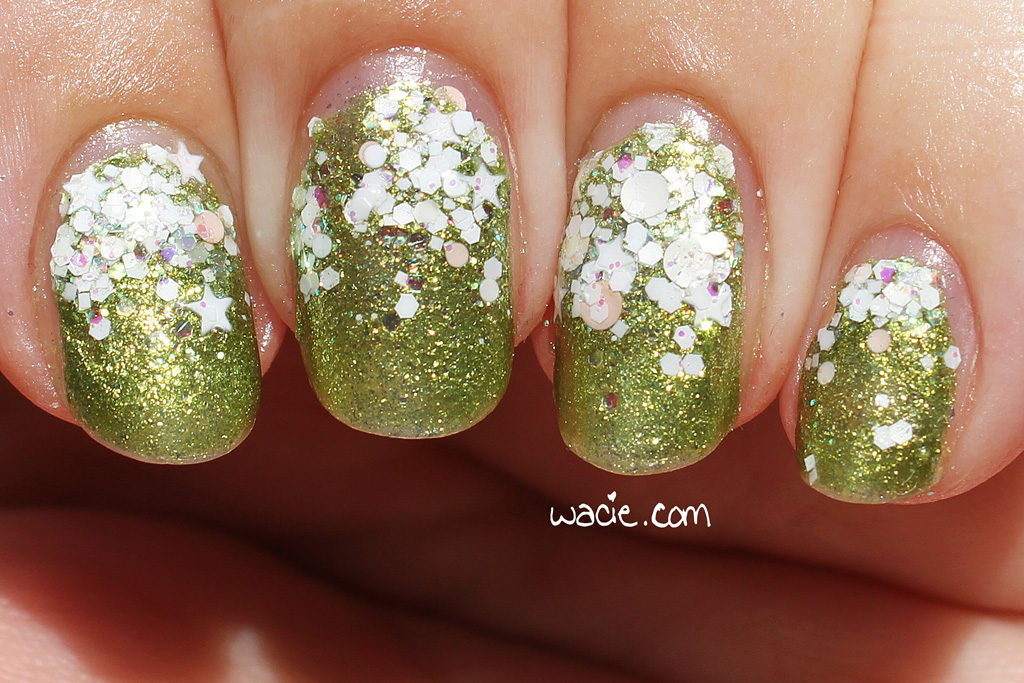
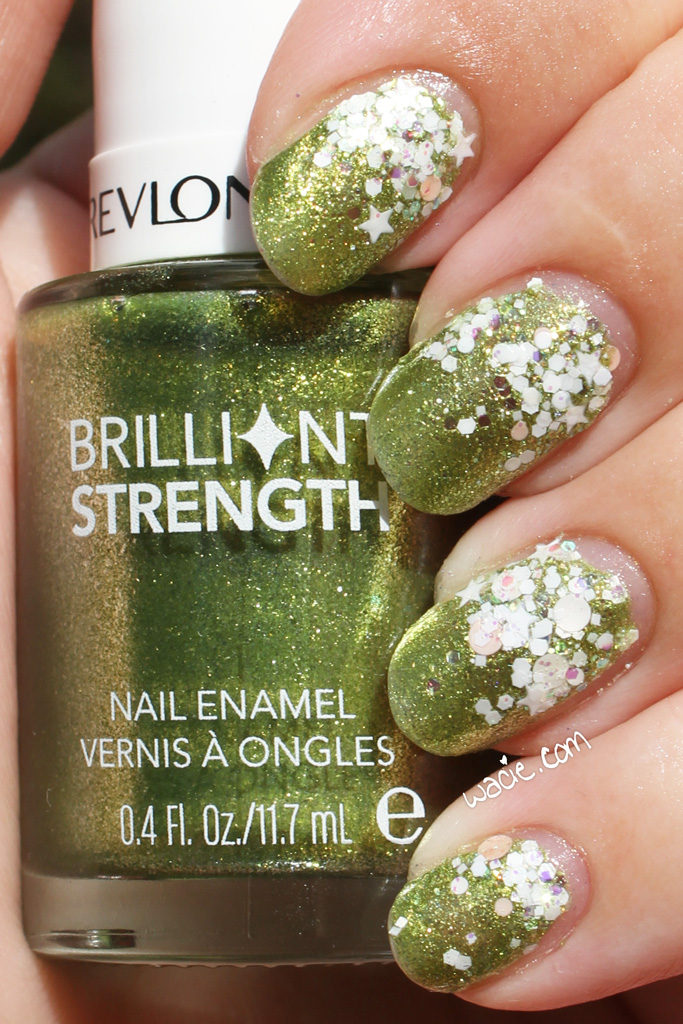
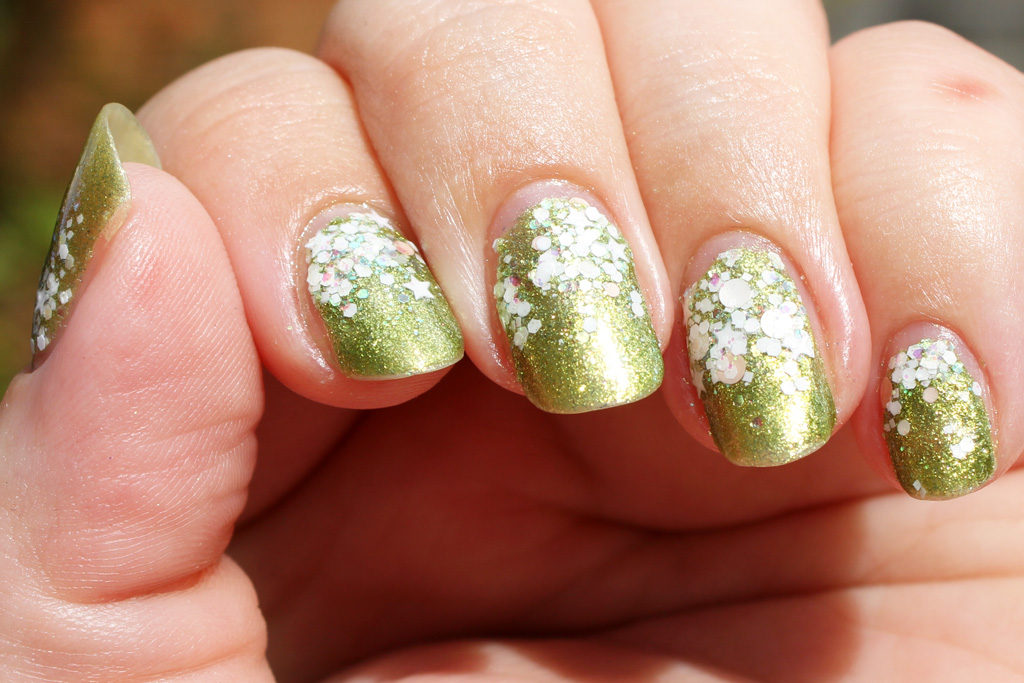
Welcome back to Manicure Monday! It feels so strange not having posted for so long. Now that my birthday shenanigans are over, all the regular content, plus some special stuff, is back! I’m so excited. Thank you to everyone who left birthday wishes, you’re the best! For this post-birthday mani, I’m wearing Revlon’s Tantalize with Elevation Polish‘s Camels in the Snow.

img_59442

img_59492

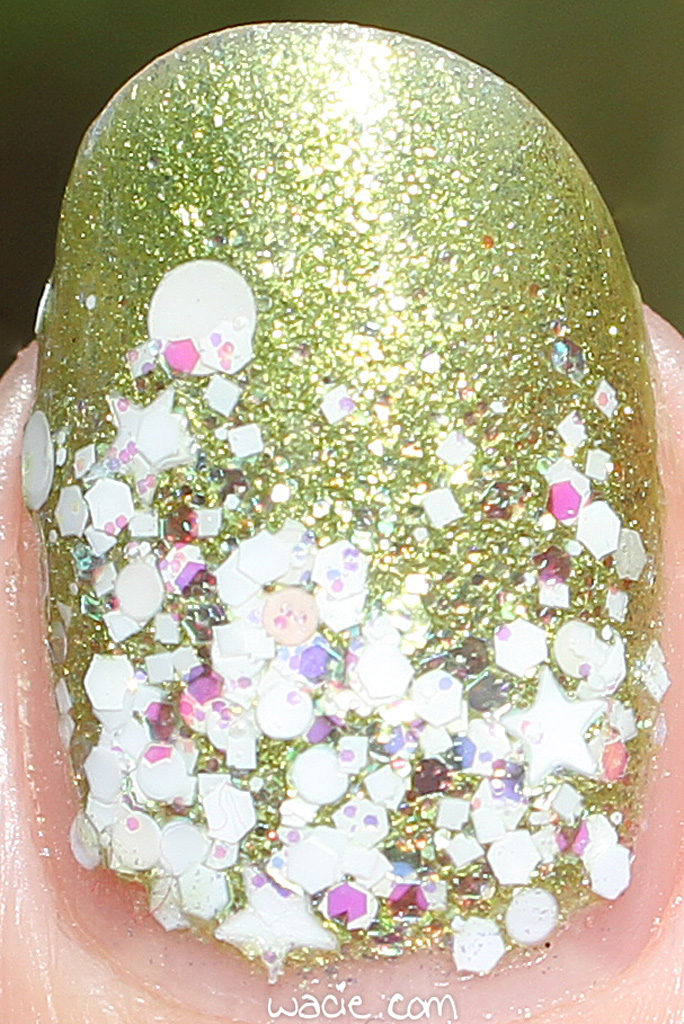
Tantalize — or any frosty green polish with gold flecks — is a polish every woman needs. I feel like it’s one of those new classics, like the shimmery silver or sky blue creme, that completes any polish collection. Sure, it’s green, but it’s elegant. It’s adult. And it’s got so much dimension and sparkle, how could you say no? I definitely want everyone to have a polish like this.

img_59592

img_59602

Of course, Tantalize is a lot less adult-looking after adding glitter with stars in it. Camels in the Snow makes the look a bit more playful. To tell the truth, I had no idea what to pair with Tantalize, and since white glitter goes with everything, here we are. The iridescent glitters in Camels in the Snow adds a subtle hint of color that would otherwise not be there, and the chunky glitters add cute fun. I’m enjoying it!

img_59672

The red mark on my pinky is a burn! I totally touched it on the oven rack while I was cooking.

img_59712

In the sun, the gold flecks just go crazy, so much so I failed to capture just how bright and reflective and sparkly it is. It’s gorgeous! These photos were taken in direct sunlight.

img_59252

img_59212

img_59322

img_59362

Revlon’s Brilliant Strength line has been discontinued, though it still can be found for sale with online retailers. Camels in the Snow has been discontinued but is still in stock in Elevation Polish‘s Last Call section.

I bought these polishes myself.

HPB Presents: Spring Hibiscus

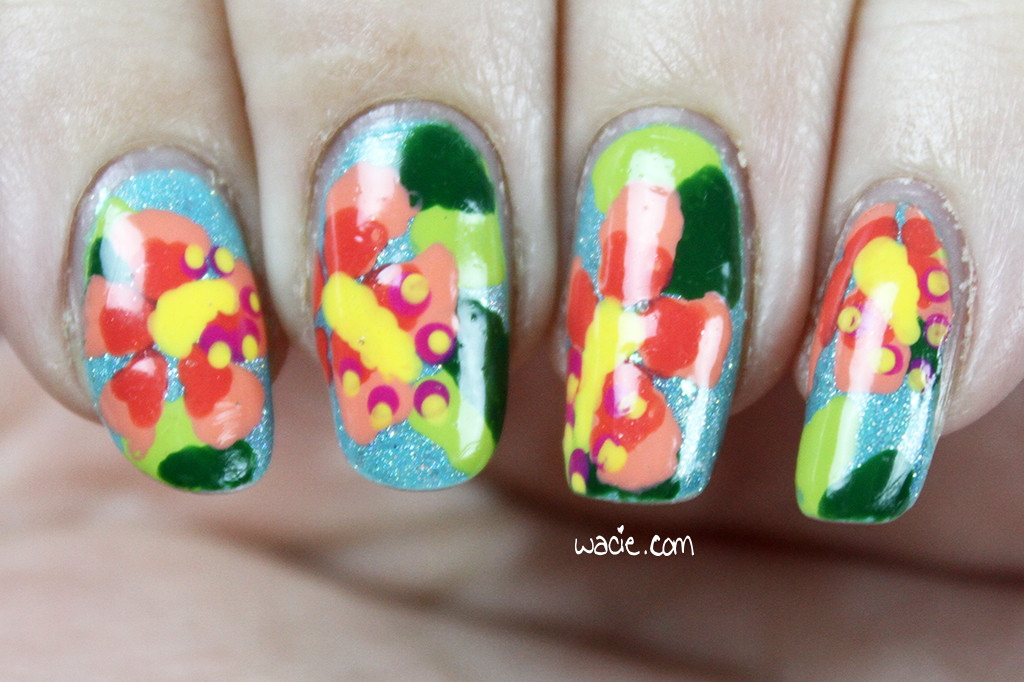
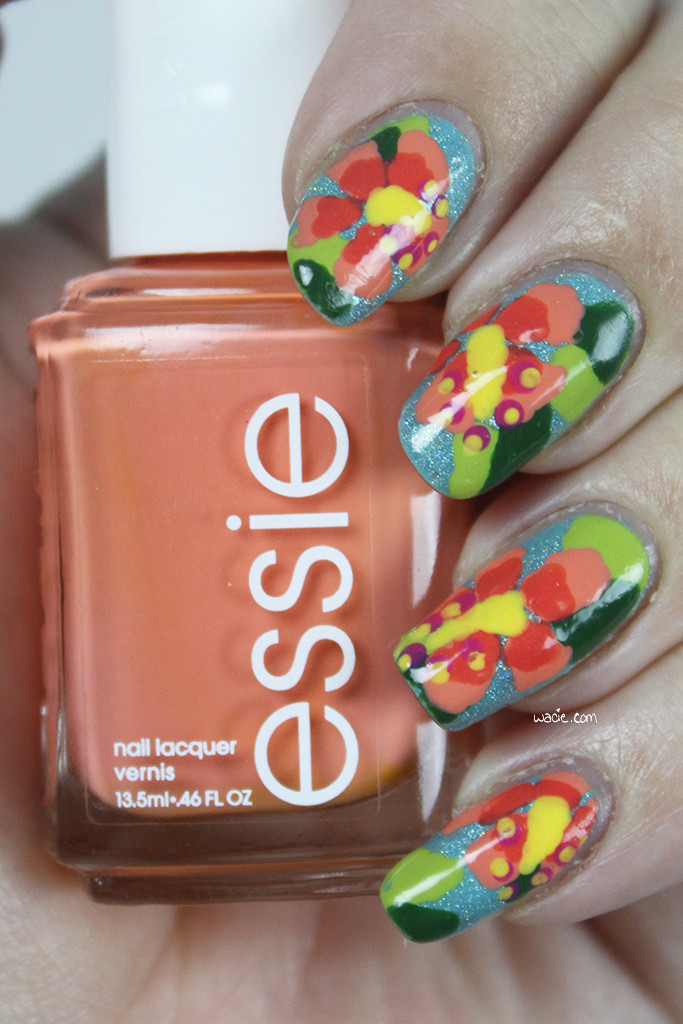
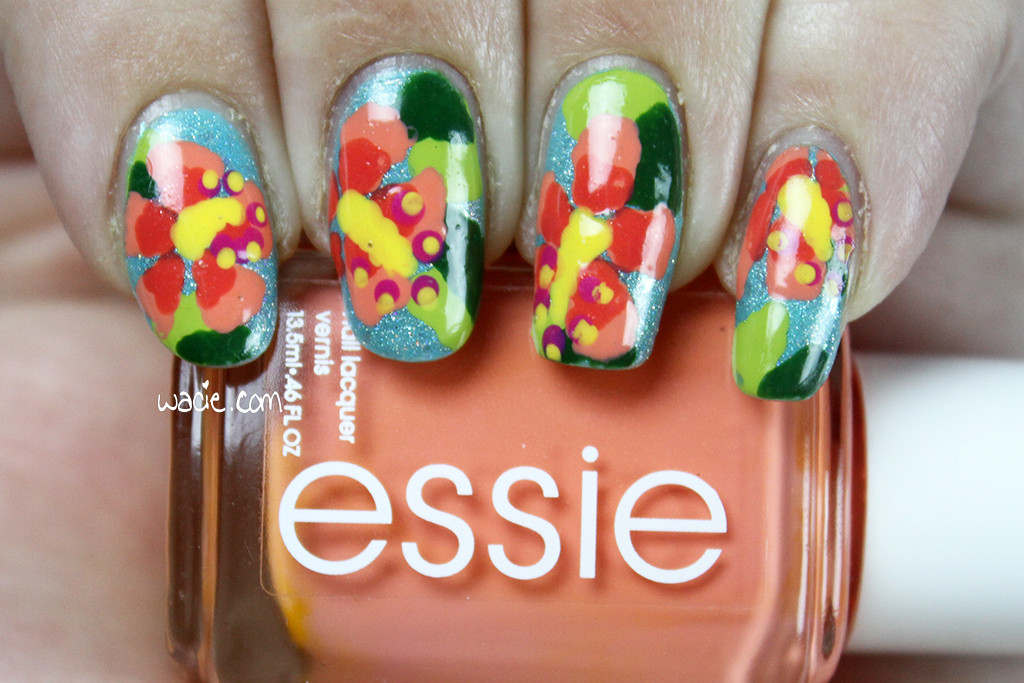
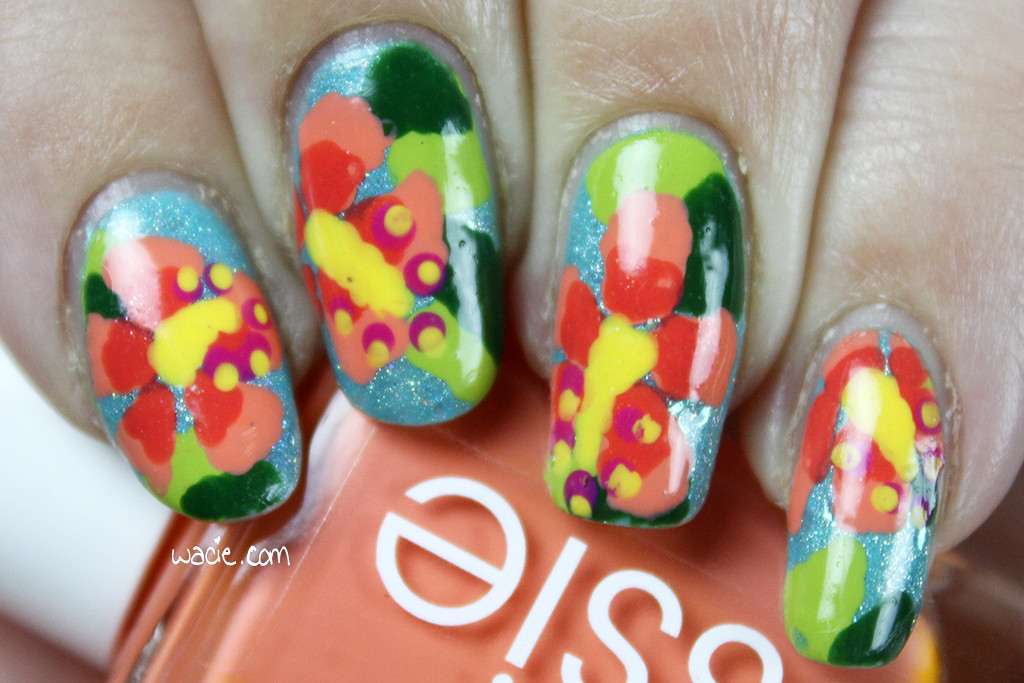
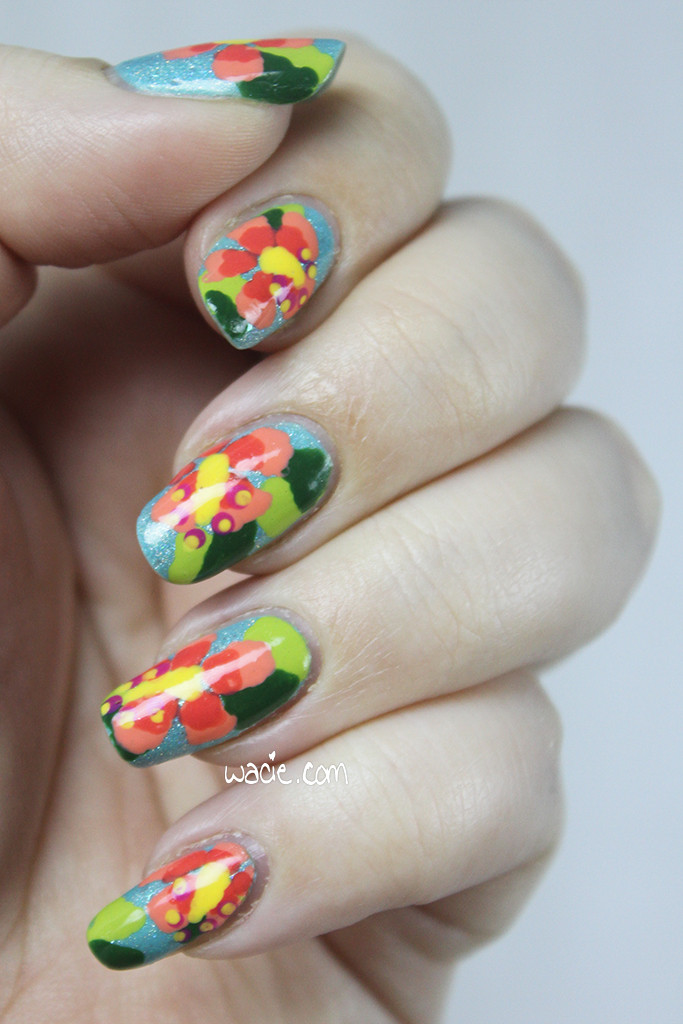
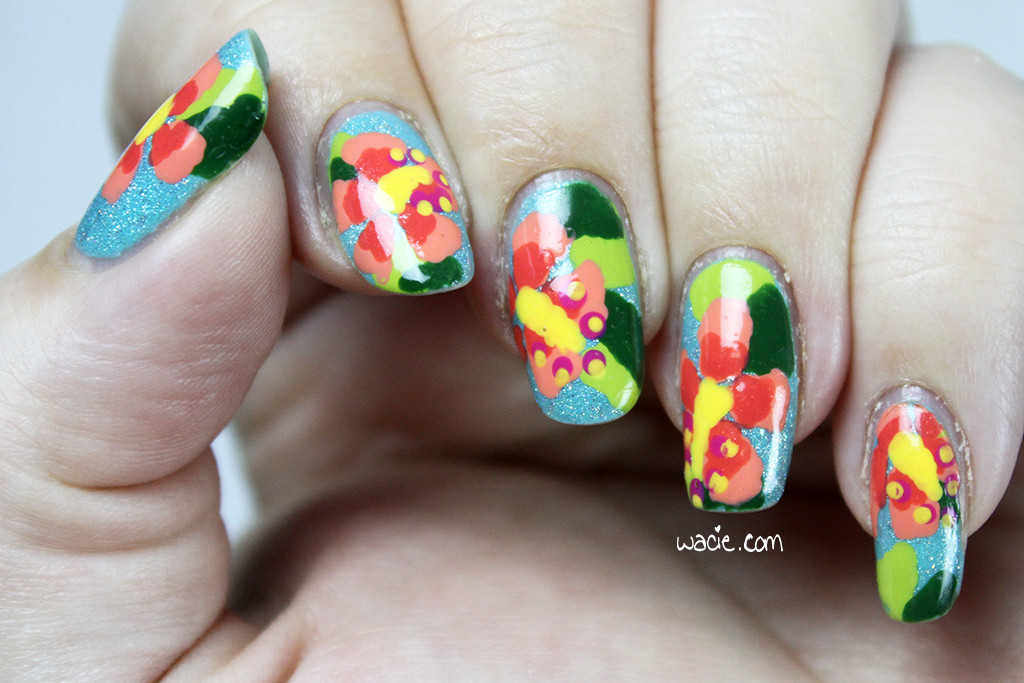
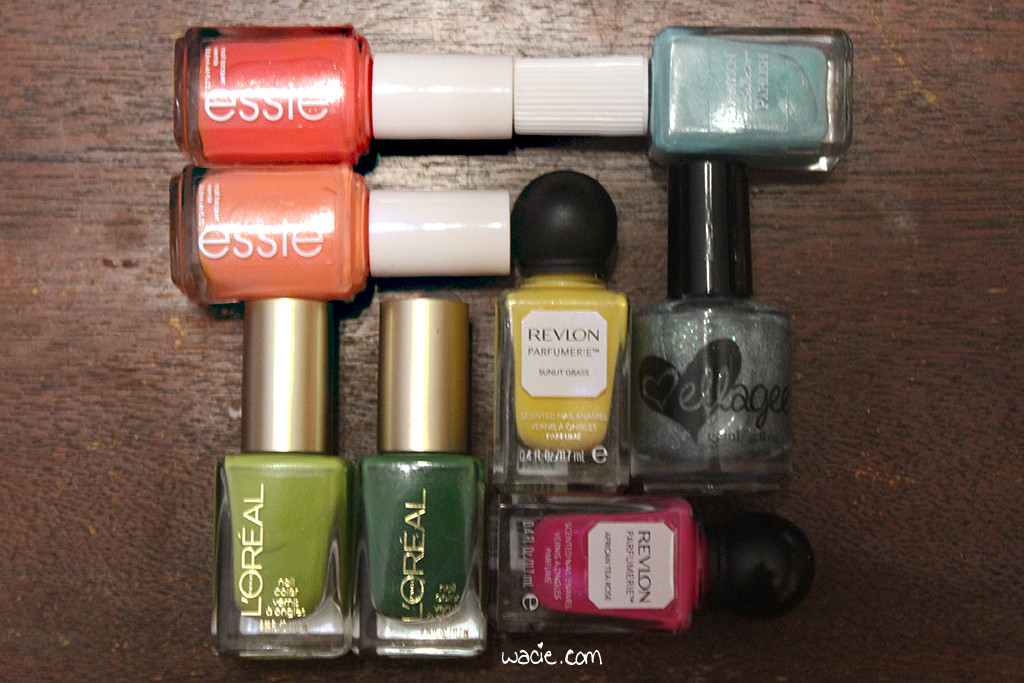
Hello hello, reader! Today’s a special Hobby Polish Bloggers link-up post. Every month we get together and do a themed mani, and the theme for March is spring. The mani can be as simple or elaborate as we like as long as it fits the theme; as a personal challenge, I try to use polishes I haven’t used before. For this look, I used Elevation Polish‘s The Merchant’s Son, Ellagee‘s Breena, Essie’s Tart Deco and Sunday Funday, L’Oreal’s New Money and Hyde Park, and Revlon’s Sunlit Grass and African Tea Rose, all topped with one coat of Seche Vite top coat.

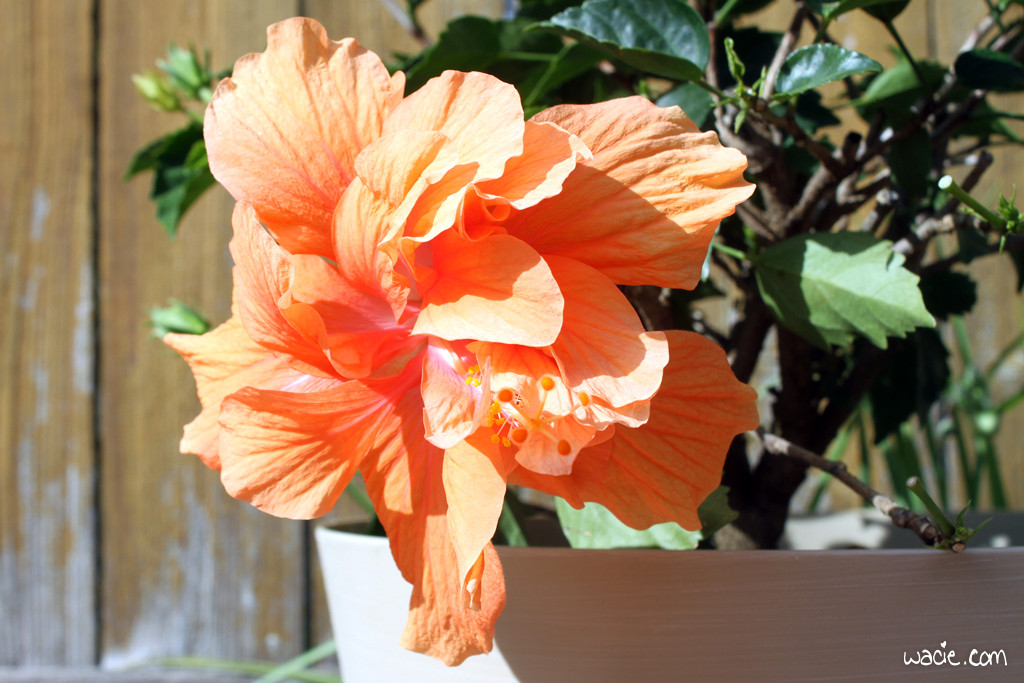
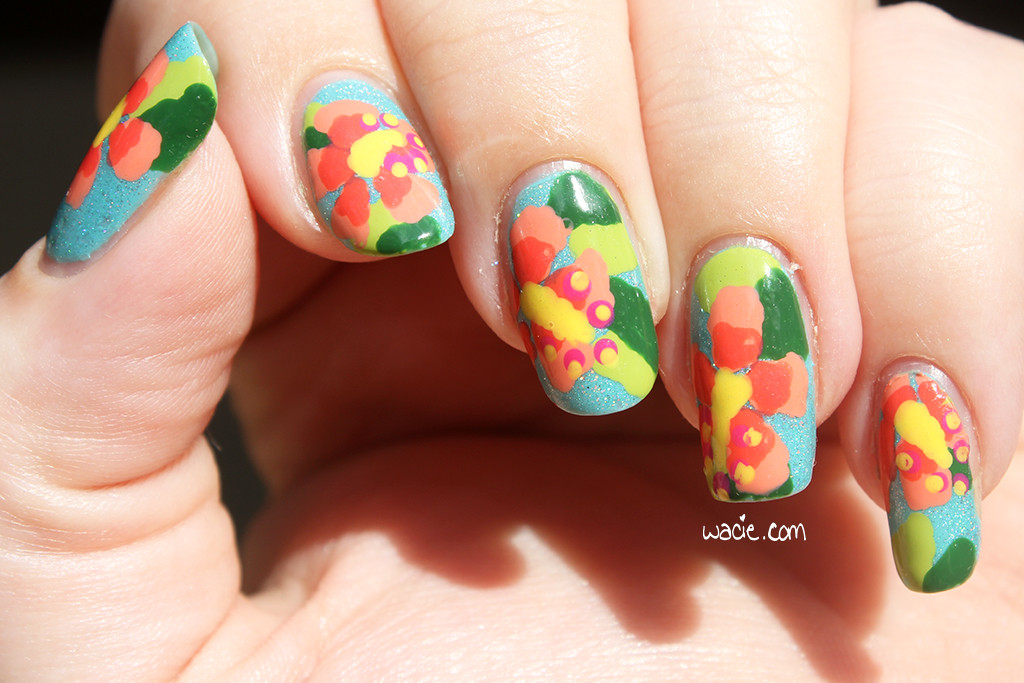
Of course, flowers are the harbingers of spring, and as beautiful as they are, I didn’t want to do a floral mani for spring because I knew everyone else would be doing it. I did it anyway. Boyfriend and I are very into tropical plants, and we wanted to make our backyard space even more tropical, so we got a few new hibiscus plants. I snapped a photo of this beautiful peach hibiscus, and I knew I had to make a mani out of it. Boyfriend is also quite the connoisseur of Hawaiian shirts, and this look is inspired by those as well.

IMG_6568

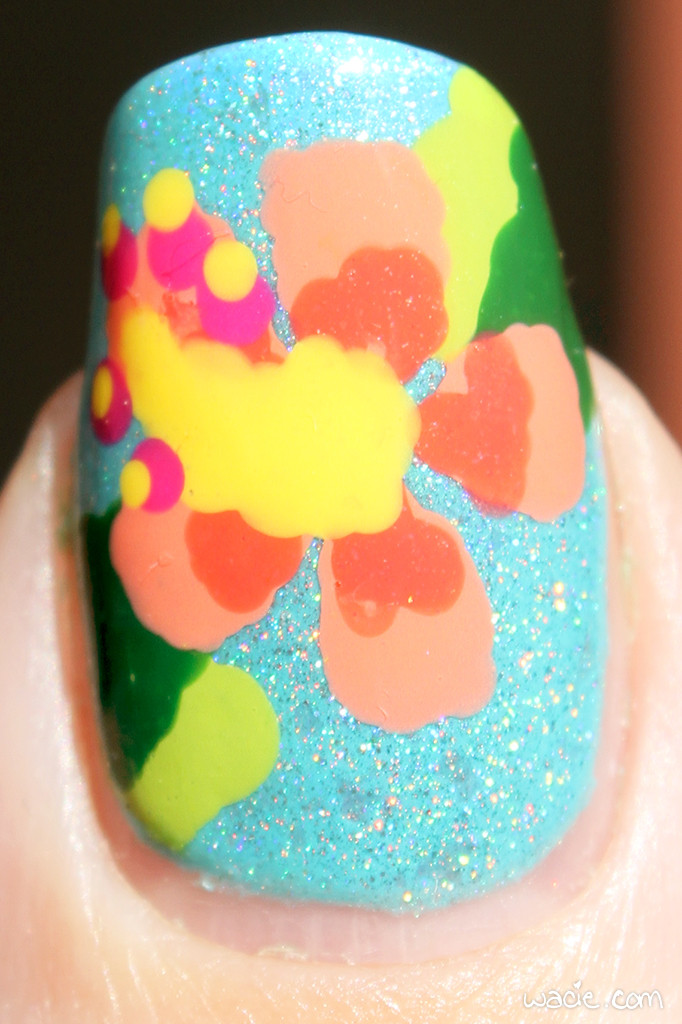
I started this look out with two coats of The Merchant’s Son, three on some nails where it was still a bit translucent. The Merchant’s Son is a thermal, but you can’t really tell under all the flowers. I didn’t even bother to show the thermal effect in action because it would be impossible to see. I picked a thermal because my original idea was to use a gradient. I also used a thin coat of Breena — that’s where the flakie holo comes from — just to add a bit of sparkle. When you can see the thermal effect of The Merchant’s Son, it shows right through Breena. The addition of Breena was probably unnecessary, but I needed one more polish to make an even eight.

IMG_69552

IMG_69632

I did the leaves before I did the flowers, but I did them exactly the same way; instead of brushing the polish on, I stippled it on with a dotting tool. I don’t know what it is, but I’m much more comfortable with the dotting tool as a method. Brushing never works for me. I have small nail beds, and often the brush feels too large or unwieldy, even when my nails are quite long. For this reason, there’s not a lot of intricate detail in the foliage and flowers; I took a cruder colorblock approach to this. I stippled the leaves on — two colors for variety — and then the flower petals, and then the pistils and stamens. For reference, I used Nailstorming’s hibiscus nail art tutorial video. I actually picked my colors before I sought out the video, and I love that we both chose pretty similar colors.

IMG_69672

IMG_69702

This was my first attempt at this kind of nail art, and I’m happy with how it came out. It’s rough, sure, but I didn’t screw it up or anything, you can tell what it’s supposed to be. It’s super in your face. Boyfriend accused them of being stick-on nails and that was kind of satisfying. I got to use a whole eight unused polishes, that’s pretty nice too.

IMG_69762

IMG_69832

The truth is, spring came long ago to Florida. I know other parts of the country are still thawing out, but we’ve been enjoying it for some time now. That’s kind of the reason I didn’t want to do a spring flower mani, I was just so over spring flowers that I just wanted something summery and fun, something that really reflects Florida in March. Speaking of which, here’s some sunlight photos! The holo, or what you can see of it, looks amazing out here. I’m not sure if the Elevation or the Ellagee is my favorite of this look, but they look so beautiful together I couldn’t possibly choose.

IMG_69372

IMG_69522

IMG_69462

Here’s a product roundup, just for reference. I rarely do this, but I rarely use so many polishes for one mani.

IMG_69352

Elevation Polish has discontinued The Merchant’s Son, but you can find their other polishes in their shop. Breena also appears to be discontinued by Ellagee; other polishes are sold in their shop. Revlon, L’Oreal, and Essie are sold in stores nationwide.

I bought these polishes myself.
 Loading InLinkz ...

HPB Presents Elevated Gradient!

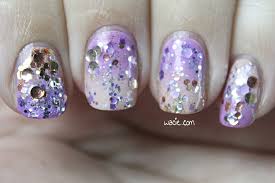
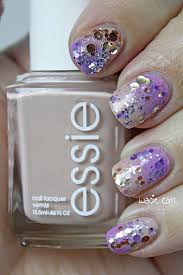
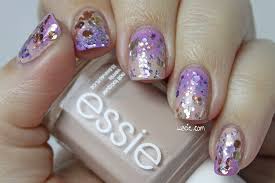
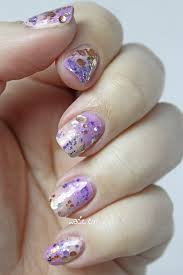
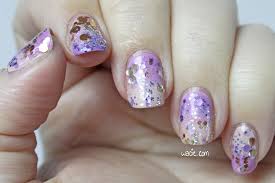
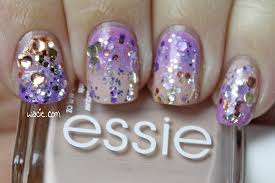
Hello, reader! This is a special post for the Hobby Polish Bloggers group on Facebook! Every month, we do themed manis, and January’s theme is the gradient. It doesn’t matter what kind of gradient we do, as long as it’s a gradient; we can make it as complex or as simple as we want. I decided to make mine a challenge and use four previously unused polishes. For this look, I used Sittin’ Pretty and Topless and Barefoot, both from Essie, as the base; I used Kilimanjaro and Salautay, both from Elevation Polish, as the glitter topper. All nails are topped with one coat of Seche Vite top coat.

hpbpeg

hpbpeg2

It’s been a while since I’ve done a two-color gradient, so long, in fact, that I started to wonder whether or not I’d lost my touch. This is probably one of the hardest gradients I’ve ever done. I could not get light purples and nudes — not just these Essie two, I tried OPI as well — and I could just never get them to come together. Either a color would go bald from oversponging, or a color just wouldn’t turn opaque, no matter how much of it I used. It did finally come together, and it was amazing.

hpbpeg3

hpbpeg4

I had to use purple and nude, though, because I had to use Kilimajaro and Salautay. I knew that as soon as I got these polishes that I had to put them together, because they have so many similarities: they both employ the use of round glitters and the color silver. After I finished the base gradient, I made a gradient with the glitters, flipping the colors so that the purple was over the nude and vice versa. Of course, after I sponged it on, they kind of bled into each other, which is actually pretty cool. My index fingernail got a little too much glitter, but aside from that, I totally got the result I wanted and I’m so happy.

hpbpeg5

hpbpeg6

This is the most intensive nail art work I’ve done in a while, so I’m really proud of it! Also, because this is a group effort, there’s an InLinkz widget here with everyone else’s gradient manis, so be sure to have a look at them! They’re just as proud of their work as I am with mine.

Sittin’ Pretty, Topless and Barefoot, and other Essie polishes are sold in most stores; I got mine from Walgreens. Kilimanjaro and Salautay are discontinued by Elevation Polishes, other Elevations are sold in their online shop.

I bought these polishes myself.