Swatch: Bee’s Knees Lacquer’s RIP Nameless Horse

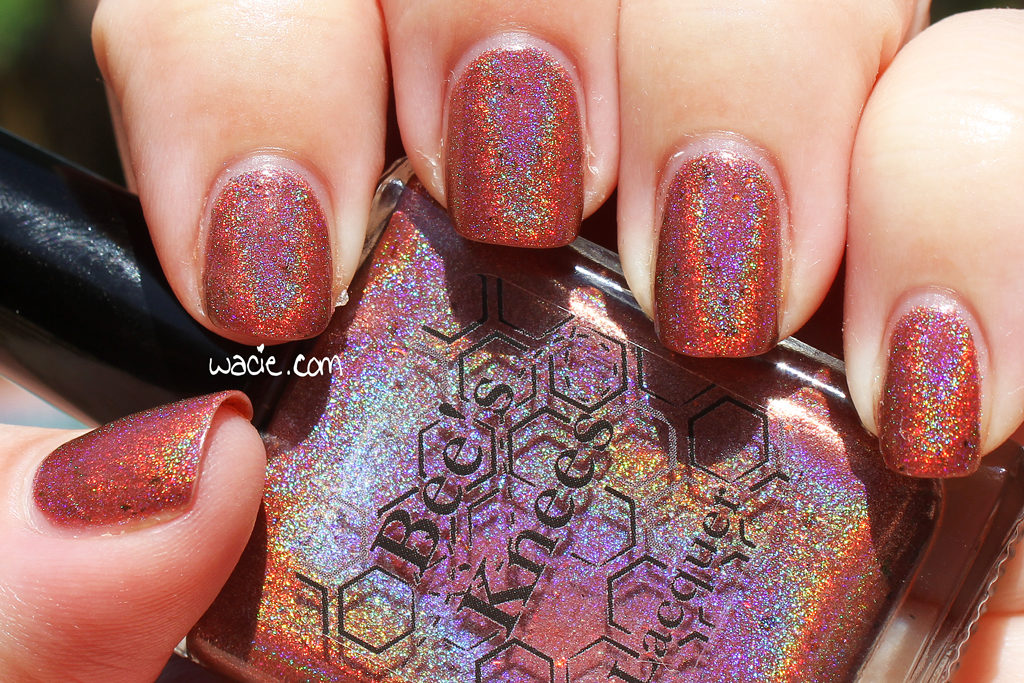
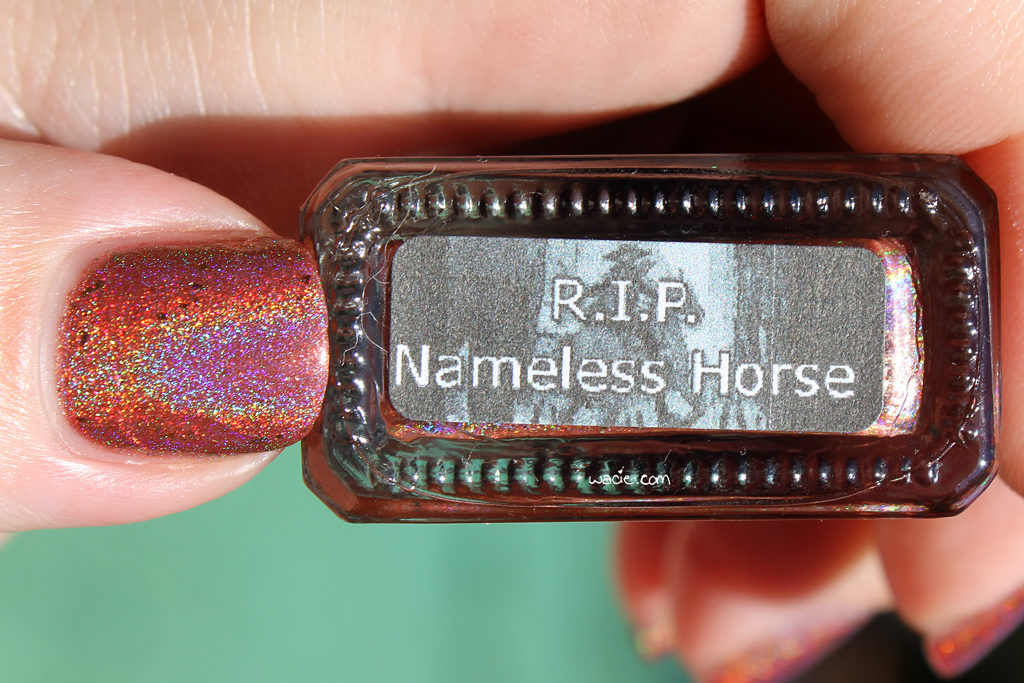
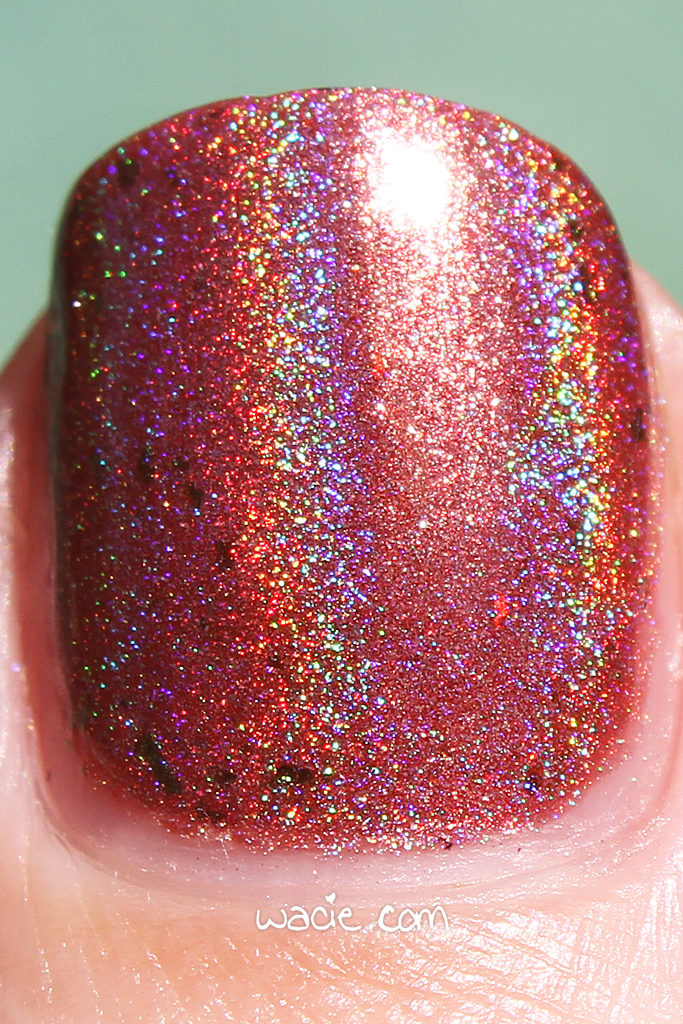
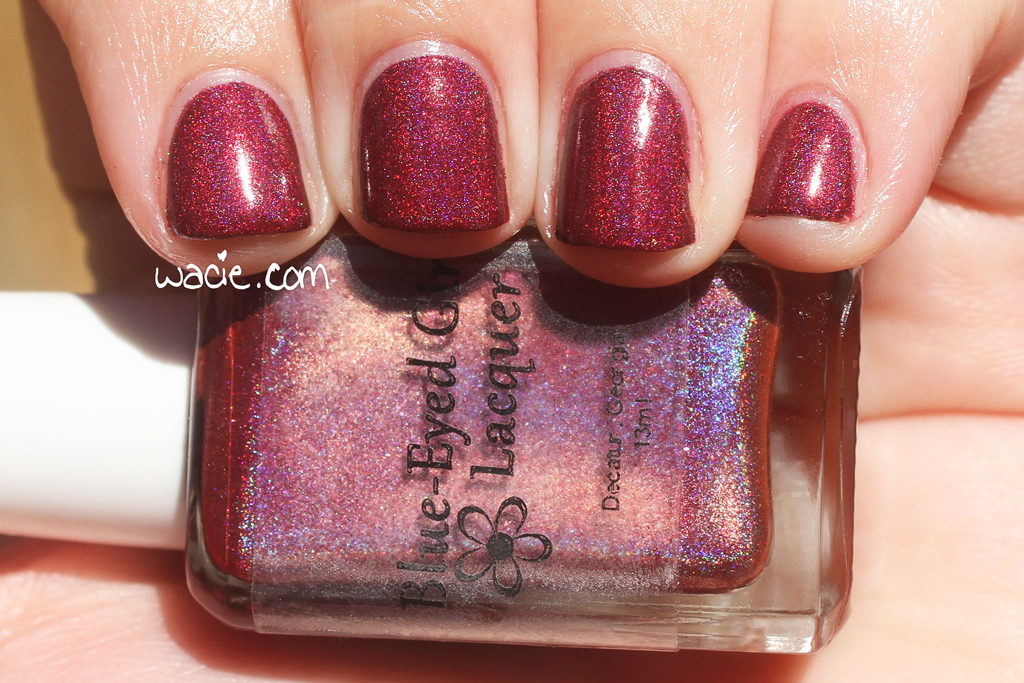
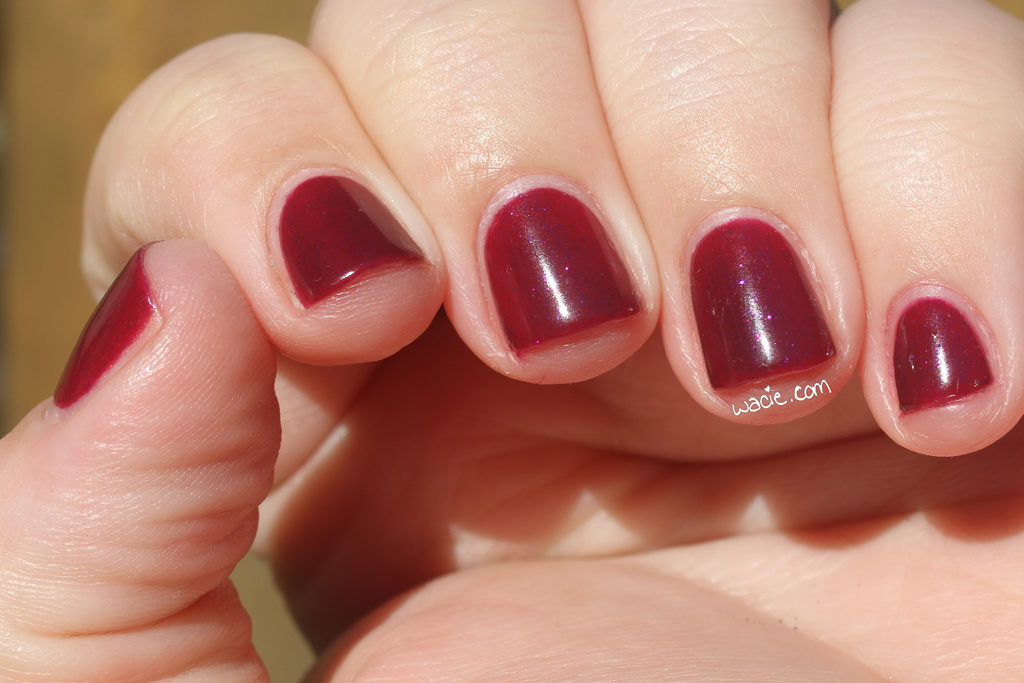
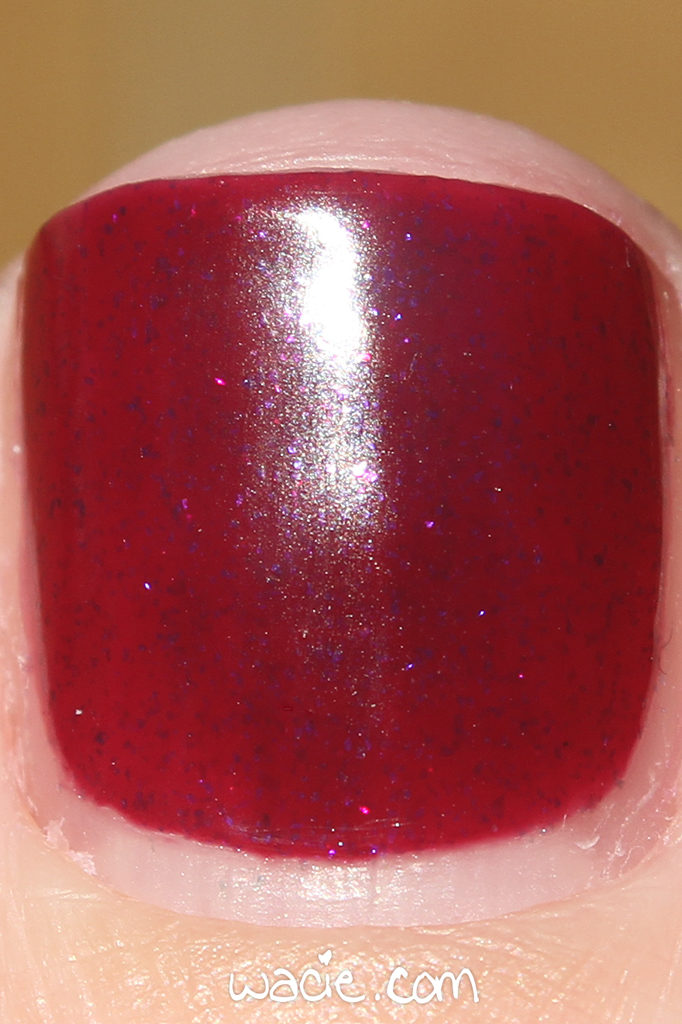
Hello, reader! Welcome back! Today on the blog, I’m continuing my swatches of polishes I scored at The Indie Shop Atlanta 2018! This is a Bee’s Knees Lacquer event exclusive called RIP Nameless Horse. I know this is a Walking Dead reference — they made quite a few polishes with this theme — and having never seen the show, I really have no idea what it’s referring to. Feel free to school me! I’m wearing three coats of RIP Nameless Horse with one coat of Seche Vite top coat.

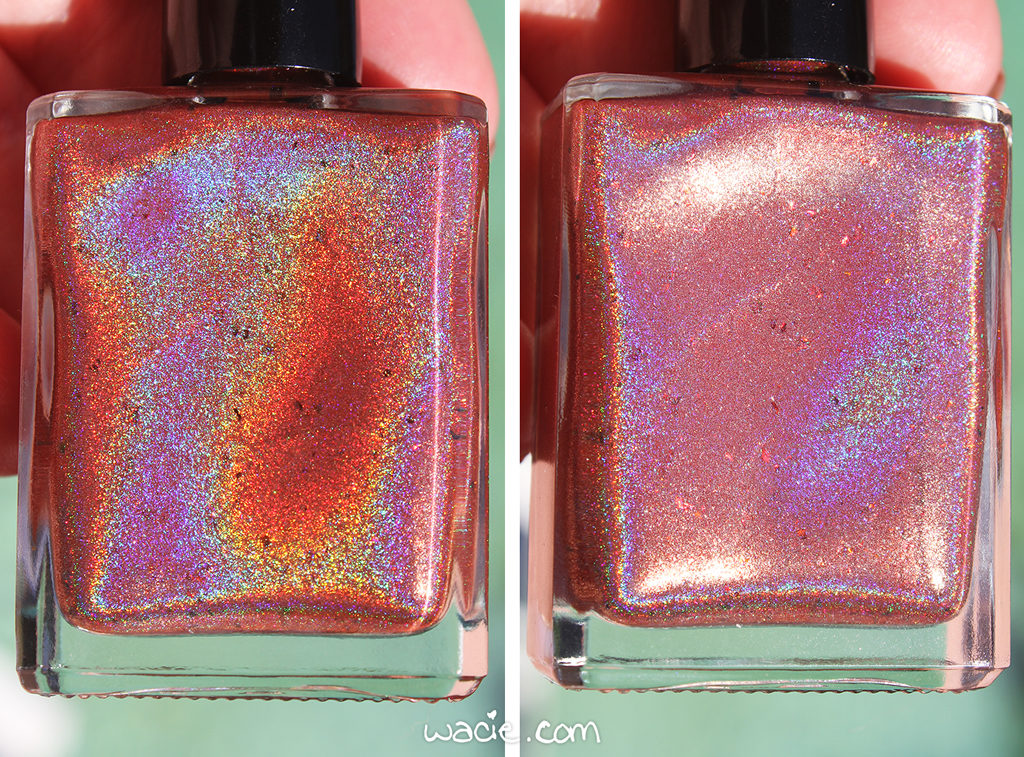
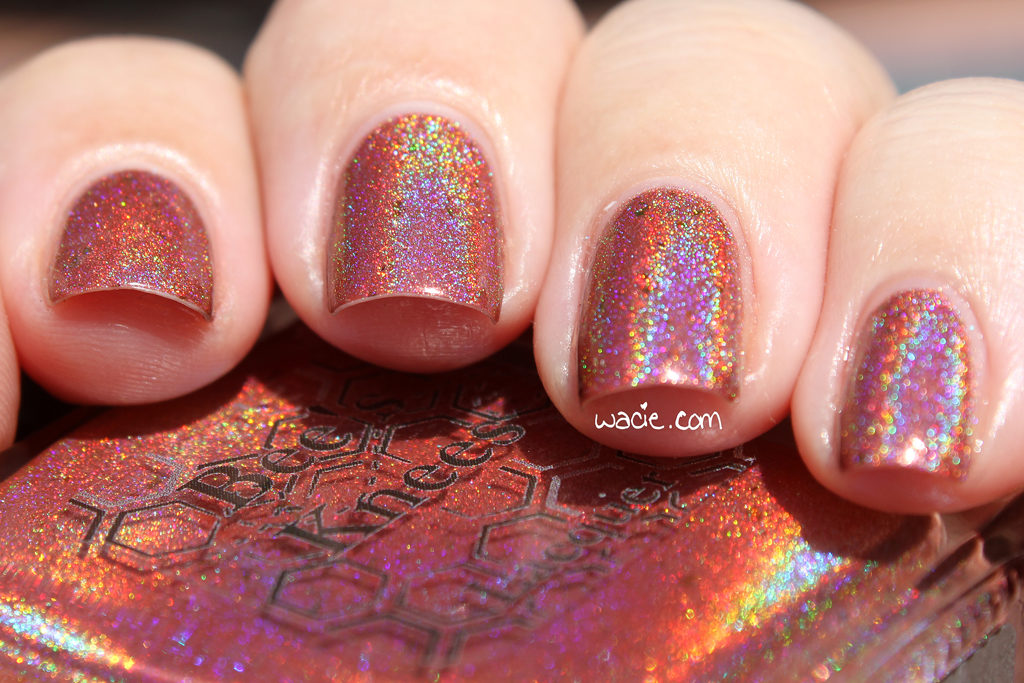
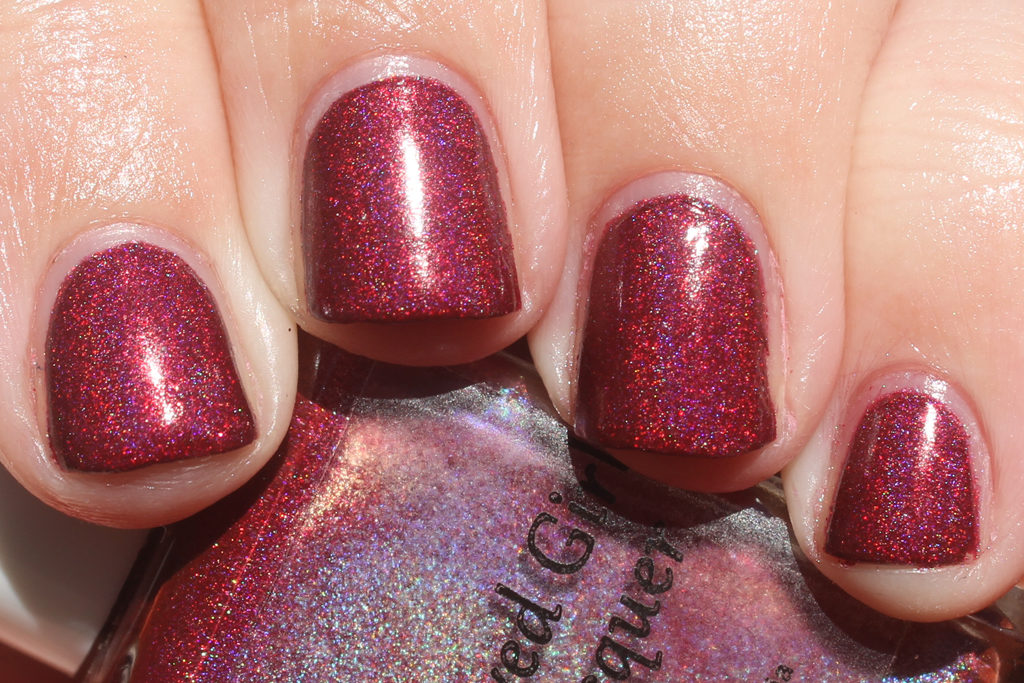
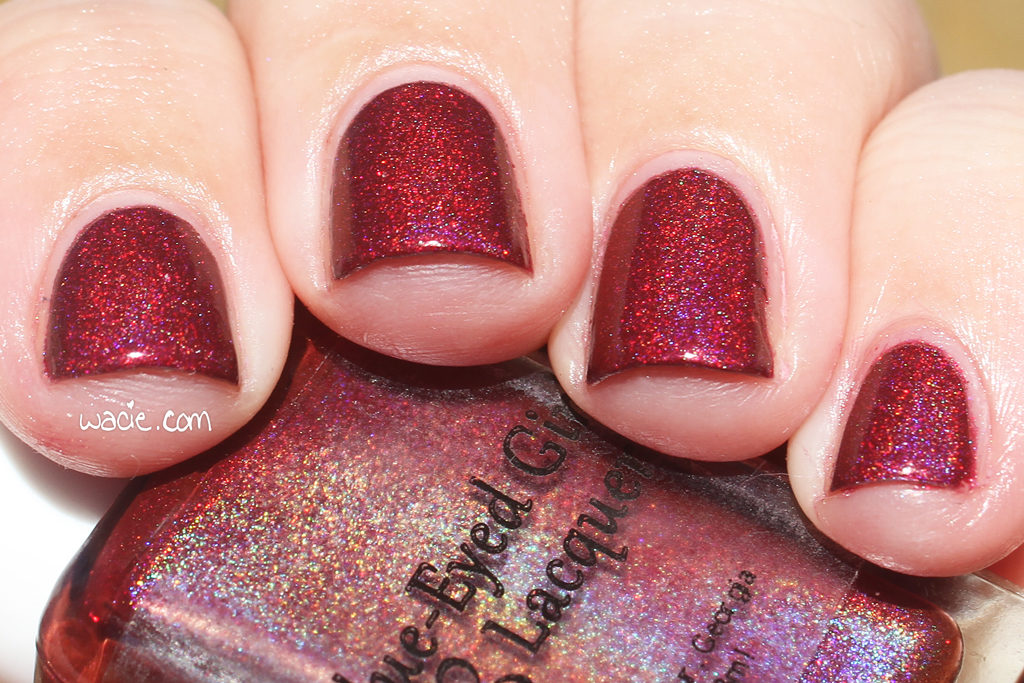
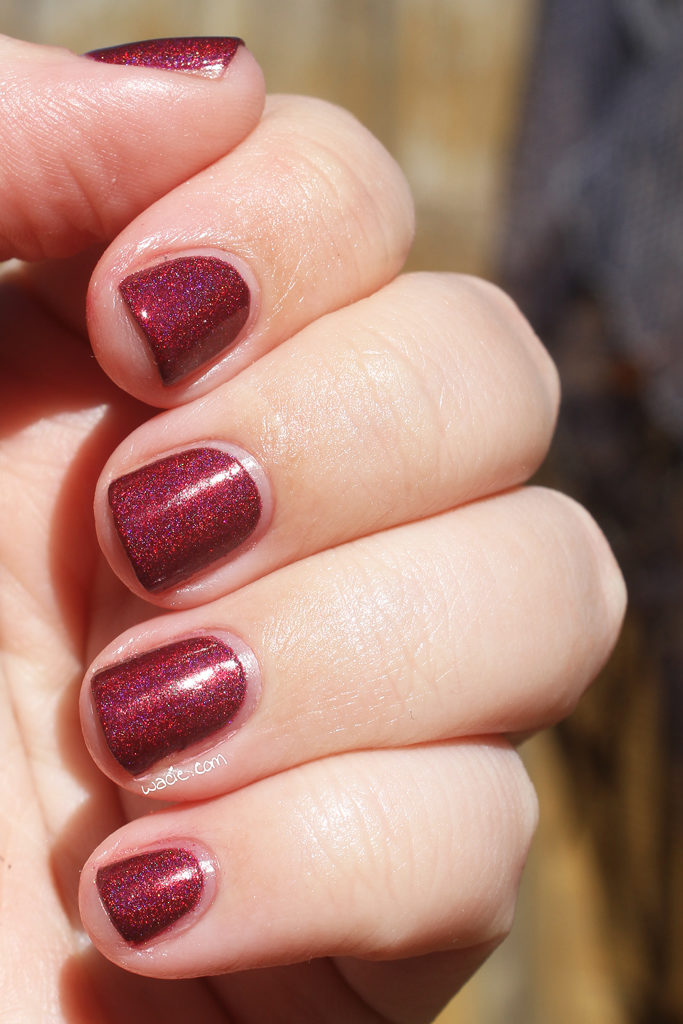
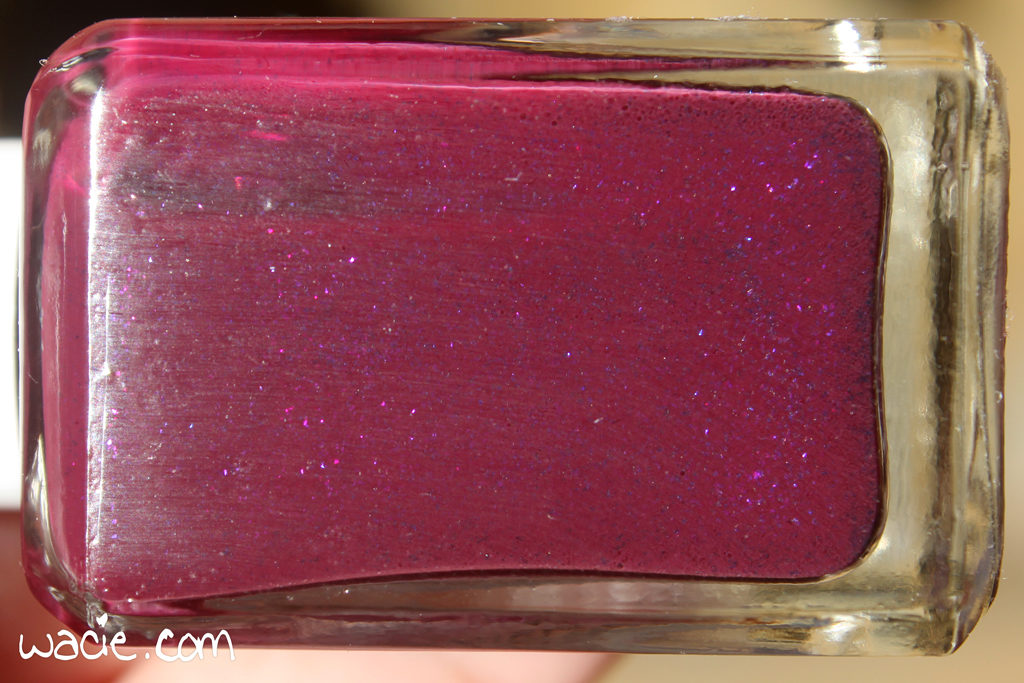
RIP Nameless Horse is a brick red holo polish with some iridescent flakies. As with the last Bee’s Knees I swatched, application was very nice with this; the polish has a thicker consistency, but it also covers very well, almost opaque on the first coat. The holo flame is also pretty strong, even indoors. The polish dries with a glossy finish; I used top coat for extra shine and protection.

Before The Indie Shop, I knew Bee’s Knees was popular; I offered my services as a polish fairy/pack mule, and Bee’s Knees was the only brand I was asked to shop from. Between #ForClementine and this polish, I’m starting to see why. These polishes are intense. They glow. They have such a big payoff. I love using polish like this, because it’s really a dream to use.

RIP Nameless Horse was an event exclusive for The Indie Shop Atlanta; other Bee’s Knees Lacquers are available on their website.

I bought this polish myself.

Manicure Monday: Bless This Glitter Mess

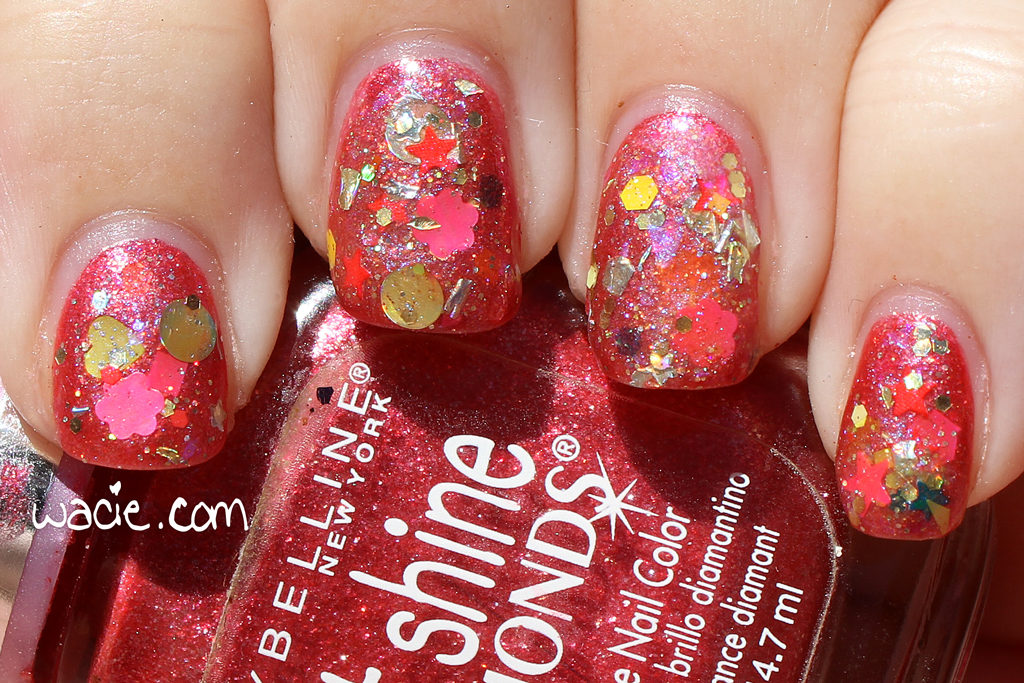
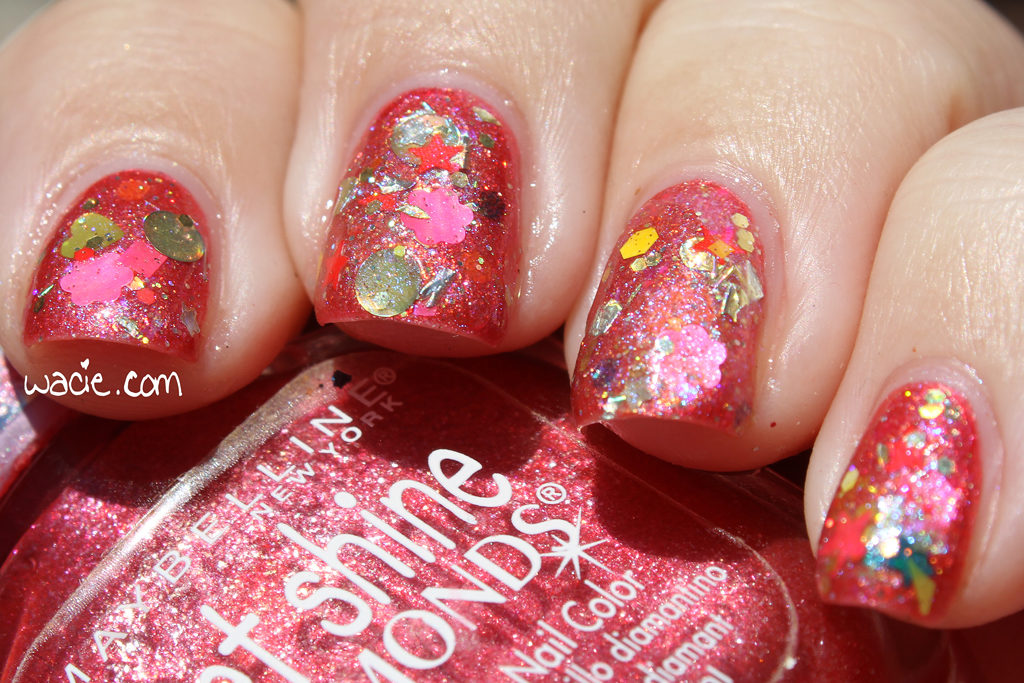
Happy Monday, reader! I’ve got another messy glitter mani to share, because I can never say no to glitter. This is Lynnderella‘s Unicornament over a Maybelline vintage mystery polish.

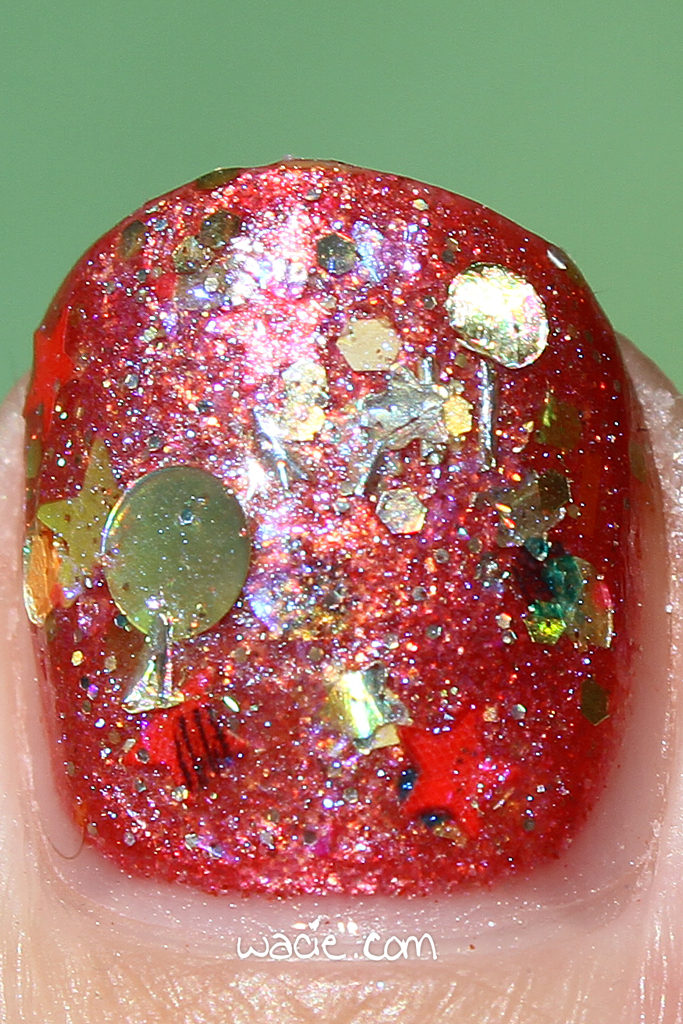
I’ll start with Unicornament, since it’s clearly front and center in this look. This is probably my favorite-ever Lynn, because there’s so much happening in it. All that color, glitter, shapes, and bling in an iridescent base, it’s irresistible.

I felt a little bad covering the base polish up, because it really is a nice polish. It’s a warm pink — or cool red, I can’t tell — with silver flecks. I’ve had this polish for at least ten years, and believe it or not, it still applies really well. It could have done with some thinner, but it wasn’t thick enough that I thought it was necessary. I’ll have to do another look with it soon so that it gets its due.

Maybelline polishes are sold in stores. Lynnderella polishes are available on their website, Amazon, and eBay.

I bought these polishes myself.

Manicure Monday: Red and Gold, Again

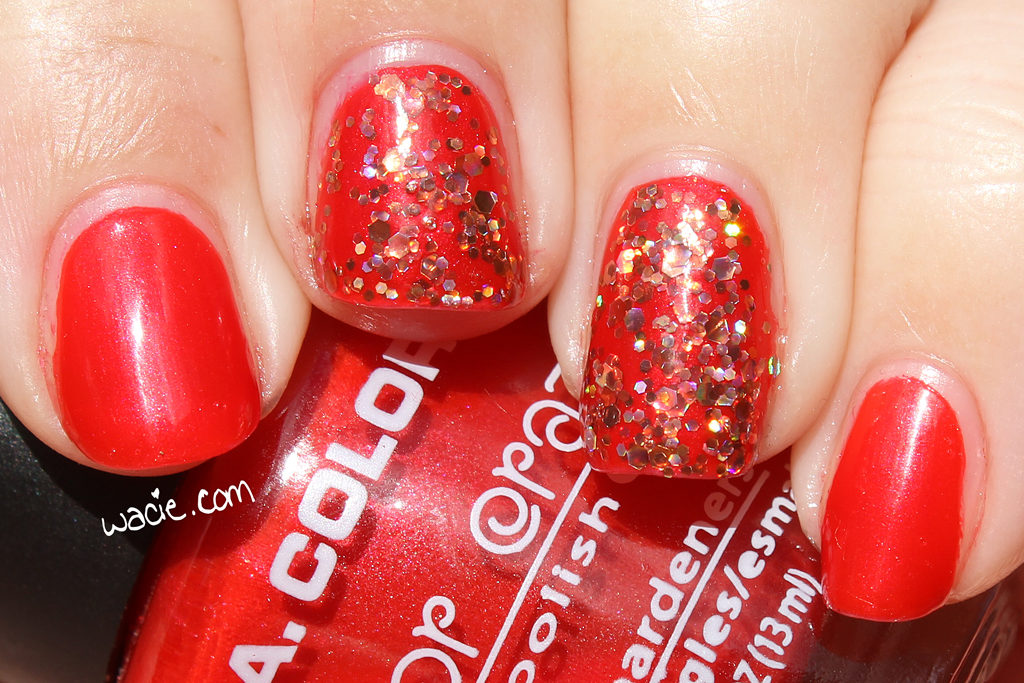
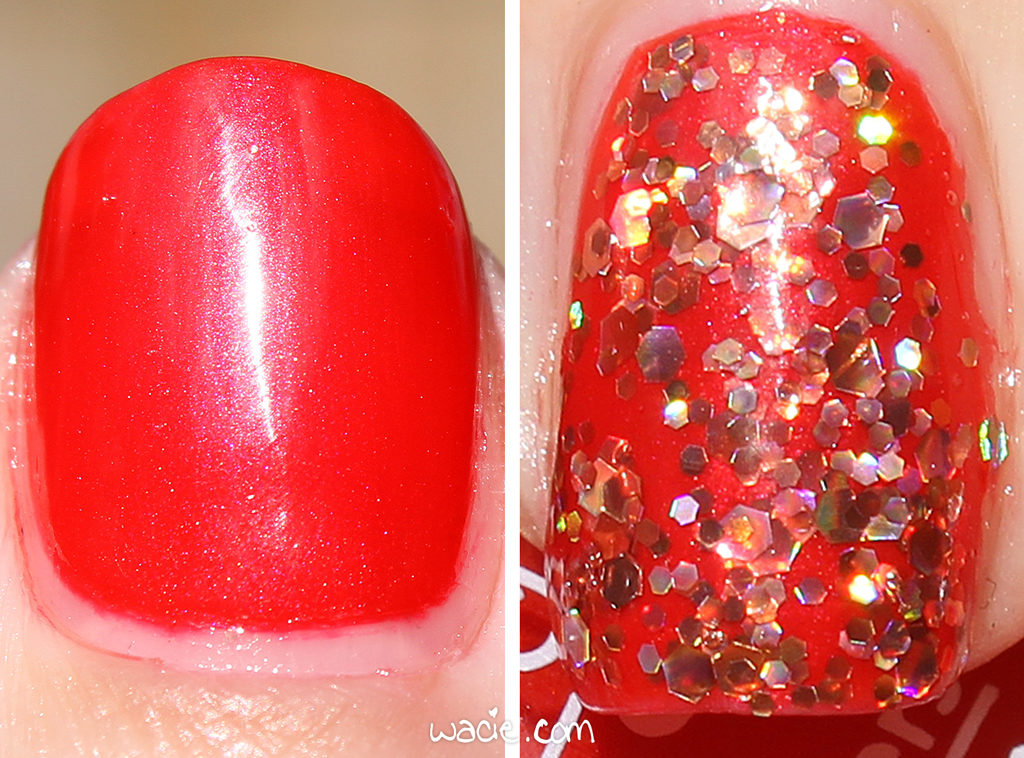
Happy Monday! For this week’s look, I have yet another red and gold look. I couldn’t help it, the combination was just so perfect. This is LA Colors’s Animated with Formula X for Sephora’s Voltage.

Animated might be one of my favorite polishes. Every time I wear a red polish on the blog, I always talk about how I love red polish, and this one’s no exception. I bought it to be yet another red creme in my collection, but the tiny shimmer in it makes me smile whenever I see it. This is one of the best dollars I ever spent.

Voltage is a souvenir polish; I bought it from the Sephora in Times Square. It’s a gold glitter polish in a thin red jelly base, which made it the perfect companion to Animated. I used two coats of Voltage here, not only for the extra glitter, but to made sure it got some of that jelly effect. I’m not sure it worked, but I like the look.

LA Colors is sold in stores. Formula X can be found on their website.

I bought these polishes myself.

Swatch: e.l.f.’s Smokin Hot

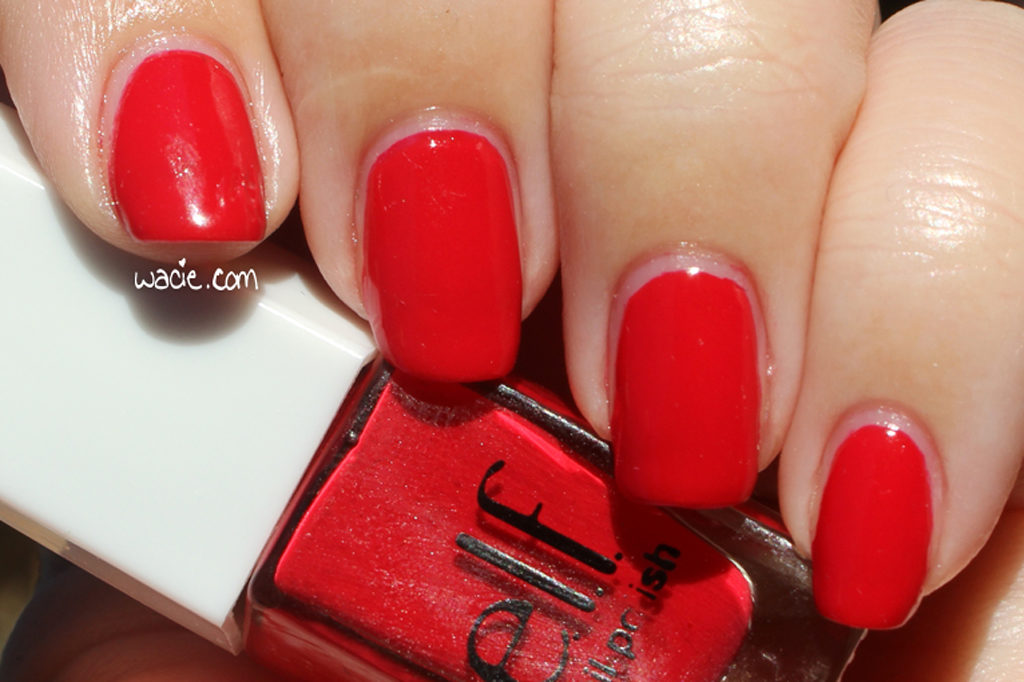
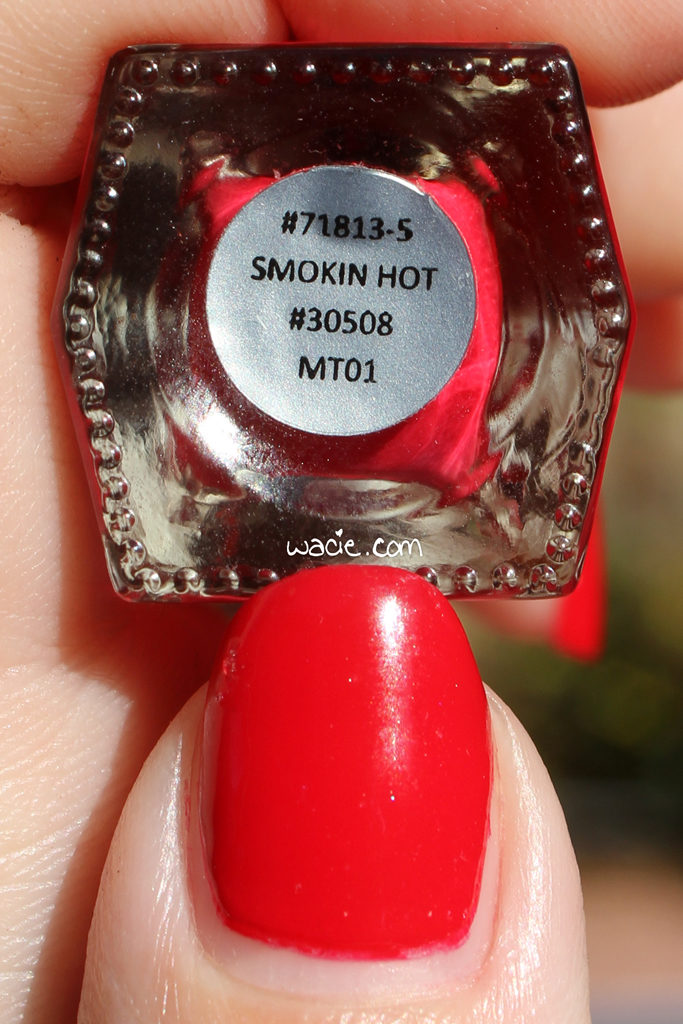
Welcome back! Today’s swatch is a pretty basic one. Everyone knows I love a red creme, and even though this is one you can’t get anymore, it’s a good one to have. This is e.l.f.’s Smokin Hot; I’m wearing three coats with one coat of Seche Vite.

Smokin Hot is, as I mentioned, a red creme. Application was good; the product consistency was on the thicker side, but I believe this is due to the age of the bottle, as well as previous uses. I forget if I thinned it out or not, but it still applied well. I had full opacity by two coats, but I always like to go for three. The polish dried with a glossy finish; I used top coat for protection and shine.

This is a polish I probably didn’t even need to swatch. As with most red cremes, what you see in the bottle is what you get on your nails. I can’t complain about this polish at all.

This polish was released in a Disney Villains themed set, which has since been discontinued.

I bought this polish myself.

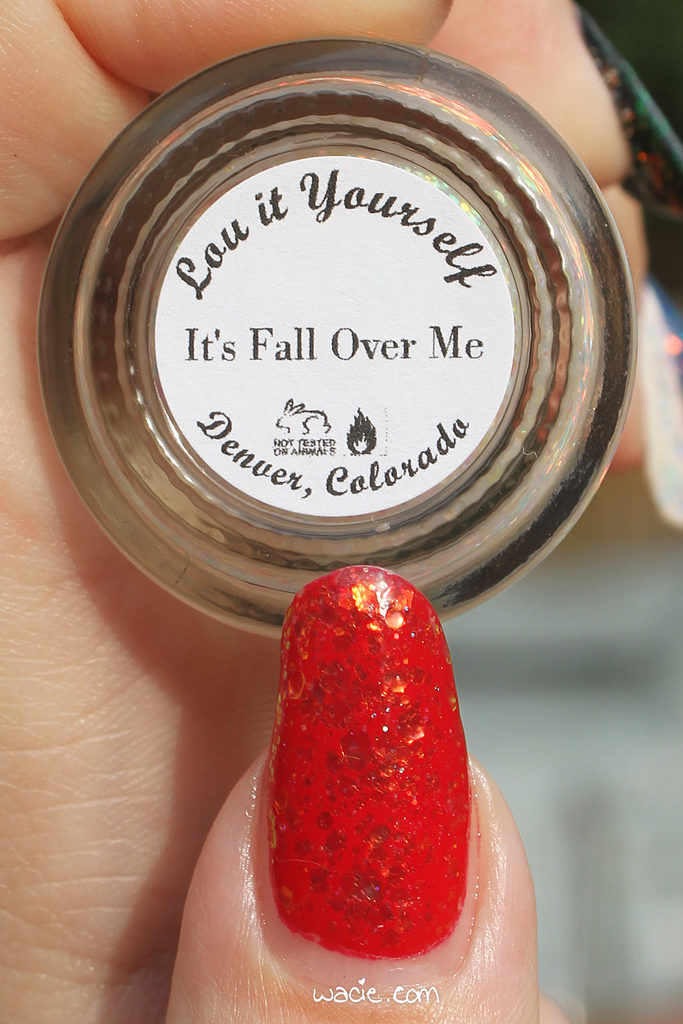
Throwback Swatch: Bluebird Lacquer’s It’s Fall Over Me

Right, so during the month of November, I was insanely busy with starting a new job, starting a volunteer job leading writing groups for National Novel Writing Month, actually writing a novel for National Novel Writing Month, and cooking a Thanksgiving dinner for nine people. Now that novels are finished and Thanksgiving is over, I’ve finally got the time to share the swatches I’ve been collecting.

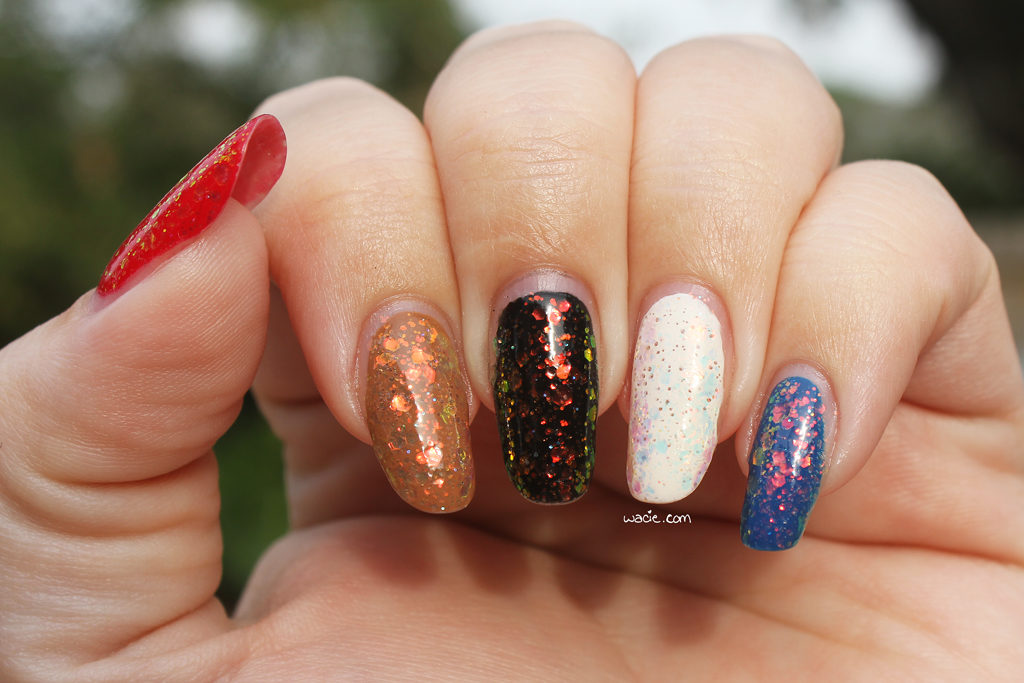
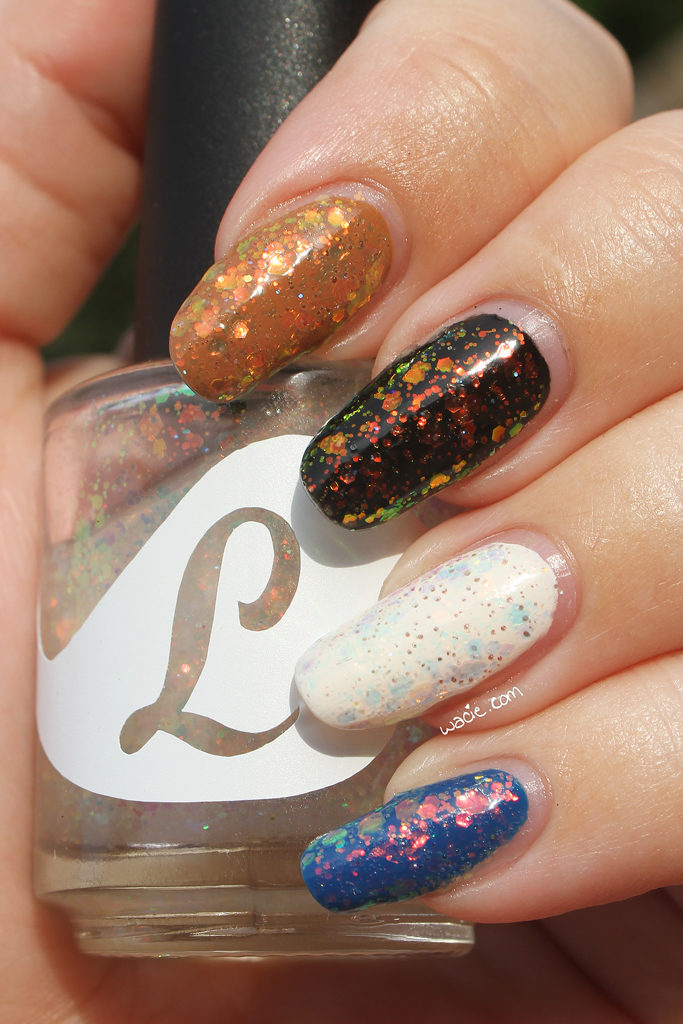
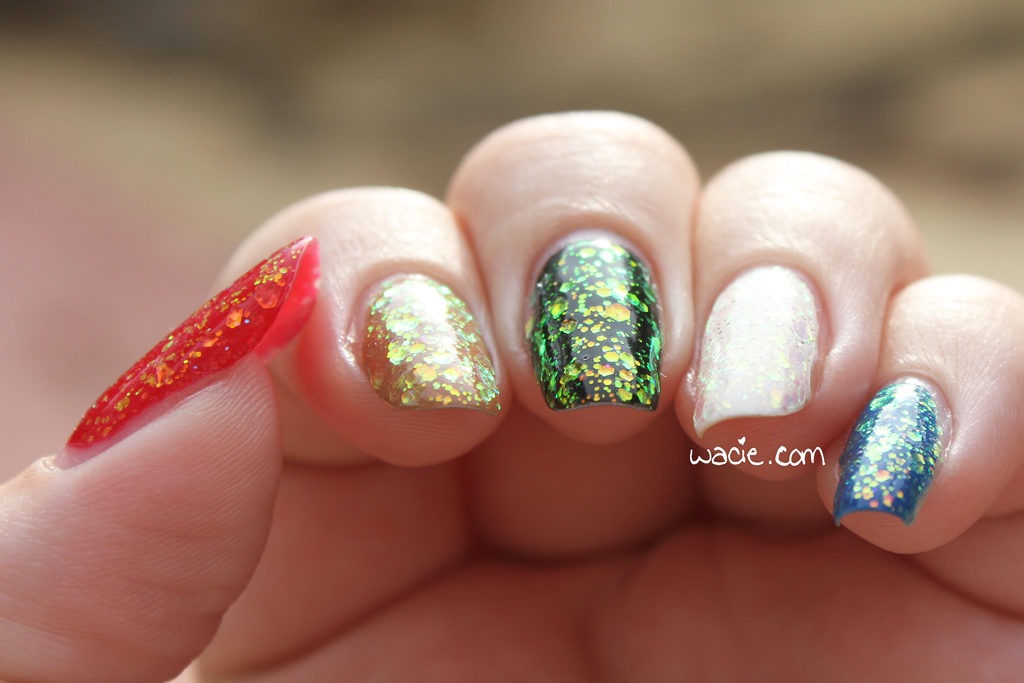
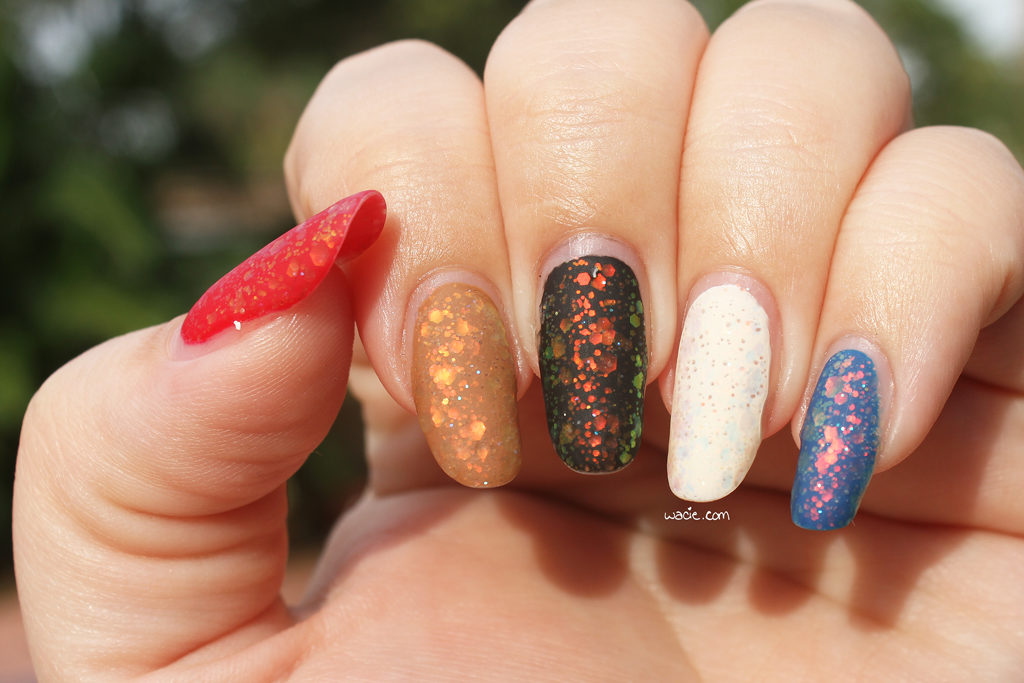
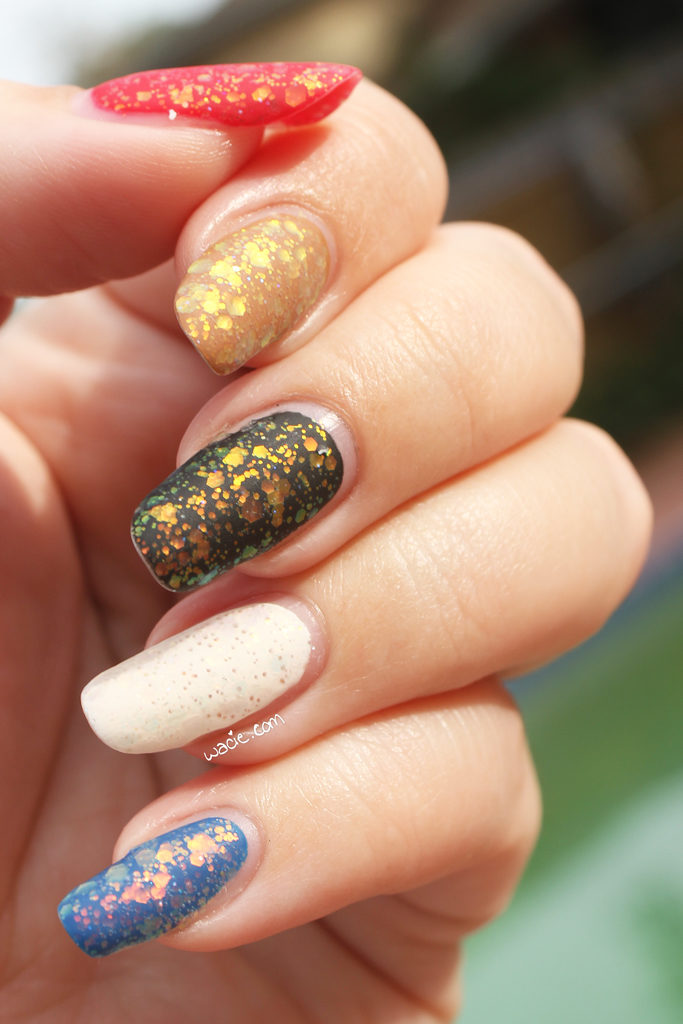
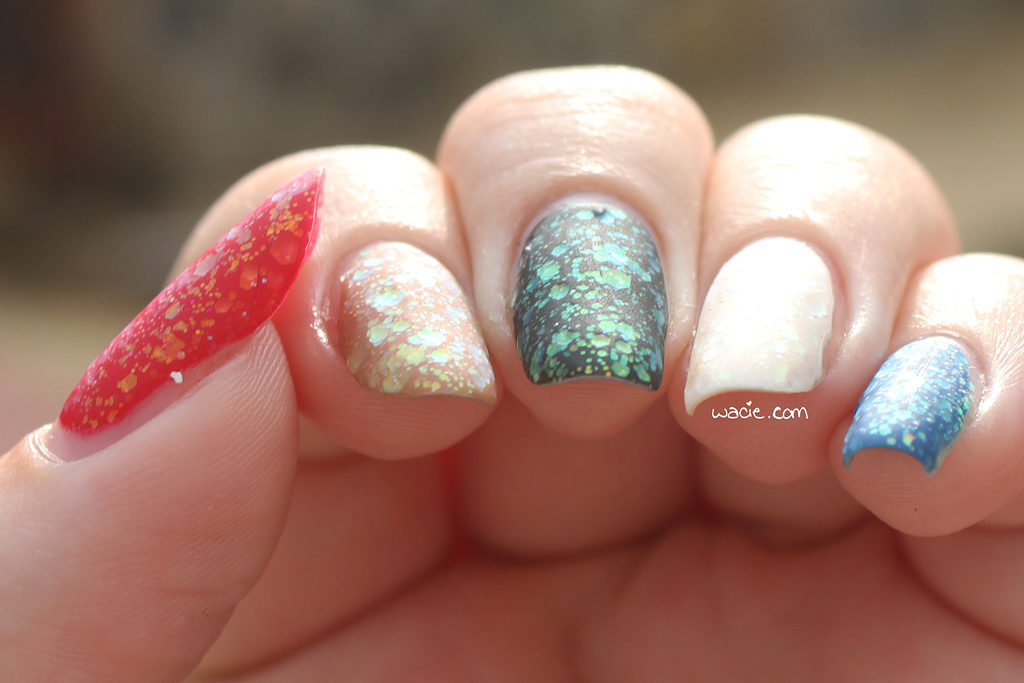
This first one is It’s Fall Over Me from Bluebird Lacquer; I’m wearing two coats over e.l.f.’s Smoking Hot (red), Butter London’s Tea and Toast (tan), Sally Hansen’s Black Out (black), China Glaze’s White on White (white), and Blue-Eyed Girl Lacquer‘s Lighthouse on the Lake (blue), topped with Seche Vite and Essie’s Matte About You matte top coat.

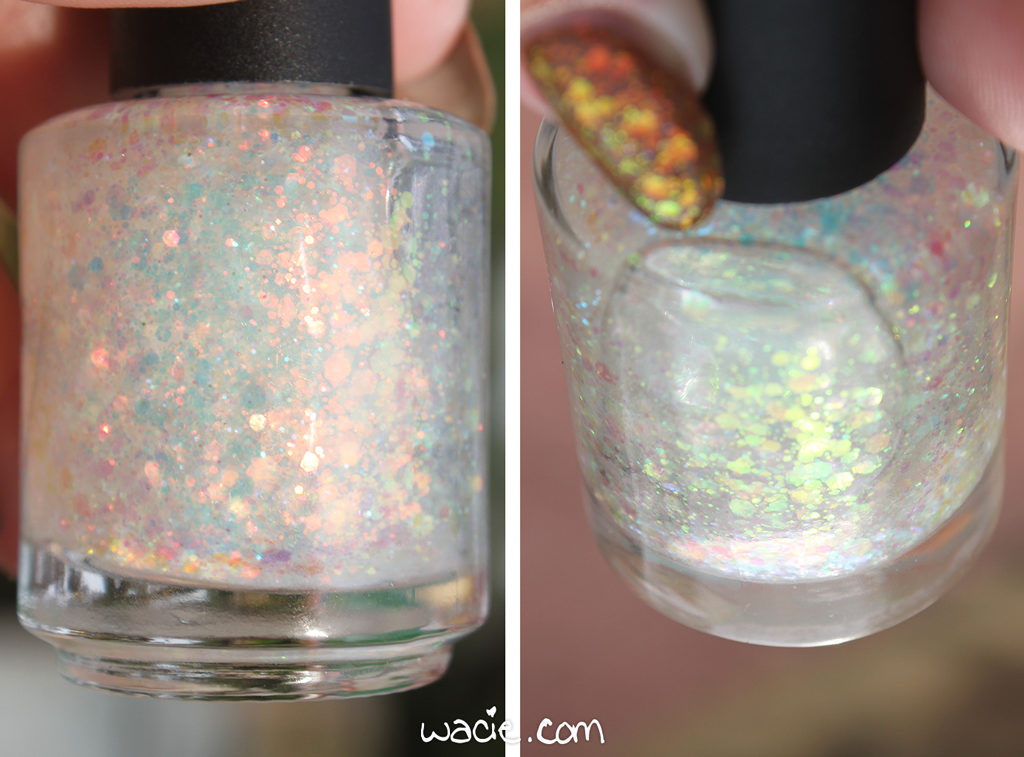
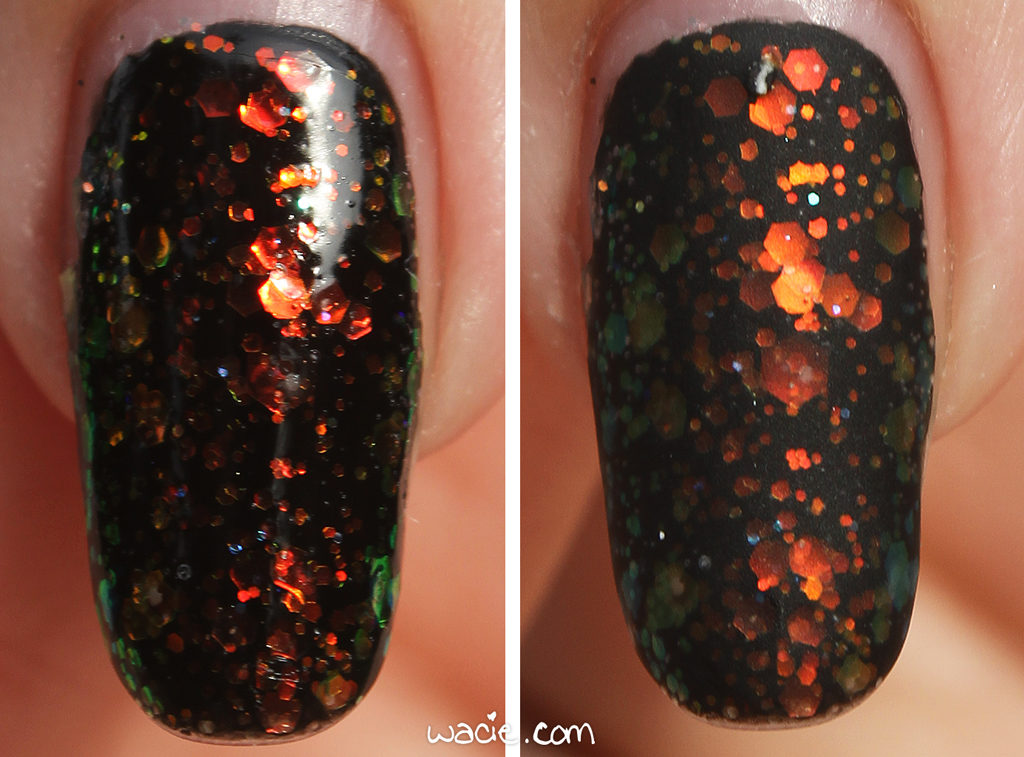
It’s Fall Over Me is a clear-based glitter topper with iridescent shifting glitters of various sizes. The shift is definitely reminiscent of the flakies in Essie’s famous Shine of the Times. Application was easy; the product consistency is wonderful in that it’s not thick enough to be goopy and difficult to use, but it’s not thin enough that it drips off the brush. The glitter delivers very easily, but I definitely wanted more than I got on my first coat, so I used two. In the future, I might try sponging it on to get that heavy glitter coverage without the thickness of multiple coats of lacquer. I used two coats of top coat as well, just to smooth down any glitter texture that was left.

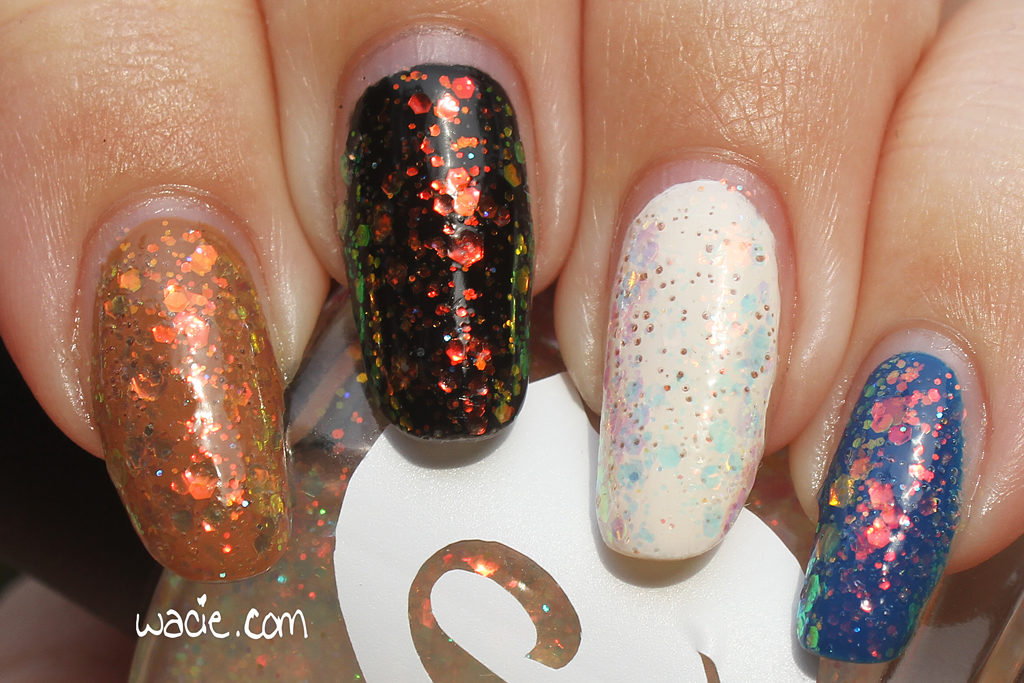
I bought this at the Indie Shop Atlanta, and it had my heart as soon as I saw the bottle. I am such a sucker for these opalescent kinds of glitters, because there’s always something going on with it; it’s the easiest way to give a look dimension and style without getting knee-deep in nail art. It also looks interesting over any color, even white, which is obviously not the ideal undies for this polish, has a unique effect on it.

When I was talking to maker Lou at her booth, she told me I had to try it with a matte finish, so I did, and here are the photos of that. I definitely prefer the glossy finish, but I have to admit that the glitter looks pretty cool mattefied. I feel like the matte finish makes the shift a little less dramatic, but it still does happen, and still looks pretty cool.

Unlike everything else I’ve shown you from my Indie Shop Atlanta haul, this is a polish you can actually still buy! As of this writing, It’s Fall Over Me is for sale on the Bluebird Lacquer website.

I bought these polishes myself.

Manicure Monday: Red and Gold Splatter

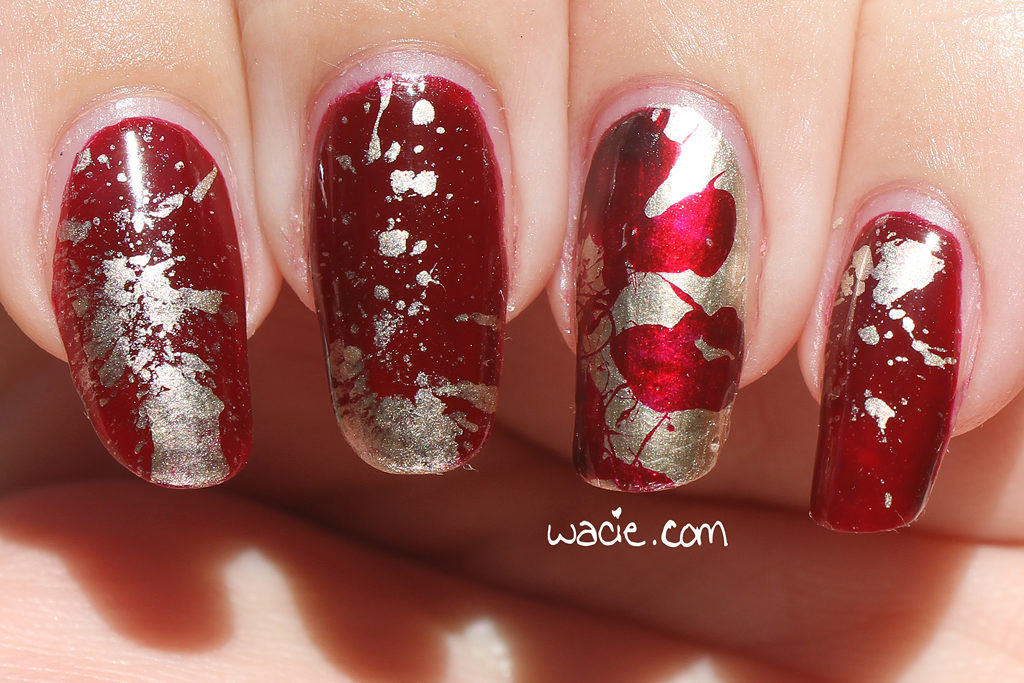
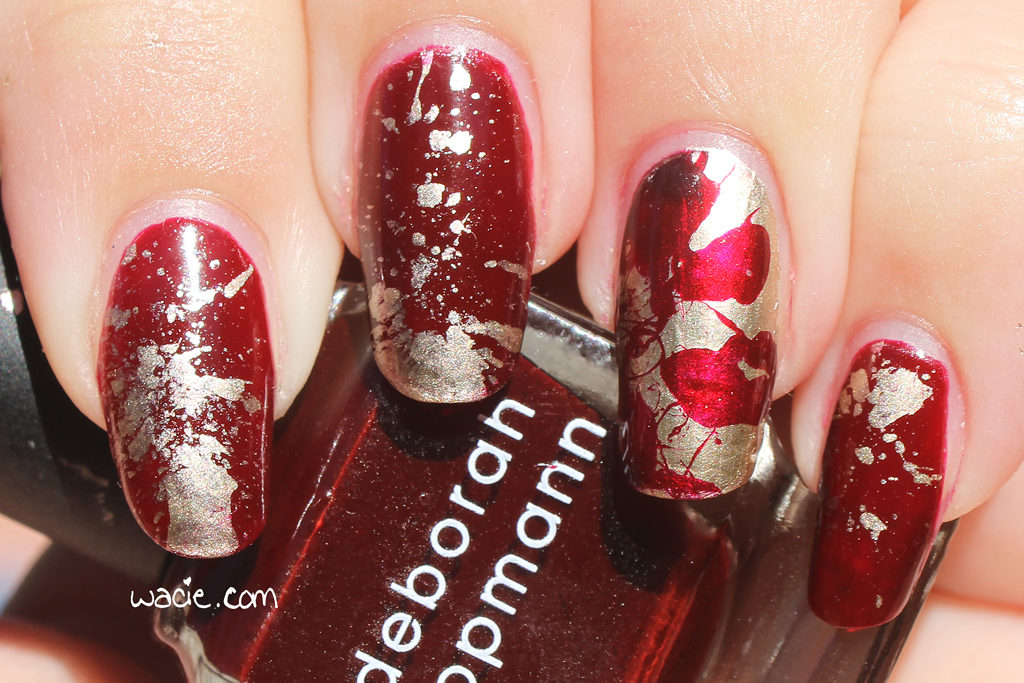
Happy Monday! I want to preface this by saying this is probably going to be the last laid-back Manicure Monday for a while. After today, I dive into writing a novel and possibly starting a new job — fingers crossed! In any case, things are going to be busy and I’m nervous and excited. These nails look like I feel. For this look, I used Deborah Lippmann’s Single Ladies and Essie’s Good as Gold.

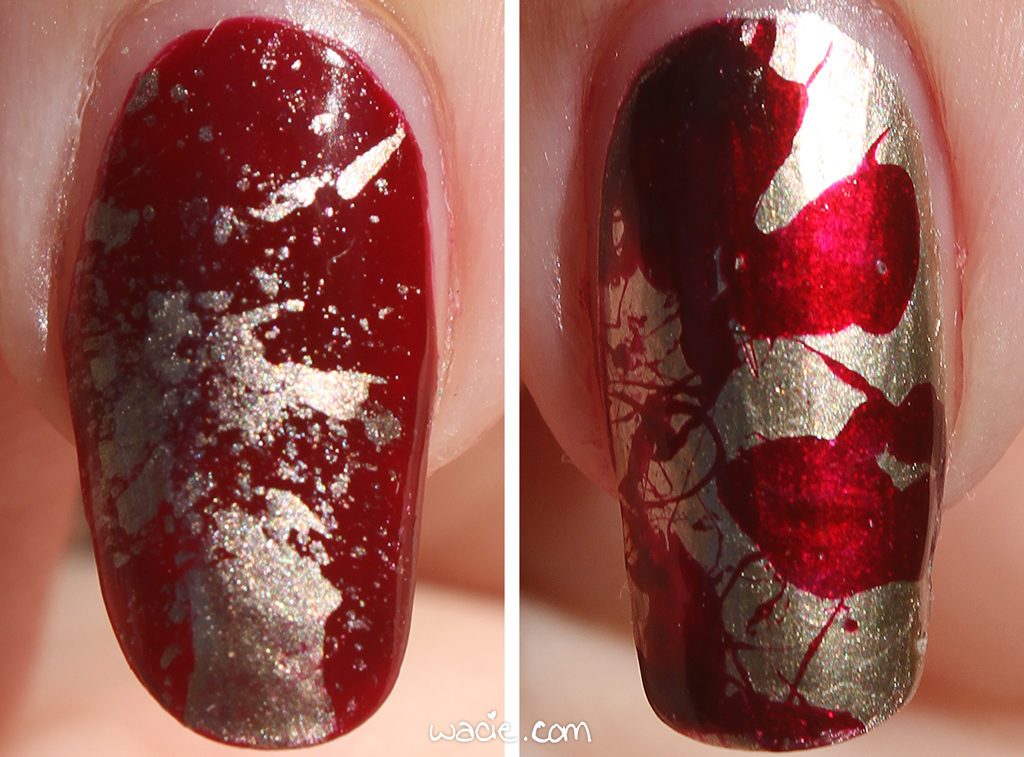
I wasn’t totally sure what I was going to do with this look when I started it. Single Ladies is a really squishy polish; it look three coats to get rid of all the streaks. I thought about taking advantage of this and doing a pond mani or something similar, but I didn’t want to cover the pretty metallic gold effect of Good As Gold. The classic gold and red was very necessary here.

Index finger, Ring finger

I’m pretty happy with how this turned out. Splatter manis are such a mess, and I kind of wished I had some liquid latex or something. I’ve really got to invest in some, it would make life so much easier.

Single Ladies and other Deborah Lippmann polishes are sold in stores; I got mine from Sephora. Essie is available pretty much everywhere.

I bought these polishes myself.

Manicure Monday: Golden Red

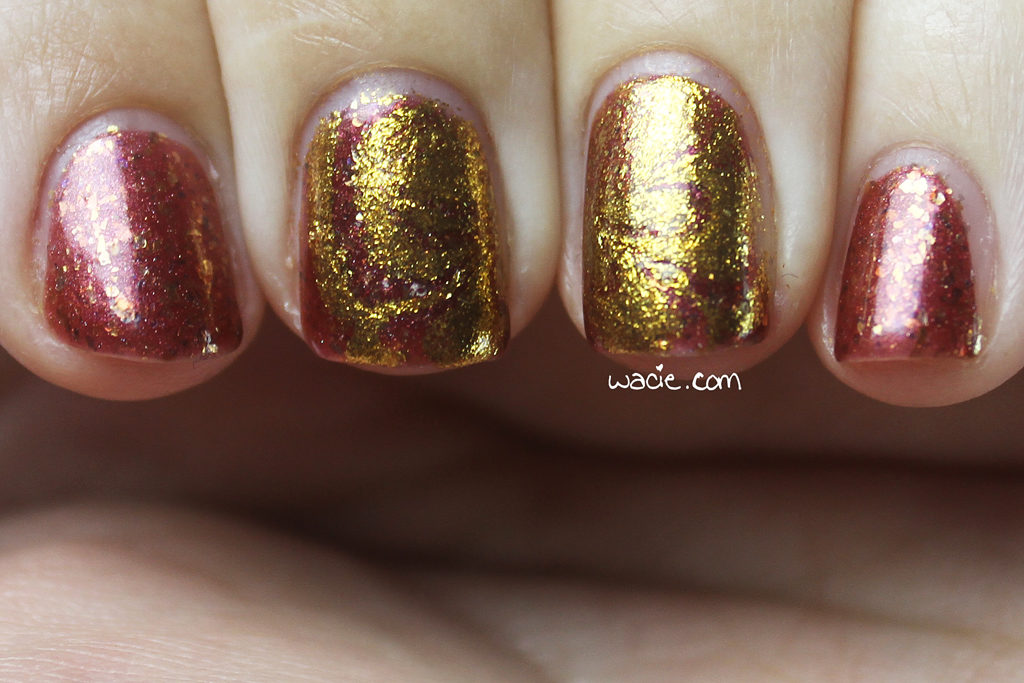
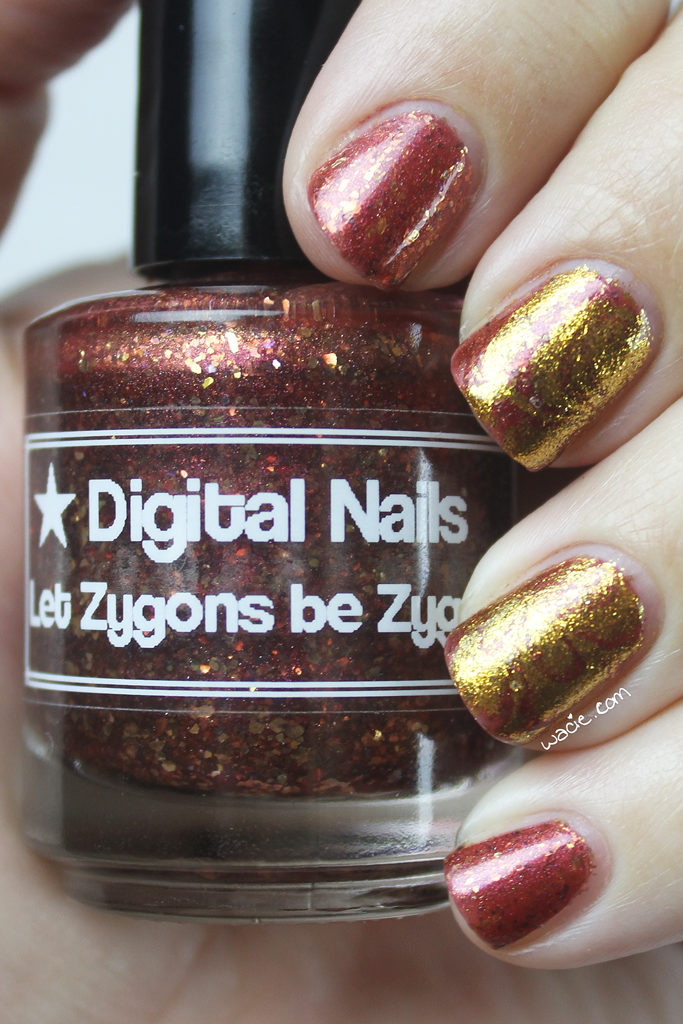
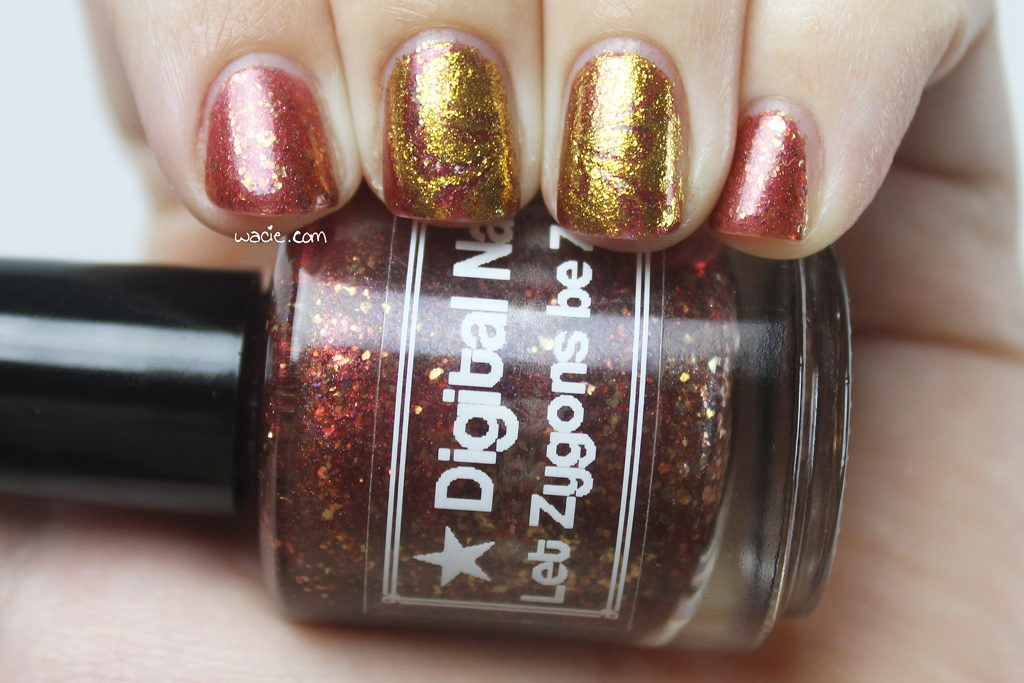
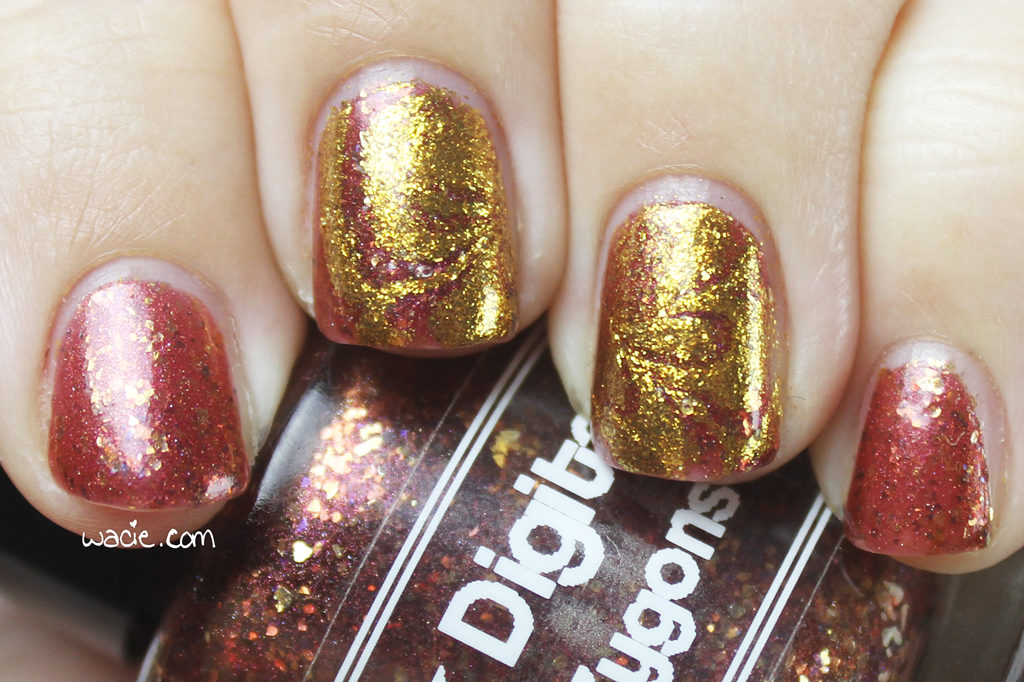
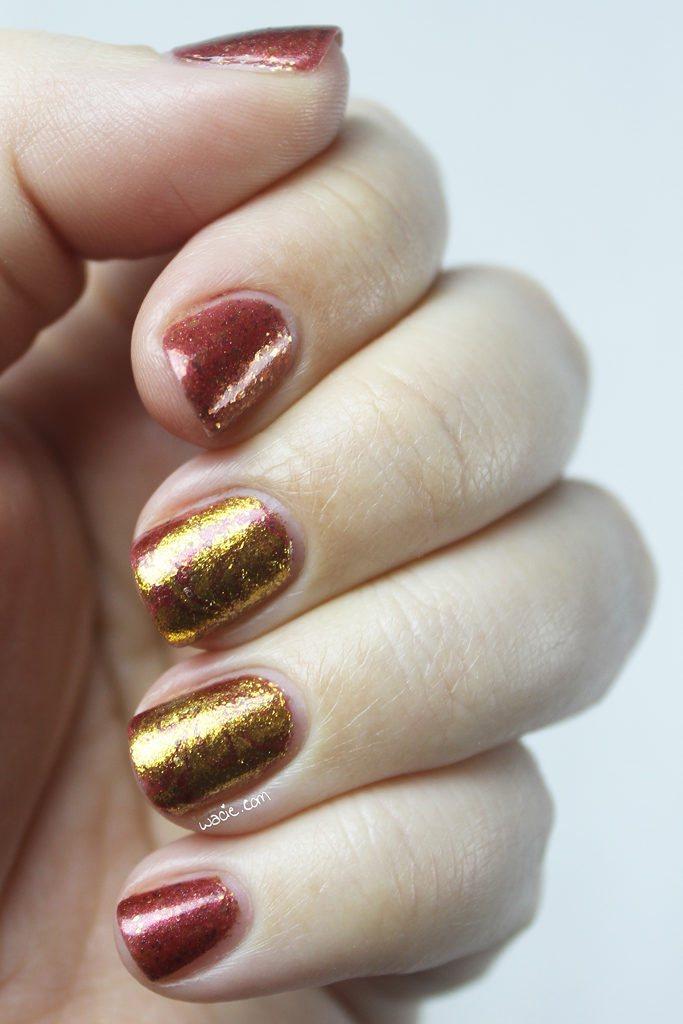
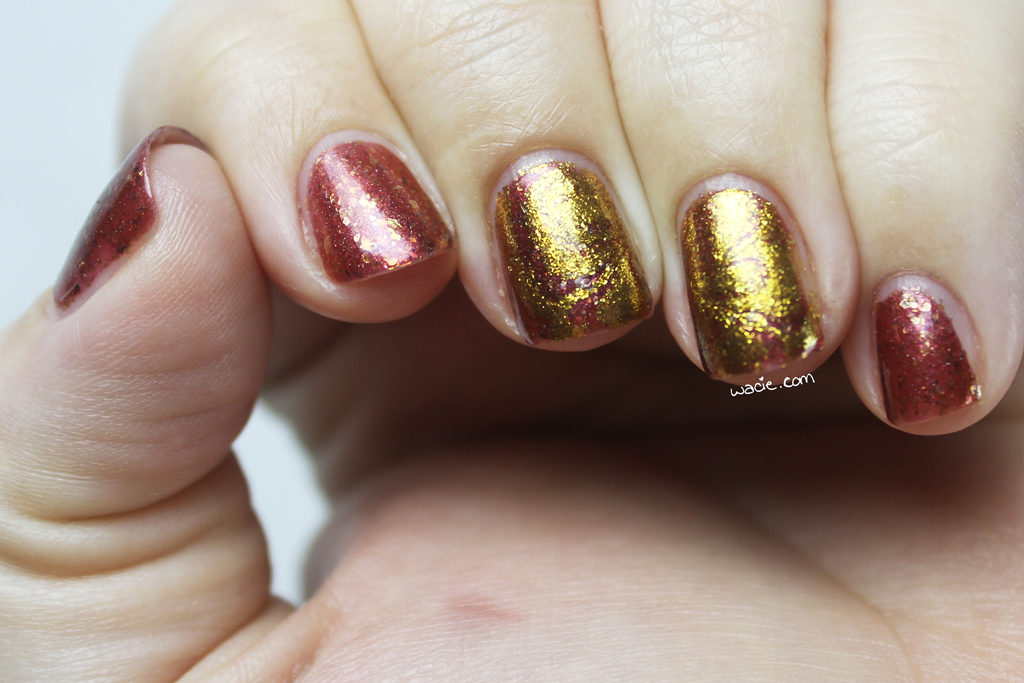
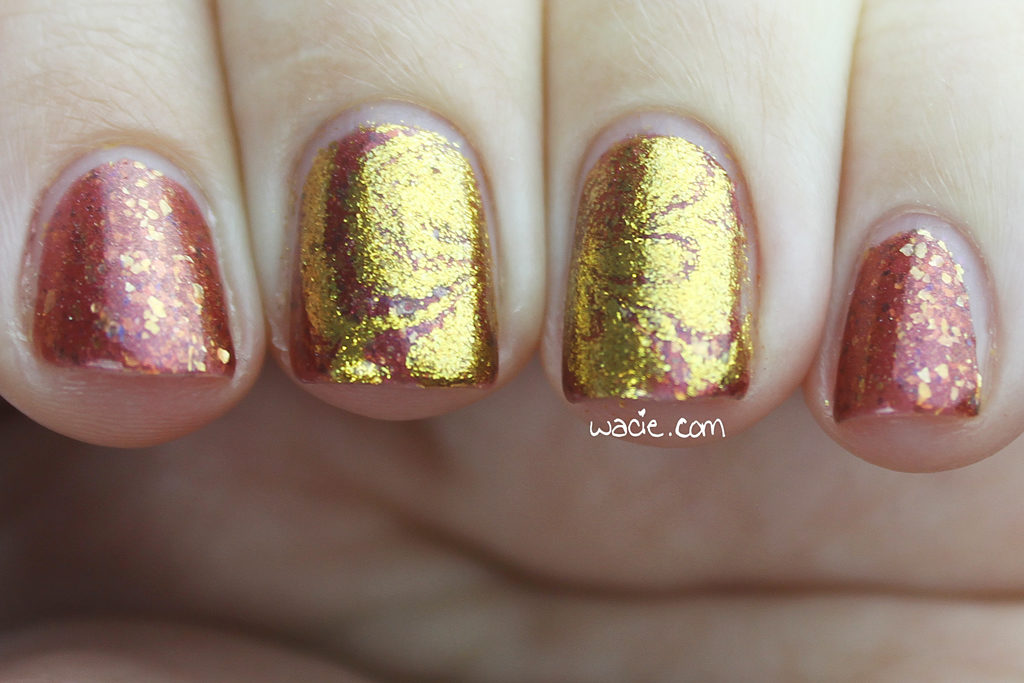
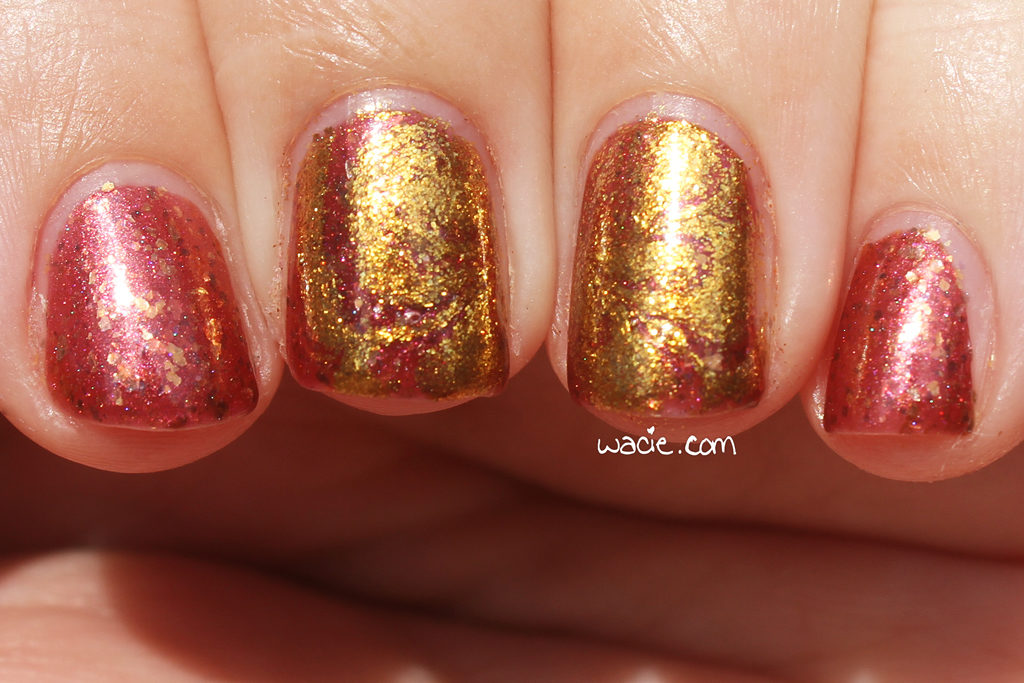
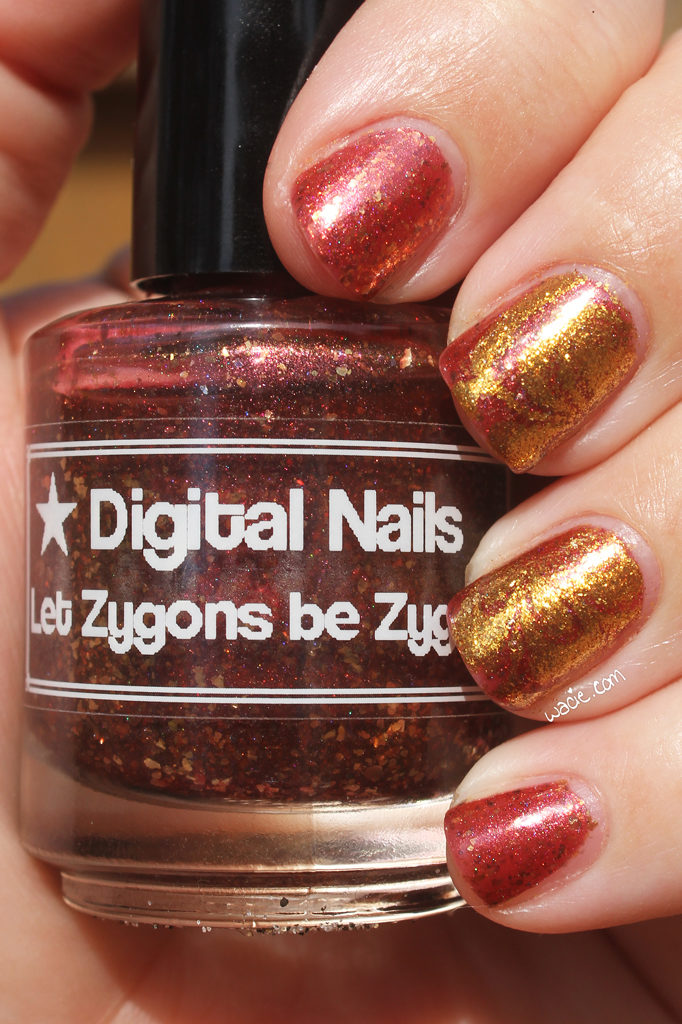
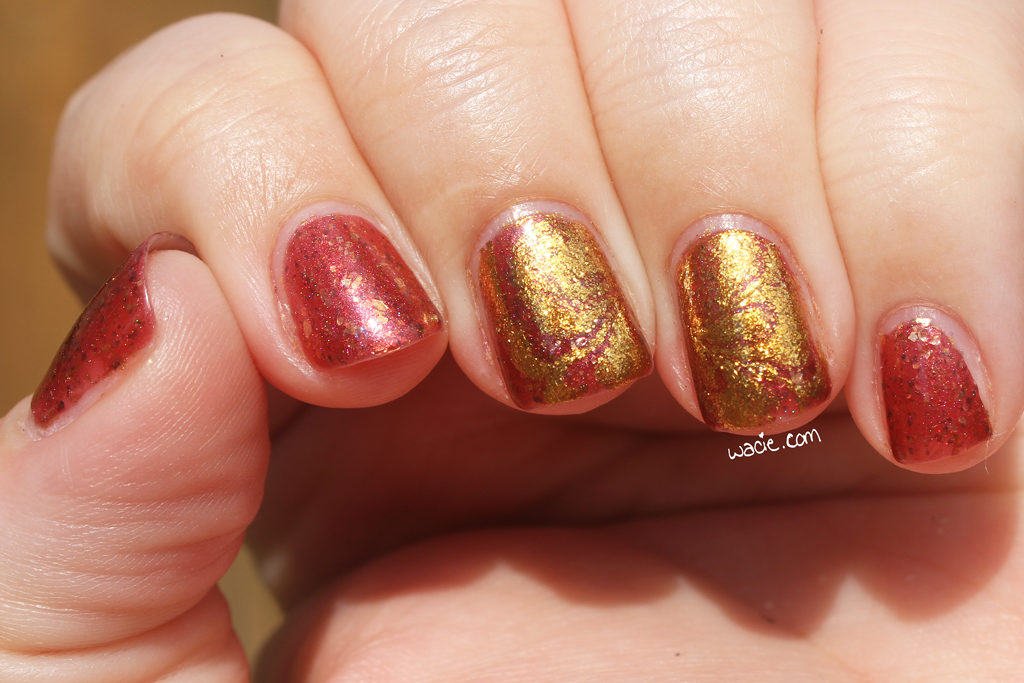
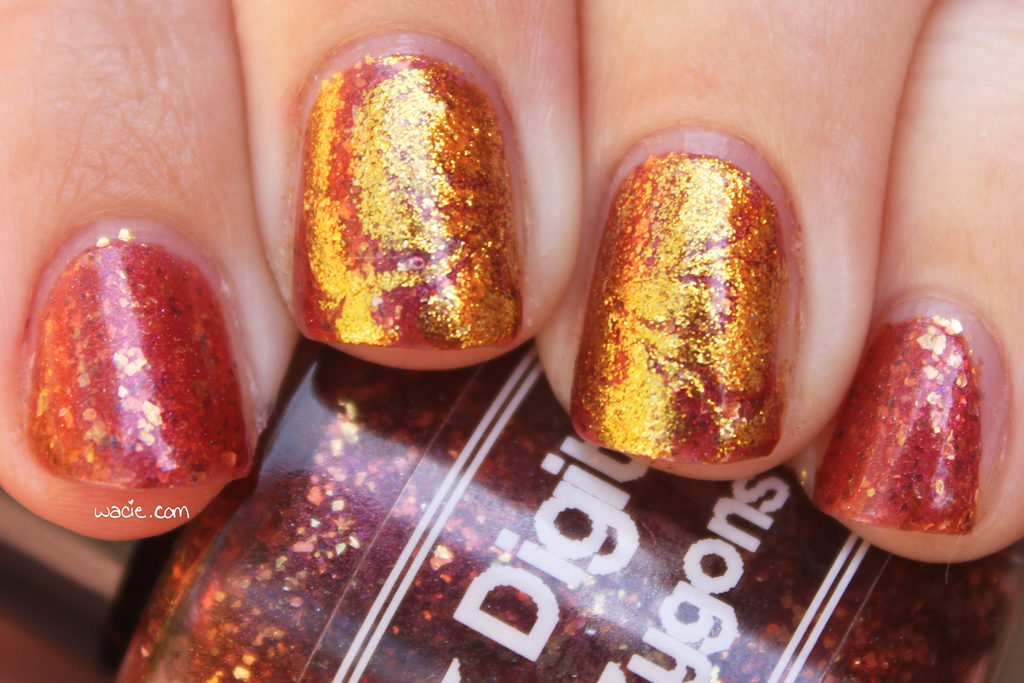
Happy Monday! Reader, you may not be surprised to see I’ve done another red and gold mani. As much as I love that particular combo, it’s starting to feel like a rut. However, since my base polish was both red and gold, I just rolled with it. I started with three coats of Digital Nails‘s Let Zygons Be Zygons, then did a watermarble with a mystery Orly gold and clear.

The gold is so shiny that the watermarble is pretty difficult to see. You can see the marbled lines if you look closely, but from far away, it’s a mess. I suppose the solution is just don’t choose such a blingy polish, because this totally looked better in my head. I thought about mattifying it, but I didn’t think it would help, because it’s just that shiny. I wish I could tell you what the name of it is, because you kind of need it.

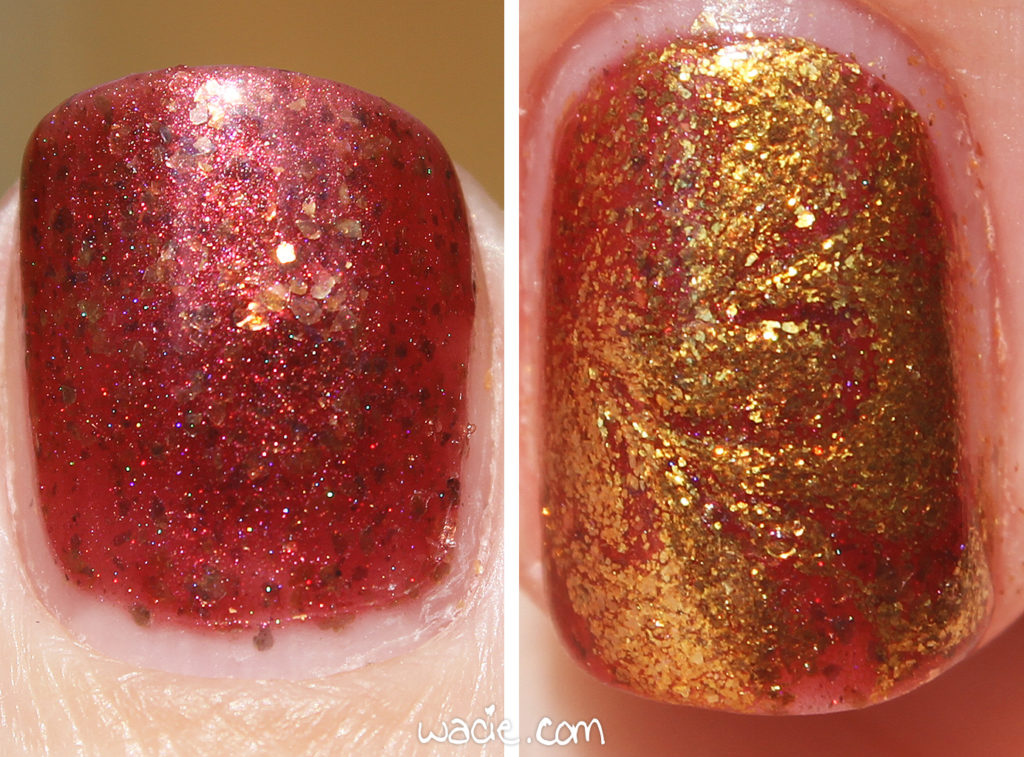
Let Zygons Be Zygons is such an awesome polish. I loved the idea of a red jelly with golden flakies, but what I didn’t know until today is that there’s just a hint of Spectraflair in it. It’s gorgeous! It looks kind of basic, but I really love it on my nails. There’s a lot going on in it. I just hope I don’t regret putting it on my toes also.

I took this one facing one of the lights directly. You can see the marble a little better here.

The next set of photos was taken in direct sunlight. Out here, you can see the tiny holo very well. In the macros, you can see that the Orly gold is made pretty much exclusively of gold flecks. This mani didn’t turn out the way I imagined it, but I’m glad I went for it.

This one’s in the shade.

Let Zygons Be Zygons isn’t in stock, but other Digital Nails polishes are available in their etsy shop. You probably know where to find Orly.

I bought these polishes myself.

Swatch Saturday: Blue-Eyed Girl Lacquer’s Cuts in My Heart

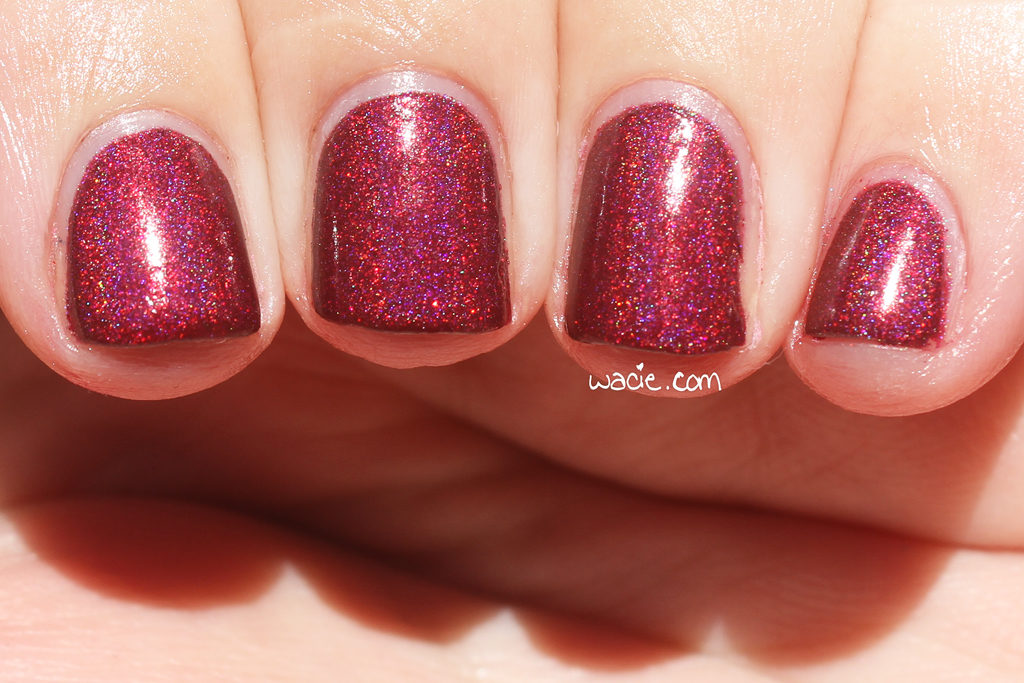
Hello, reader! I’m excited about today’s swatch. We have Blue-Eyed Girl Lacquer‘s Crooked Hearts behind us, and in the next few weeks, we’ll see some special edition polishes, some prototypes, and some Sirens from 2015. I’m so late to the party on these, but I can’t wait to get there. This polish, Cuts in My Heart, is the first of these; it was an Addicted to Holos box-exclusive. I’m wearing three coats with one coat of Dream Polish‘s Gem Glam top coat in the Melon Baller scent. All photos were taken in direct sunlight outdoors.

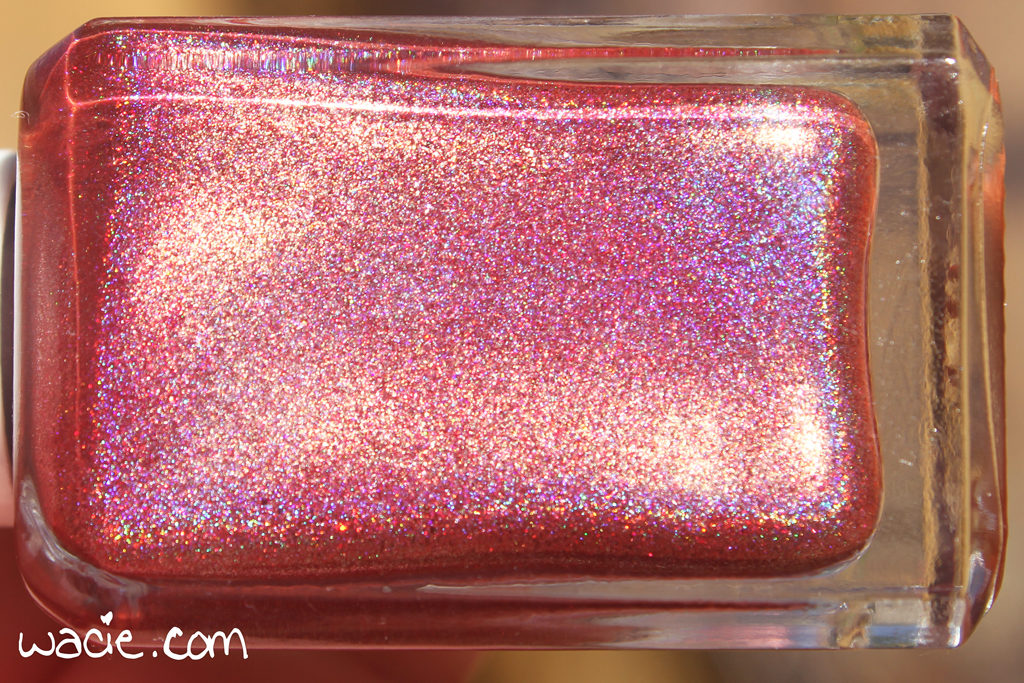
There’s a wee bit of color settling on the bottom. This didn’t affect the color quality at all.

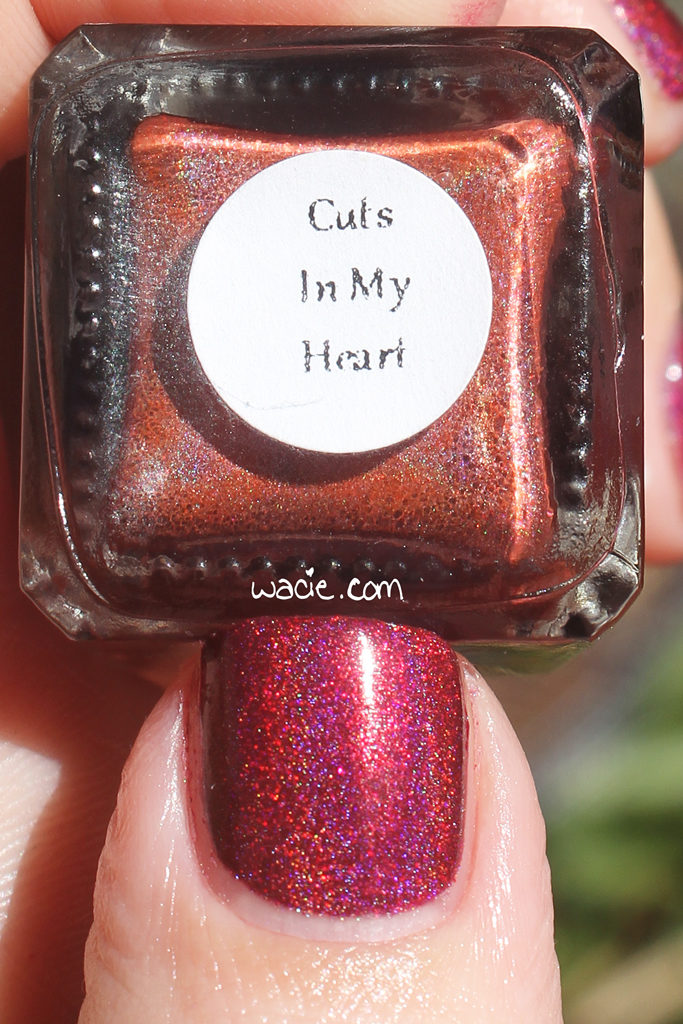
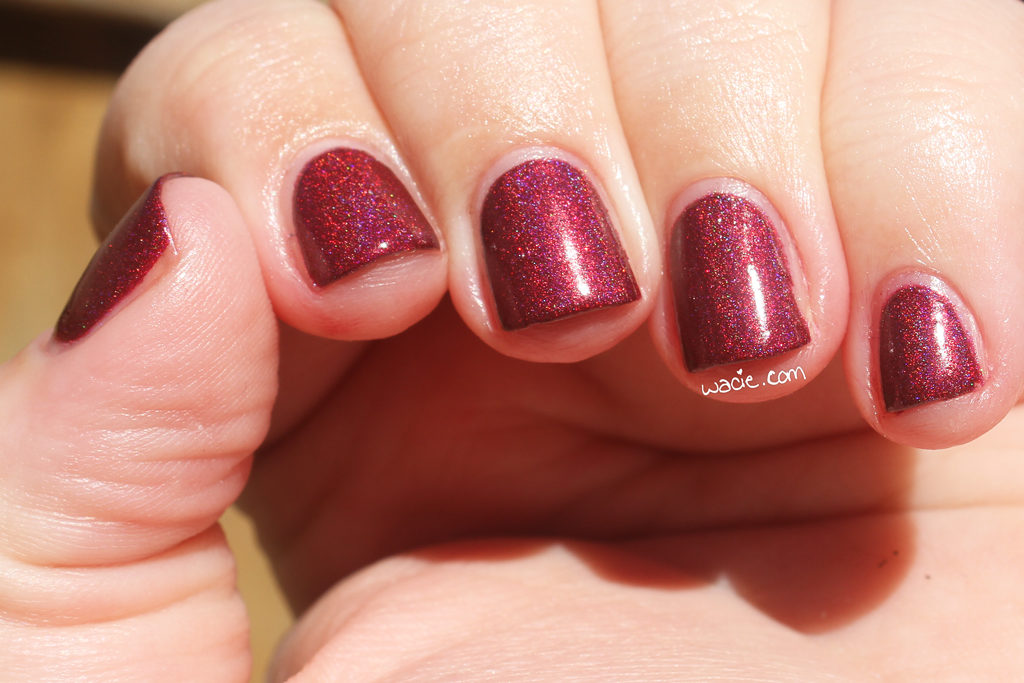
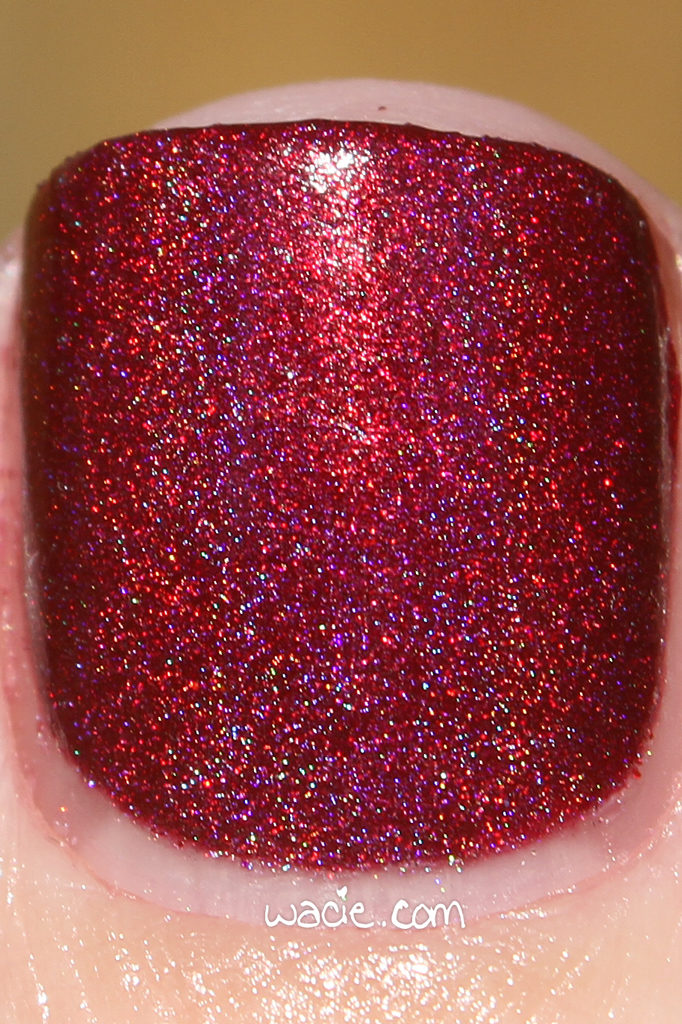
Cuts in My Heart is a deep red holo with red shimmers. Application is good; would you believe this polish is a one coater? Depending on your application style, it totally could be. I actually did have an opaque first coat, but I added more just because I like the thickness. The product consistency is very good; it’s thick but doesn’t need thinning, because it’s still easy to use. The polish dries quicky and with a satiny finish; top coat is necessary for shine.

So, I love this. Red holos are already amazing, so of course I like it. One thing I notice about this one is that I can actually see the shimmers in it. With a lot of the BEGL holos I’ve worn, the shimmers either get covered up by the color, or they blend into the color so well they’re undetectable. In this polish, I can really see them. They’re the same color as the polish, but they also stand out. I quite like it.

Cuts in My Heart, as I mentioned, was a box-exclusive and is since sold out. Other Blue-Eyed Girl Lacquer polishes are available in their online shop.

I bought this polish myself.

Swatch Saturday: Blue-Eyed Girl Lacquer’s The One Worth Leaving

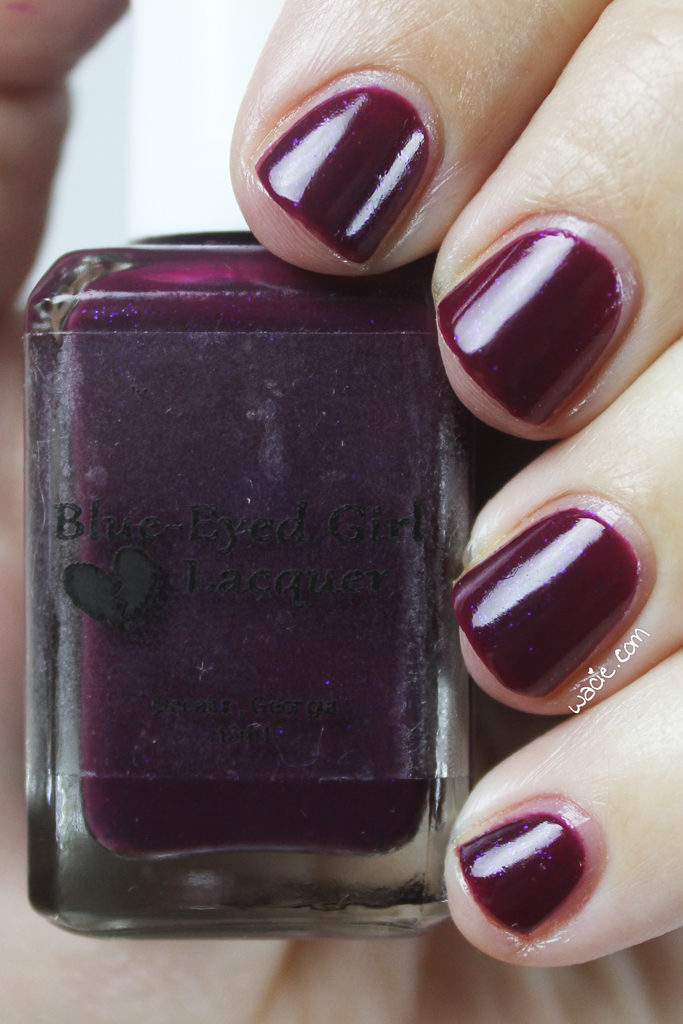
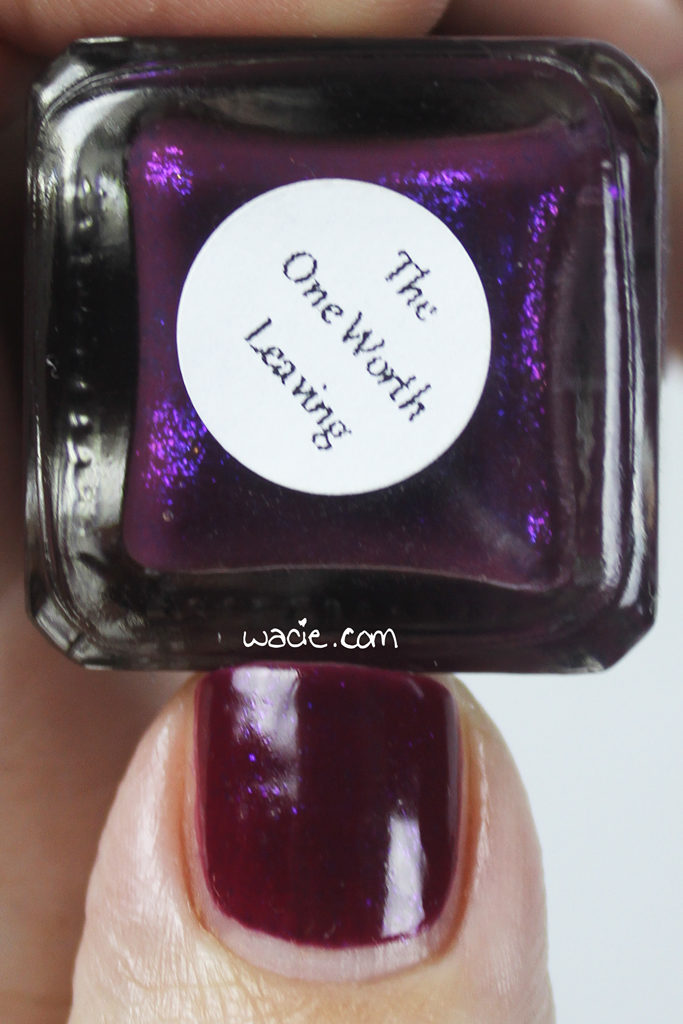
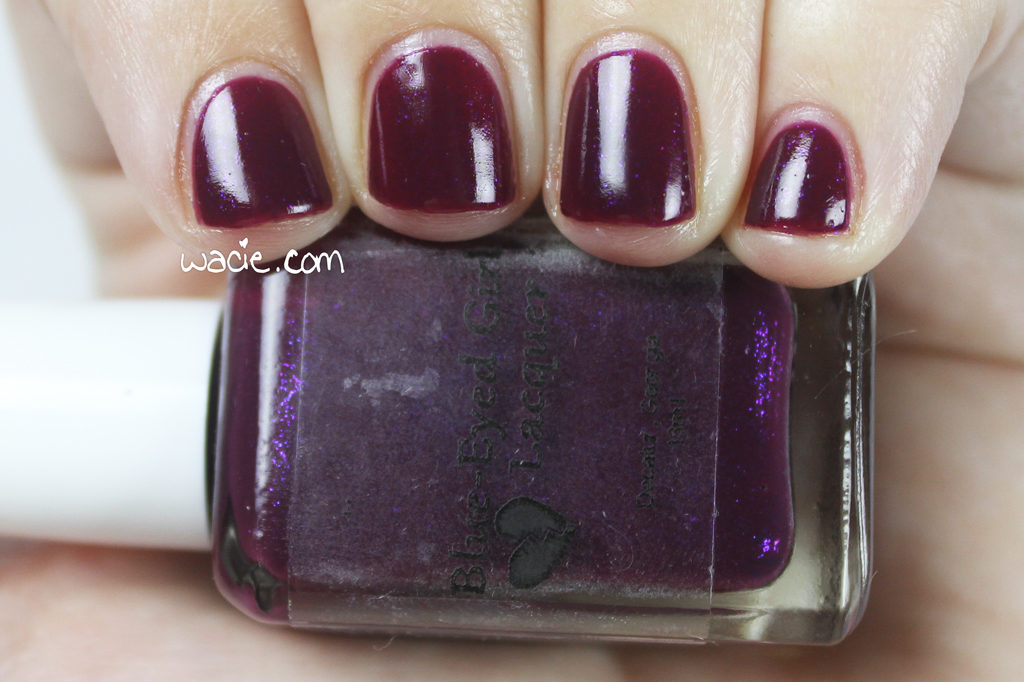
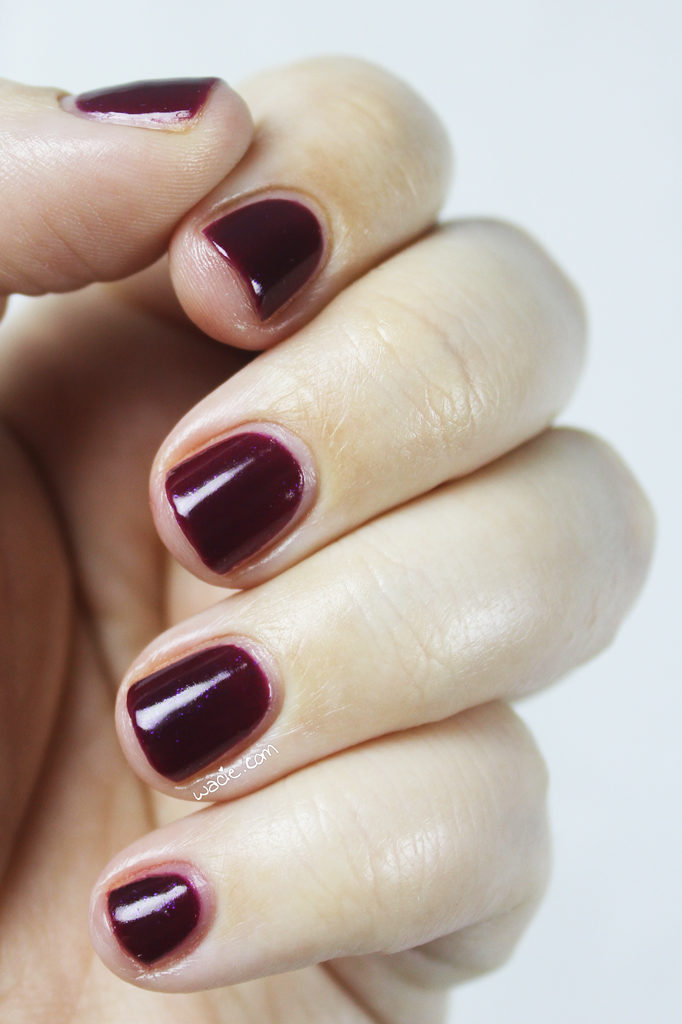
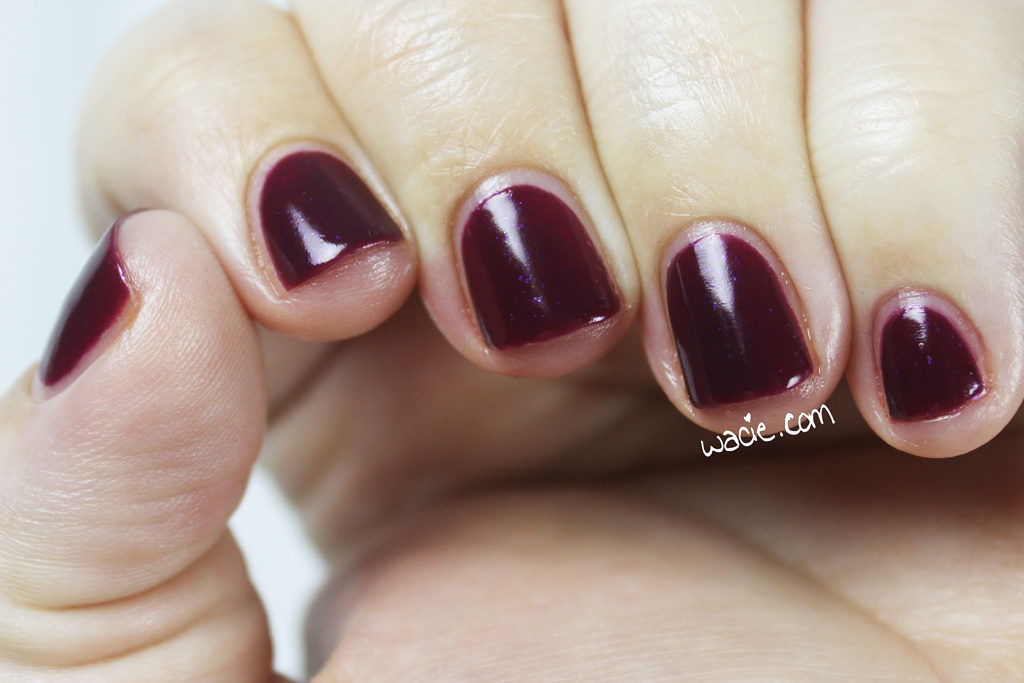
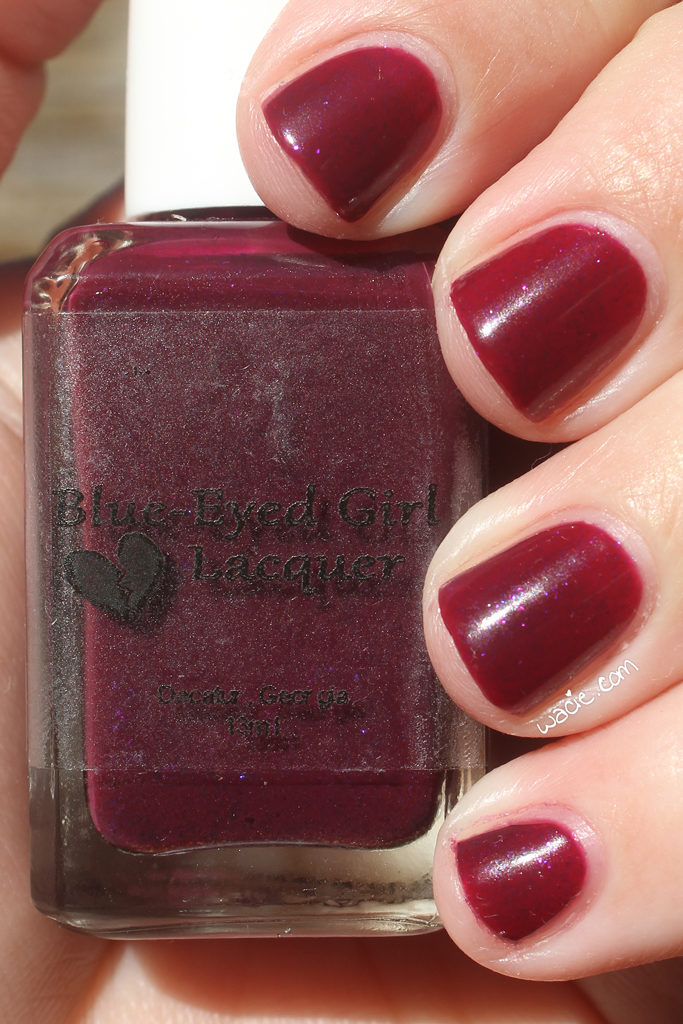
Welcome back! It’s Swatch Saturday, and I’ve swatched the last polish in Blue-Eyed Girl Lacquer‘s Crooked Hearts collection. I’ve loved wearing every polish in this set; each one was a gorgeous shimmery marvel. This last one, The One Worth Leaving, is vampy magic. I’m wearing three coats with one coat of Dream Polish‘s Gem Glam top coat in the Melon Baller scent.

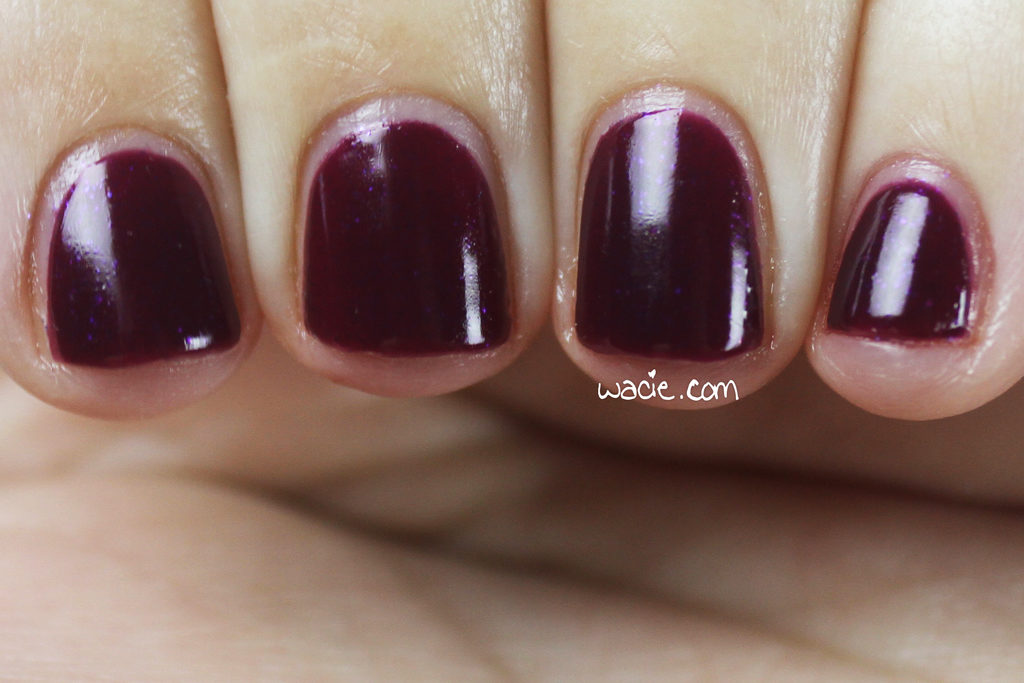
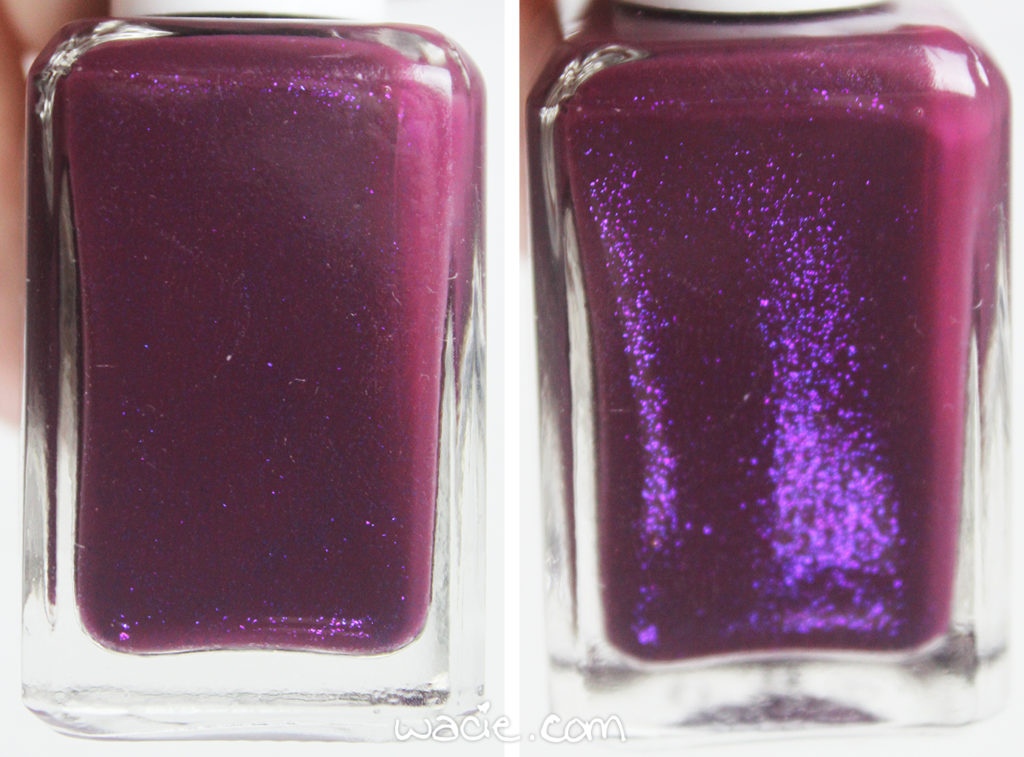
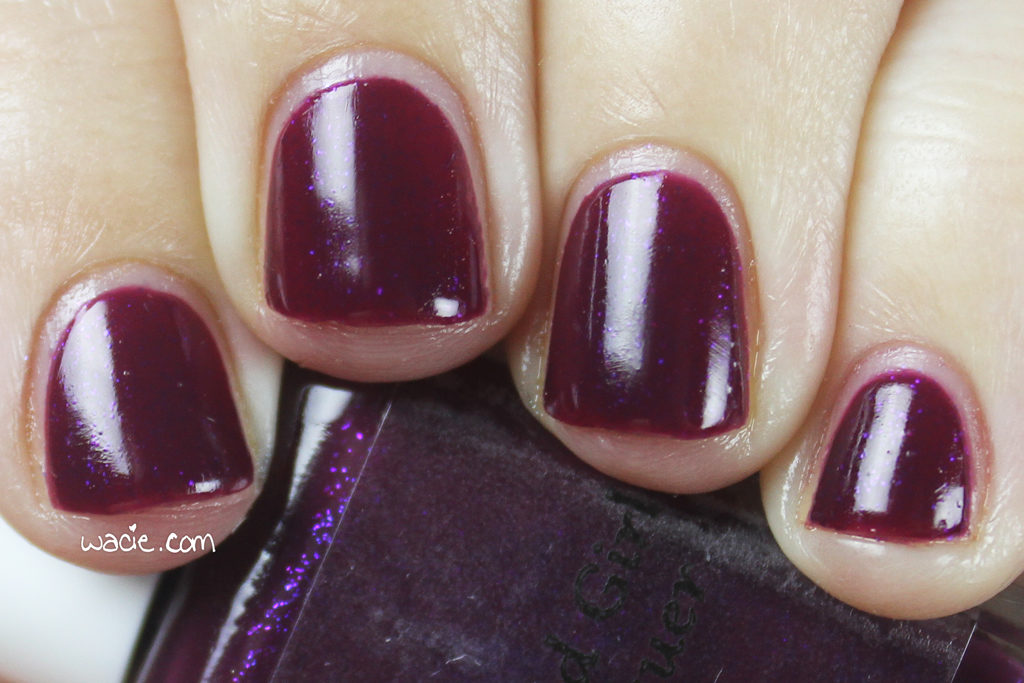
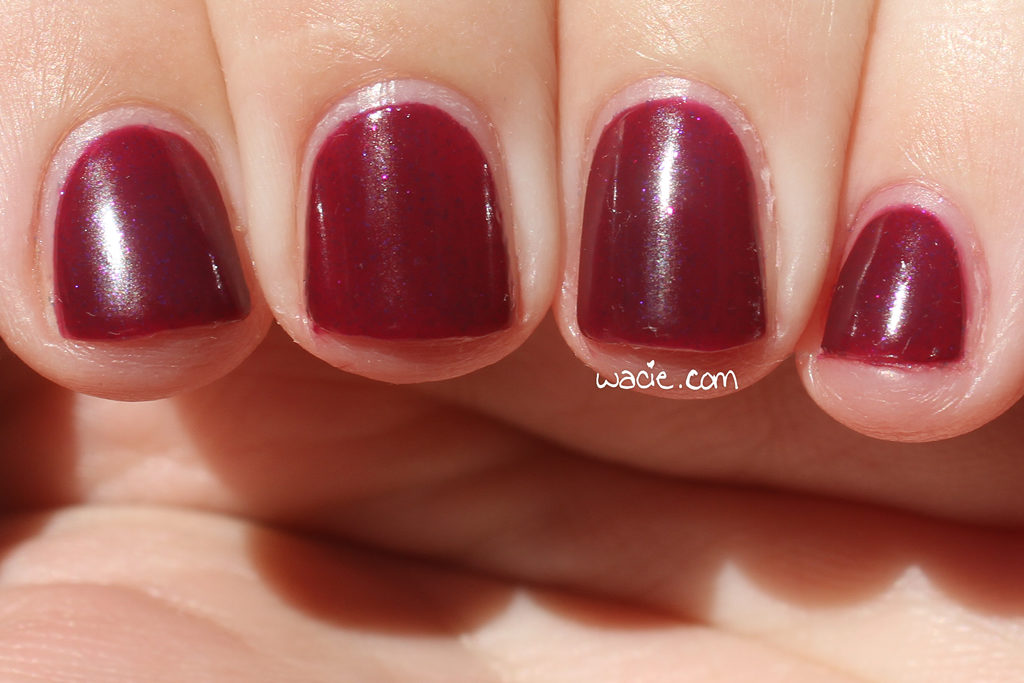
The One Worth Leaving is a wine polish with purple shimmers. Application was good, the product consistency was great and I had no issues. The first coat goes on a little sheer, but builds with additional coats. I like that it’s a little sheer, so that those shimmers get seen. After three coats, my shimmer didn’t seem as strong as it looks in the bottle, but it does pop up wherever the light hits it. It dries with a glossy finish; I used top coat for extra shine.

I enjoyed wearing this polish. I’ve talked before about my relationship with burgundy polish, and I mentioned Monday how short nails like this reminds me of my youth and my days as a nail biter. I get a nostalgia buzz from this polish, too; plums and berries and wines were among my favorites back then.

Outdoors, this polish warmed up to a deep and gorgeous red. You can see the translucence out here; you can see the actual specks of shimmer, not just the ones the light activates. These photos were taken in direct sunlight.

At publication time, the BEGL shop is temporarily closed, but I’m pretty sure The One Worth Leaving was in stock before the hiatus.

I bought this polish myself.

A Look Back at 2016

Hello reader! Now that 2016 is behind us, I wanted to look back on some of my blog highlights and share my favorite nail art looks, and maybe share some of my 2017 blogging goals with you. I guess I could have waited to do this on my blog-versary in March, but it feels more appropriate to do it now.

January: Elevated Gradient
February: Neon Satisfaction
You’ll notice these photos are tiny. Why? Because in March, The Great wacie.com Server Crash of 2016 happened! My webhost had a hardware failure, and for whatever reason, several months of posts were lost and had to be pieced back together with images and text cached by Google. It was an extremely frustrating and embarrassing time for me.

March: Spring Hibiscus
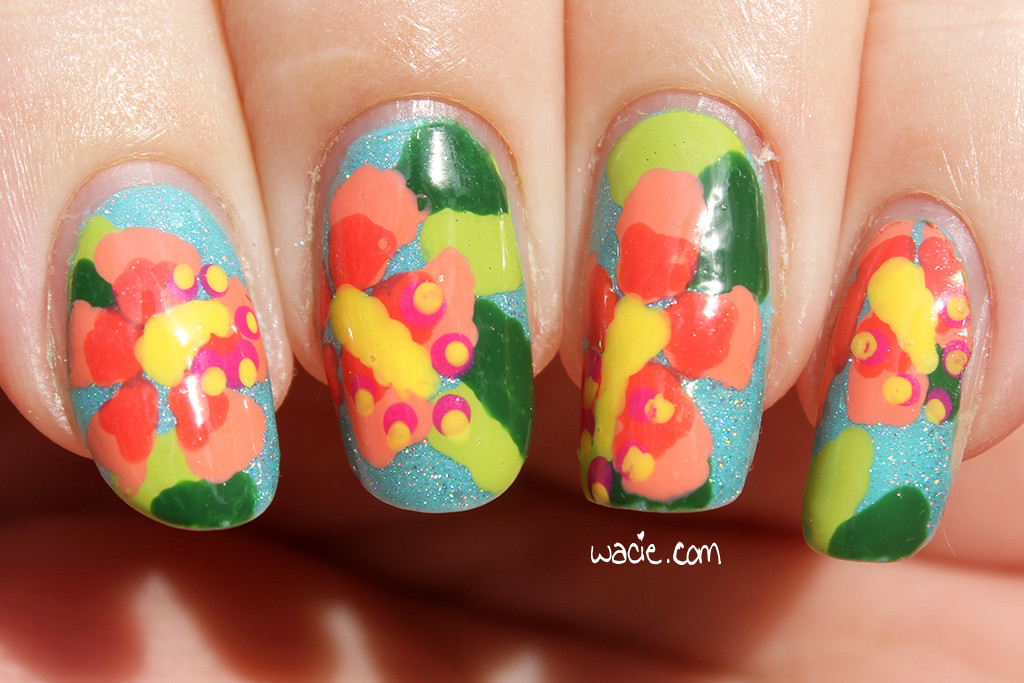
I miss these long nails.

This is probably my favorite look of the year.

Third Anniversary Do-Over

I mentioned earlier that my blog’s anniversary is in March. For last year’s anniversary, I recreated the first-ever mani I posted on my blog. I don’t know yet what I’ll do for my fourth year, but it’ll probably be awesome.

April: Dusty Watermarble
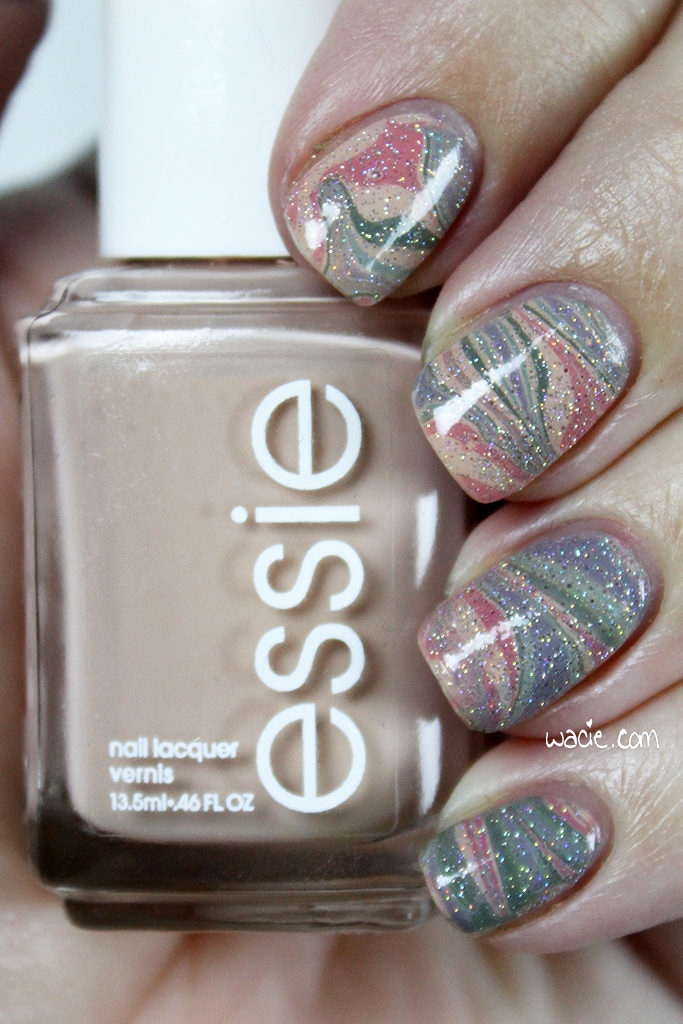
May: Neon Splatter
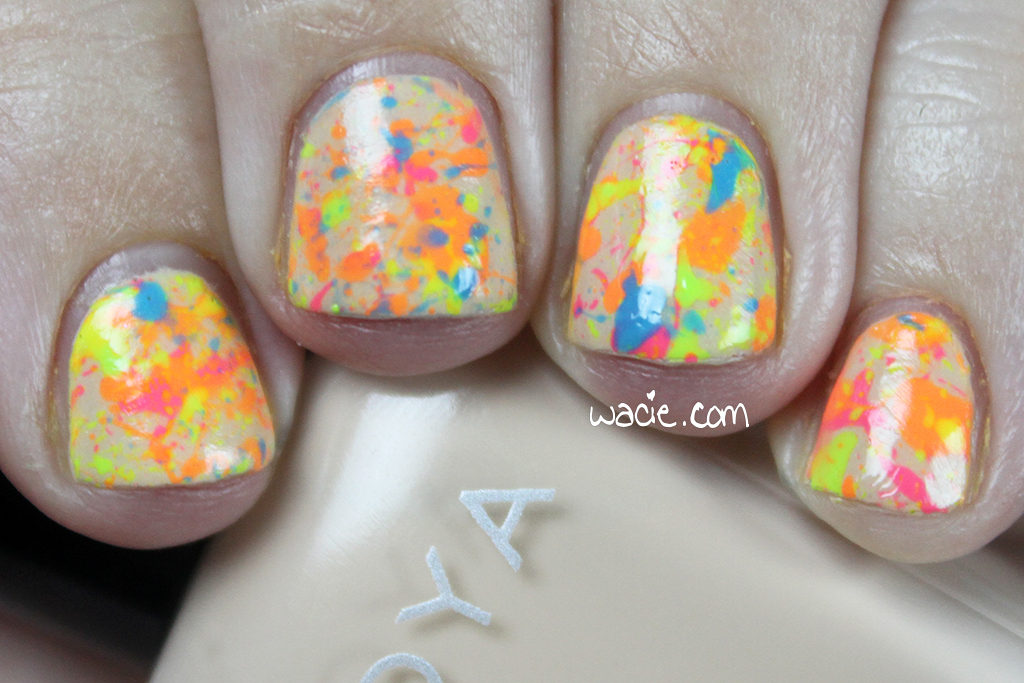
I went to Hawaii in May. As a result, this is my least active month on the blog for the year.

June: Orange Jello Sandwich
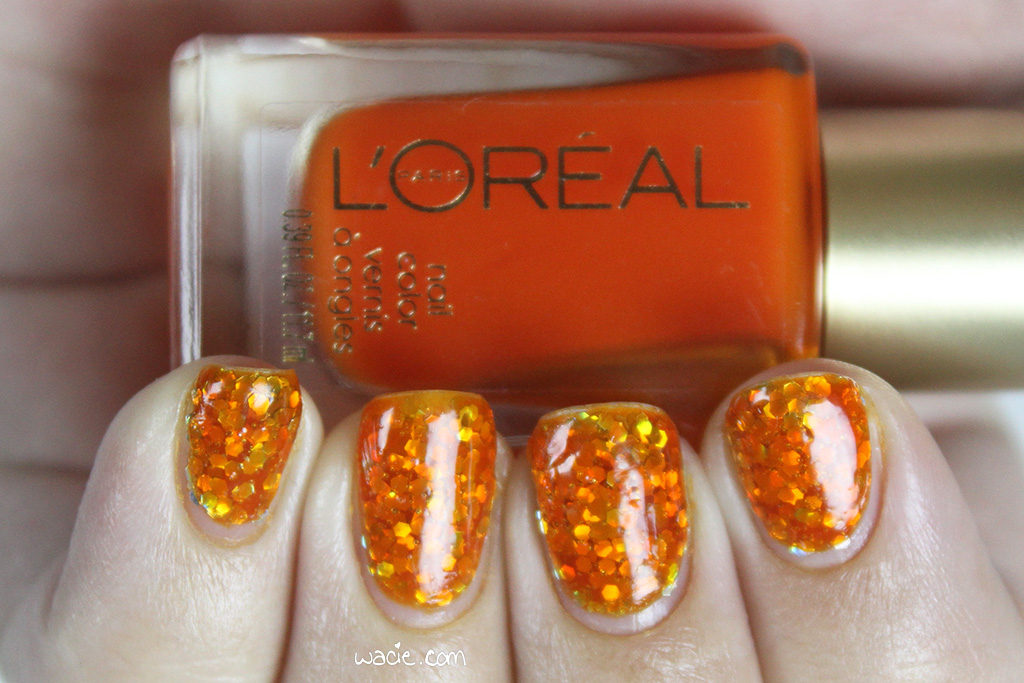
My first Empties Roundup post was also in June.

July: Beyond
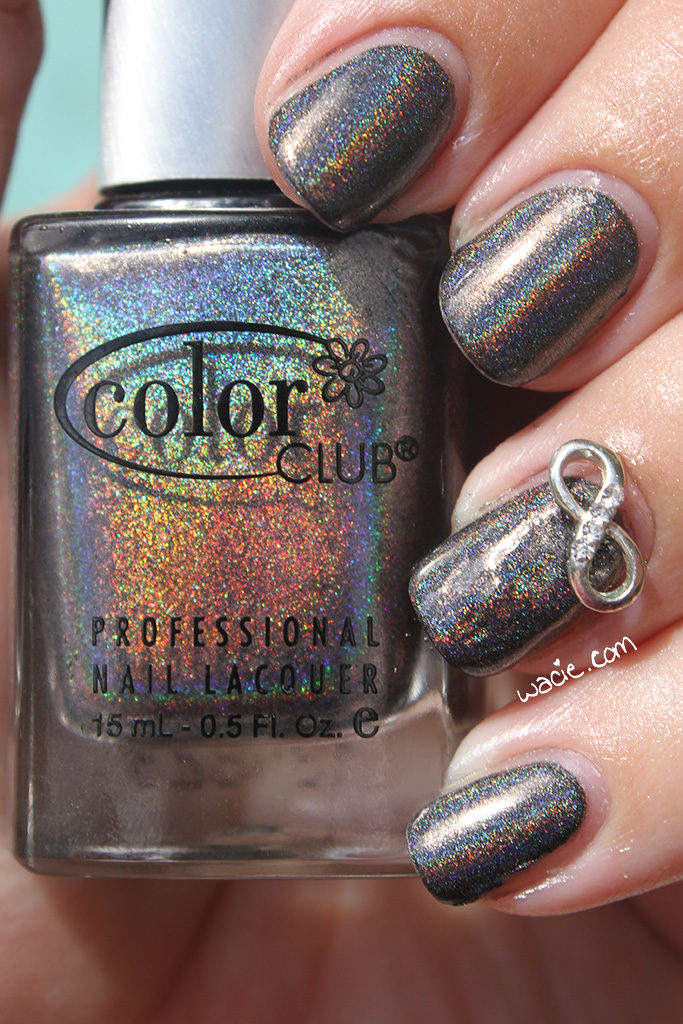
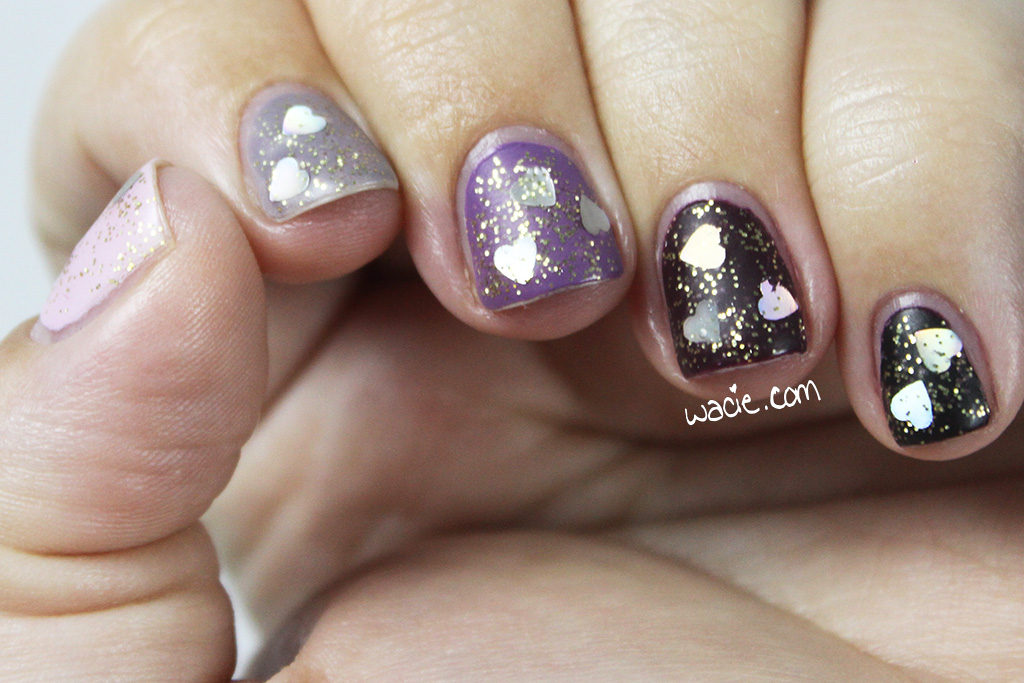
August: Ombre Hearts
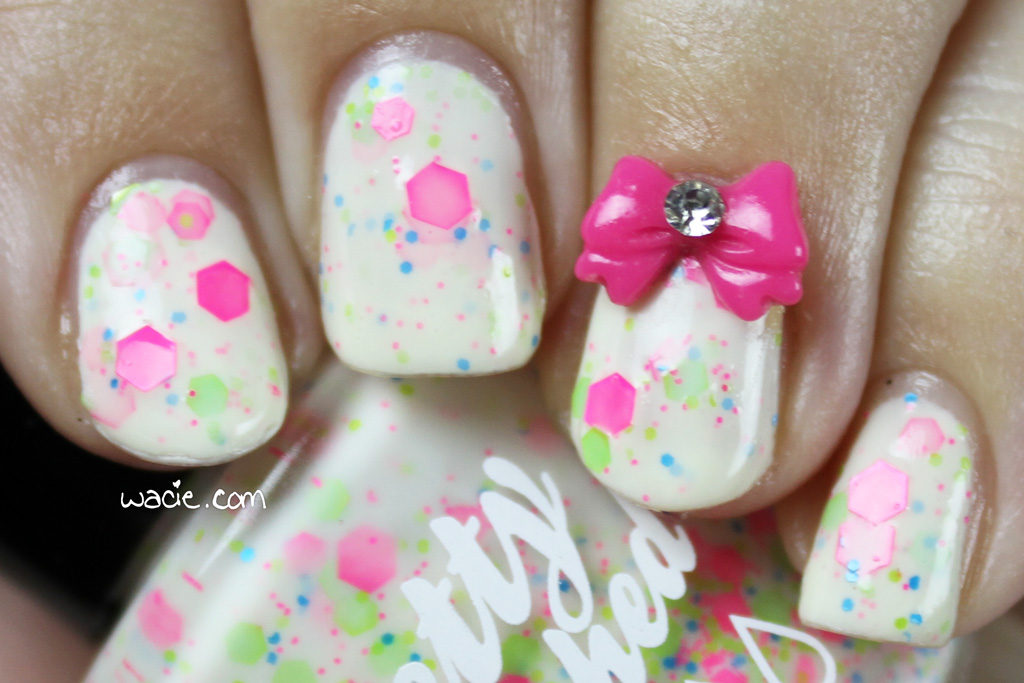
September: Popples
October: Stripey Blue Frosting
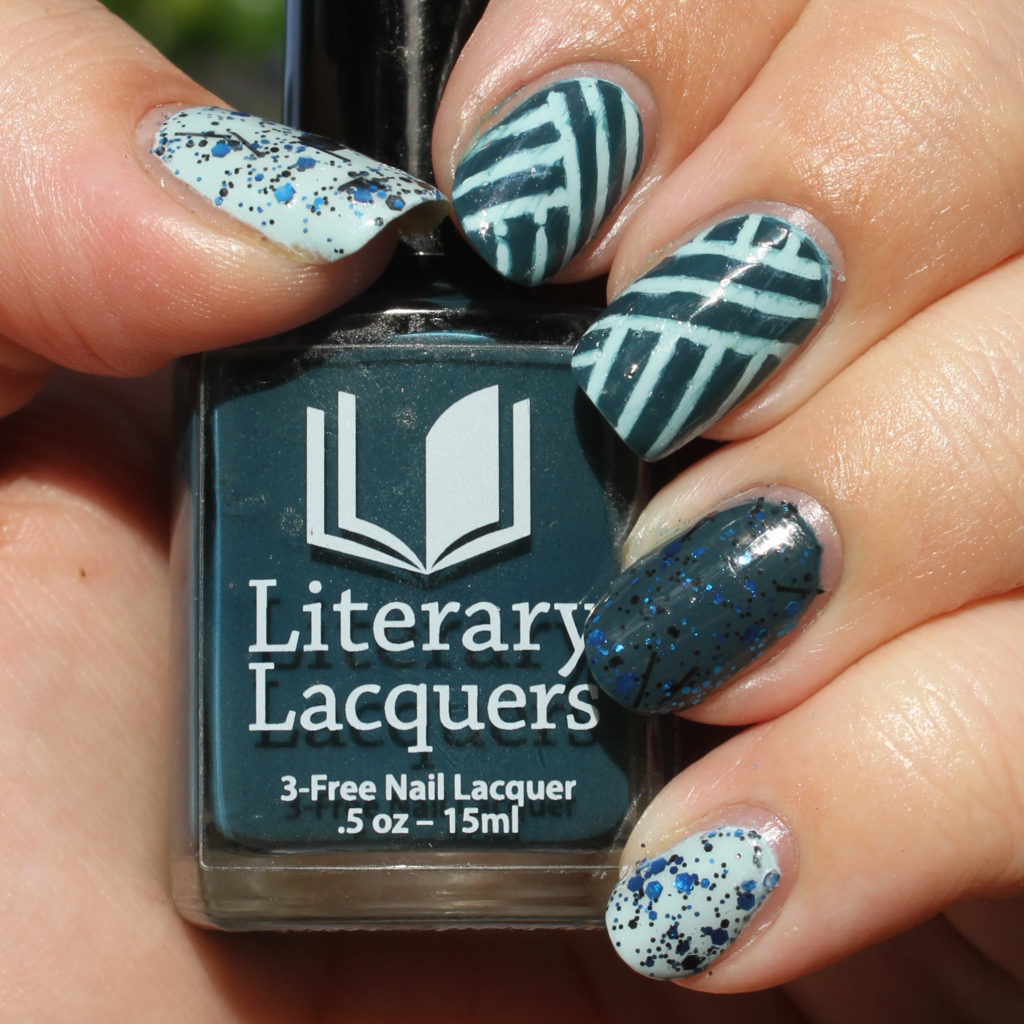
This was a look I did to celebrate my birthday.

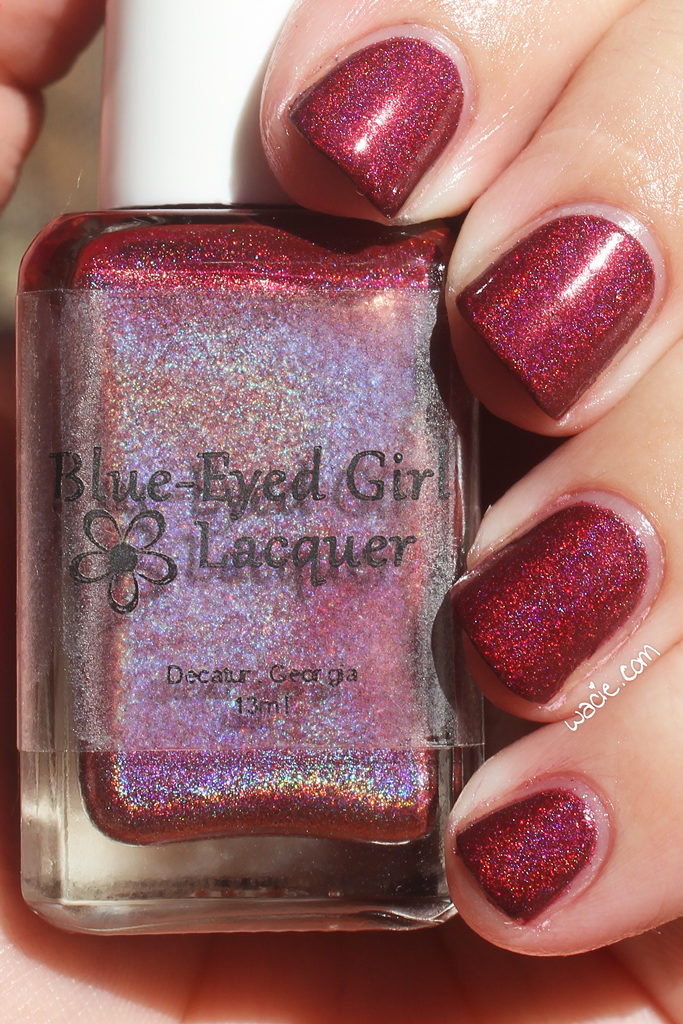
November: Ruby Opal
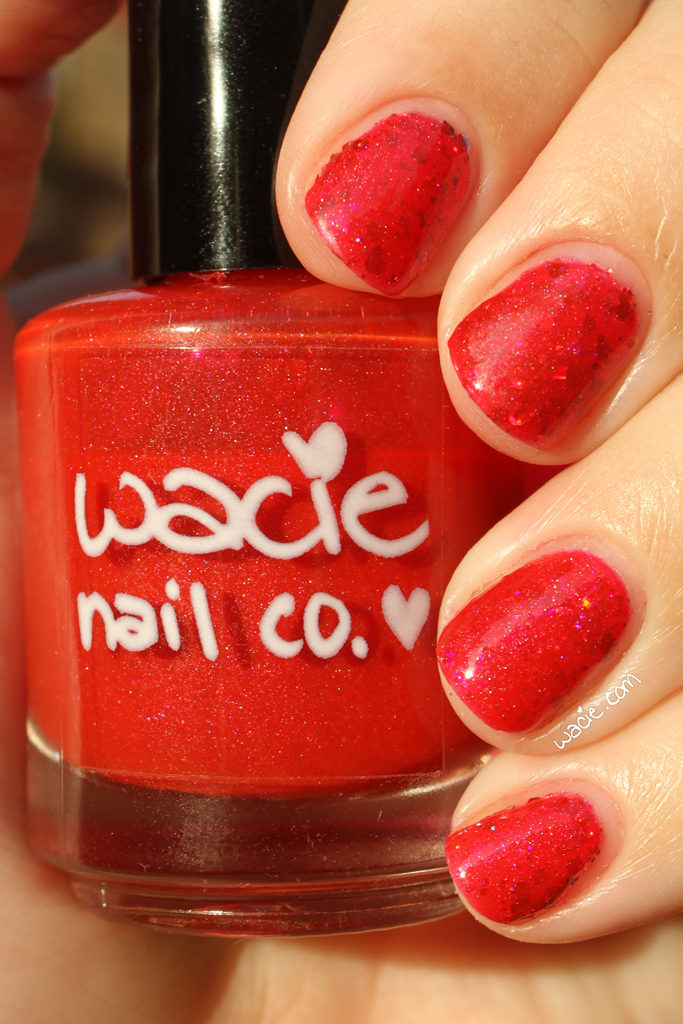
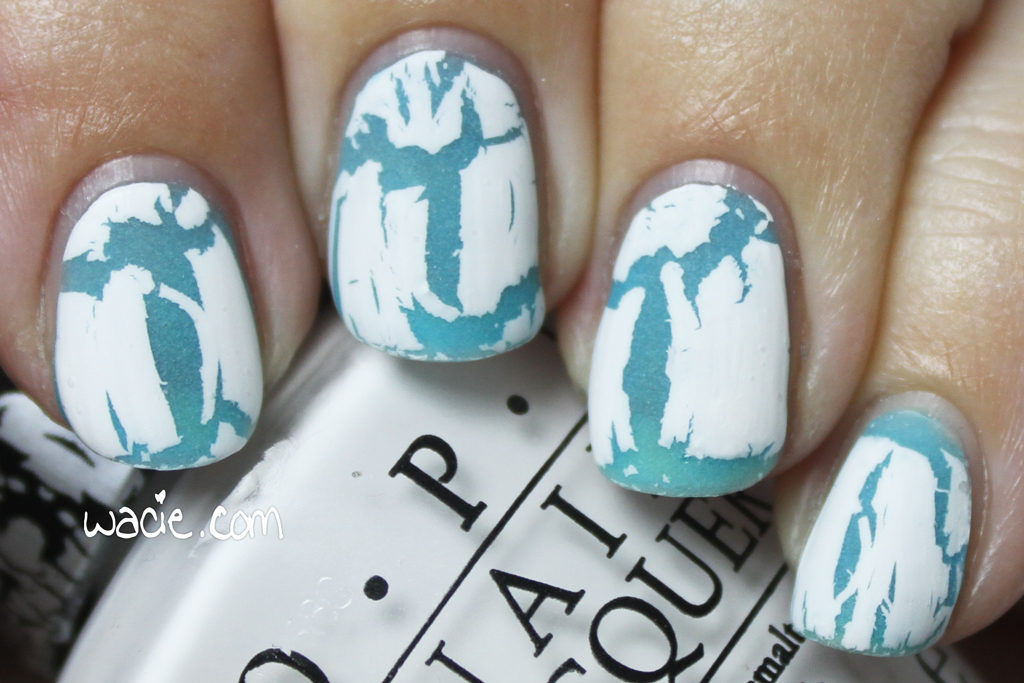
December: White Snow Blue Lava
So there’s my year! This was probably the busiest year for the blog, since I broadened my sujects quite a lot. I did tons of swatches and nail art, but I also ventured into product reviews and makeup talk. I don’t think this will ever become a full lifestyle or beauty blog, but I’m definitely having fun with it in this format. I’m kind of excited to see what it’ll evolve into in 2017. Here are a few beauty goals I have in mind, though.
1. Write more
I wrote 175 posts in 2016, averaging about 14 per month. It doesn’t sound like much to me, like I did way more work than that, especially when it started to feel stressful. That said, I’d like to do at least one more post every week.

1b. Write on my other blog more
I have a second blog that I want to start posting to more. It’s been so long since I’ve bothered with it that I don’t even remember the login credentials. I still want a place to talk about myself and my life, a place to seem like I have a life away from my nails.

2. Build a real skincare routine
I still feel insecure about my skin. I’m frustrated that I’m 31 and I still get acne. I want to take every preventative measure I can against wrinkles and anti-aging. I also want to try a 10-step Asian beauty routine. If you’re over 30 with oily skin and hormonal acne, I want your recommendations.

3. Stop competing
I know one of the big rules of blogging is not to compare your success with others’, but I feel so competitive about it. At the risk of sounding whiny, I always look at other bloggers who’ve been working on their blogs for about as long as I have, and watching their blogs grow faster than mine is kind of frustrating. I don’t want to feel like that anymore.

4. Do more real nail art
I love glitter toppers and I think I use at least one every week, but sometimes it feels lazy. I want to go back to the basics: watermarbling, gradients, dotting. I love my glitters, but it’s starting to feel like a cop-out.

I think that’s it! Anyway, I think 2017 is going to be an exciting year, and I’m looking forward to the good times, the challenges, and the time we spend together. Thanks for reading!